
The most annoying thing about commercial search engines is the constant advertisements, the profiling of search results based on how much the advertiser has paid and a whole host of other contributing factors that stop you from getting the results you want.
I currently have 6 PiHole DNS servers running on the multiple LANs here at home but, even these don’t stop the adverts on search engines getting in the way of the results I actually want to see. Of course they’ll never stop the profiling done by the big search engines either.
So, I decided to build my own search engine!
Initially this sounds daunting but, it’s not actually as difficult as it sounds.
Turning to the Opensource world as I always do I found the perfect solution to my needs, SearXNG.
SearXNG is a free internet metasearch engine which aggregates results from more than 70 search services. Users are neither tracked nor profiled. Additionally, SearXNG can be used over Tor for online anonymity. SearXNG runs on your own server/PC or virtual machine, ideally it needs a Linux operating system and can be deployed either via Apache directly or via a Docker Container.
Since I’ve been using a SearXNG instance at home my search results have been much more useful, in fact I’ve found useful information that has never come up on any of the commercial search engines before. Clearly all the commercial search engines are excluding huge swathes of useful information on the internet just because they don’t make any money from them. Using my own search engine I’m getting past this profiled view of the internet and getting directly to the information I want whilst at the same time removing all the adverts from my search results.
In this article I’m going to explain how to deploy SearXNG in a Docker container and then use an Apache server on the same host to proxy access to the SearXNG service. The reason for this approach is that it’s scalable, you can have multiple Apache proxy servers running on many hosts all using the same SearXNG backend.
It sounds complicated but, if you follow the step-by-step instructions detailed below you’ll have a fully operational search engine in no time.
(For those that don’t fancy building this themselves I will put a link to a downloadable virtual machine at the end of this article that is fully configured and operational)
I’m using Ubuntu Server 20.04.3 64bit Edition for the base O/S but, you can use whatever flavour of Linux you like.
At this point I make the assumption that you have your base Linux O/S installed, up to date and connected to your LAN with access to the internet. Your Server/PC/Virtual Machine needs to have a static IP Address for the service to work reliably on your local LAN.
Since I’m using a server edition of Ubuntu Linux there’s no GUI installed and so I will be using SSH to login to the server and issue all the commands to build the services.
If you’re using a Linux installation that has a GUI installed, KDE/Gnome etc then just open a terminal and issue the same commands.
So first off we need to install Apache2. This is a web server that I’ve used for many decades and know well. Installation is simple and requires just the one command to complete.
sudo apt install apache2 -y
Once apache2 is installed, open your favourite web browser and enter the URL to your new server. (If you have DNS setup then you can just enter it’s fully qualified hostname.domainname, if not then just use the IP address of your server instead)
http://192.168.1.102
This should show the default Apache2 installation page as shown below.

If you see the default Apache page then your are ready to move onto the next step.
Next we need to install Docker. This is fairly straight forward and just needs a few commands to be entered to add the Docker repository to your system and then download and install the packages.
First we need to add Docker’s official GPG key.
sudo mkdir -p /etc/apt/keyrings

curl -fsSL https://download.docker.com/linux/ubuntu/gpg | sudo gpg --dearmor -o /etc/apt/keyrings/docker.gpg
Note, the second command needs to be all on one line and not as shown above.
Next we need to set up the repository.
echo \
  "deb [arch=$(dpkg --print-architecture) signed-by=/etc/apt/keyrings/docker.gpg] https://download.docker.com/linux/ubuntu \
  $(lsb_release -cs) stable" | sudo tee /etc/apt/sources.list.d/docker.list > /dev/null
Just copy and paste the code exactly as shown above into your terminal in one hit, it’ll sort itself out and appear in the correct format. (WordPress is really poor at displaying code!)
Now we need to install the Docker engine.
sudo apt update

sudo apt install docker-ce docker-ce-cli containerd.io docker-compose-plugin
Once again, the second line above needs to be pasted into your terminal on one line.
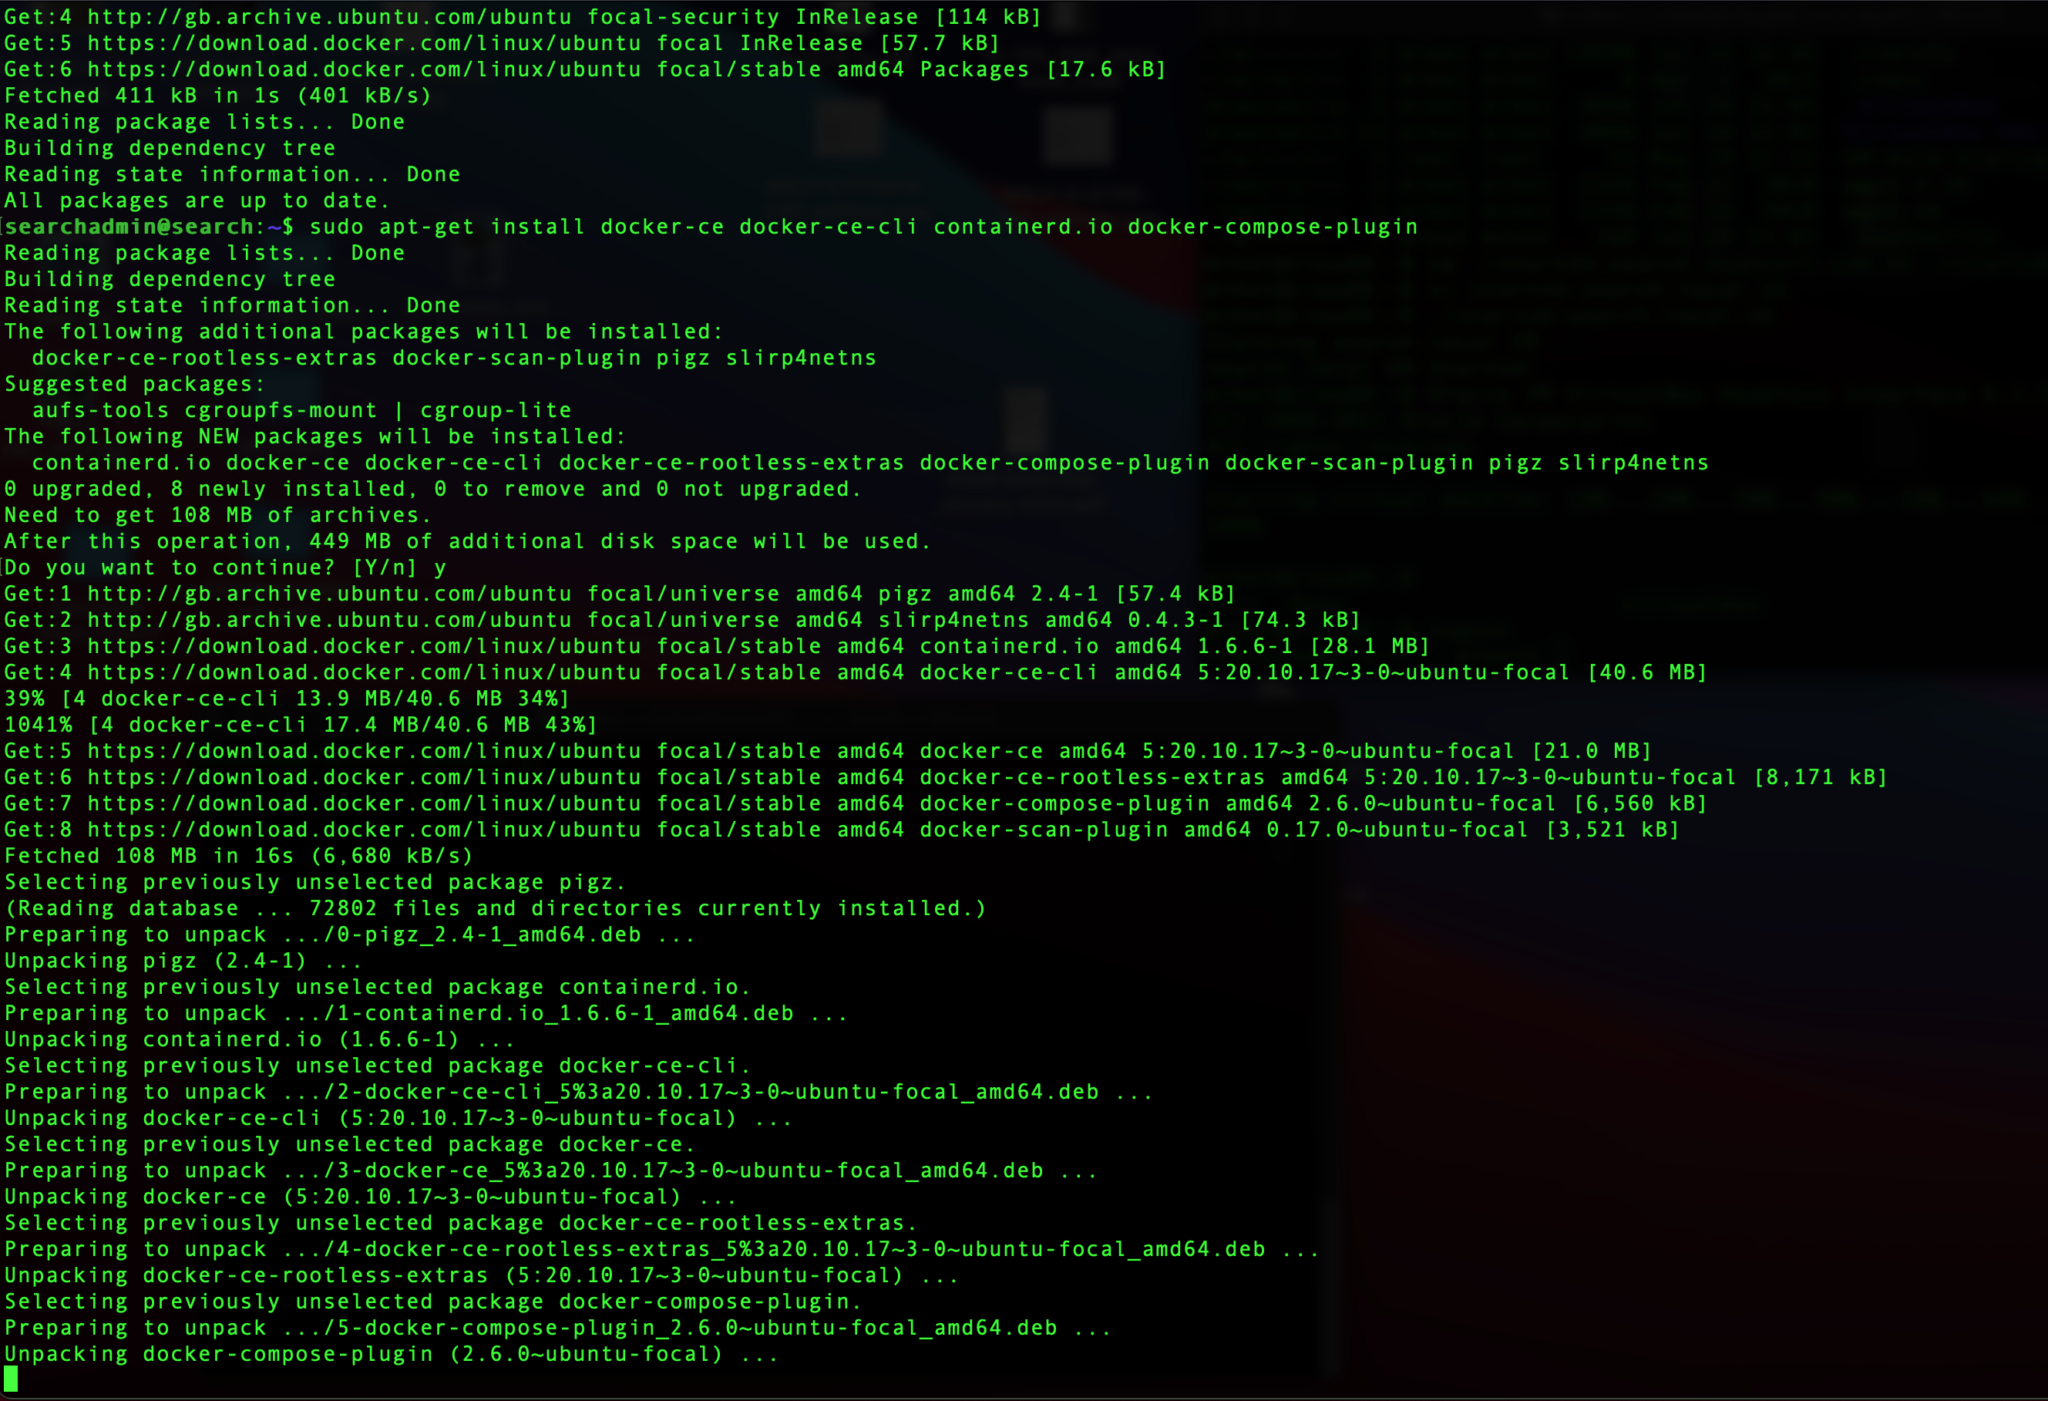
At this point Docker is installed and ready for us to use.
The next step is to install the SearXNG search engine into a Docker container. This isn’t as complicated as it sounds so, Don’t Panic!
First off we need to add the user that we use to login to the system into the docker group. This is done simply by issuing the following command in the terminal.
sudo usermod -a -G docker $USER
At this point if you are using SSH to connect to your server then logout and then login again to inherit the new group settings. Alternatively if you are using a terminal in a GUI version of Linux, close the terminal and open a new one to inherit the new group settings.
At this point we are ready to install the SearXNG engine into a Docker container.
We need to create the directory where we will install our SearXNG instance, you can call it what you like but, for simplicity I’ve called it my-instance.
mkdir my-instance

cd my-instance
Once the directory has been created and we’ve moved into the directory using the ‘cd’ command we are ready to create the container.
export PORT=8080
docker pull searxng/searxng
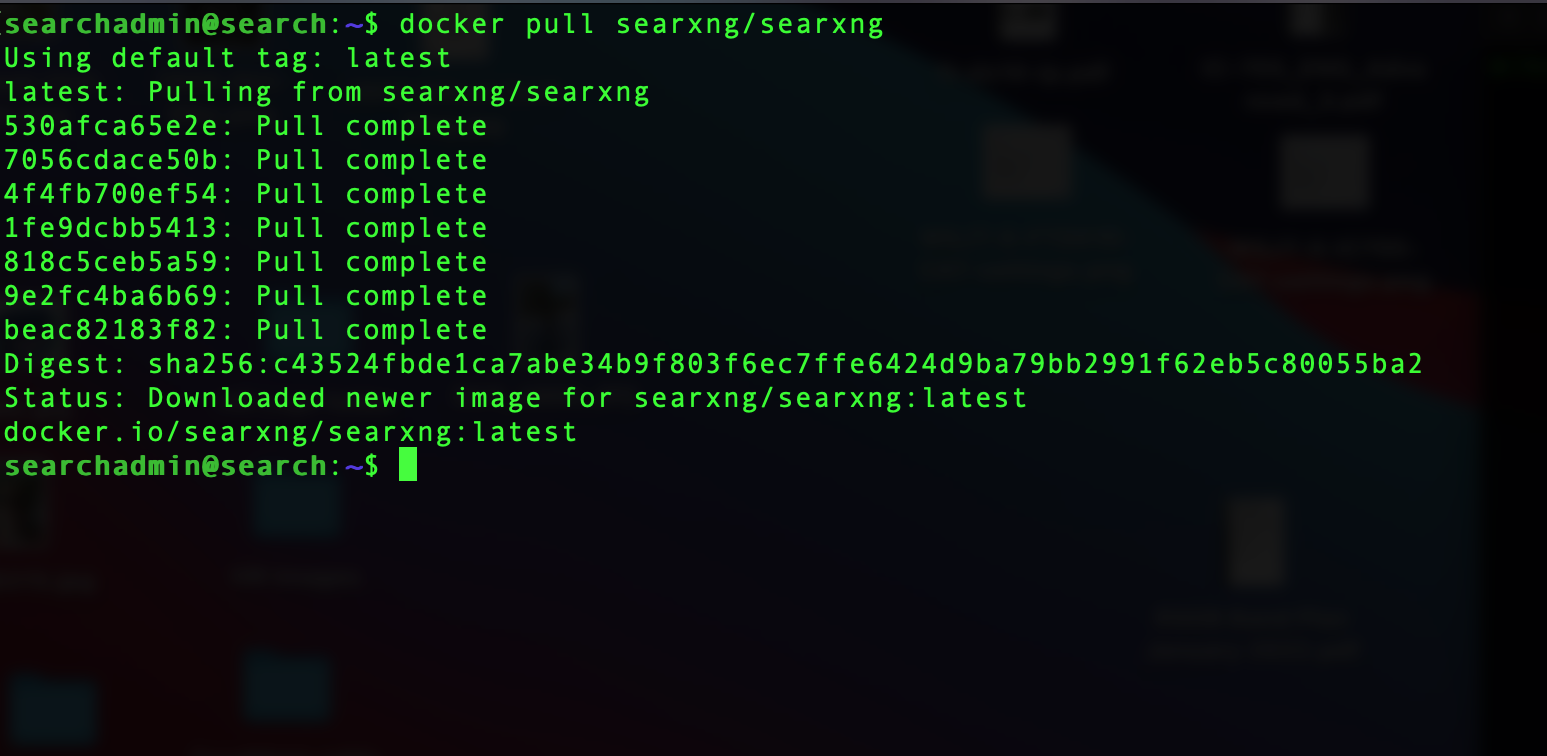
Once the container has been pulled we need to start an instance of the container.
export PORT=8080

docker run --restart=always -d -p ${PORT}:8080 -v "${PWD}/searxng:/etc/searxng" -e "BASE_URL=http://localhost:$PORT/" -e "INSTANCE_NAME=my-instance" searxng/searxng
It’s important to make a note of the container ID on the last line after the container instance has been started.
8aa1255a3997f33d955853e1dd0e950e3dc6cb6d19de3e6a7de69d0bbbb96f18
This ID is used to address the container when starting or stopping the instance.
At this point we have an instance of the SearXNG engine running. We can check this by looking at the Docker list to see if it is running and on the correct ports.
docker container ls
This should show that the container instance is running and that the correct ports are being used.

wget http://127.0.0.1:8080
Using wget we can connect to the SearXNG service to see if the service is active.

As shown above you can see we get a ‘200 OK’ from the SearXNG service and the index.html is downloaded. We’re now ready to configure Apache as a proxy service to complete the installation.
In your terminal / SSH session enter the following commands.
cd /etc/apache2/sites-available/

sudo cp 000-default.conf 000-default.conf.ORIG
This will create a backup of the original Apache configuration so that we can go back to it in the future for reference should we have the need.
Now using your favourite editor, in my case this is ‘vi’, edit the ‘000-default.conf’ file. You will need to use ‘sudo’ to get root privileges to be able to edit the file.
sudo vi 000-default.conf
Delete the contents entirely from the file and then add in the configuration exactly as shown below.
<VirtualHost *:80>

        ServerName search.lan.local
        ServerAdmin you@your.domain.com
        ProxyPreserveHost On
        ProxyPass "/" "http://localhost:8080/"
        ProxyPassReverse "/" "http://localhost:8080/"

        ErrorLog ${APACHE_LOG_DIR}/searxng-error.log
        CustomLog ${APACHE_LOG_DIR}/searxng-access.log combined
</VirtualHost>

# vim: syntax=apache ts=4 sw=4 sts=4 sr noet
NOTE: You will need to change the ServerName to suit your LAN.
Once this is done, save the file and exit the editor.
We now need to enable the proxy modules for Apache to use.
sudo -H a2enmod headers
sudo -H a2enmod proxy
sudo -H a2enmod proxy_http
And finally we need to restart the Apache service.
sudo systemctl restart apache2
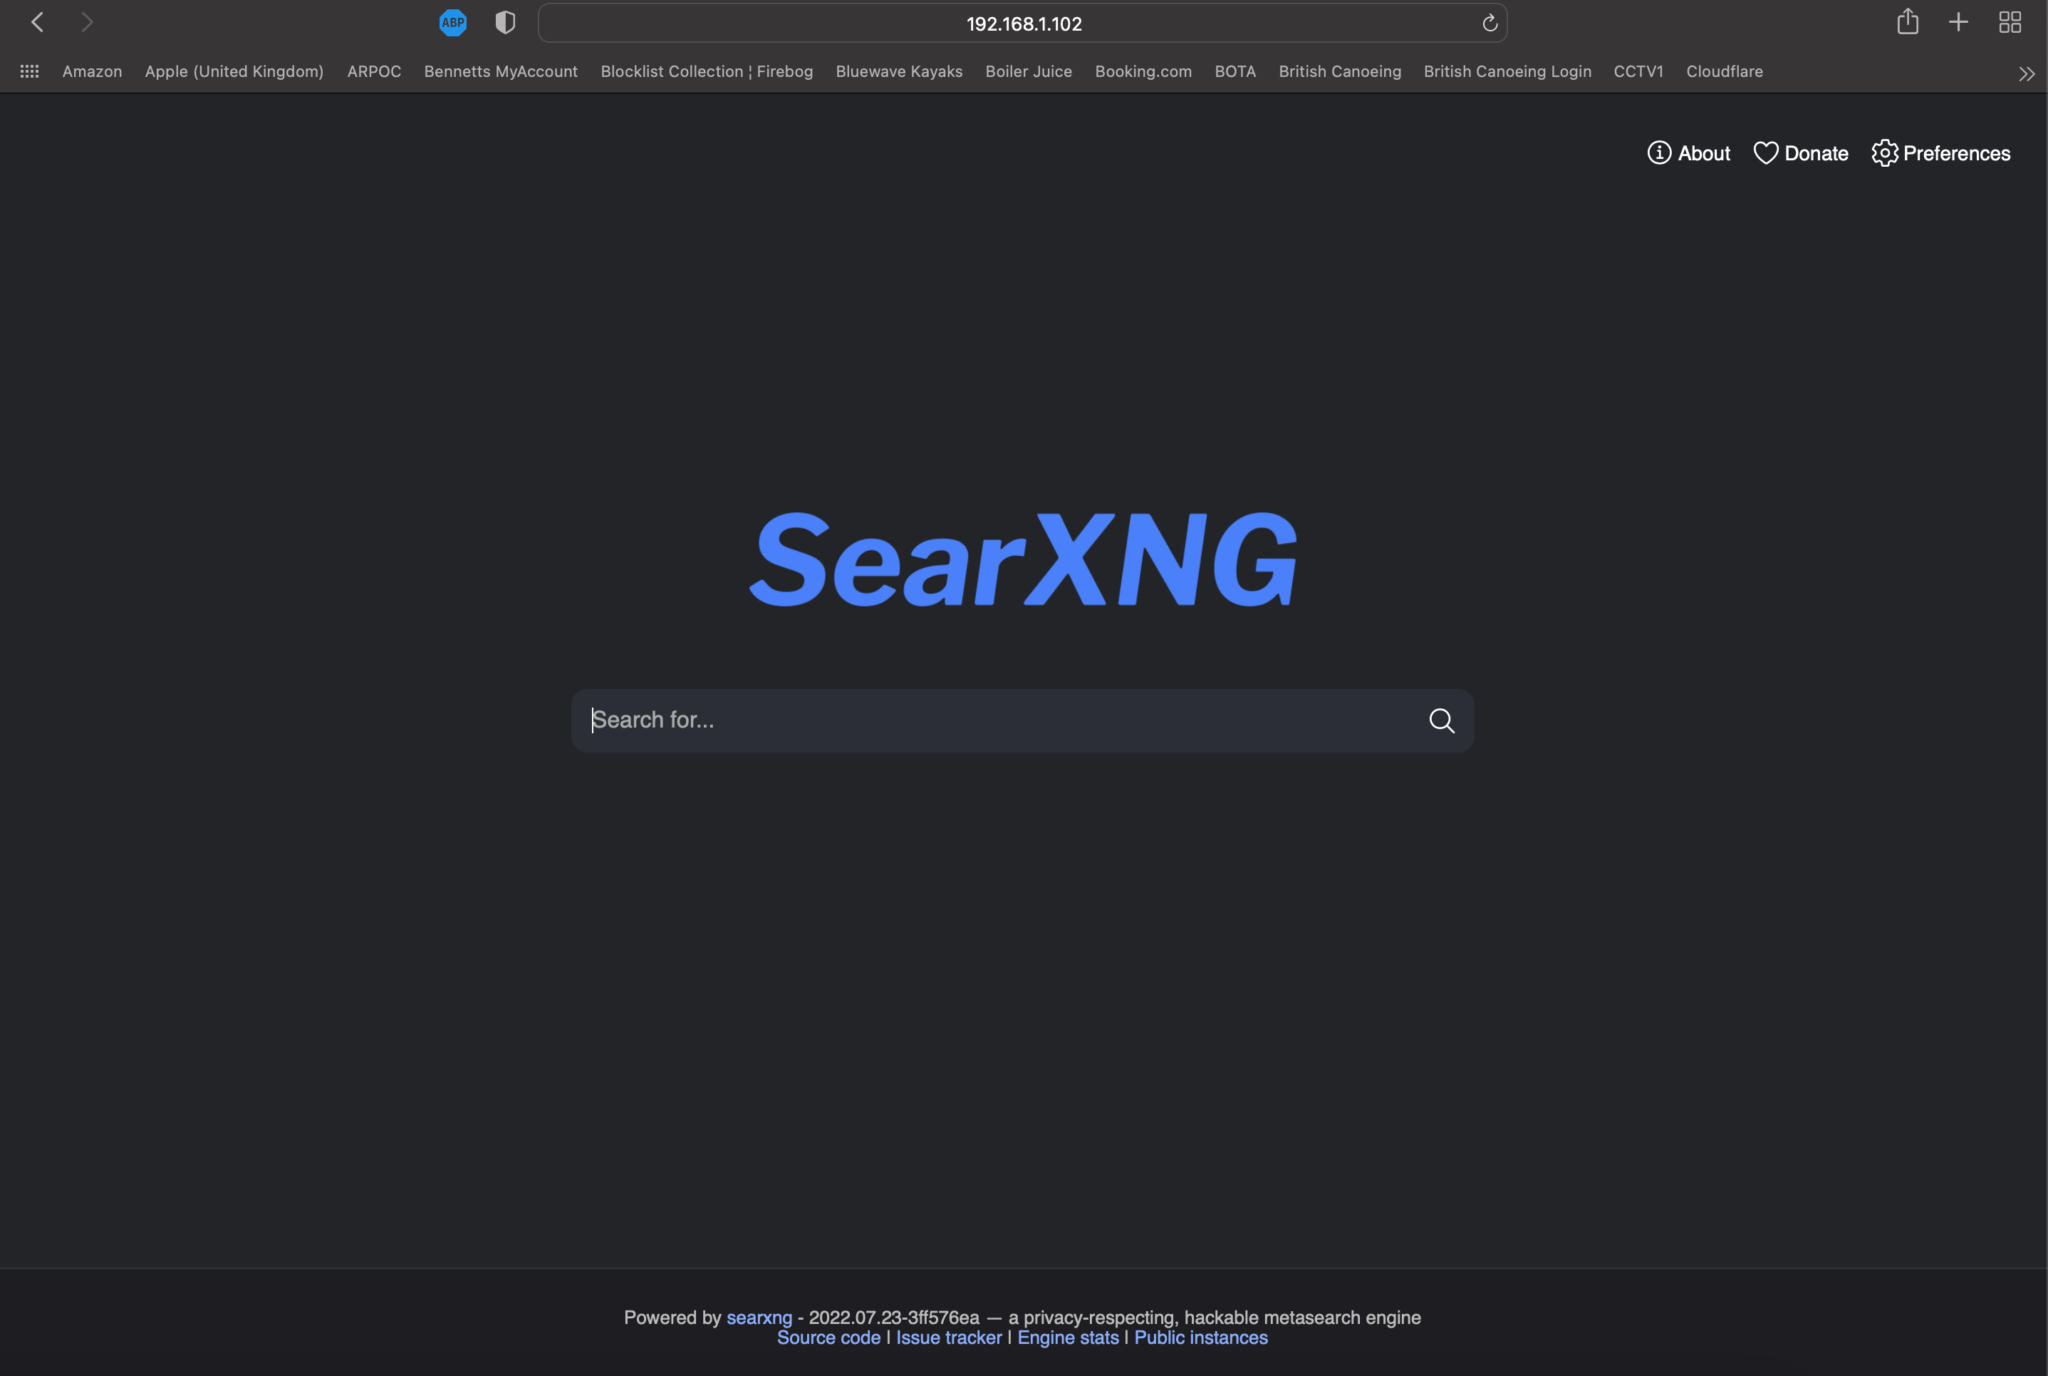
Now all that is left to do is to point your web browser at your new server and start using your new private search engine!
http://192.168.1.102
There are a few other little things that can be added/changed in the SearXNG settings.xml file within the Docker container but, I’ll cover them in another article.
For those who just want to download a virtual machine built and configured ready for use I’ve added a download link at the end of this article.
You will need import to the virtual machine into VirtualBox and configure the virtual machine to use your local ethernet port in bridge mode.
Once you start the virtual machine you’ll need to login using the user searchadmin and password of searchadmin and make some IP Address changes to suit your local LAN.
(Don’t forget to change the password once you have your VM up and running!)
The Ubuntu O/S installed uses netplan for ethernet interface management with the configuration file being in the /etc/netplan directory.
The file to edit is 00-installer-config.yaml where you will also need to enter your gateway and name server IP Addresses. The contents of the file are pretty obvious as shown below.
# This is the network config written by 'subiquity'
network:
  version: 2
  ethernets:
    enp0s3:
      link-local: []
      addresses: [ 192.168.1.102/24 ]
      gateway4: 192.168.1.1
      nameservers:
              search: [ lan.local ]
              addresses:
                      - "192.168.1.2"
Server IP Address is 192.168.1.102/24. Change this to whatever you require for your LAN keeping the net mask in place at the end.
Local LAN is set to lan.local, change this to your local LAN name.
Nameserver address is set to 192.168.1.2, change this to your name server IP address.
You will also need to change the gateway4 address to your internet gateway IP Address for your LAN.
Once you’ve made the changes save and exit the file and then issue the following command to put the changes into effect.
sudo netplan apply
It’s probably a good idea to reboot the virtual machine once these changes have been put into effect to ensure everything comes up clean after a boot.
sudo reboot
You can run the virtual machine headless if required, refer to the VirtualBox Documentation for information on how to do this using vboxheadless.
You can download the virtual machine OVA file here
More soon …