
For those that don’t know, a PiHole is a network wide advertisement blocking system that can also provide DNS and DHCP services to the local LAN.
I’ve been using PiHole servers here for many years to reduce the amount of advertising spam we have to endure whilst surfing the web. By adding block lists you can choose what level of advert blocking you want. It can also be used to block access to the many unsavoury websites that litter the internet today. Especially useful if you have children!
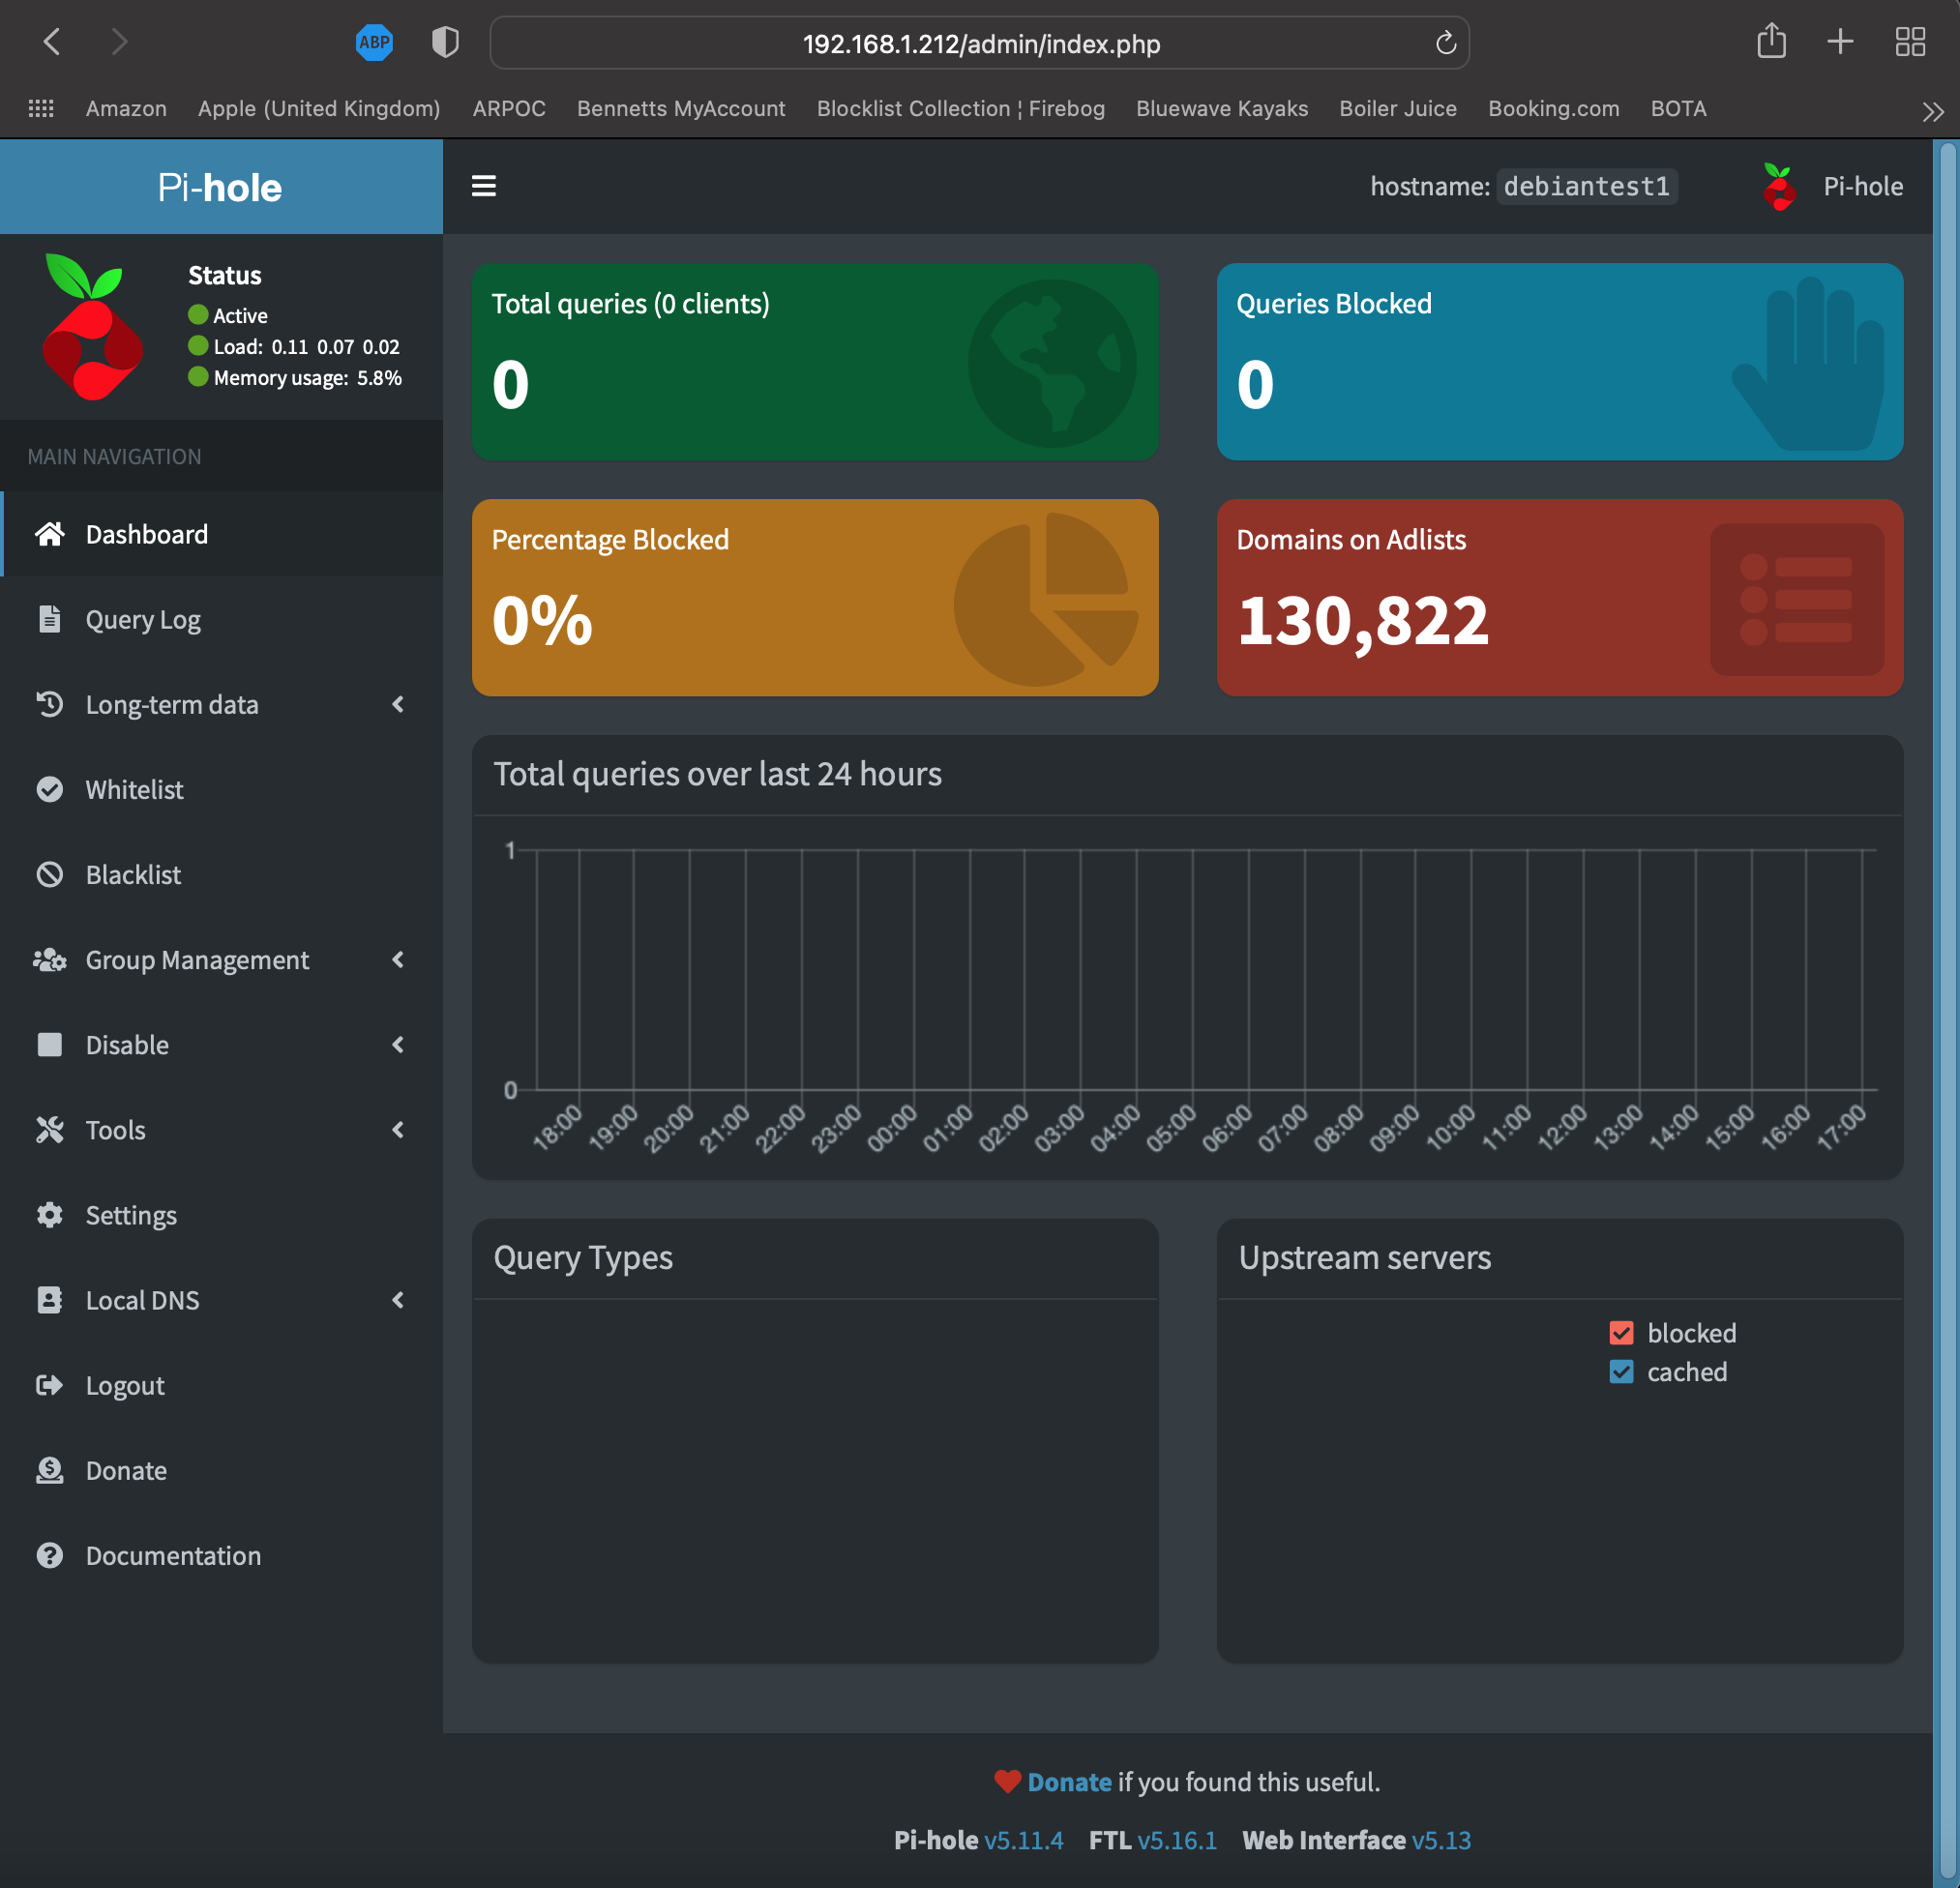
The PiHole server is controlled via an extensive web interface that provides all the functionality necessary to manage the service.
By default the PiHole installer uses lighttpd as a web server. This is a very light weight web server package that lacks the functionality offered by Apache.
I’ve been using Apache for many years now and know it well. I have a number of web services running on a number of Apache web servers some of which are public facing.
To take advantage of my existing Apache web servers I’ve aways installed my PiHole services onto my Apache web servers rather than creating a complete new virtual machine and using the default lighttpd. Since Apache is more than capable of running multiple web sites and proxy services simultaneously it makes sense to fully utilise this facility.

I often get asked online “How do I install PiHole on an Apache Web Server?”. Trying to answer this in a Facebook group or mailing list is extremely difficult and so, I’ve decided to write this article explaining how to do it.
So, what’s required to run Apache web server?
All you really need is a PC/RaspberryPi/Server/Virtual-Machine running your favourite Linux distribution. Any of the popular Linux distributions will suffice. I prefer to use Ubuntu or Debian for my servers and have almost 30 headless virtual machines running currently all of which use Ubuntu Server Edition or Debian Linux. For this article I’m using Ubuntu Server 18.04.6LTS.
Note: If you’re using Ubuntu Server 20.04.xLTS or 22.04.xLTS you need to reference my new article as the build process has changed for the newer versions of Ubuntu Server.
For this build I’m assuming you already have your Linux O/S installed on your PC/RaspberryPi/Server/VM and that it has a static IP Address assigned, is connected to your local LAN and has internet access. If you are using a version of Linux that has a GUI installed then you will need to open a terminal to enter the commands below. If like me you are using headless Linux installs then you will need to SSH into the server to be able to enter the commands required to build the PiHole.
The first thing we need to do is install the Apache web server package. This is very easy and requires just one command.
sudo apt install apache2 -y
Once this completes, open your favourite web browser and point it at the IP Address of your PiHole server.
http://192.168.1.212
You should see the default Apache installation webpage being displayed.

We now need to install PHP and the associated apache libraries.
sudo apt install php php-common php-gd php-mysql php-sqlite3 php7.4 php7.4-cli php7.4-common php7.4-gd php7.4-json php7.4-mysql php7.4-opcache php7.4-readline php7.4-sqlite3

sudo apt install libapache2-mod-php libapache2-mod-php7.4
We can check these all installed correctly using the following command.
dpkg -l | grep php
We should see the following. Note version numbers may differ slightly.
ii  libapache2-mod-php             2:7.4+76                       all          server-side, HTML-embedded scripting language (Apache 2 module) (default)
ii  libapache2-mod-php7.4          7.4.30-1+deb11u1               amd64        server-side, HTML-embedded scripting language (Apache 2 module)
ii  php                            2:7.4+76                       all          server-side, HTML-embedded scripting language (default)
ii  php-common                     2:76                           all          Common files for PHP packages
ii  php-gd                         2:7.4+76                       all          GD module for PHP [default]
ii  php-mysql                      2:7.4+76                       all          MySQL module for PHP [default]
ii  php-sqlite3                    2:7.4+76                       all          SQLite3 module for PHP [default]
ii  php7.4                         7.4.30-1+deb11u1               all          server-side, HTML-embedded scripting language (metapackage)
ii  php7.4-cli                     7.4.30-1+deb11u1               amd64        command-line interpreter for the PHP scripting language
ii  php7.4-common                  7.4.30-1+deb11u1               amd64        documentation, examples and common module for PHP
ii  php7.4-gd                      7.4.30-1+deb11u1               amd64        GD module for PHP
ii  php7.4-json                    7.4.30-1+deb11u1               amd64        JSON module for PHP
ii  php7.4-mysql                   7.4.30-1+deb11u1               amd64        MySQL module for PHP
ii  php7.4-opcache                 7.4.30-1+deb11u1               amd64        Zend OpCache module for PHP
ii  php7.4-readline                7.4.30-1+deb11u1               amd64        readline module for PHP
ii  php7.4-sqlite3                 7.4.30-1+deb11u1               amd64        SQLite3 module for PHP
Next we need to restart the Apache services to inherit the new settings and libraries.
sudo systemctl restart apache2
At this point we are ready to install the PiHole service. Using wget, download the installation script.
wget -O basic-install.sh https://install.pi-hole.net
Using your favourite editor, in my case ‘vi’, edit the installation script.
vi basic-install.sh
Scroll down to the line that starts with the text INSTALL_WEB_SERVER and change its value from true to false. (At the time of writing this its is on line 113 in the script)
INSTALL_WEB_SERVER=false
Once you’ve made the change, save the file and exit your editor.
We now need to copy the installation script into the default web server website directory. You can find this directory by concatenating the Apache default setup file and searching for the DocumentRoot directory.
cat /etc/apache2/sites-available/000-default.conf
This will show the contents of the default Apache configuration as shown below.
<VirtualHost *:80>
	# The ServerName directive sets the request scheme, hostname and port that
	# the server uses to identify itself. This is used when creating
	# redirection URLs. In the context of virtual hosts, the ServerName
	# specifies what hostname must appear in the request's Host: header to
	# match this virtual host. For the default virtual host (this file) this
	# value is not decisive as it is used as a last resort host regardless.
	# However, you must set it for any further virtual host explicitly.
	#ServerName www.example.com

	ServerAdmin webmaster@localhost
	DocumentRoot /var/www/html

	# Available loglevels: trace8, ..., trace1, debug, info, notice, warn,
	# error, crit, alert, emerg.
	# It is also possible to configure the loglevel for particular
	# modules, e.g.
	#LogLevel info ssl:warn

	ErrorLog ${APACHE_LOG_DIR}/error.log
	CustomLog ${APACHE_LOG_DIR}/access.log combined

	# For most configuration files from conf-available/, which are
	# enabled or disabled at a global level, it is possible to
	# include a line for only one particular virtual host. For example the
	# following line enables the CGI configuration for this host only
	# after it has been globally disabled with "a2disconf".
	#Include conf-available/serve-cgi-bin.conf
</VirtualHost>
Looking at the default Ubuntu/Debian Apache configuration the web server is configured to serve web pages from the /var/www/html directory as shown above by the DocumentRoot tag.
Issue the following command to copy the installation script into the /var/www/html directory and then move into the directory using the ‘cd’ command.
sudo cp ./basic-install.sh /var/www/html/

cd /var/www/html/
We now need to make the script executable by setting the ‘X’ bit for the owner of the file.
sudo chmod 700 ./basic-install.sh
Now run the script and follow the instructions as detailed below.
sudo ./basic-install.sh
Select OK on the first pop-up to transform your device into a network-wide ad blocker! and on the donation pop-up.
Select Continue on the “Static IP Needed” as you have already done this. (You have, haven’t you?)
On the next pop-up, select the upstream DNS server you want to forward external DNS lookups to. For this article I selected Cloudflare. This can be changed once the installation is complete.
Select Yes to use the suggested blocklist. Again this can be changed later once installed.
Select Yes to install the Admin Web Interface.
Make sure you select No on the Web Server Pop-up as we do not want to install lighttpd.
On the next screen it’s entirely up to you if you want to enable logging or not. The same applies on the privacy screen that follows.
At this point the installation will start. It shouldn’t take long to install and should complete with the installation complete pop-up.

Make a note of the information on the screen as you will need this later.
At this point the PiHole web interface should be installed in the /var/www/html/ directory.
ls -la
You should now see the directory structure as shown below.
total 152
drwxr-xr-x 4 root root   4096 Jul 26 16:46 .
drwxr-xr-x 3 root root   4096 Jul 26 15:45 ..
drwxr-xr-x 7 root root   4096 Jul 26 16:46 admin
-rwx------ 1 root root 125428 Jul 26 16:32 basic-install.sh
-rw-r--r-- 1 root root  10701 Jul 26 15:45 index.html
drwxr-xr-x 2 root root   4096 Jul 26 16:46 pihole
We need to change the ownership of the files and directories to that of the web server so that it can serve the web application correctly.
sudo chown -R www-data:www-data ./*
Next we need to add the user www-data to the PiHole group in the /etc/group file.
Using your favourite editor edit the /etc/group file. Note you will need to use sudo to obtain root privileges to gain access to the file.
sudo vi /etc/group
Scroll down until you see the PiHole entry in the file and then add www-data to the end of the line as shown below.
pihole:x:998:www-data
Once we’ve made the change, save and exit the file.
The installation is now complete and all that is left to do is login to the web interface using the password displayed during installation and configure the service as normal.
http://192.168.1.212/admin
When new versions of PiHole are released the upgrades are performed exactly the same way as when you use lighttpd, there are no special steps required when using Apache web server.
sudo pihole -up
More soon …