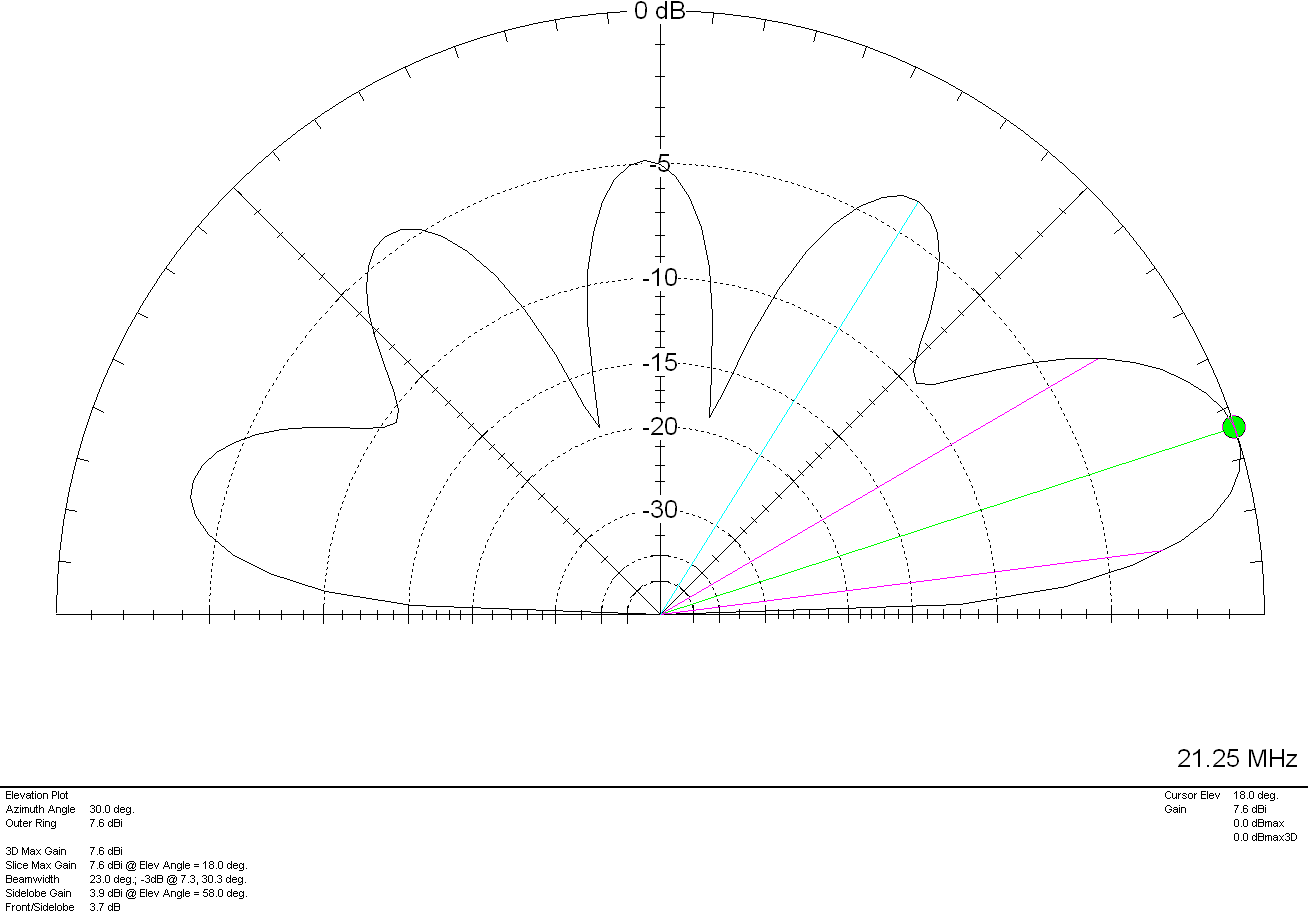
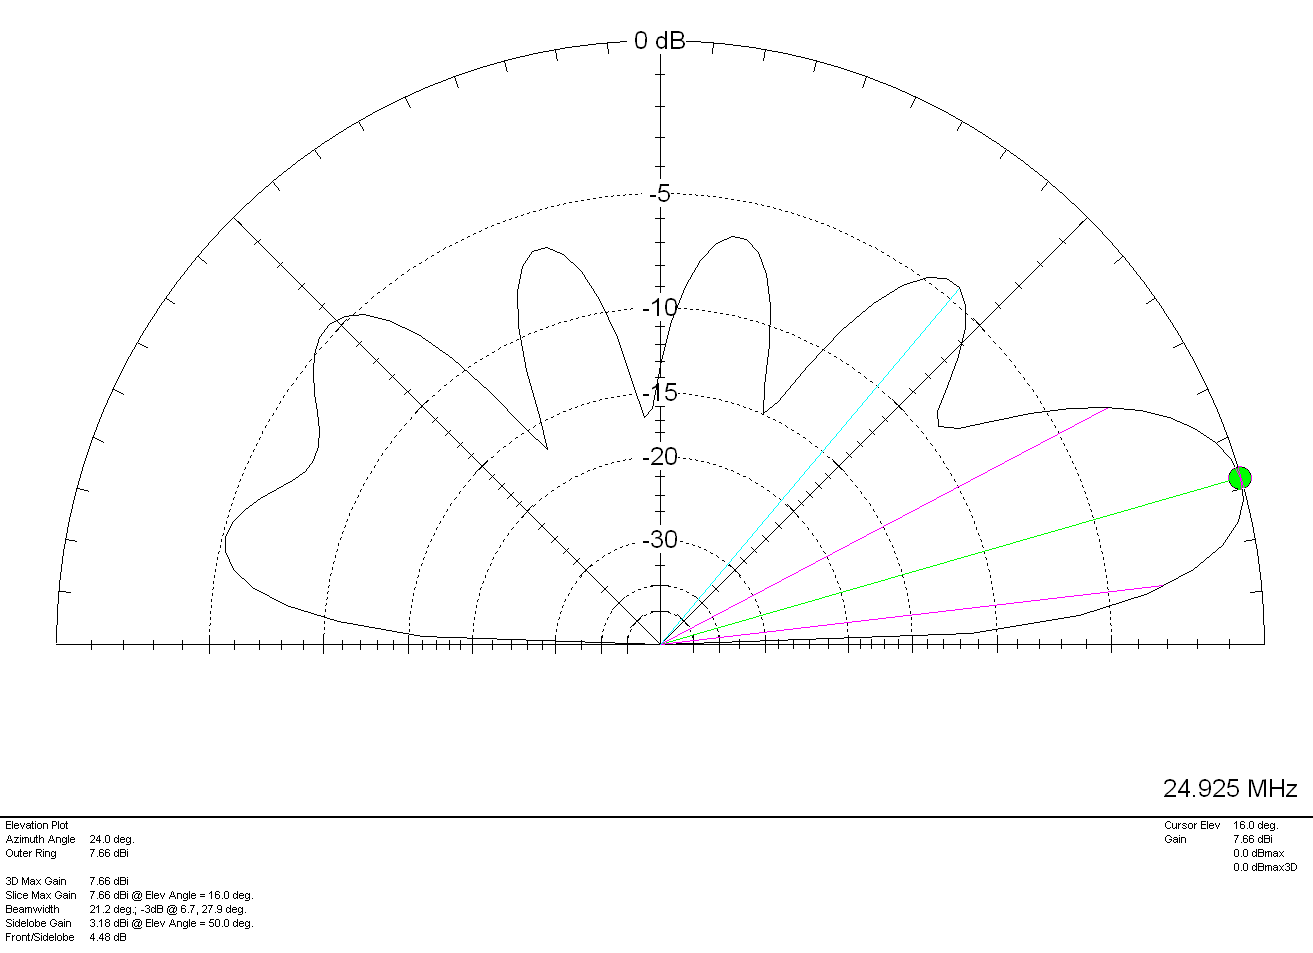
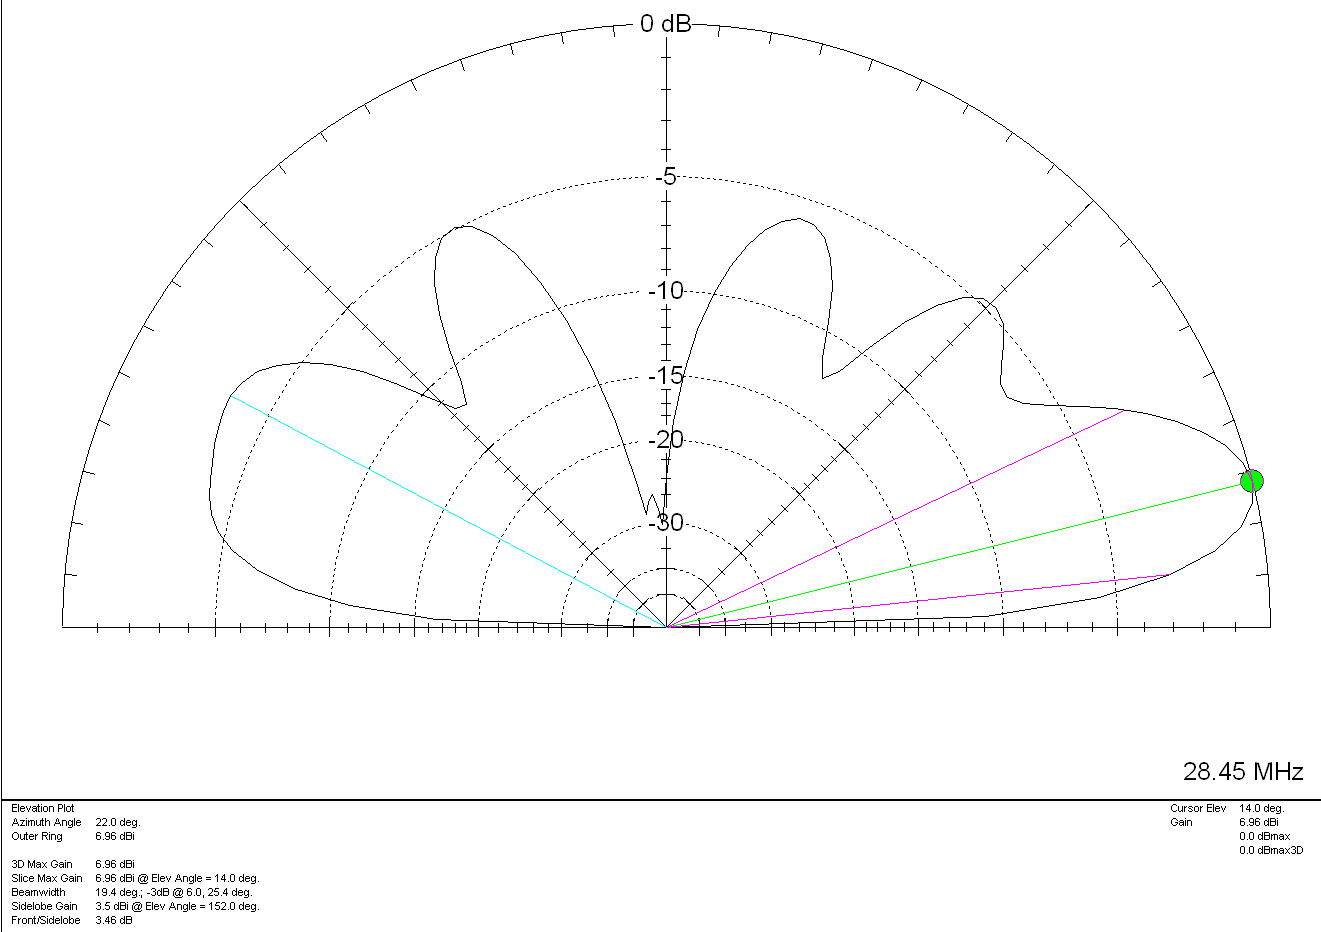
Short skip on 20m

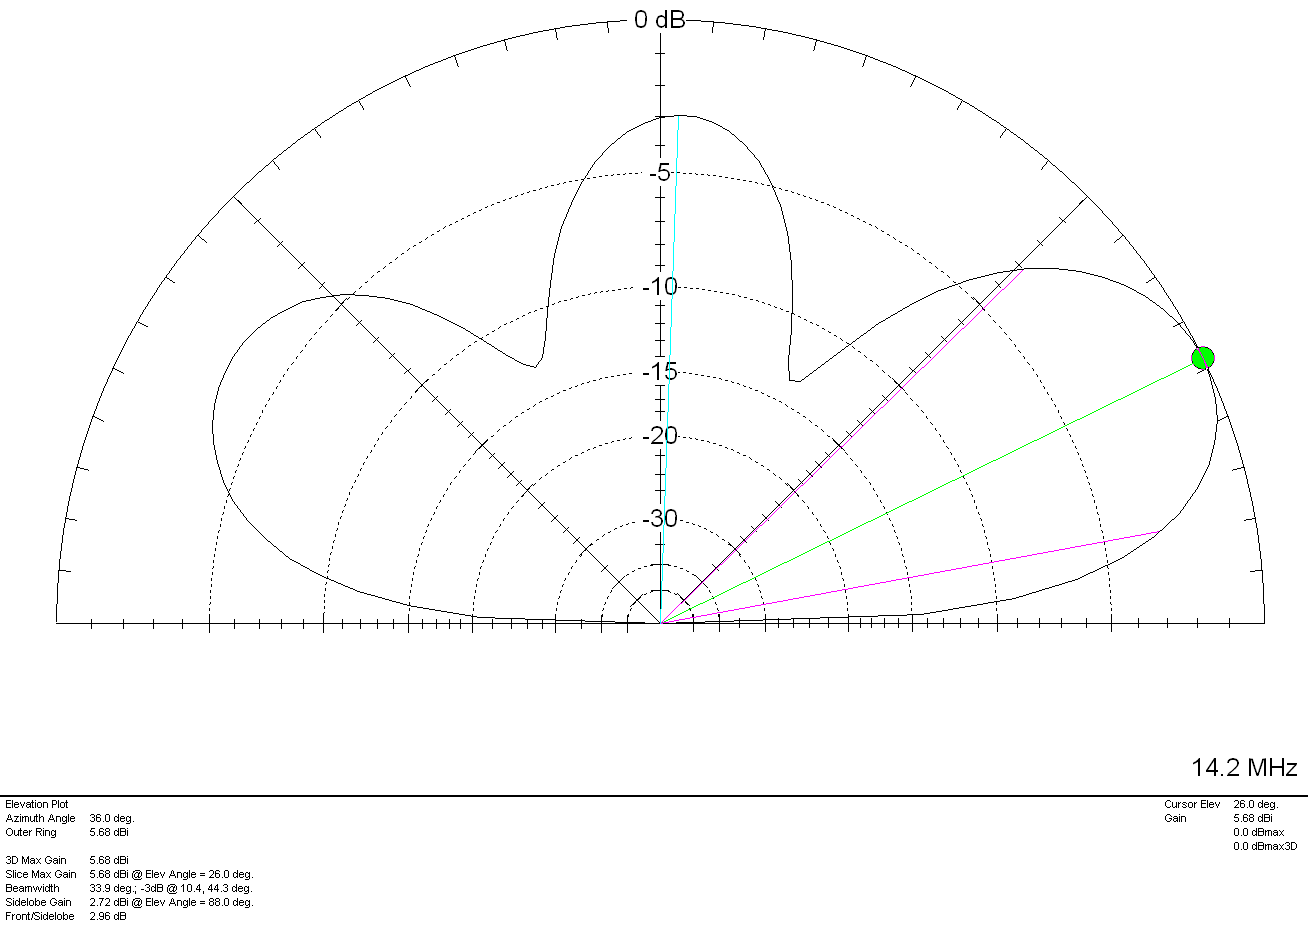
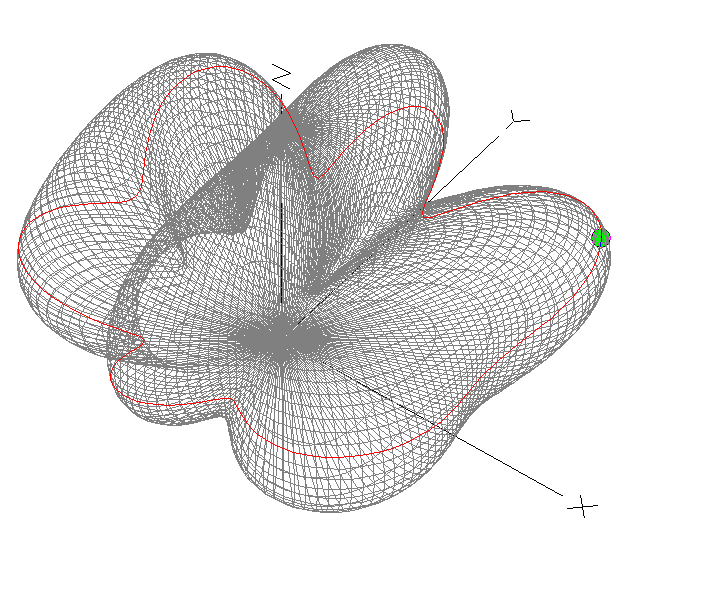
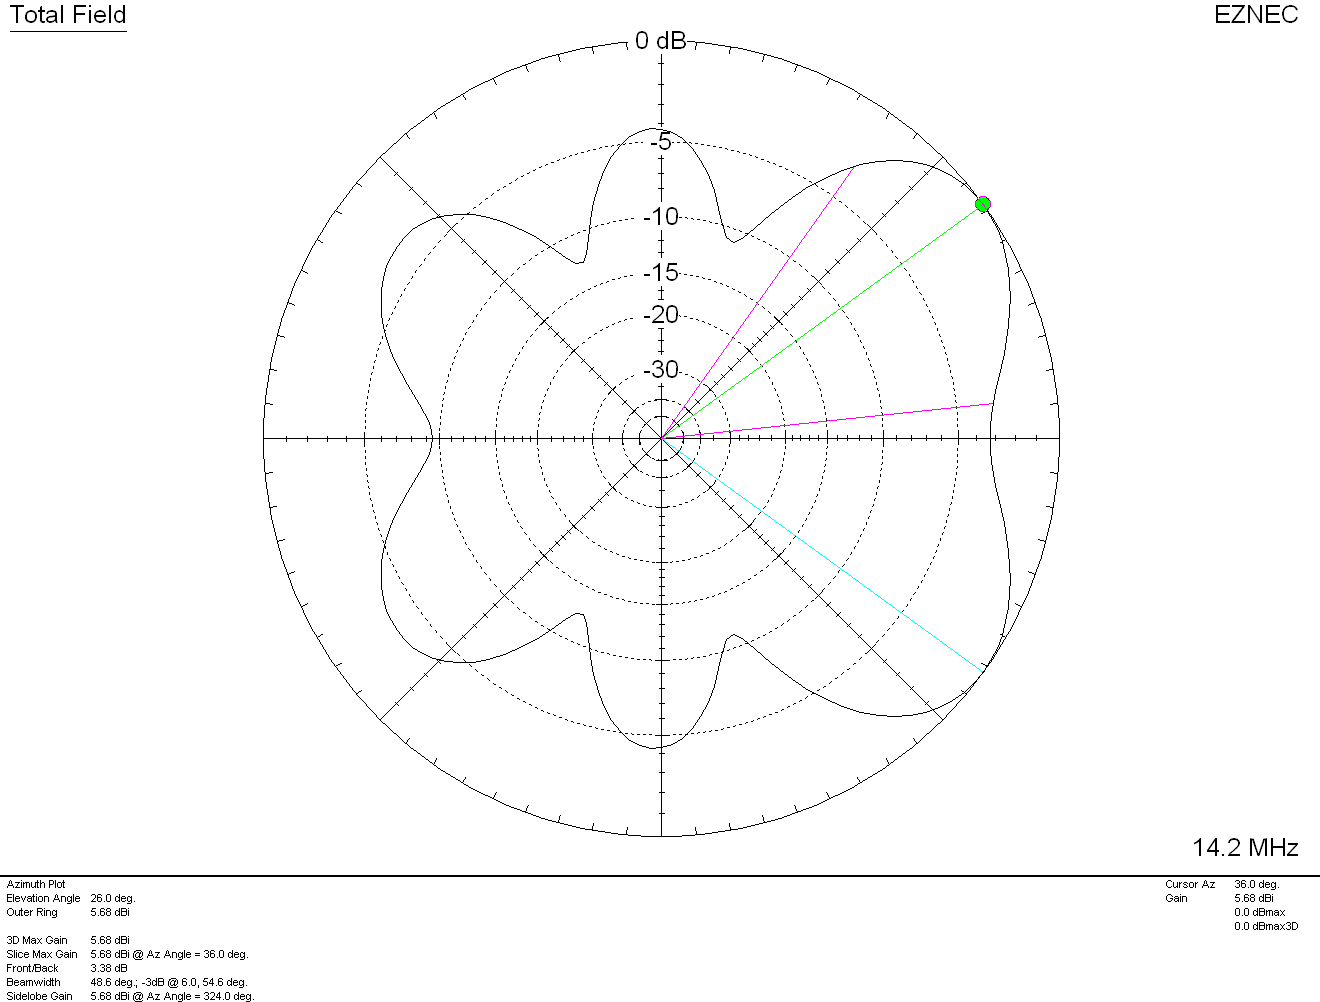
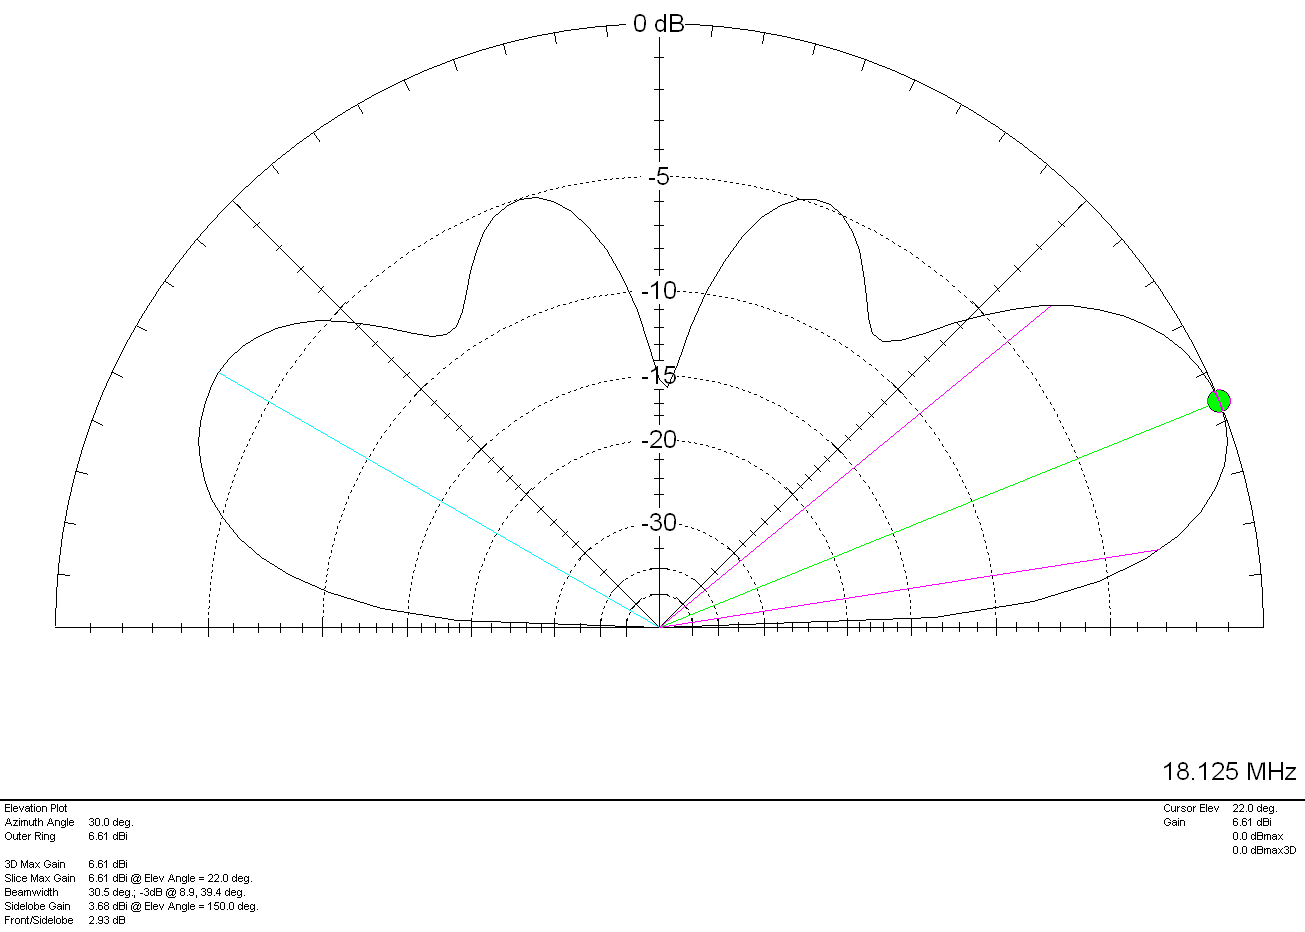
Yesterday morning I ventured up onto the 20m band and to my surprise, found that the band was open to inter-G, unusually short skip for the 20m band.

Wanting to take advantage of the conditions I kicked off with a QSO with David, MI0AIH in Cookstown Northern Ireland. With 59+ signals both ways, it was like being on 40/60/80m with a crystal clear path between us.

Next was GB0BBF operating POTA GB-0619, again 59 both ways and a really easy contact.

My third contact was with Aled, MW0UPH who was parked up in his car on a hill in North Wales. The path between us was incredibly good. With 59 signals both ways and an FM like arm chair copy, we chatted for a few minutes making the most of the short skip.

Aled very kindly made a quick video of our conversation and sent a copy over to me to watch. It’s always nice to hear what you sound like on the other end.

M0AWS as heard by MW0UPH on the 20m Band

Unfortunately I didn’t think to make a video of the conversation at my end but, it was exactly the same, crystal clear arm chair copy, just like a 2m FM contact.

It was great fun working UK stations on a band that I would normally only ever hear EU and DX stations. It was interesting to note that Inter-G on 40m was really poor at the same time.

Thanks to Aled for the video.

More soon …

Node-Red ADIF to Log Map Flow

Following on from my previous article on using Node-Red to build interactive log maps I’ve now reworked the flow to make it more efficient with less Javascript.

The original flow had a function that handled the issue of FT4 contacts being recorded in two different ways depending on which app you use for your FT4/8 operations.

<mode:4>MFSK <submode:3>FT4
or
<mode:8>MFSK FT4

The code I wrote to handle this wasn’t particularly elegant and so I decided to remove the code entirely and just use a simple change node.

M0AWS New node to handle FT4 more efficiently

This is the great thing about Node-Red, there’s always more than one way to do something.

With this fix in place and the old code stripped out of the format generic payload function, the new flow is much tidier and easier to comprehend.

M0AWs Updated ADI Log Map flow

With testing complete and the two maps now live on my website the flow is finally ready for release into the wild.

If you fancy presenting your ADIF logs in a more visual, interactive format then just download the flow below and import it into your Node-Red flow editor.


Don’t forget that you will need to change the path to the log files in the file read nodes to suit your setup and change the location data in the My QTH trigger to match your callsign and location. Other than this the flow should just work.

More soon …

Using Node-Red to build interactive log maps

I’ve not been on the radio much over the last few weeks as I’ve had my head down other radio related rabbit holes.

One of the rabbit holes is a Node-Red project to make my online logs a little more interactive. For sometime now my logs have been displayed on my website as nicely formatted, searchable HTML pages however, they don’t really allow the viewer (myself included) to see the global coverage of all the contacts so, I decided to write a Node-Red flow that would do just that.

M0AWS Interactive Log Flow

The flow itself isn’t too complicated and basically consists of reading in the individual ADIF formatted log files, processing the data and then sending the data in the correct format to the map node for display.

I’ve had to write a few functions to handle the processing of the ADIF formatted data but, these aren’t particularly complex and are fairly easy to understand even if like me, you’re not a Javascript programmer.

The flow is working perfectly however, I’m in the process of reworking the format generic payload function to reduce the amount of code and make it more efficient.

M0AWS SSB / CW / FreeDV Interactive Log World Map
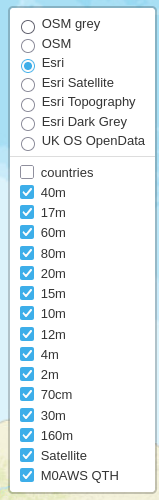
M0AWS Interactive Log Map Layers Menu


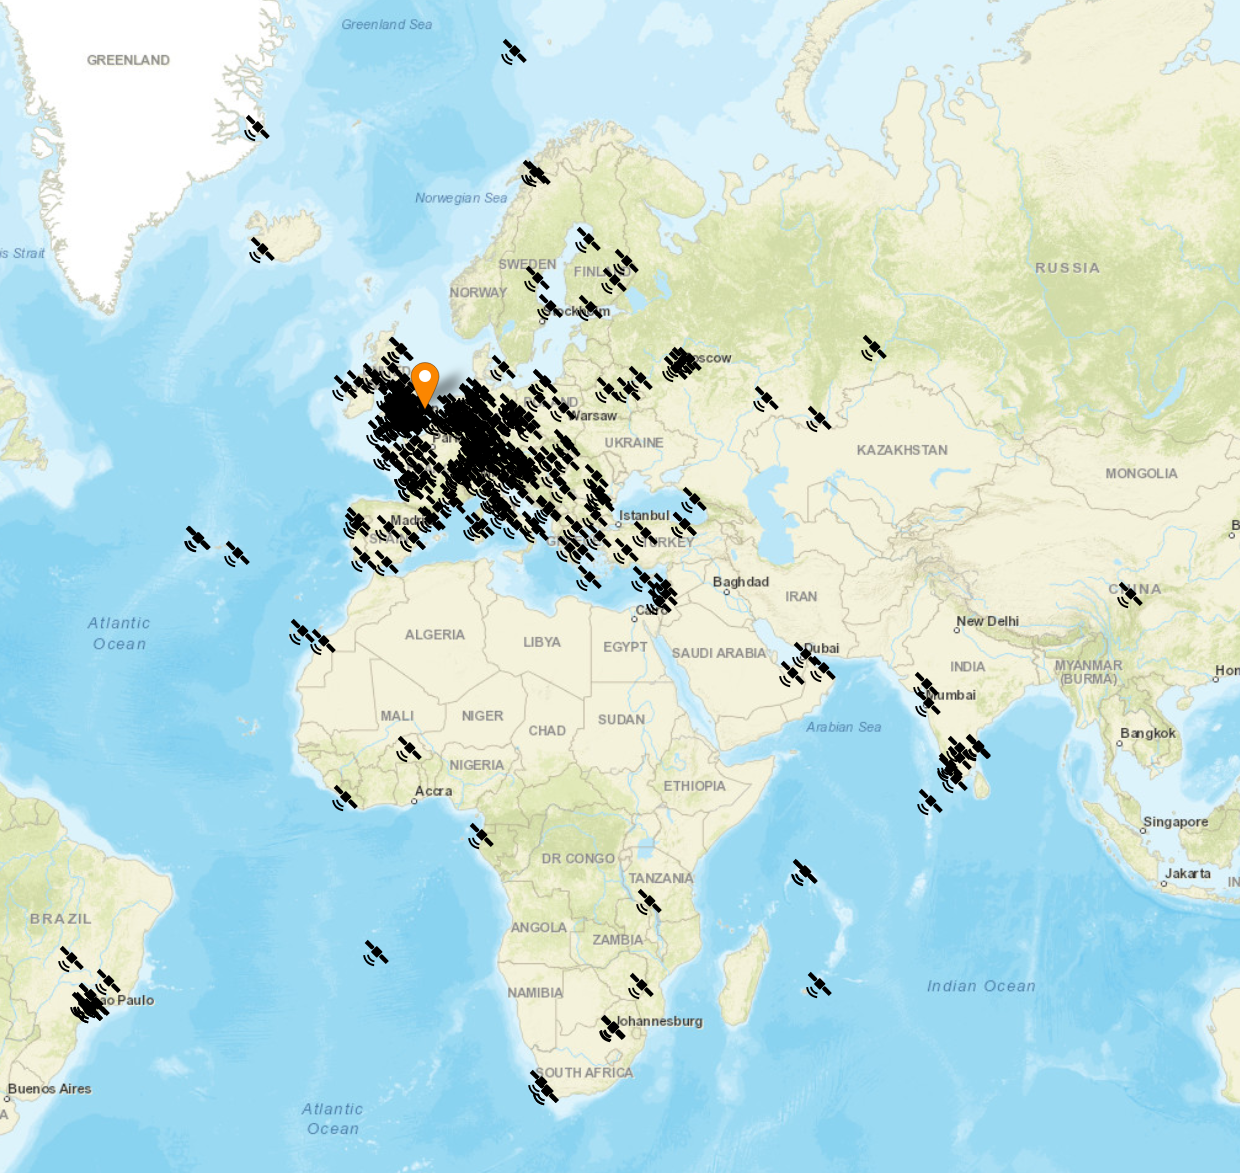
The flow generates two maps, one for voice / CW /Satellite contacts and the other for WSJT-X FT4/8 contacts. Every pin on the map is colour coded by band with satellite contacts being denoted by a satellite icon.

Each pin / icon on the map is clickable and reveals the data of the QSO being displayed.

In the top right-hand corner of the map there is a drop down layer menu that allows the viewer to filter by band thus reducing the number of icons on the screen at any one time.

Seeing the data presented on a map really brings my logs alive. An example of this is that I had no idea I’d worked so many stations in India on the QO-100 Satellite.

The small icons in the pins show a microphone for SSB/FM/FreeDV contacts and a downwards pointing triangle in a box for CW contacts. Sadly I couldn’t find a Morse key icon in the collection available.

M0AWS filtered view of QO-100 Satellite contacts

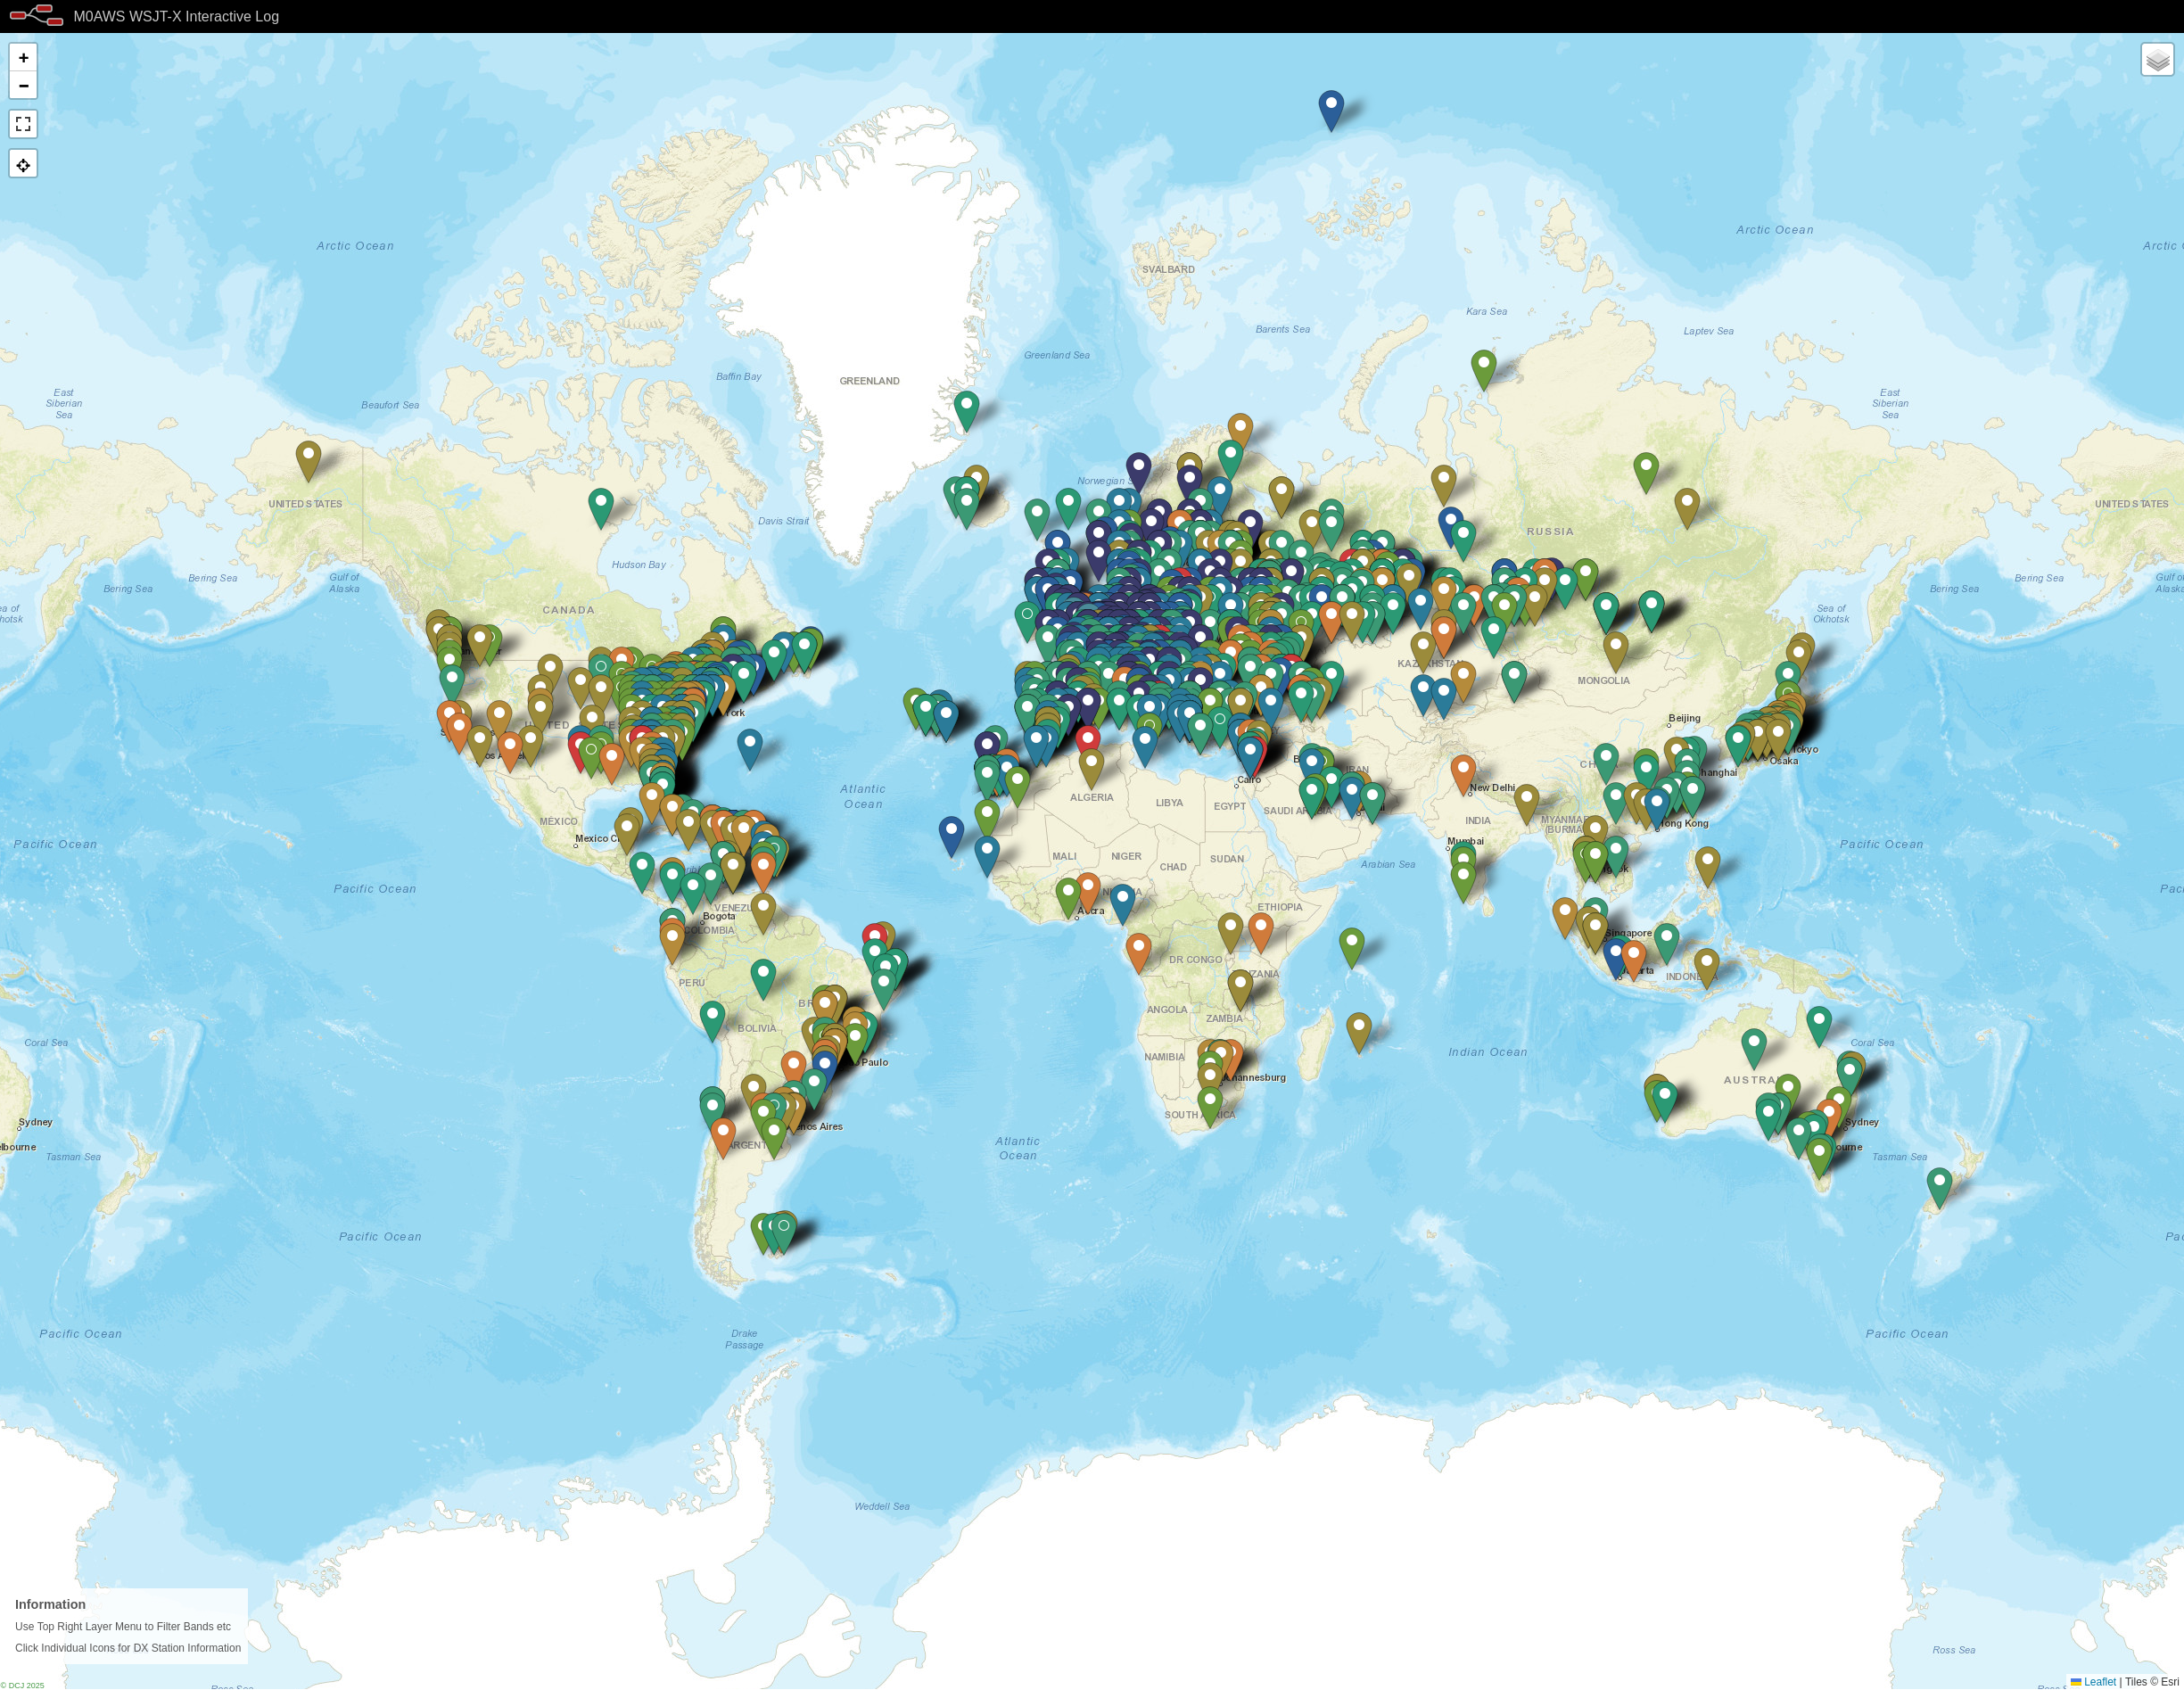
I only use FT4/8 for testing new antenna designs however, it’s interesting to see the global coverage accomplished with this weak signal mode.

M0AWS WSJT-X FT4/8 Interactive Log World Map

Once I’ve finished rewriting the format generic payload function I will make the flow available for download here so that others can also create an interactive view of their radio logs.

If you want to have a look at the maps and try them out for yourself, they are available under the Logs menu above.

This Node-Red instance is running in a virtual machine (VM) on a 16GB RAM RaspberryPi 5 that is also running a number of other VMs at the same time so, it’s safe to say it’s not heavy on CPU and will run on the older Pi4 as well.

More soon …

FreeDV audio routing with PiHPSDR and Hermes Lite 2

I’ve recently been trying out the FreeDV RADEv1 digital voice mode on the HF bands with great success. The audio quality is astounding when compared to the normal analog SSB mode. Using only 20w I’ve been surprised how successful I’ve been talking to stations in the UK and Europe as can be seen in my FreeDV Log.

FreeDV has been around for quite a few years with development being funded by an ARDC grant and financial sponsorship from the Software Freedom Conservancy.

So what is FreeDV?

To quote the FreeDV website:

FreeDV is a suite of digital voice modes for HF radio. Our flagship mode is the Radio Autoencoder (RADE). You can run RADE using a free GUI application for Windows, Linux and macOS that allows any SSB radio to be used for high quality digital voice.

And the most important part:

All software is open source, released under the (a) GNU Lesser Public License version 2.1 (GUI and legacy FreeDV modes) and two-clause BSD license (RADE).

FreeDV running under KDE-Plasma on Kubuntu PC

Looking at the digital voice (DV) community in the HAM Radio world, it’s stuffed full with proprietary DV modes from small software houses and black box transceiver manufacturers with no real OpenSource alternatives, until now.

Installing FreeDV is pretty simple regardless of which operating system (O/S) you use. Being a Linux user I grabbed the AppImage from the website and set about reading up on how it works and how it is configured.

I decided to take the two sound card approach since I have 2 USB sound cards connected to my shack Kubuntu Linux PC.

Configuring the audio routing isn’t straight forward as both the receive and transmit audio to/from the radio needs to be routed via the FreeDV app. To make this even more complicated I am using my Hermes Lite 2 SDR transceiver and PiHPSDR software, a complete OpenSource/OpenHardware Amateur Radio Station.

M0AWS FreeDV and PiHPSDR Audio Routing Diagram

Trying to clearly describe the audio routing using words alone would be impossible and very confusing so, I put together the diagram above.

Using two USB sound cards I’ve configured the system such that USB Sound Card 1 (an old Griffin iMic USB sound device) handles just the audio from/to the headphones and microphone. All the audio at this point in the system is analogue.

The second USB sound card, a cheap Plug and Play (PNP) USB audio device from Amazon, handles all the digitised signals from/to FreeDV and PiHPSDR.

Taking this 2 sound card approach keeps confusion to a minimum and separates the analogue and digital components of the audio routing.

So, how does this translate to the FreeDV and PiHPSDR audio settings?

Transmit Audio Chain

FreeDV Transmit Audio Settings

Starting at the beginning of the transmit audio chain, let’s look at the transmit audio settings in FreeDV.

Looking at the FreeDV Transmit audio settings screenshot below we can see that the
Input From Microphone to Computer device is set to:

alsa_input.usb-Griffin_Technology_Inc_iMic_USB_audio_system-00.analog-stereo

This is the microphone connection on the iMic USB device (USB Sound Card 1) and is the analogue transmit audio input to FreeDV.

The Output From Computer to Radio device is set to:

alsa_output.usb-0c76_USB_PnP_Audio_Device-00.analog-stereo

This is the digitised audio output from FreeDV (via USB Sound Card 2) to PiHPSDR and is used as the transmit audio that is sent to the Hermes Lite 2 transceiver.

FreeDV Transmit Audio Settings

PiHPSDR Transmit Audio Setting

To complete the transmit audio path we next need to look at the PiHPSDR transmit audio setting.

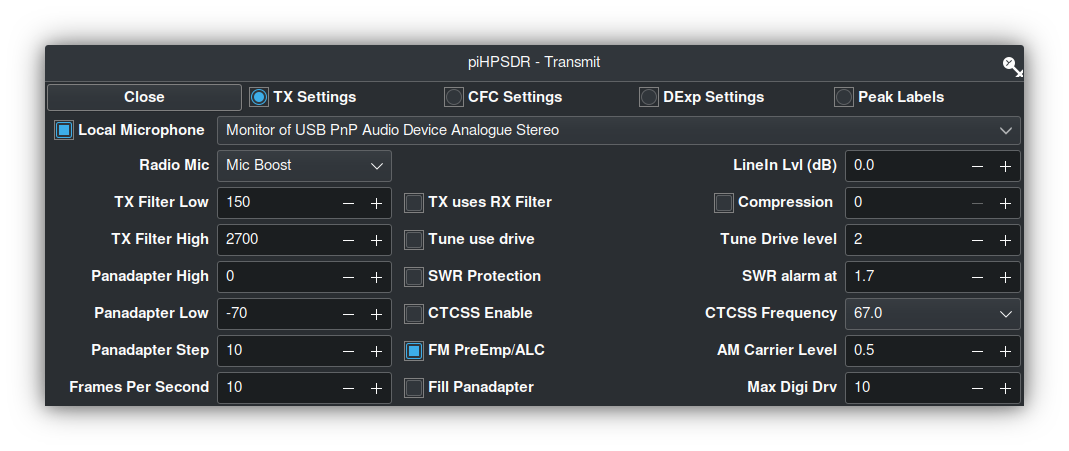
PiHPSDR Transmit Audio Settings

As can be seen in the screenshot above, the Local Microphone device in PiHPSDR is set to the Monitor of USB PnP Audio Device Analogue Stereo.

This effectively routes the digitised output audio from FreeDV (Output From Computer to Radio device) to the Input audio of PiHPSDR.

The reason for using the Monitor audio feed is because FreeDV does not recognise the Mic Input in PiHPSDR as a valid output device for FreeDV to use, hence we just need to monitor the FreeDV output device and use it as our input audio device in PiHPSDR.

This completes the transmit audio chain.

Receive Audio Chain

PiHPSDR Receive Audio Setting

Starting at the beginning of the receive audio chain we first look at the PiHPSDR receive audio setting.

PiHPSDR Receive Audio Setting

In the screenshot above we can see that the receive audio output from PiHPSDR is set to
USB PnP Audio Device Analogue Stereo (USB Sound Card2). This is the DX station’s digitised audio as received by the Hermes Lite 2.

FreeDV Receive Audio Settings

Next let’s look at the receive audio setting in FreeDV.

FreeDV Receive Audio Settings

The Input To Computer from Radio device is set to the monitor of the
USB PnP Audio Output Device:

alsa_output_usb_0c76_USB_PnP_Audio_Device-00.analog-stereo.monitor

This effectively routes the digitised audio output from the PiHPSDR receiver to the digitised audio input of FreeDV.

Once again we have to use the monitor of the USB PnP Audio Output device as FreeDV does not recognise the PiHPSDR output as a valid input device.

Next, the Output From Computer To Speaker/Headphones device is set to:

alsa_output.usb-Griffin_Technology_Inc_iMic_USB_audio_system-00.analog-stereo

This is the analogue audio output on the iMic USB Sound card (Sound Card 1) that routes the analogue audio to the headphones and completes the receive audio chain.

Summary

The audio routing required by FreeDV can appear very daunting when first attempting to configure it on the Linux platform but, hopefully the diagram and screenshots above will help in understanding the complete end-to-end audio chain that is required to make this mode work.

PiHPSDR can of course be replaced by your black box radio CODEC entries that will appear in the device lists shown above if you have your radio connected via USB. The config is basically the same but, just uses a different device instead of USB sound card 2 shown in the diagram above.

I hope this article is useful to those wanting to try FreeDV on the Linux platform and I look forward to hearing you on RADEv1.

More soon …

Another new radio!

Many years ago when I lived in France I had a Flex-3000 transceiver, one of the first fully SDR transceivers on the market. It was paired with a proprietary Windows XP application called PowerSDR (now Opensource and called Thetis) and connected via a firewire connection.

17 years later I am once again venturing into the world of SDR transceivers in the form of a Hermes Lite 2. (HL2)

The HL2 hardware is available via the Makerfabs website in kit form. I ordered the HL2 motherboard, the N2ADR Filter Board to ensure a clean signal from the transceiver and the enclosure. Total cost for all the parts and shipping was £288.00 including all taxes.

The kit took about 10 or so days to arrive and was very easy to put together making sure to fit the PA transistor heat sink the right way round so that it doesn’t short out the main board. (There are many videos about this on YouTube)

Once the hardware was put together I needed to install some software to control/drive the HL2. Being a heavy weight Linux user my software choice had to come from the Opensource world.

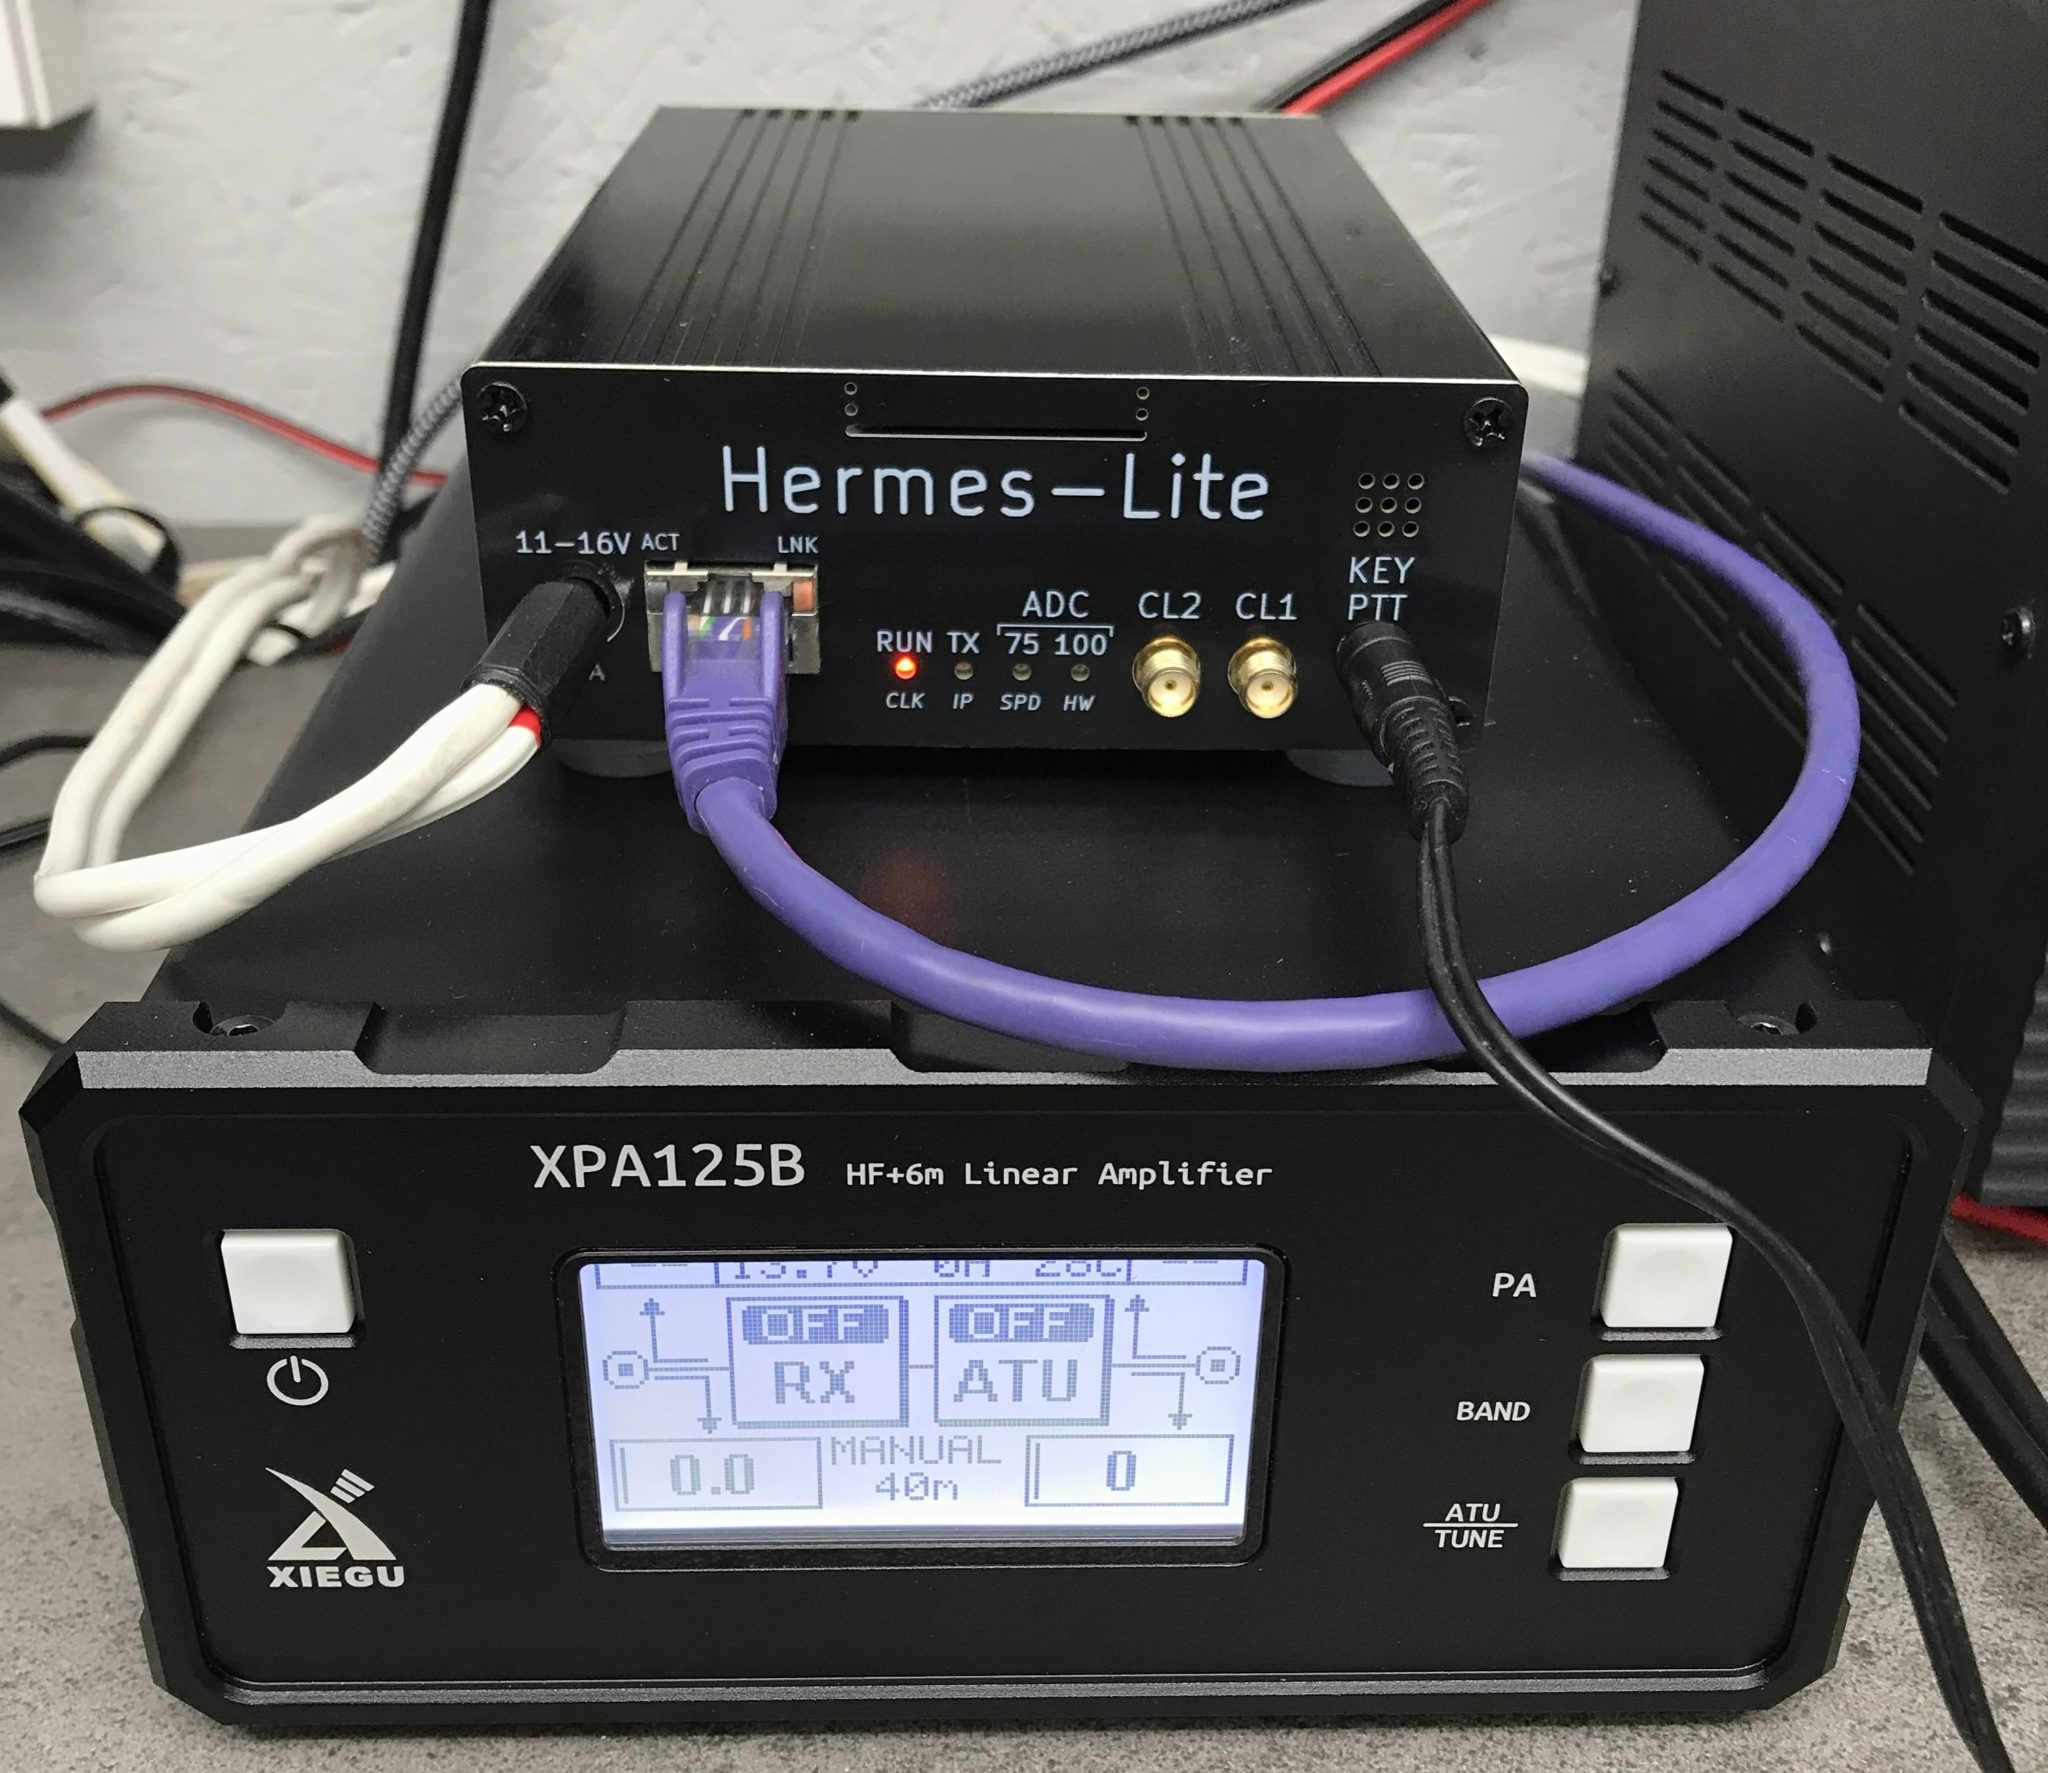
M0AWS Hermes Lite 2 SDR Trasnceiver and Xiegu XPA125B Amplifier

After much research and chatting with other HAMs on the Matrix who have the HL2 I found that most people use the closed source SDR Console software to control the transceiver. Since this software is for Windows it’s not something I can use as I don’t have any Windows PCs, they’re all Linux only.

To this end I started researching Linux SDR software for the HL2 and decided that PiHPSDR was the one I was going to try first.

PiHPSDR was originally written for the RaspberryPi 3/4/5 single board computers (SBCs) but, I wanted to have a go at compiling it on my Kubunu Linux desktop PC. I found it straight forward to follow the instructions in the pihpsdr-install.pdf file and in no time at all I had the software compiled and running.

PiHPSDT running on Kubuntu Linux 22.04LTS
PiHPSDR running on Kubuntu Linux 22.04LTS

PiHPSDR is infinitely configurable and thus it feels like it has an infinite number of menus and options. Since the HL2 has two separate receivers, it’s possible to listen to two bands at the same time. This is the one feature I really missed more than anything with my FTDX10 so, I’m glad to have dual receive capability back once more!

Going through all the settings I realised that the A and B VFOs have individual settings. Initially I setup the software using just VFO A but, when I switched over to VFO B none of my settings were there. I then had the realisation that the settings apply only to the active VFO. I quickly went through all the settings again for VFO B and all was well.

In no time at all I was on the air with just 5w as my Xiegu amp hadn’t arrived. Not being perturbed I tuned up on the 15m band and started searching for stations. Interestingly it was CQWW SSB weekend and the band was full of contest stations. Working my way along the spectrum I found I was able to work quite a few stations with ease using my vertical and inverted-L antennas.

Contacts of note were VE3KG at 3406 Miles, VE3JM at 3382 Miles, RW9DX at 2380 Miles, KC1XX at 3331 Miles and N1DE at 3600 Miles. I also worked a bunch of European stations and had a great time giving away points with my little QRP rig.

Contests are a good time to try out new radios as all the big stations with good ears are on the bands and make the effort to get us QRP guys in their logs.

I have been extremely impressed with the receivers in the HL2 radio. It handles both strong and weak stations exceptionally well. PiHPSDR really does have brick-wall filtering and I was able to work the weaker stations right next to large contest stations with ease. At no time did the front-end of the receiver get overloaded.

Below is a short video clip of a conversation on the 80m band. The band was quite noisy however, with a reduction of the AGC gain and the 2700Hz filter it’s possible to remove almost all the noise.

Hermes Lite 2 SSB reception on the 80m Band

On CW the radio is a real delight. With the filtering and AGC gain control I am able to use extremely narrow receive filters without any ringing whatsoever. I would say that on CW the HL2 is as good as my FTDX10 when it comes to receiving even the weakest of stations.

I’m sure on paper the FTDX10 receiver has better numbers however, to the ear there really is no discernible difference.

Below is a short video clip of D4DX on CW on the 80m band. The band was noisy but, with the 100Hz filter enabled and clever use of the AGC Gain I was able to remove almost all the noise completely, reducing fatigue on the ears and making reception very easy even though there was some fairly deep QSB at times.

Receiving D4DX on CW on the 80m band using 100Hz filter and reduced AGC gain

A few days later my Xiegu XPA125B amplifier arrived. Unfortunately the amp didn’t come with the normal PTT lead that comes from the factory and is detailed in the user manual. For some bizarre reason this is a chargeable option when you buy the amp from Martin Lynch and Sons even though it is included from the factory.

This meant I had to make a lead which was a problem as I didn’t have one of the mini DIN plugs required for the connection to the amplifier. Jumping onto Amazon I ordered a packet of two and sat back and waited for their arrival.

A couple of days later the DIN plugs arrived and I quickly made up the necessary phono/RCA to mini DIN lead and got the amp operational.

The Xiegu XPA125B isn’t cheap but, it’s a really nice bit of kit. The neat little LCD display keeps you informed of power O/P, I/P and O/P SWR, voltage, current draw, temperature and band selected.

With just 0.7w of input from the HL2 I’m able to get a full 100w O/P from the amp. On the lower bands I have to reduce the O/P from the Hermes Lite 2 even further so that I don’t over drive the amp.

Being an avid Short Wave Listener (SWL) I wanted to see how the HL2 performed when listening to the big AM broadcast stations. To my surprise it makes an excellent SWL receiver with better AM demodulation than many of the more expensive radios. Having the option to select receive filters up to 16Khz wide I found I was able to get the best audio possible from many of the broadcast stations including Radio Caroline on 648Khz. It’s quite an improvement over the 12Khz maximum on the FTDX10.

Listening to AM Broadcast stations

What makes this project even more exciting is that both the hardware and software are from the OpenHardware/OpenSource world. The complete circuit diagram, PCB layout and information is available for all to download, something you don’t often see these days!

PiHPSDR is one of the nicest SDR applications I’ve seen in the Linux world and even comes with a 200 page downloadable user manual. Something you don’t see in many Opensource projects. The source code for the application is downloadable and you are able to make your own changes to it without restriction.

Overall I am really pleased with the Hermes Lite 2 SDR transceiver.
It has two excellent receivers, is infinitely configurable via the PiHPSDR software and performs extremely well under all conditions. Since getting the radio I haven’t even switched on the FTDX10.

More soon …

Update to my NodeRed QO-100 Dashboard

Ever since my QO-100 ground station has been operational I’ve been using my NodeRed QO-100 Dashboard to control my IC-705 and GQRX SDR software to drive my NooElec SmartSDR receiver. This gives me a full duplex ground station with both transmit and receive VFO’s synchronised.

This solution has worked incredibly well from the outset and over time I’ve added extra functionality that I’ve found to be useful to enhance the overall setup.

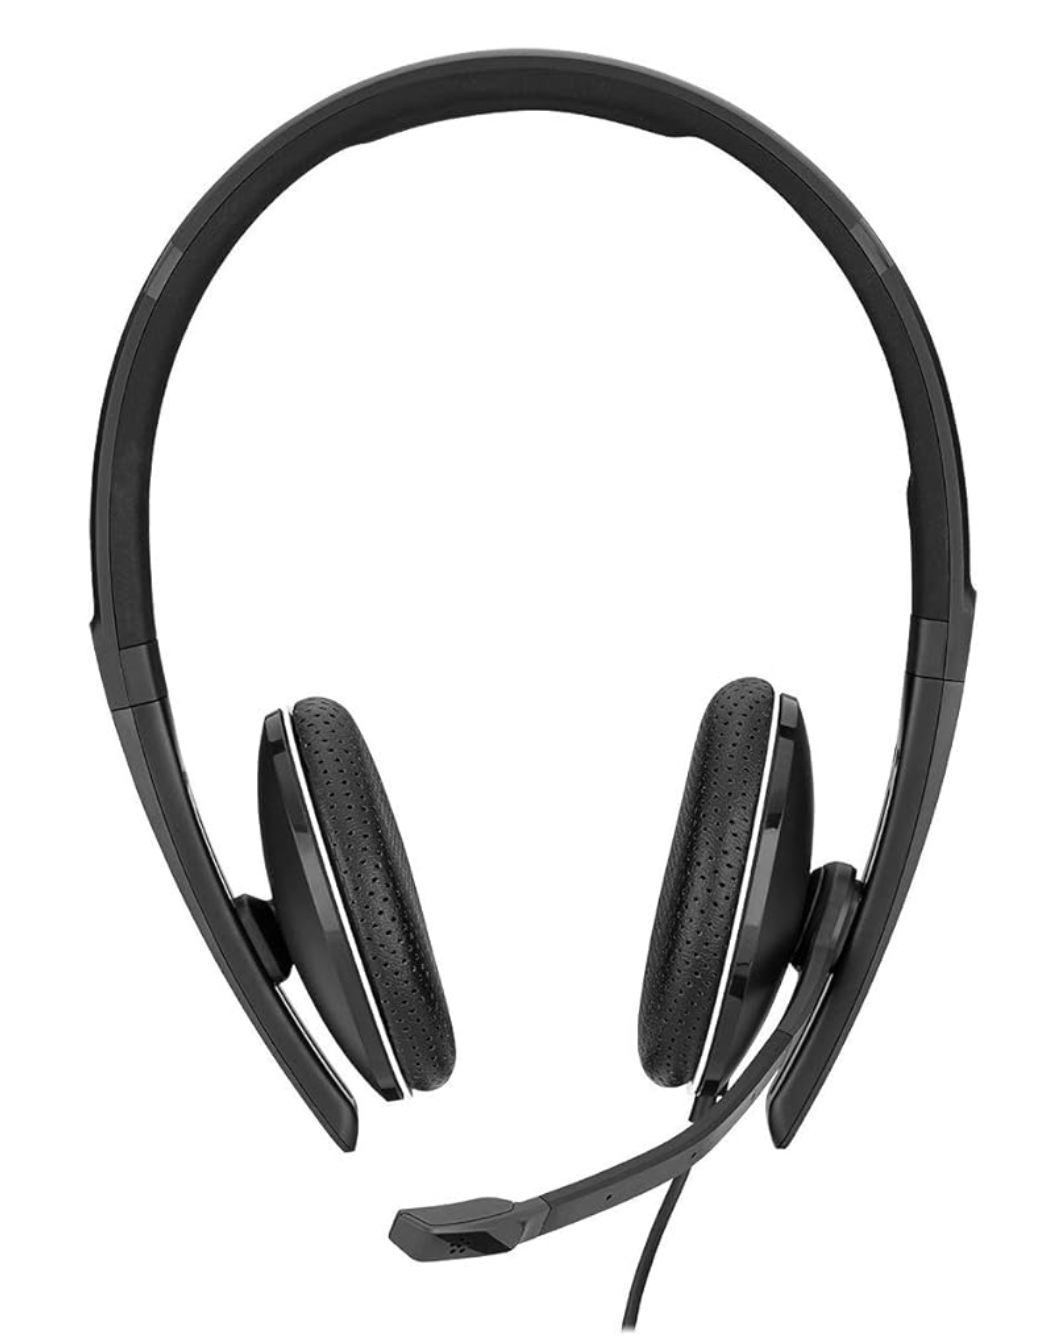
The latest addition to the ground station solution is a Sennheiser Headset that I picked up for just £56 on Amazon (Much cheaper than the Heil equivalents at the HAM stores!) and have found it to be excellent. The audio quality from both the mic and the headphones is extremely good whilst being light and comfortable to wear for extended periods.

M0AWS - Sennheiser SC 165
M0AWS – Sennheiser SC 165 Headset

To incorporate this into the ground station the headset is connected to my Kubuntu PC and the audio chain to the IC-705 is sent wirelessly using the latest version of WFView. This works extremely well. The receive audio comes directly from the GQRX SDR software to the headphones so that I have a full duplex headset combination.

Audio routing is done via pulse audio on the Kubuntu PC and is very easy to setup.

Since I no longer have a mic connected to the IC-705 directly I found that I needed a way to operate the PTT wirelessly and this is where the latest addition to my NodeRed QO-100 Dashboard comes in.

Adding a little functionality to the NodeRed flow I was able to create a button that toggles the IC-705 PTT state on and off giving me the ability to easily switch between receive and transmit using a simple XMLRPC node without the need for a physical PTT button.

M0AWS - Additional NodeRed PTT Flow
M0AWS – Additional NodeRed PTT Flow

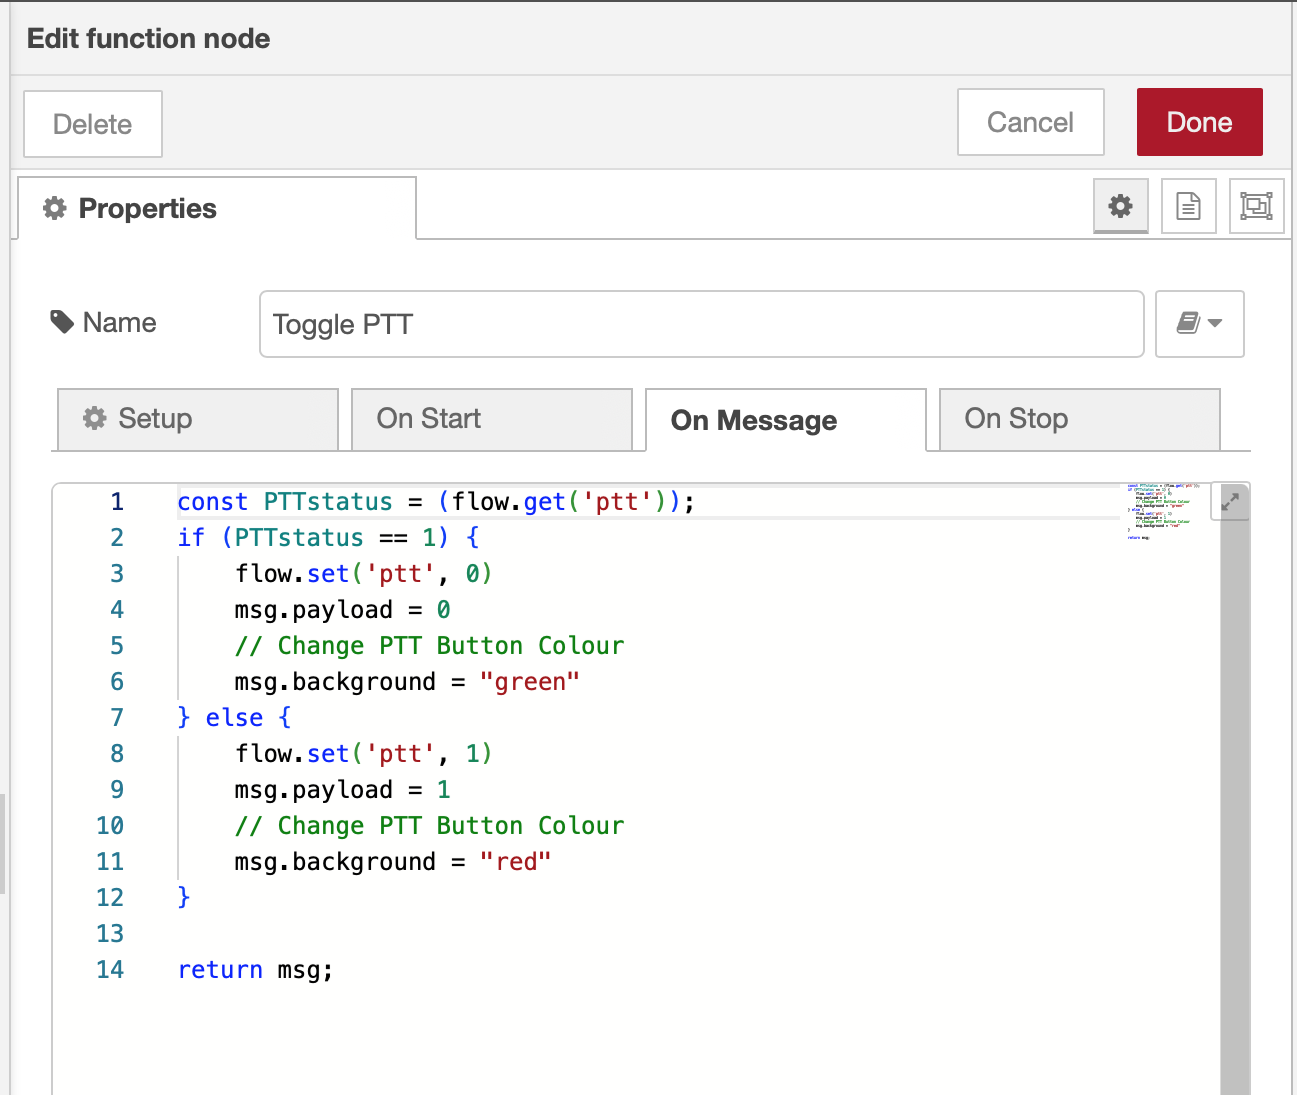
The PTT state and PTT button colour change is handled by the Toggle PTT function node shown in the above flow. The code to do this is relatively simple as shown below.

M0AWS - NodeRed Toggle PTT Function to change button colour
M0AWS – NodeRed Toggle PTT Function to change button colour

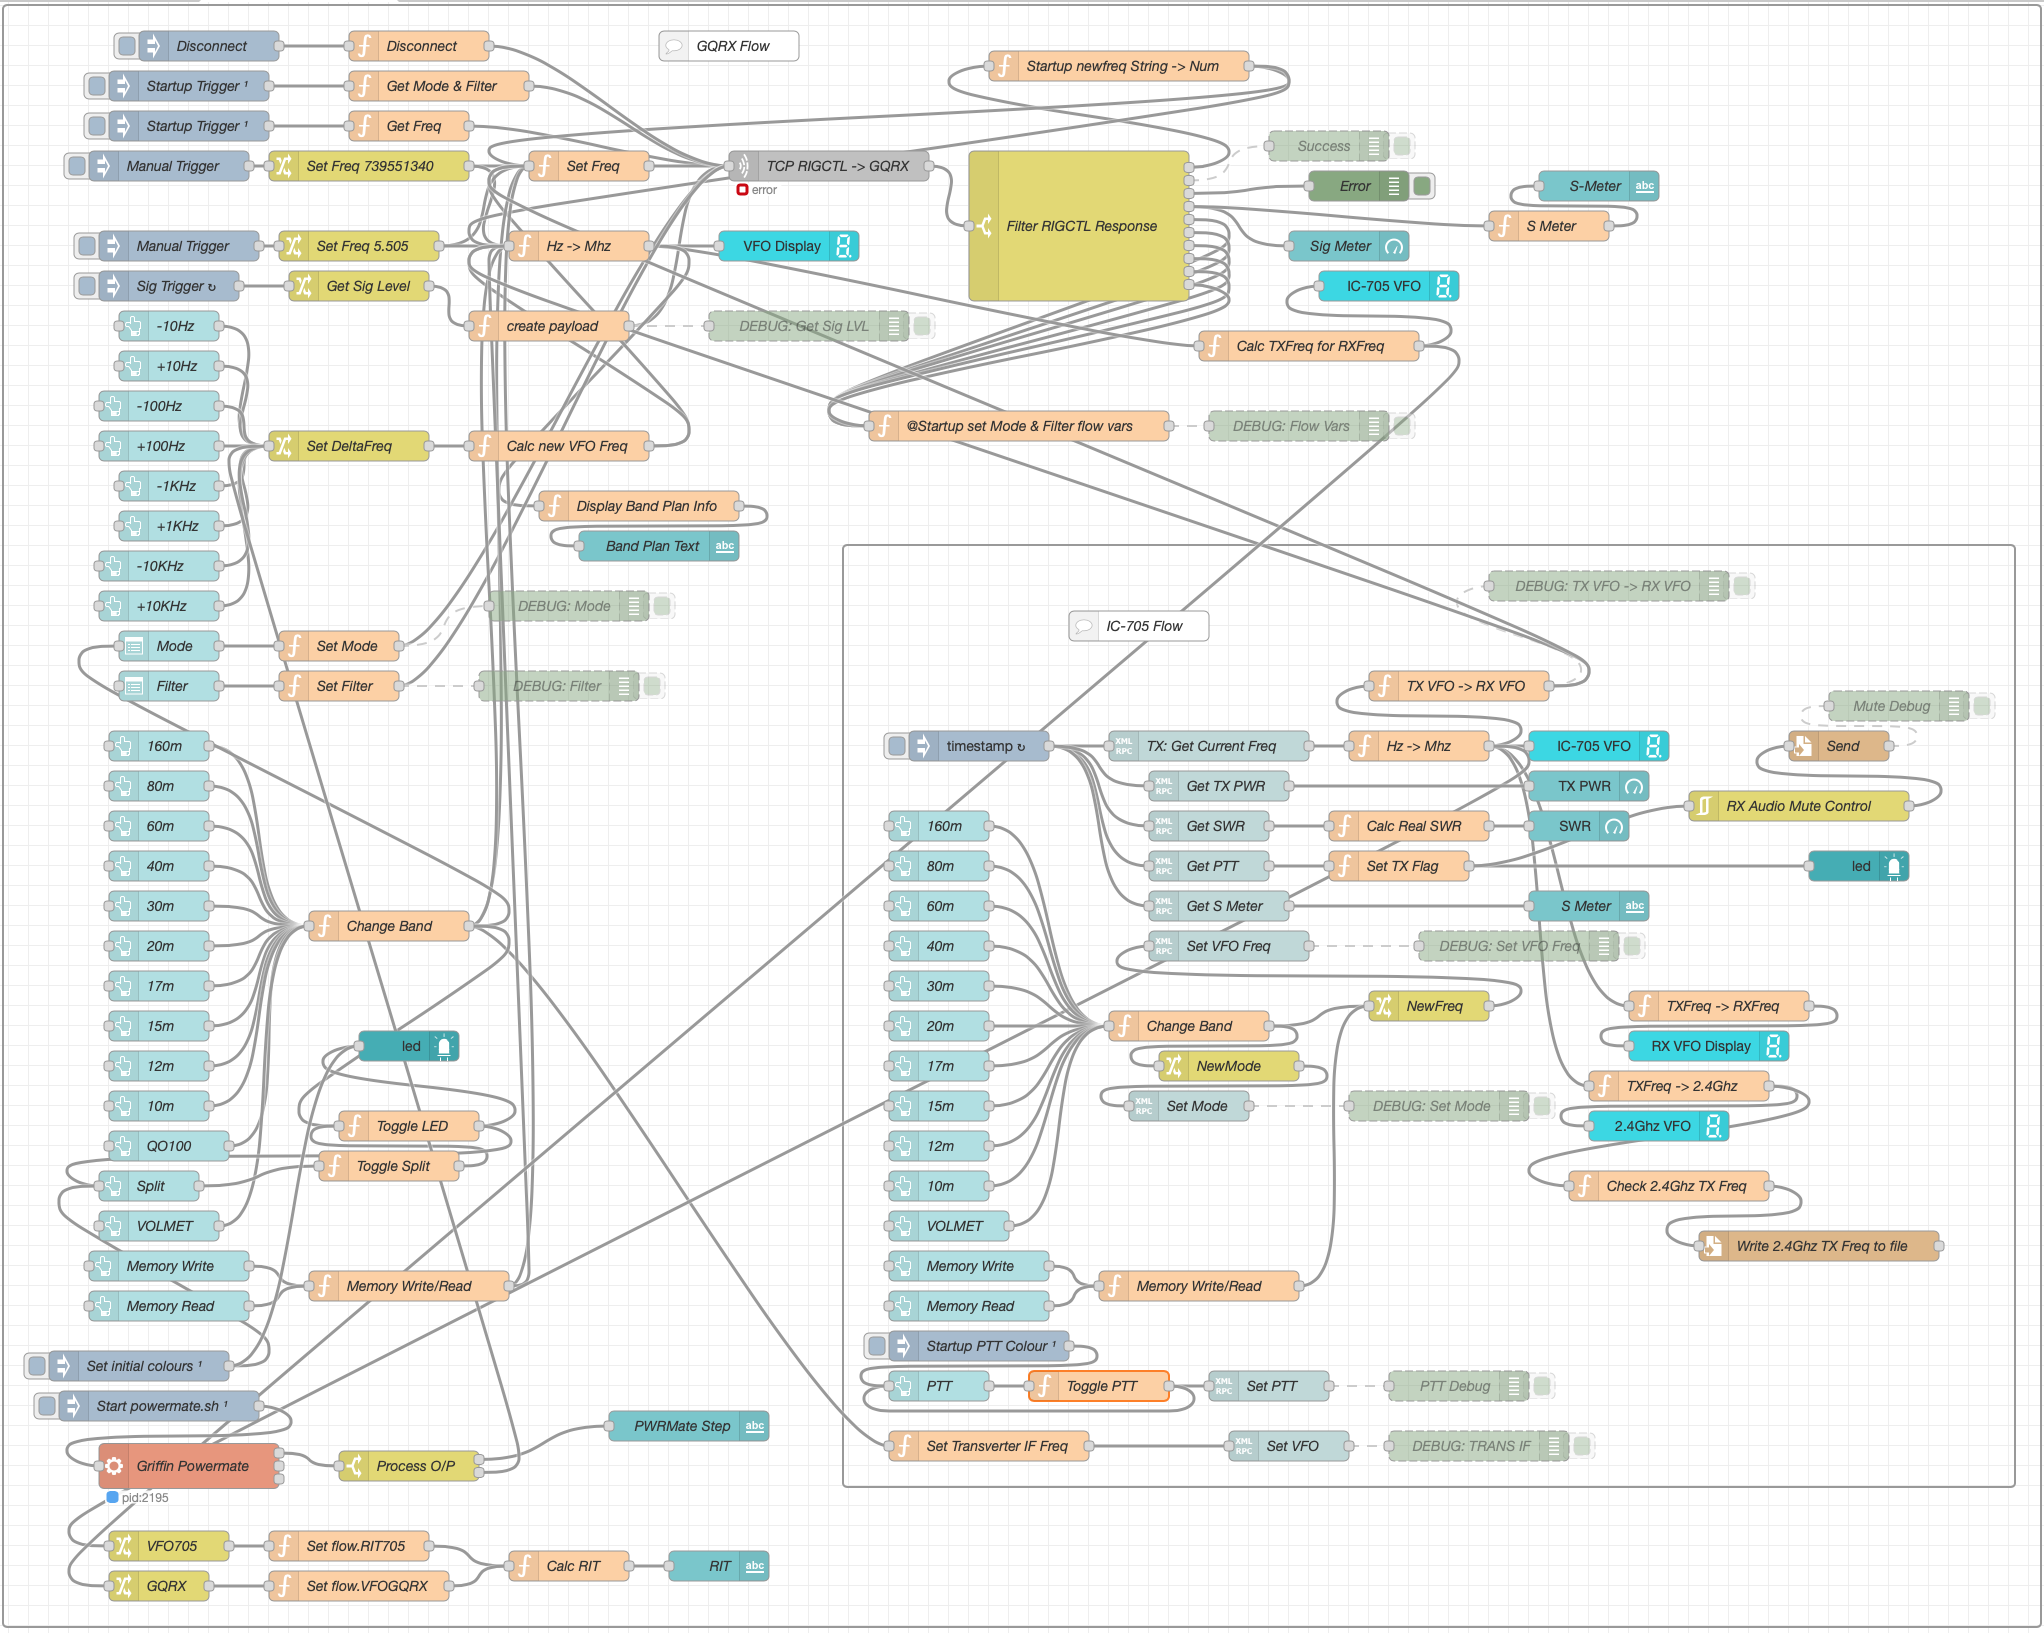
The entire QO-100 Dashboard flow has grown somewhat from it’s initial conception but, it provides all the functionality that I require to operate a full duplex station on the QO-100 satellite.

M0AWS - NodeRed QO-100 Dashboard complete flow
M0AWS – NodeRed QO-100 Dashboard complete flow

This simple but, effective PTT solution works great and leaves me hands free whilst talking on the satellite or the HF bands when using the IC-705. This also means that when using my IC-705 it only requires the coax to be connected, everything else is done via Wifi keeping things nice and tidy in the radio shack.

M0AWS - Updated NodeRed QO-100 Dashboard with PTT button
M0AWS – Updated NodeRed QO-100 Dashboard with PTT button

The image above shows the QO-100 ground station in receive cycle with the RX/TX VFO’s in split mode as the DX station was slightly off frequency to me. The PTT button goes red when in TX mode just like the split button shown above for visual reference.

As you can probably tell, I’m a huge fan of NodeRed and have put together quite a few projects using it, including my HF Bands Live Monitoring web page.

More soon …

The Art of Articulation

Since I’ve been using my Icom IC-705 on the QO-100 satellite I’ve been getting no end of unsolicited great audio reports with one Op even saying I have the best audio he’s ever heard on the satellite.

Most people are surprised when I tell them that I am using the stock fist mic that comes with the radio. It’s nothing special, in fact it’s rather cheap and plastic, not particularly good quality however, it does seem to have a good sounding mic insert.

The other great thing about the IC-705 is that it has a two channel parametric equaliser built into the radio. Many people don’t realise this and miss out on the massive improvement they can make to their transmitted audio with just a few simple adjustments.

The stock fist mic has a very flat response across the audio frequency range out of the box and doesn’t sound particularly inspiring. Many see this as a negative and often just replace the mic with either a headset (probably from Heil), a boom mic (again probably from Heil) or another, better quality fist mic. All of these options cost varying amounts of money when in reality none of them are necessary.

Starting from a flat audio response is actually a good thing as it makes the equaliser adjustments more pronounced, making it easier to adjust the settings to suit your voice.

We all have different voices but, there is one thing that is pretty much the same for everyone and that’s the frequency range in which the articulation of the words and sounds we make can be found. It’s this part of the voice that is often lacking when we struggle to understand what the DX station is saying.

It’s become common place on the HAM bands these days for stations to boost the bass frequencies and reduce the mid and high frequencies with the net result of a horrible bass ringing sound and muddy mid range often making it very difficult to understand what is being said.

Having spent some considerable time watching the great videos on audio from the late Bob Heil, K9EID it’s clear that the most important frequencies to enhance are those around 2.5khz as this is where all the articulation is in the human voice.

To this end I set about setting up the audio on my IC-705 QRP radio so that my voice sounded such that it is easy to comprehend even in the most difficult of situations on air. This doesn’t mean that it has to be very harsh and overly bright, quite the opposite in that to be heard clearly in all conditions on air one’s audio needs to be balanced across the frequency range with an enhancement in the 2.5Khz frequency range.

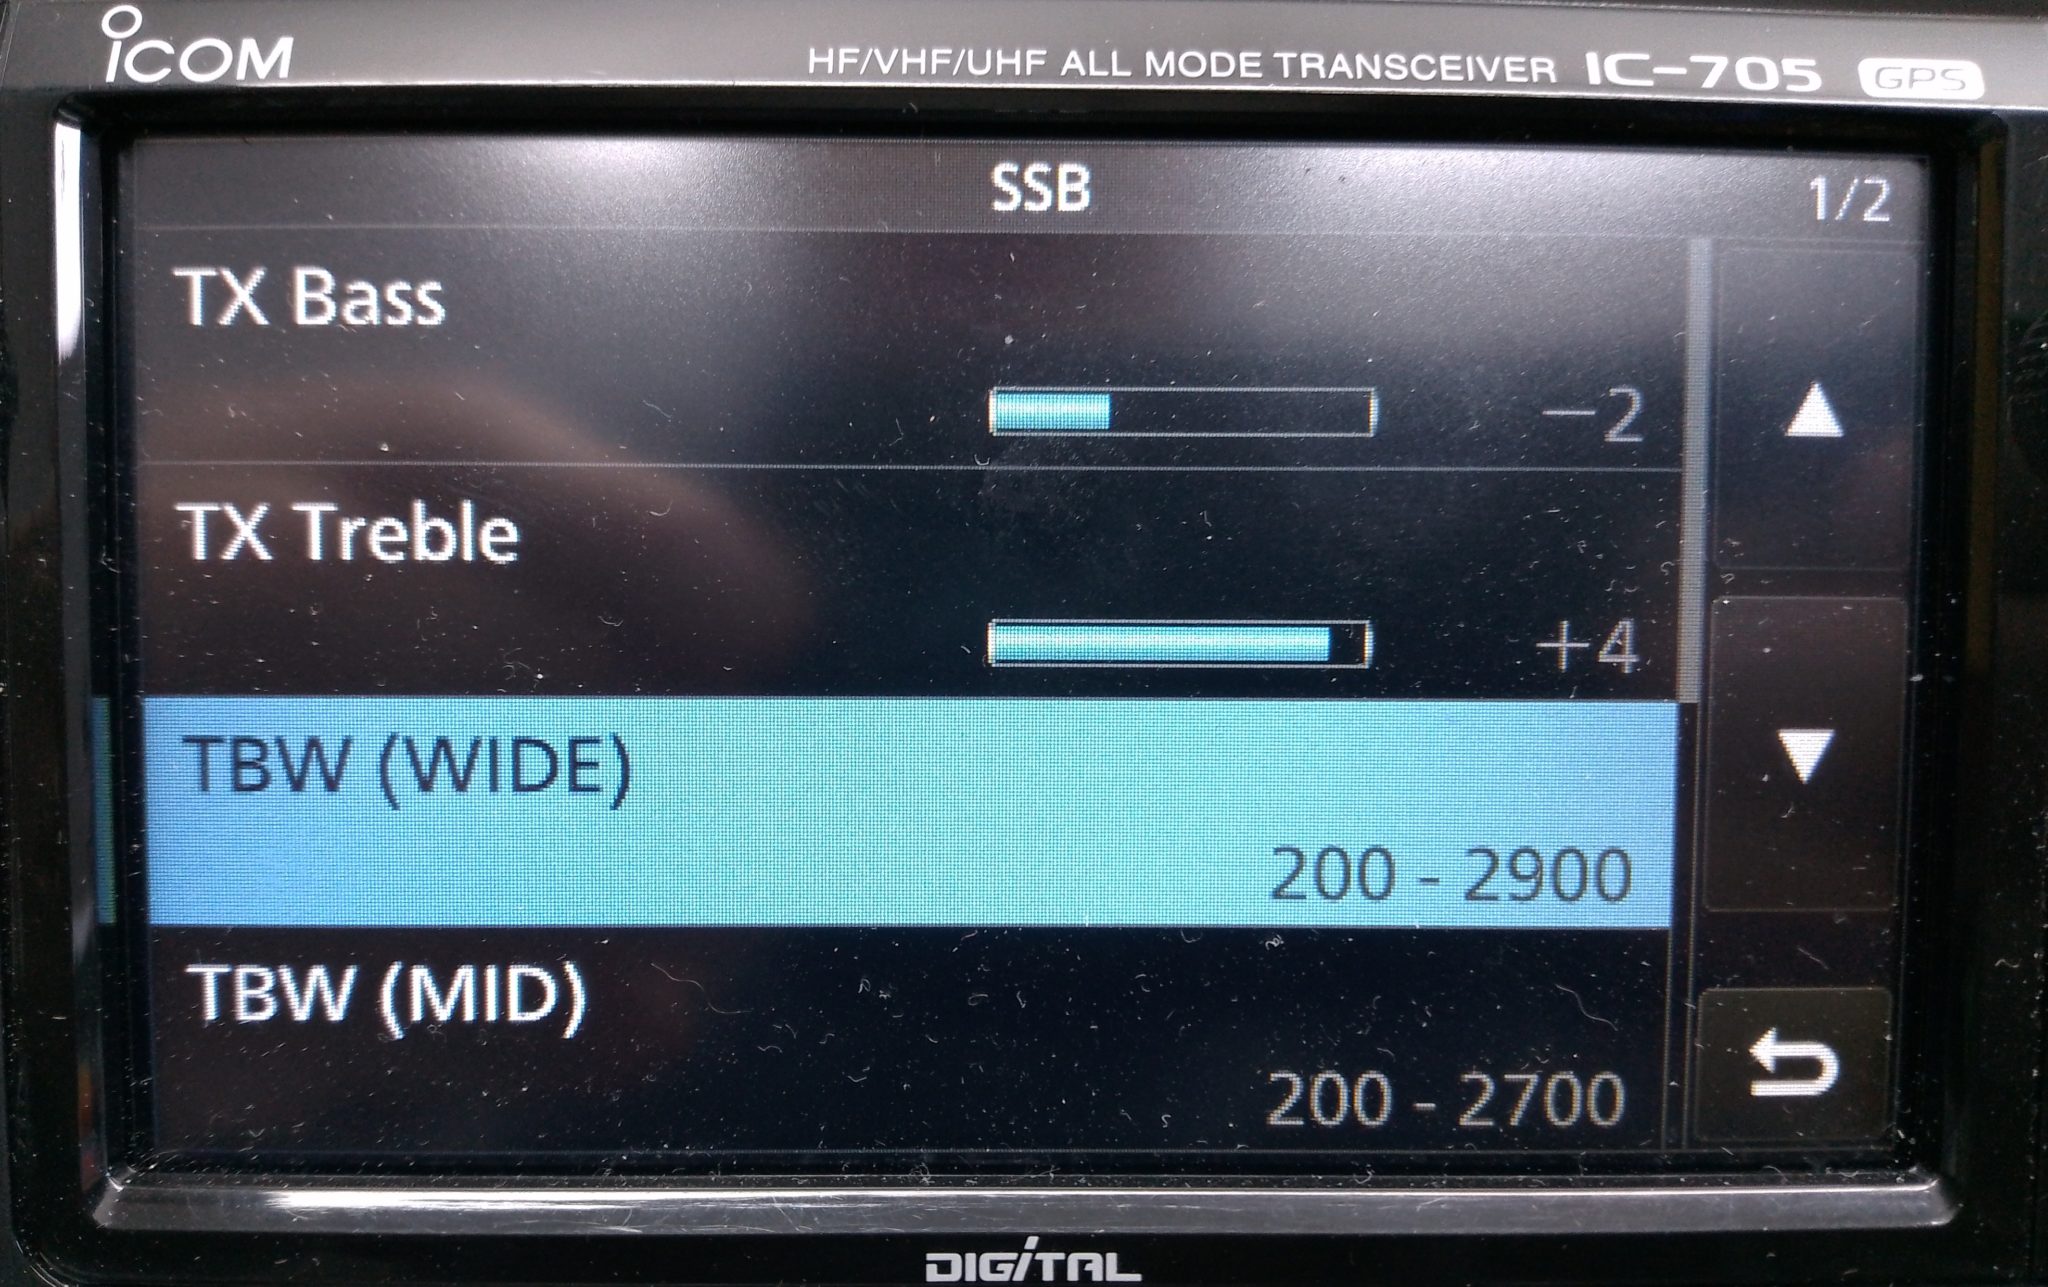
M0AWS IC-705 Transmit audio settings - part 1
M0AWS IC-705 Transmit audio settings – part 1

To reduce the unwanted, muddy bass the first thing to do is change the transmit bandwidth for the “Wide” setting to 200-2900Hz. This will cut off the bottom 100Hz from the voice reducing the overall bass output from the standard fist mic that comes with the radio. This will ensure a 2700Hz wide SSB signal, the recommended max for QO-100 operations and the preferred bandwidth on the HF bands.

On top of this I made a further reduction of 2dB on the TX Bass setting to help balance out the overall audio response of the mic insert.

Next I set about enhancing the higher frequency response of the mic insert and found that it required an increase of 4dB to bring out the articulation of my voice. This enhanced my audio considerably compared to the standard output from the fist mic and improved the intelligibility of my voice considerably, especially in difficult band conditions.

To complete the setup I set the compression to 3 and mic gain to 35 so that the overall drive level is increased slightly giving a greater average output from the radio.

M0AWS IC-705 Audio Settings - part 2
M0AWS IC-705 Audio Settings – part 2

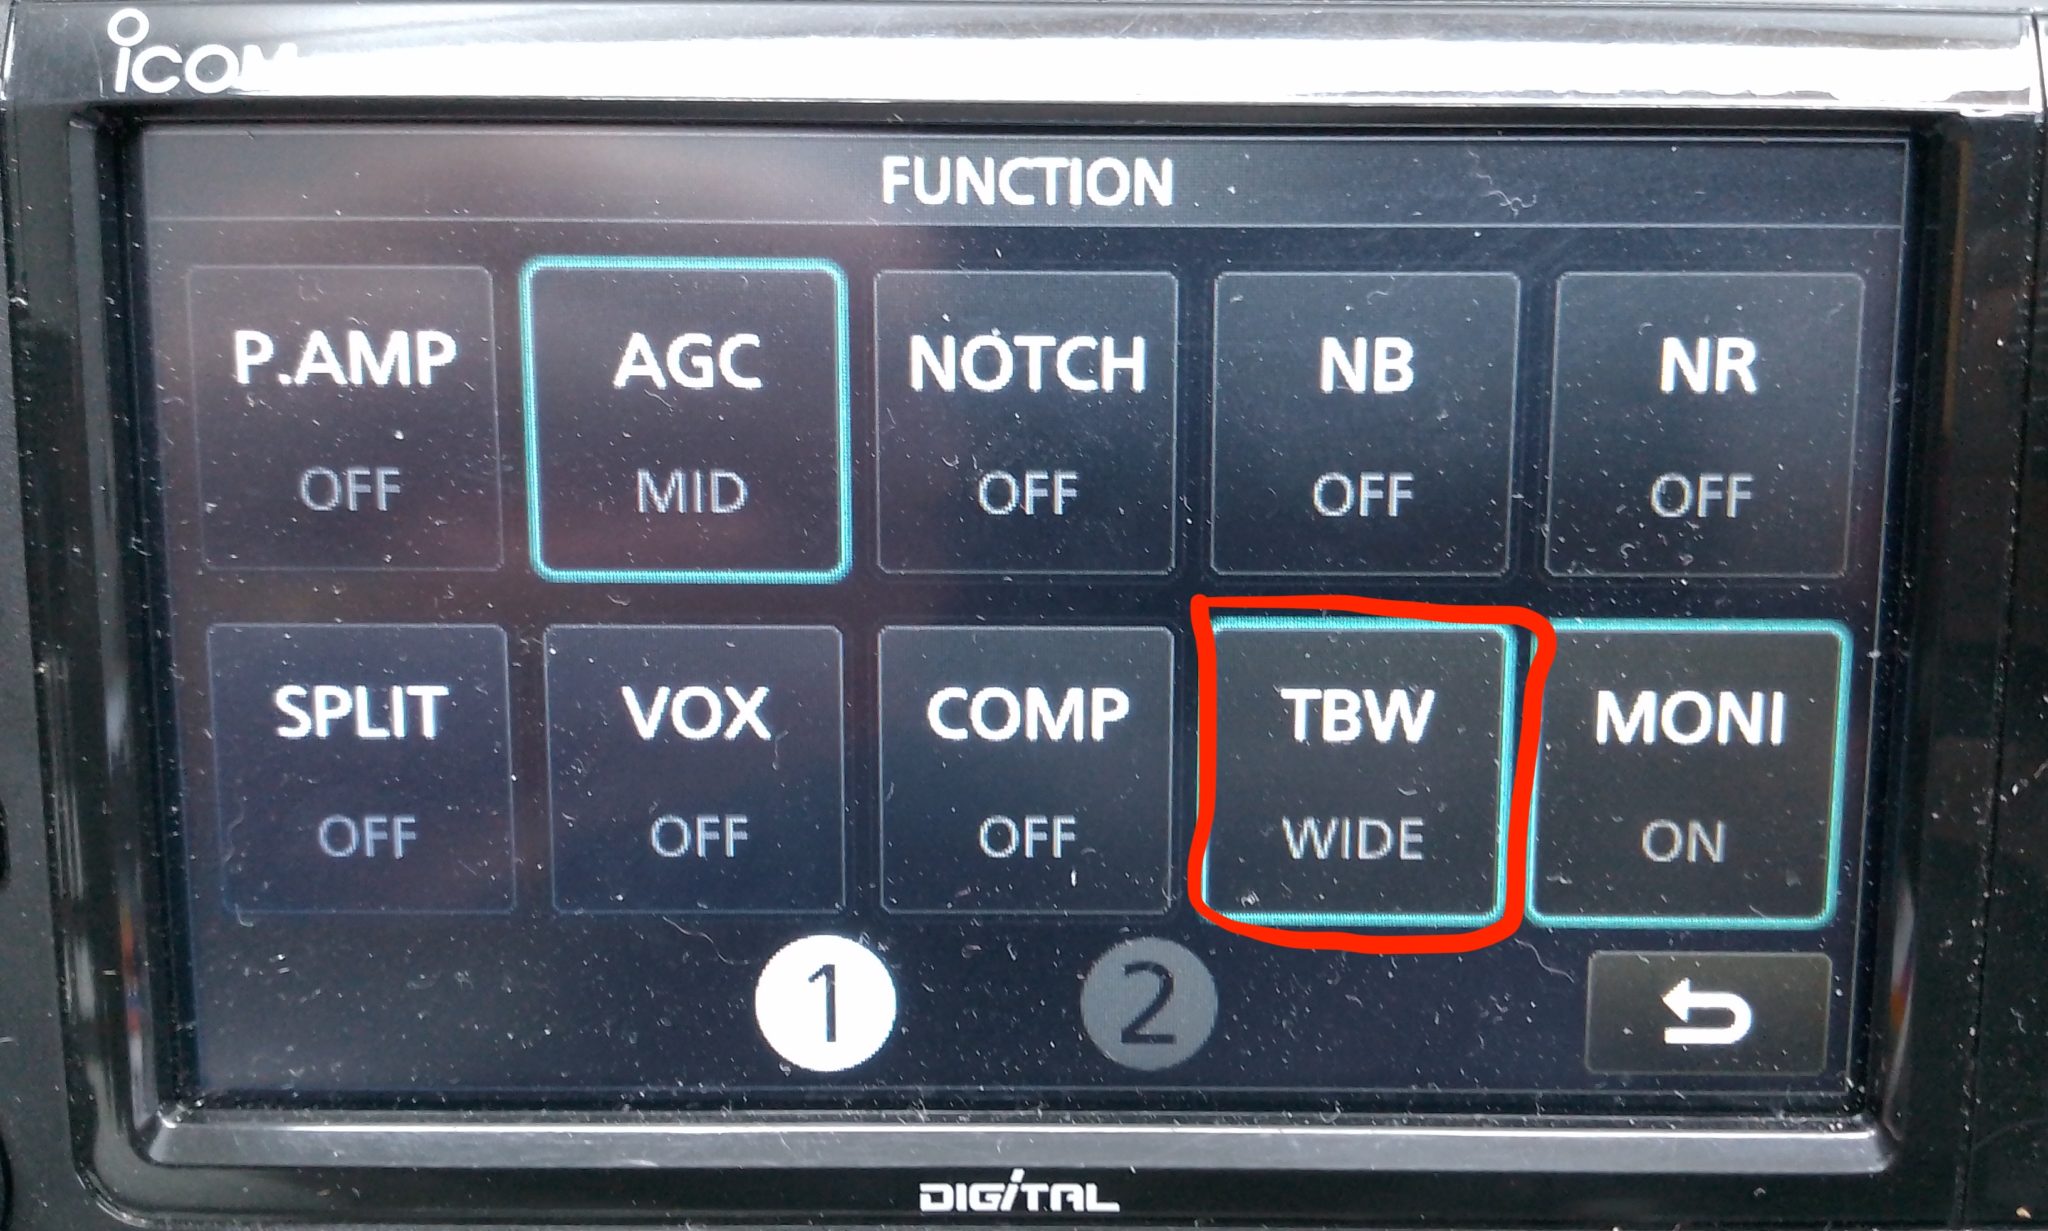
Once I’d got the audio setup correctly I enabled the configuration by setting the Transmit Bandwidth (TBW) to the “Wide” config in the IC-705 Function menu so that the correct settings were made active.

Ever since making these relatively easy changes I have had no end of unsolicited great audio reports from stations asking me what mic I am using and how I’ve managed to get such good audio from the IC-705. Many are surprised that I am using the OEM fist mic that comes with the radio and I’m sure there are those who don’t believe me!

Of course all voices are slightly different and these settings may not be perfect for your voice but, all those that have tried these settings have told me that their audio sounds better than ever and that DX stations often comment on how good their audio is.

I also went through the same exercise with my Yaesu FTDX10 with it’s standard fist mic and again achieved excellent results with it’s 3 channel parametric equaliser. I’ll go through the somewhat more complicated setup for the FTDX10 in another article soon.

A quick chat with Callum – DXCommander on 80m

Using just 20w I had a quick chat with Callum of DXCommander fame on the 80m band using my Inverted-L antenna.

Very happy with the signal report and being able to hear myself after the event was very interesting. I’ve not used my Yaesu FTDX10 much on SSB and so I was very happy to hear that the audio sounded nice and clear.

More soon …