I recently put up a 38m Inverted-L antenna (10m vertical/28m horizontal) and tuned it on the 160m band using a home-brew Pi-Network ATU. It’s working great on top band and I’m really pleased with performance so far.
I decided today that it would be good to try the inverted-L out on some of the other low bands too. Since my other HF antenna is a large vertical that’s great for DXing but, terrible for Inter-G I thought perhaps the Inverted-L would fill the inter-G gap.
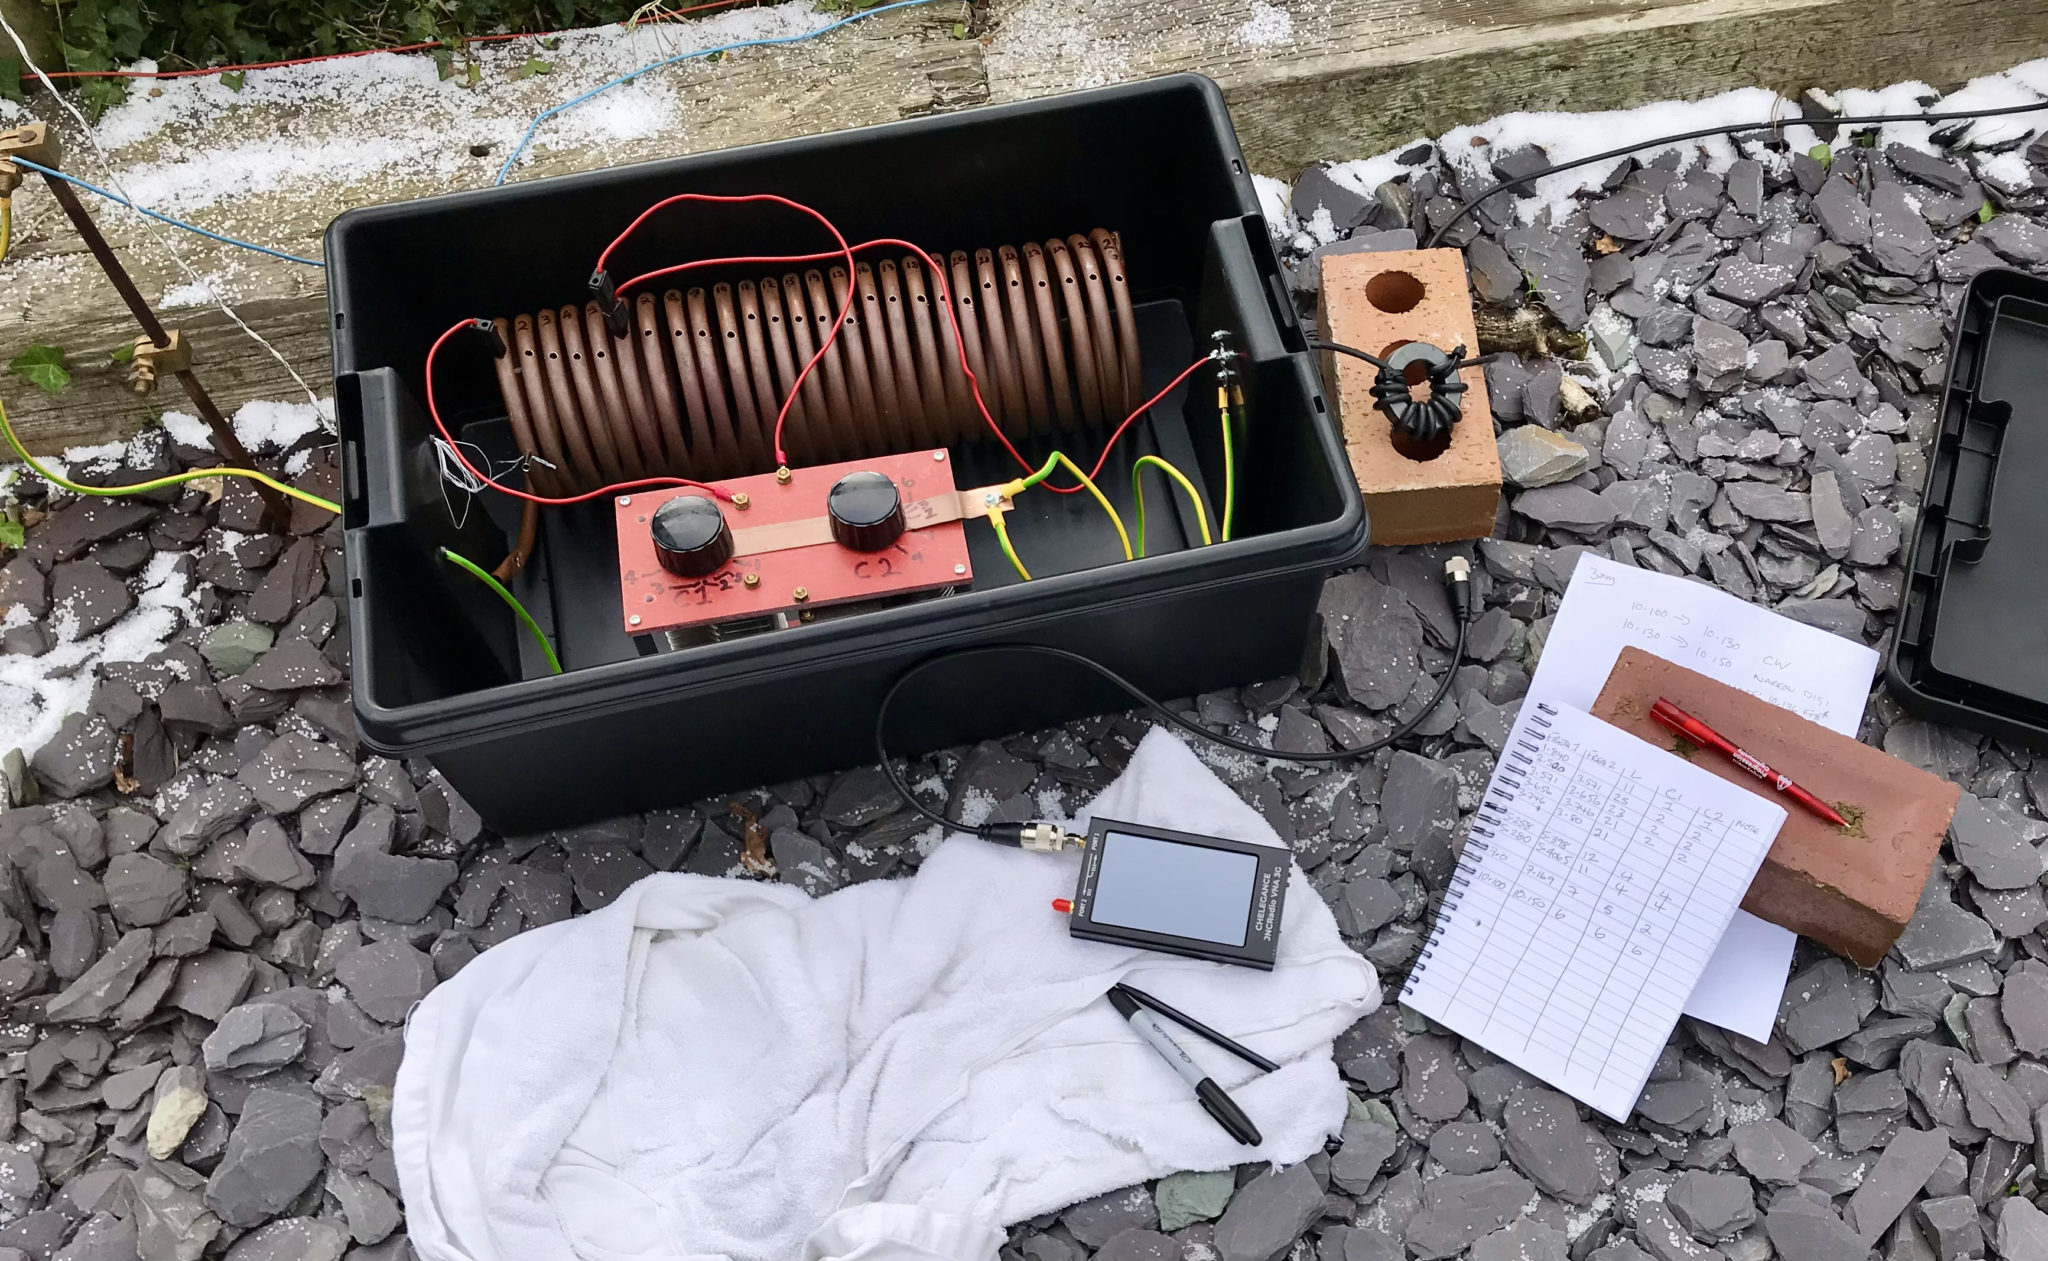
M0AWS Pi-Network ATU using my JNCRadio VNA to find the ATU setting for each band
Having recently purchased a JNCRadio VNA from Martin Lynch and Sons it made tuning the ATU for each band really easy. When it comes to antenna resonance I like my antennas to have an SWR of less than 1.2:1. With the VNA connected it is really easy to tune the antenna for a 1:1 SWR on a particular frequency, make a note of the tune information and then move to the next frequency and start again.
M0AWS Pi-Network ATU Inductor with turns countM0AWS Pi-Network ATU Capacitor 1 and 2 settings
I marked up each turn on the large copper inductor so I could record the position of the input wire onto the inductor. I then added some markings on the two capacitors of the Pi-Network ATU for the resonance points on each band/frequency I wanted to resonate the antenna on.
M0AWS Pi-Network ATU settings noted for each band
After about 40mins I had all the settings recorded on a pad ready for testing from the shack end of the coax run. Connecting my Yaesu FTDX10 to the coax I ran through each band setting checking the SWR as I went. All bands tuned up perfectly 160m through 30m and receiving of Inter-G on the bands that were active was excellent.
Wanting to test the antenna on 40m for the first time I found Nick, M7NHC calling CQ and gave him a call using just 5w output. He came straight back to me and we had a quick chat.
Nick was using an Icom IC-7300 using just 10w into an end-fed long wire from Eastbourne down on the south coast so, we were both QRP. Nick was a 5/7 with QSB and he gave me a 5/8 with QSB, not bad at all consider how much power we were using.
I’m hoping to have a chat with some of the guys from the Matrix this evening on 60m SSB so, it will be interesting to see how the antenna performs on 5Mhz.
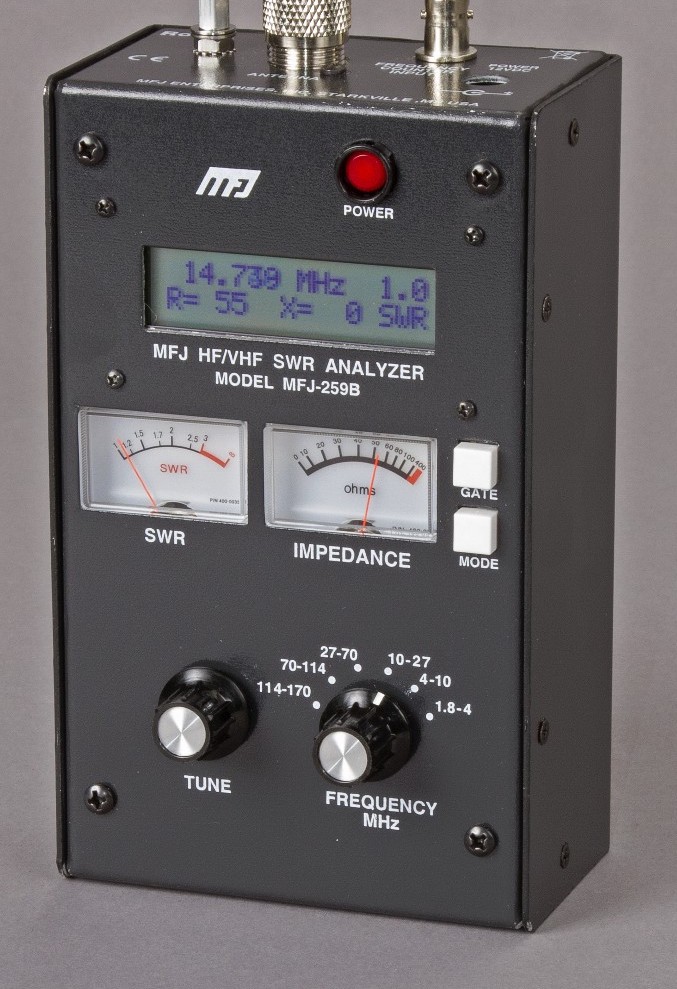
Many years ago I had an MFJ-259B antenna analyser that I used for all my HF antenna projects. It was a simple device with a couple of knobs, an LCD display and a meter but, it provided a great insight into the resonance of an antenna.
MFJ-259B Antenna Analyser
Today things have progressed somewhat and we now live in a world of Vector Network Analysers that not only display SWR but, can display a whole host of other information too.
Being an avid antenna builder I’ve wanted to buy an antenna analyser for some time but, now that I’m into the world of QO-100 satellite operations using frequencies at the dizzy heights of 2.4GHz I needed something more modern.
If you search online there are a multitude of Vector Network Analysers (VNAs) available from around the £50.00 mark right up to £1500 or more. Many of the VNAs you see on the likes of Amazon and Ebay come out of China and reading the reviews they aren’t particularly reliable or accurate.
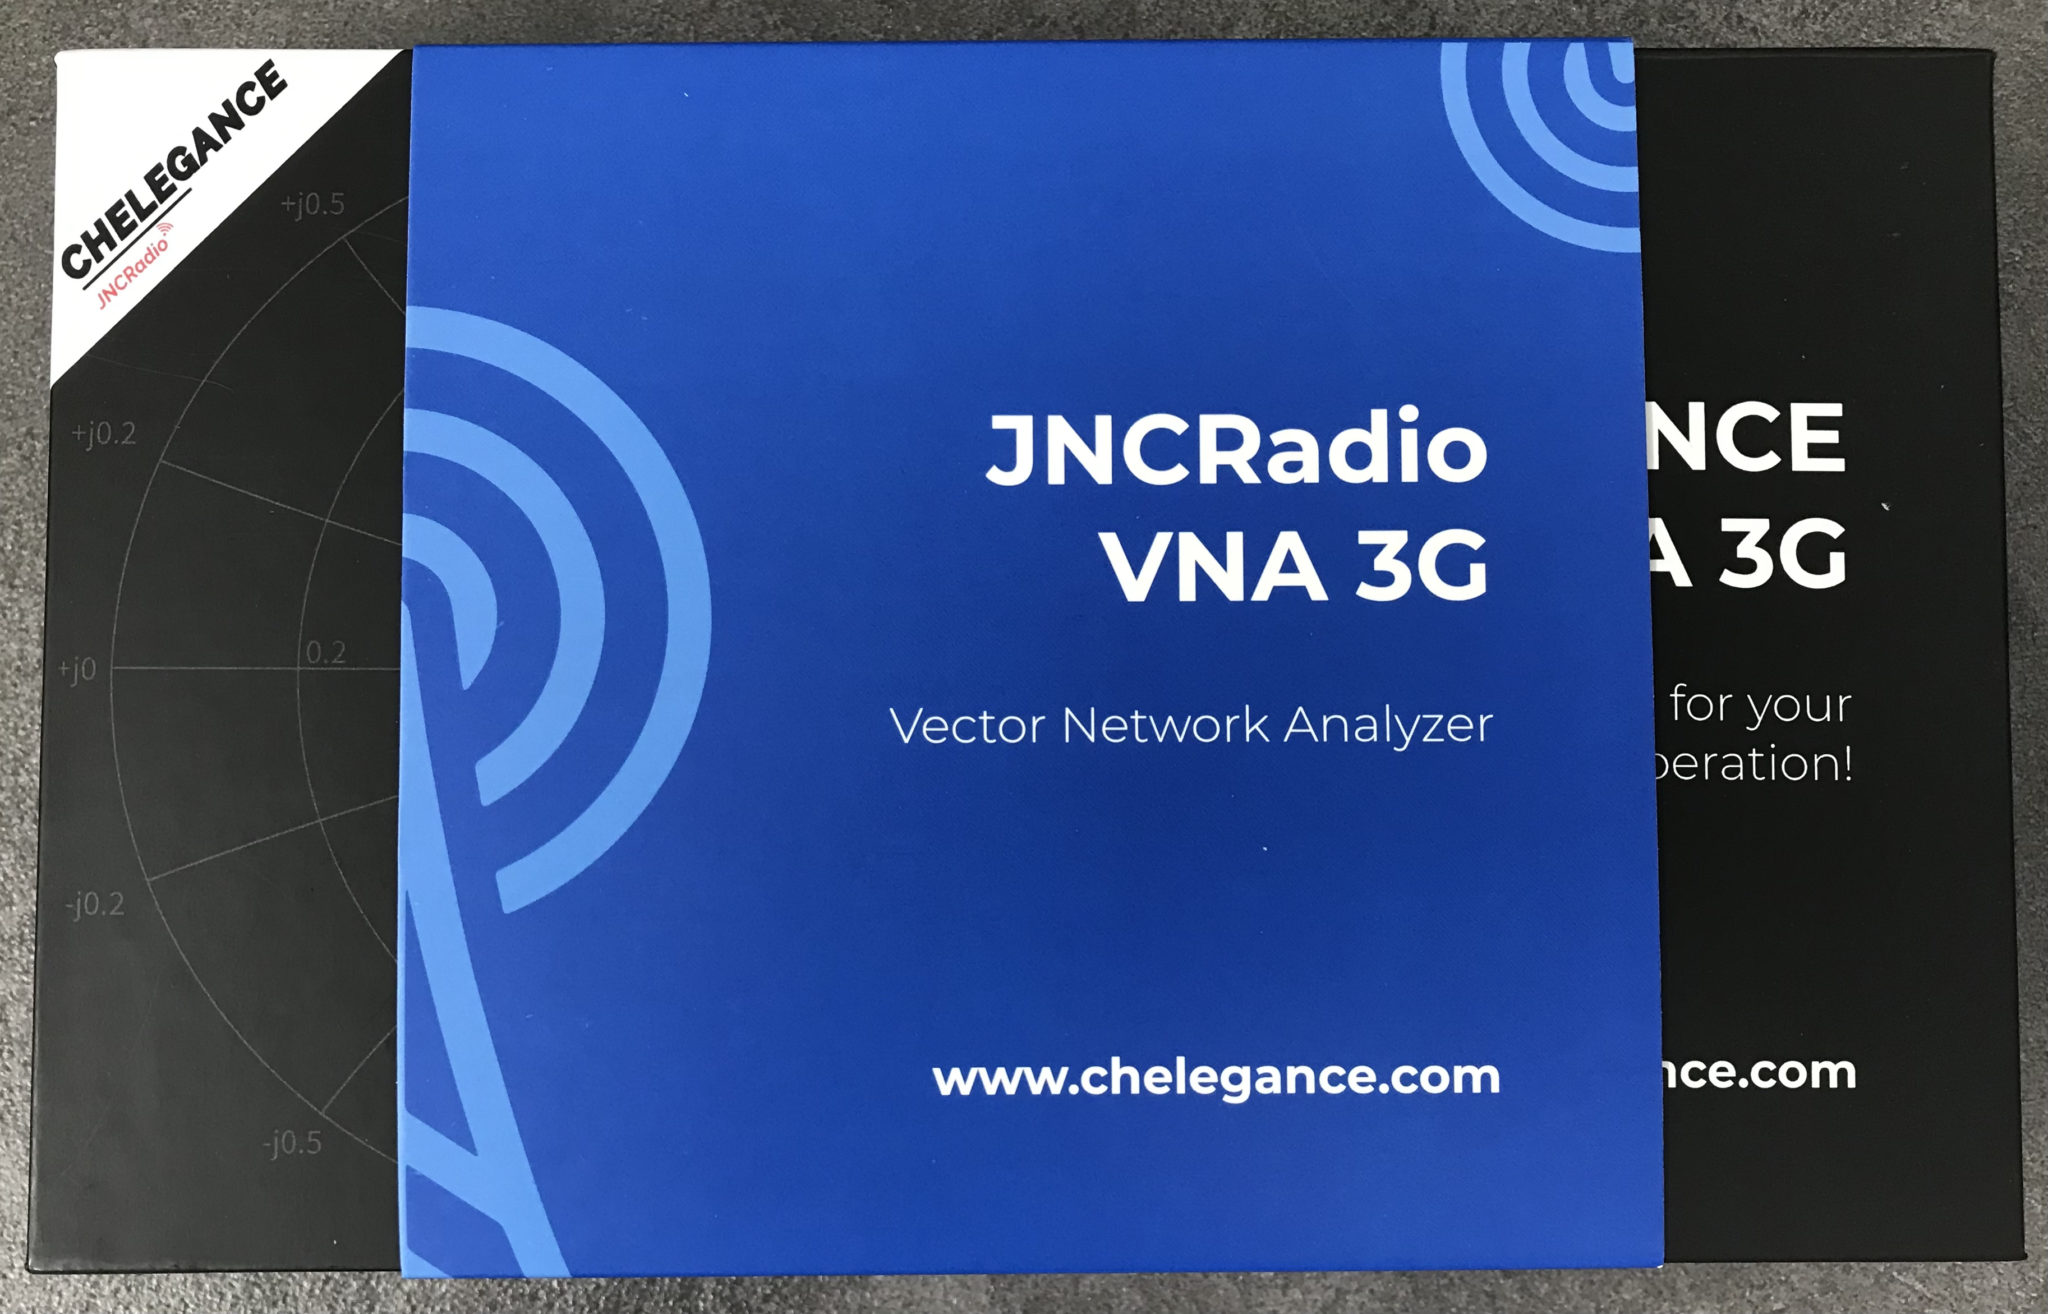
After much research I settled on the JNCRadio VNA 3G, it gets really good reviews and is very sensibly priced. Putting a call into Gary at Martin Lynch and Sons (MLANDS) we had a long chat about various VNAs, the pros and cons of each model and the pricing structure. It was tempting to spend much more on a far more capable device however, my sensible head kicked in and decided many of the additional features on the more expensive models would never get used and so I went back to my original choice.
Gary and I also had a long chat about building a QO-100 ground station, using NodeRed to control it and how to align the dish antenna. The guys at MLANDS will soon have a satellite ground station on air and I look forward to talking to them on the QO-100 transponder.
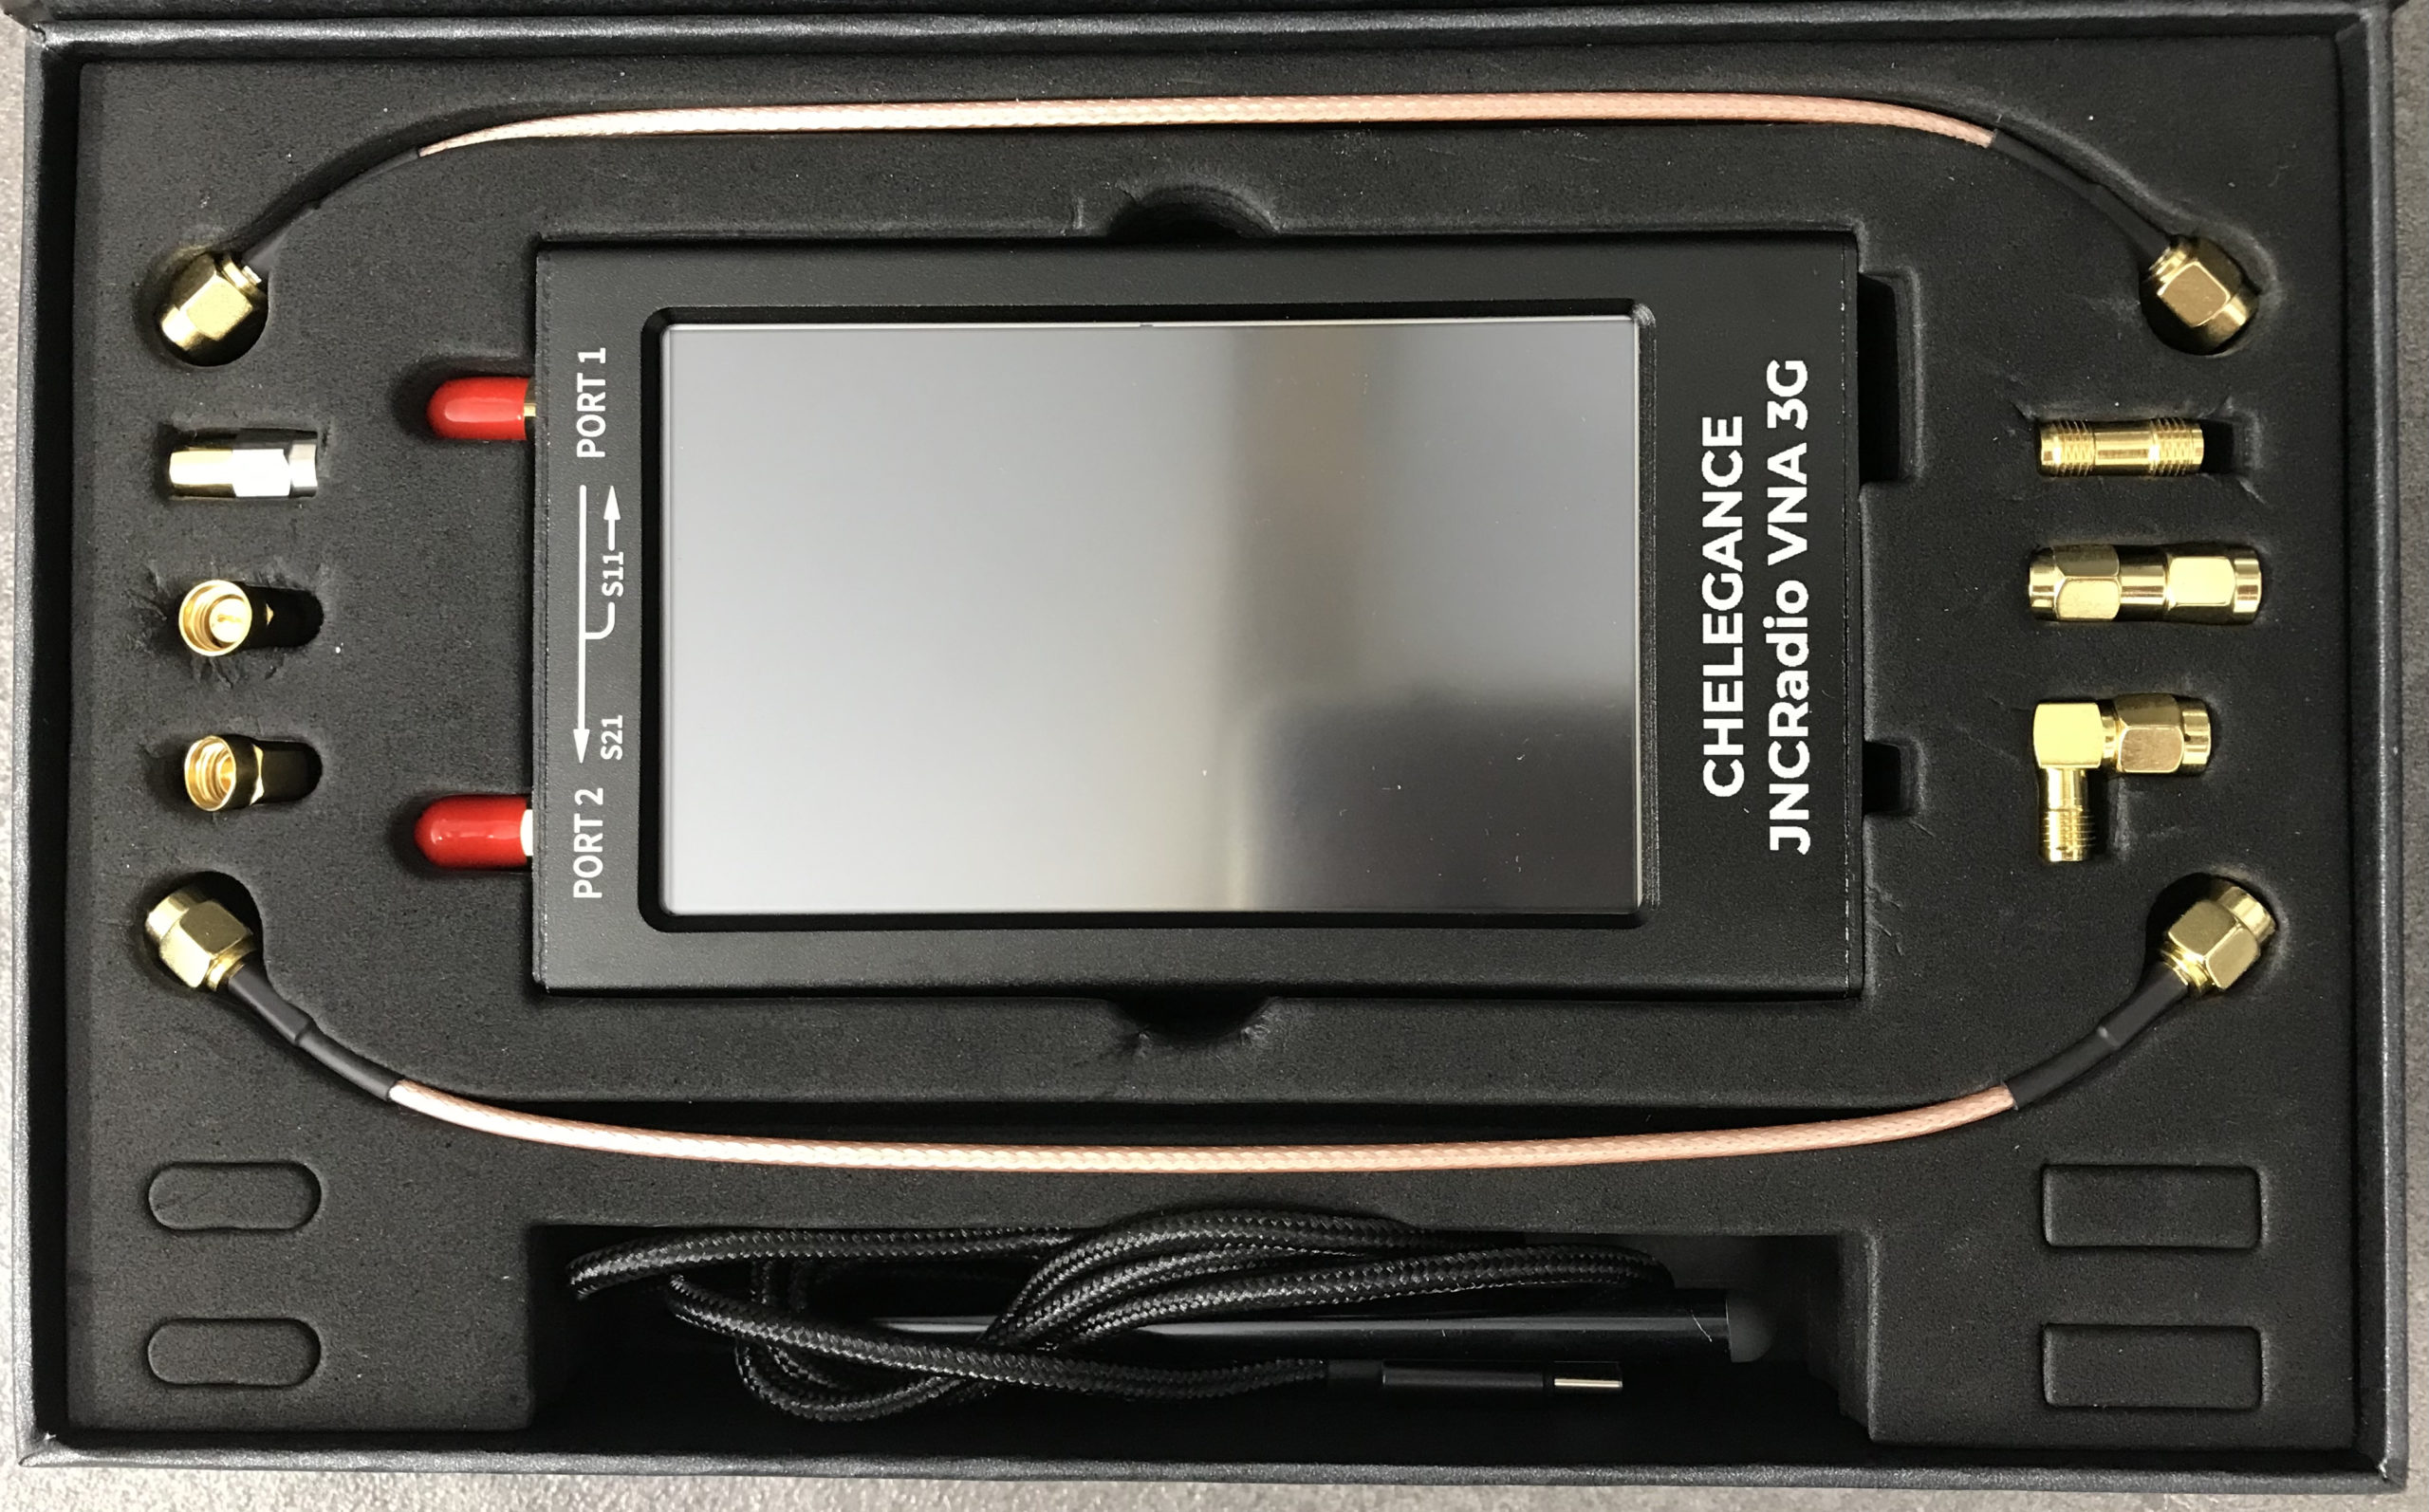
M0AWS – JNCRadio VNA 3G PackagingM0AWS – JNCRadio VNA 3G in box with connectors and cables
Initially I wanted to check the SWR of my QO-100 2.4GHz IceCone Helix antenna on my satellite ground station to ensure it was resonant at the right frequency. Hooking the VNA up to the antenna feed was simple enough using one of the cables provided with the unit and I set about configuring the start and stop stimulus frequencies (2.4GHz to 2.450GHz) for the sweep to plot the curve.
The resulting SWR curve showed that the antenna was indeed resonant at 2.4GHz with an SWR of 1.16:1. The only issue I had was that in the bright sunshine it was hard to see the display and impossible to get a photo. Setting the screen on the brightest setting didn’t improve things much either so this is something to keep in mind if you plan on using the device outside in sunny climates.
(My understanding is that the Rig Expert AA-3000 Zoom is much easier to see outside on a sunny day however, it will cost you almost £1200 for the privilege.)
A couple of days later I decided to check the SWR of my 20m band EFHW vertical antenna. I’ve known for some time that this antenna has a point of resonance below 14MHz but, the SWR was still low enough at the bottom of the 20m band to make it useable.
Hooking up the VNA I could see immediately that the point of resonance was at 13.650Mhz, well low of the 20m band and so I set about shortening the wire until the point of resonance moved up into the band.
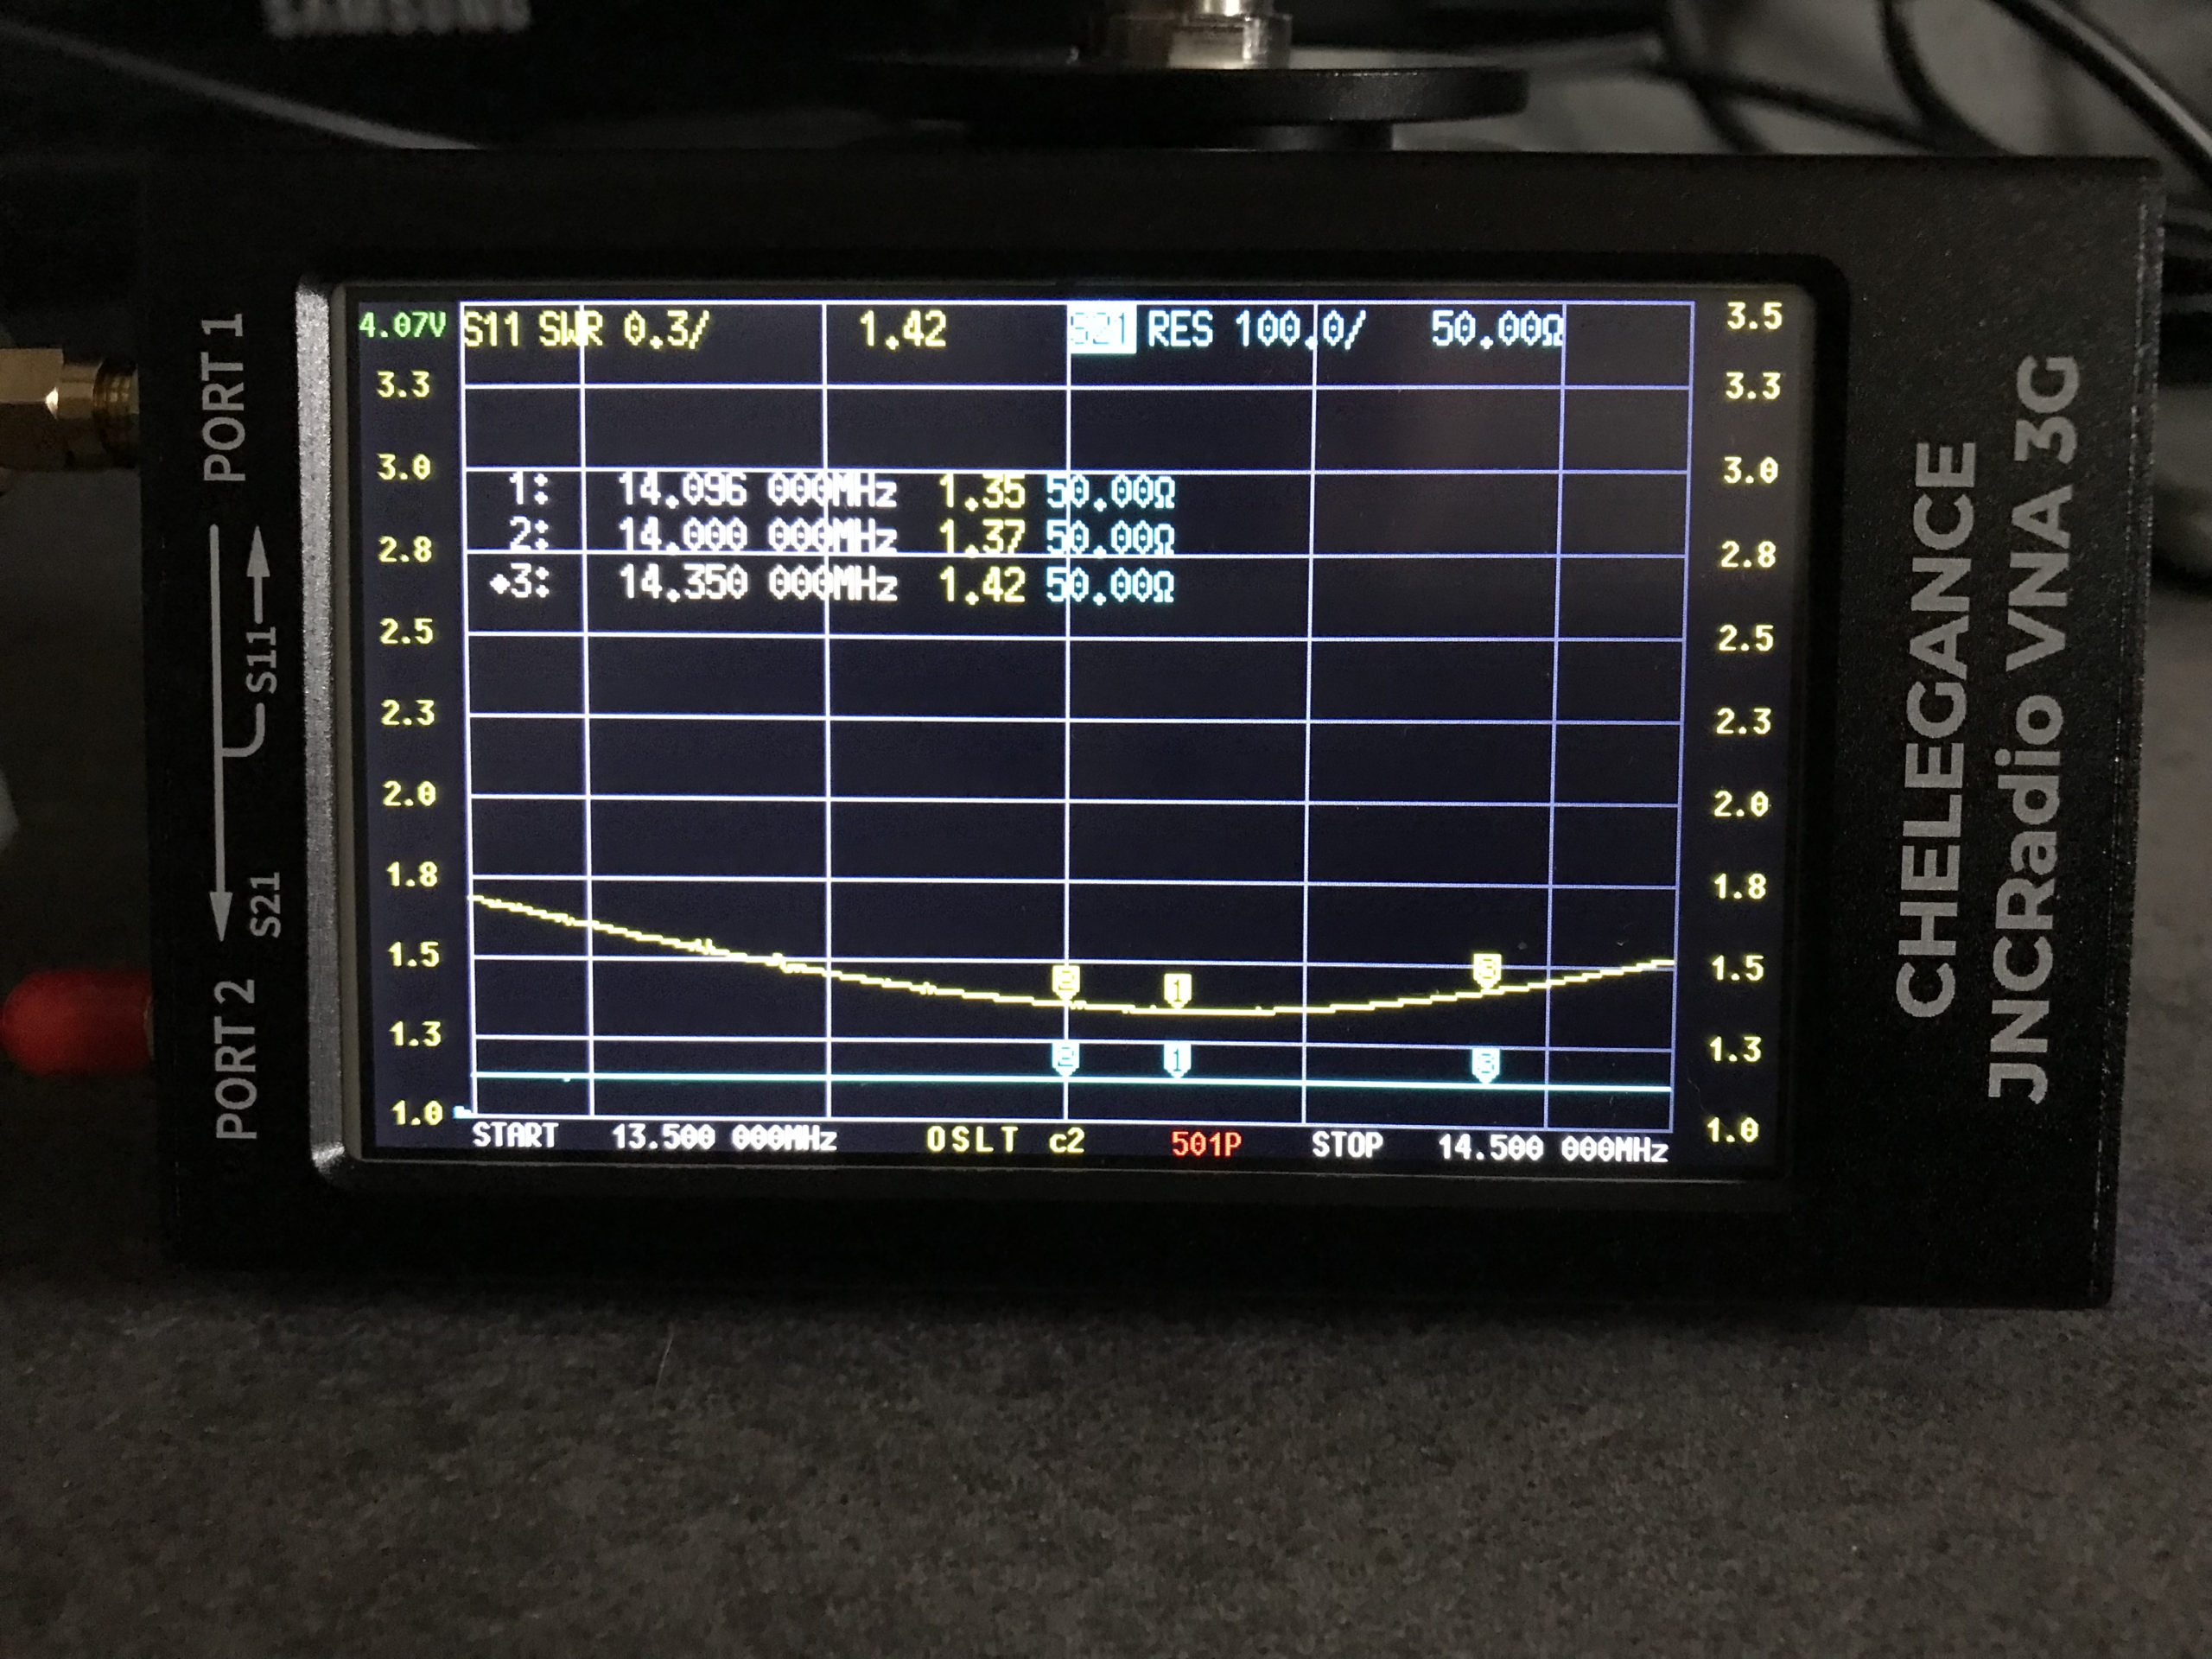
JNCRadio VNA3G showing 20m Band EFHW Resonance
With a little folding back of wire I soon had the point of resonance nicely into the 20m band with a 1.35:1 SWR at 14.208Mhz. This provides a very useable SWR across the whole band but, I decided I’d prefer the point of resonance to be slightly lower as I tend to use the antenna mainly on the CW & FT4/8 part of the band with my Icom IC-705 QRP rig.
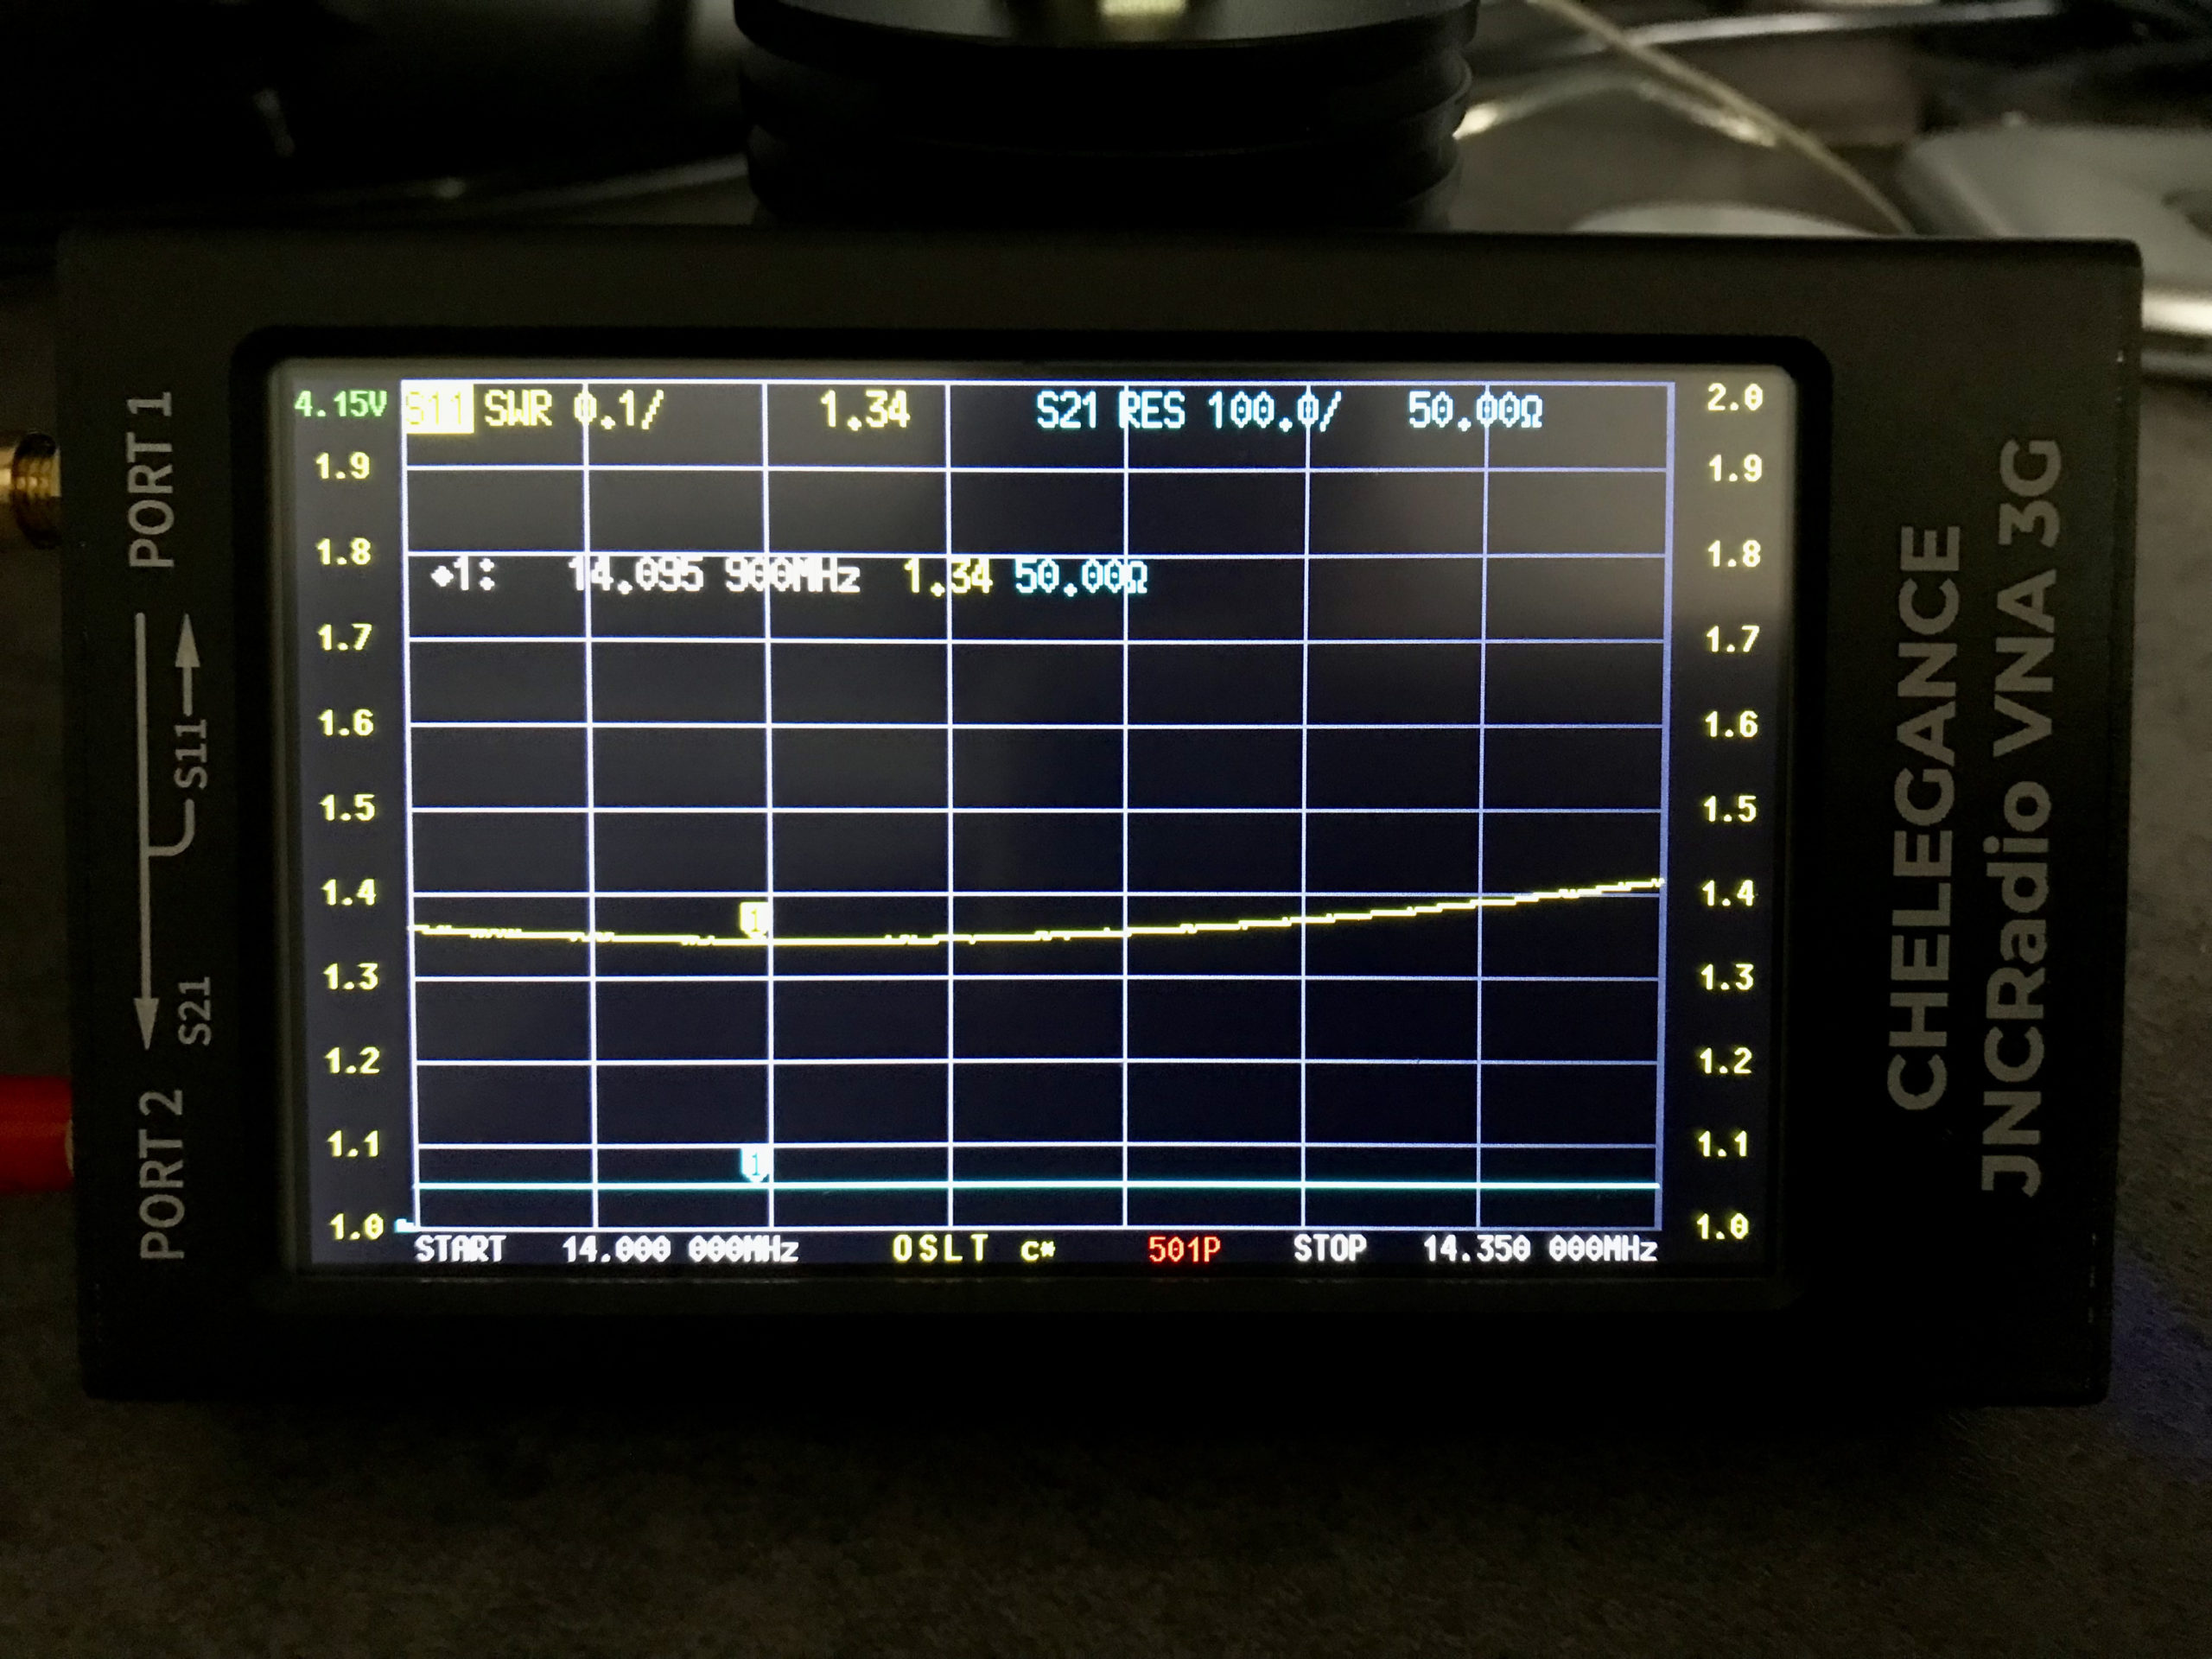
Popping out into the garden once more I lengthened the wire easily enough by reducing the fold back and brought the point of resonance down to 14.095Mhz.
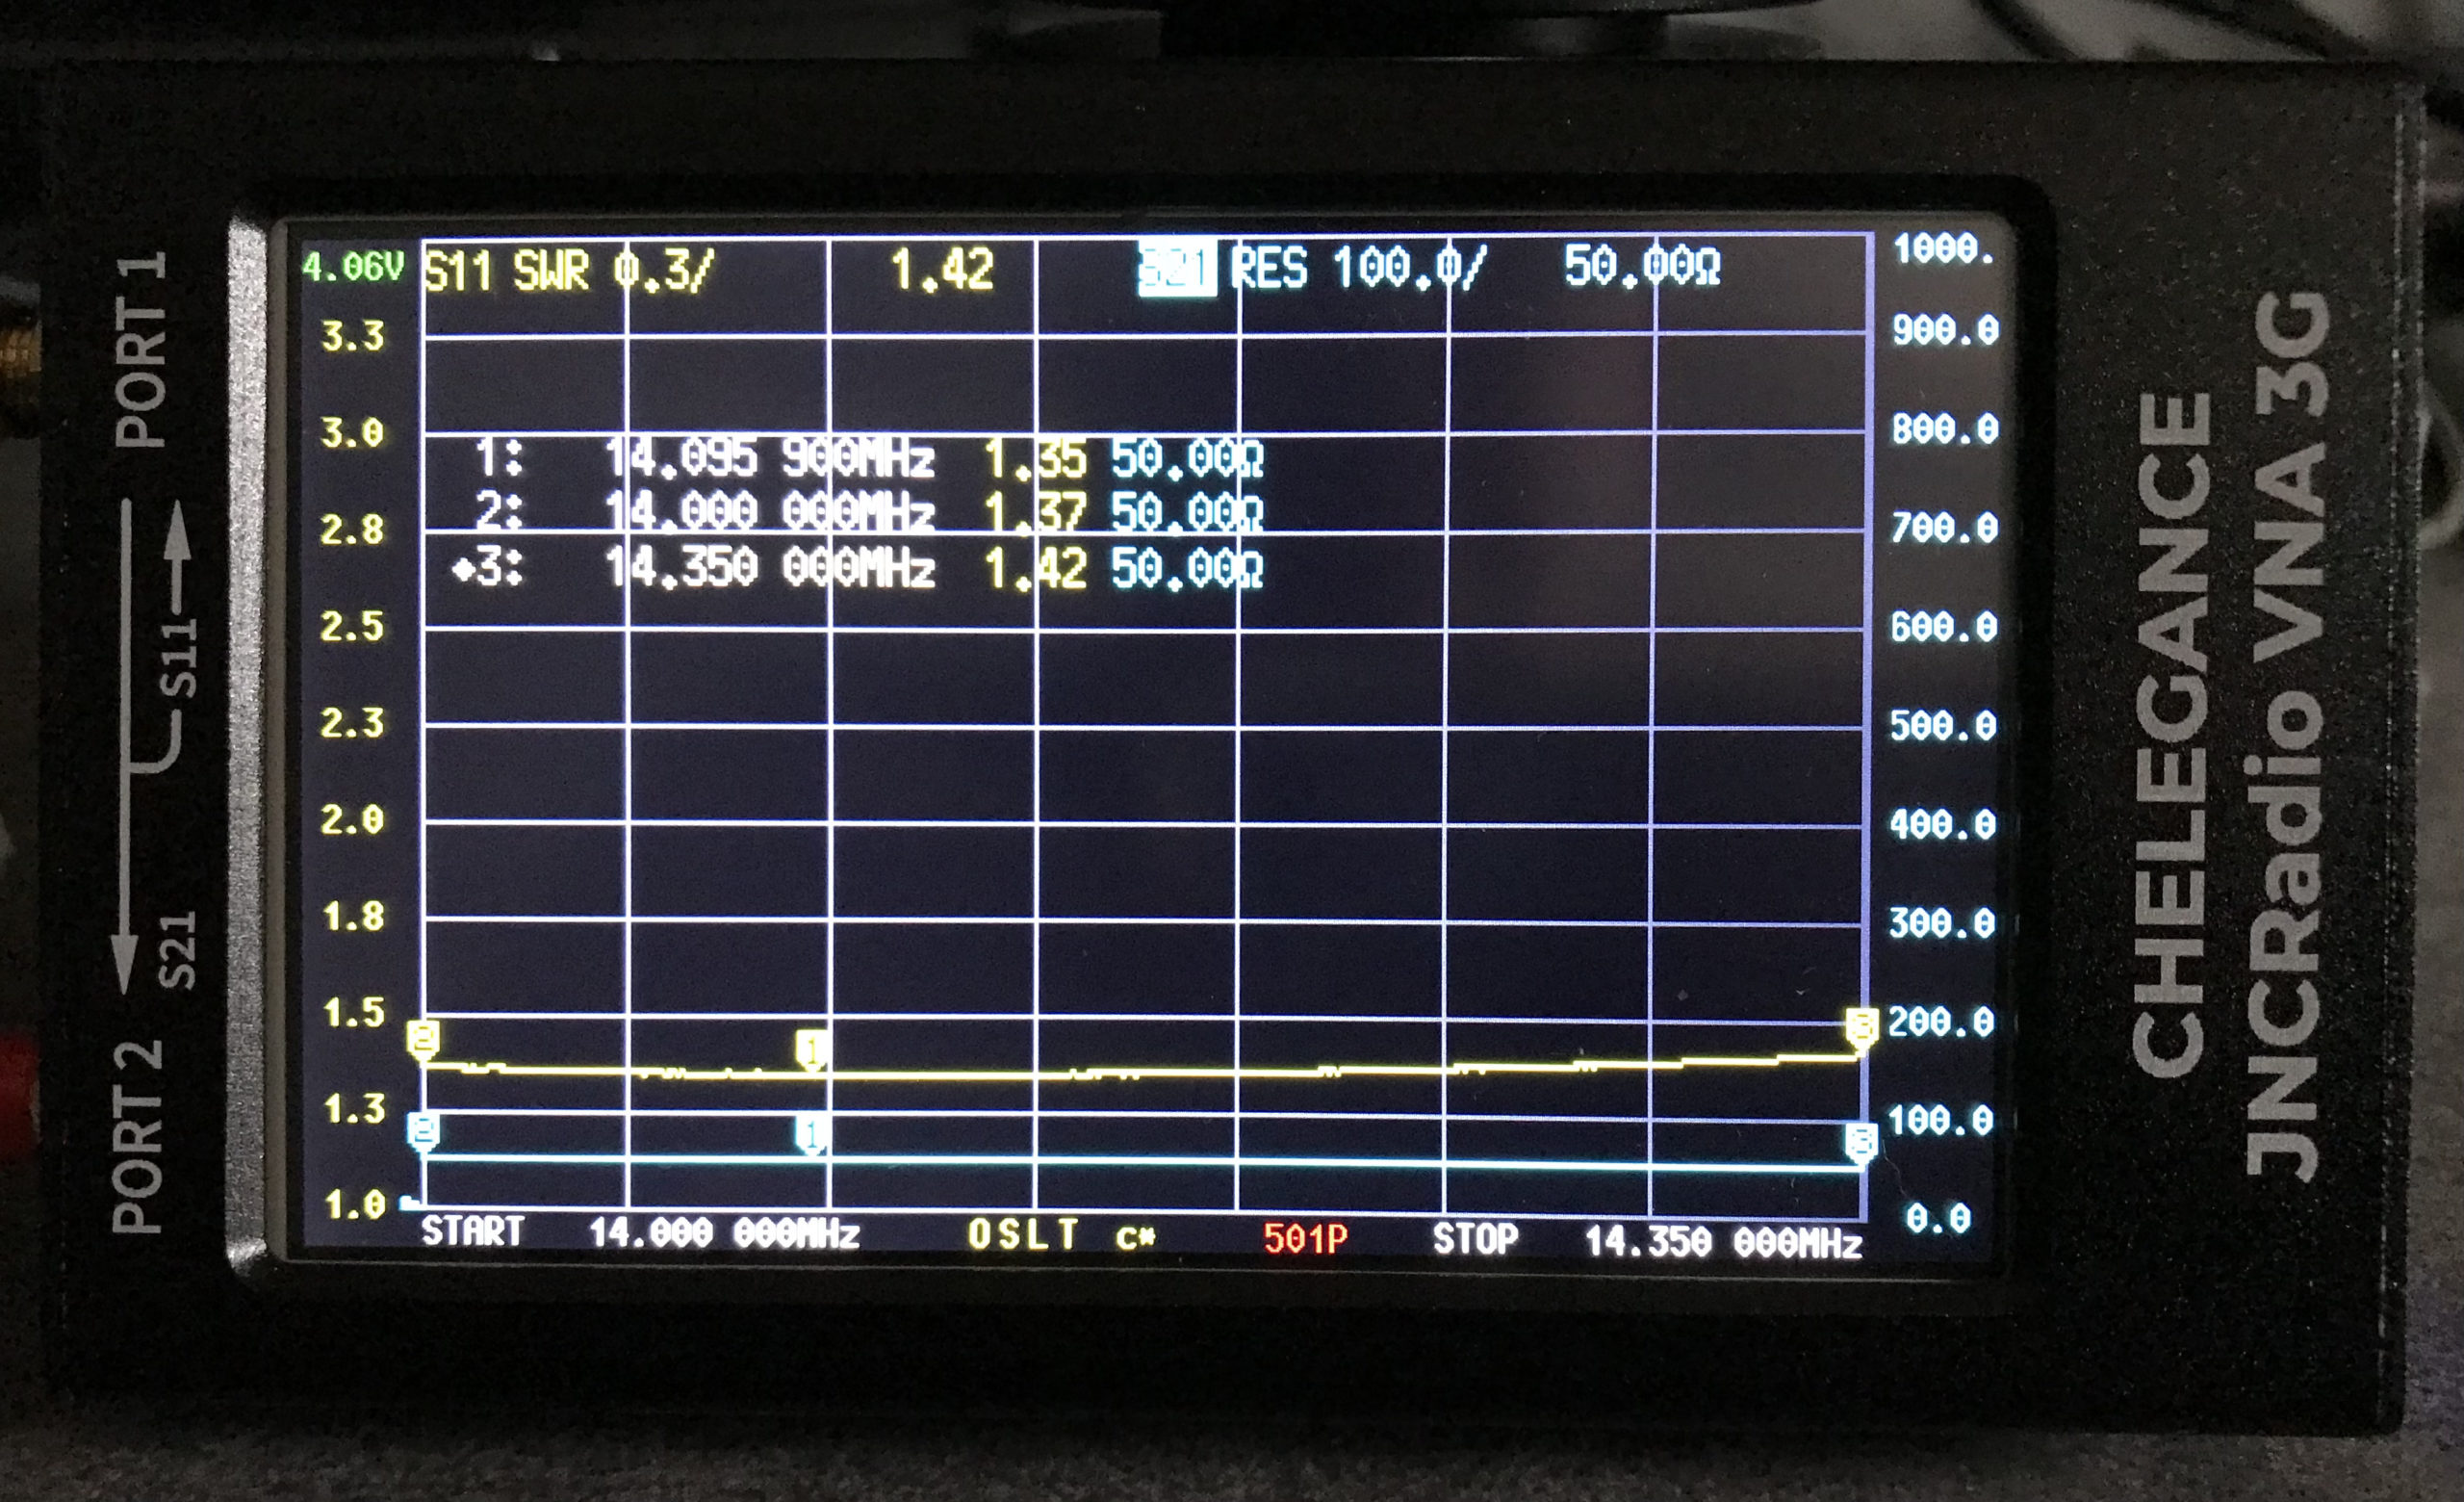
JNCRadio VNA3G showing 20m Band EFHW Resonance 14Mhz to 14.35Mhz Sweep
The VNA automatically updated the display realtime to show the new point of resonance on the 4.3in colour screen. I also altered the granularity of the SWR reading on the Y axis to show a more detailed view of the curve and reduced the frequency range on the X axis so that it showed a 14Mhz to 14.35Mhz sweep. With an SWR of 1.34:1 at 14.095Mhz and a 50 Ohm impedance, the antenna is perfectly resonant where I want it.
It’s interesting to note that the antenna is actually useable between 13.5Mhz and 14.5Mhz with a reasonable SWR across the entire frequency spread. Setting 3 markers on the SWR curve I could see at a glance the SWR reading at 14Mhz (Marker 2) , 14.350Mhz (Marker 3) and the minimum SWR reading at 14.095Mhz (Marker 1).
Since purchasing my new Begali Pearl morse key I’ve been wanting to install the 300hz CW filter into my Yaesu FTDX10. The radio comes standard from the factory with the 500z CW filter preinstalled however, being able to narrow the bandwidth down even further will help to reduce the ringing effect on noisy bands that often plaques CW Ops when trying to catch those very weak DX signals.
Since I had built up some free credit at ML&S by buying all my new radio equipment I decided to put it to good use and put it towards the cost of the optional 300hz filter for the radio.
In years past when I had a Yaesu FT1000MP I installed a full set of filters in it and it made quite a difference DXing on the 160/80/40m bands. Back then things like digital noise reduction (DNR) were in their infancy and so narrow filters were even more important than they are today.
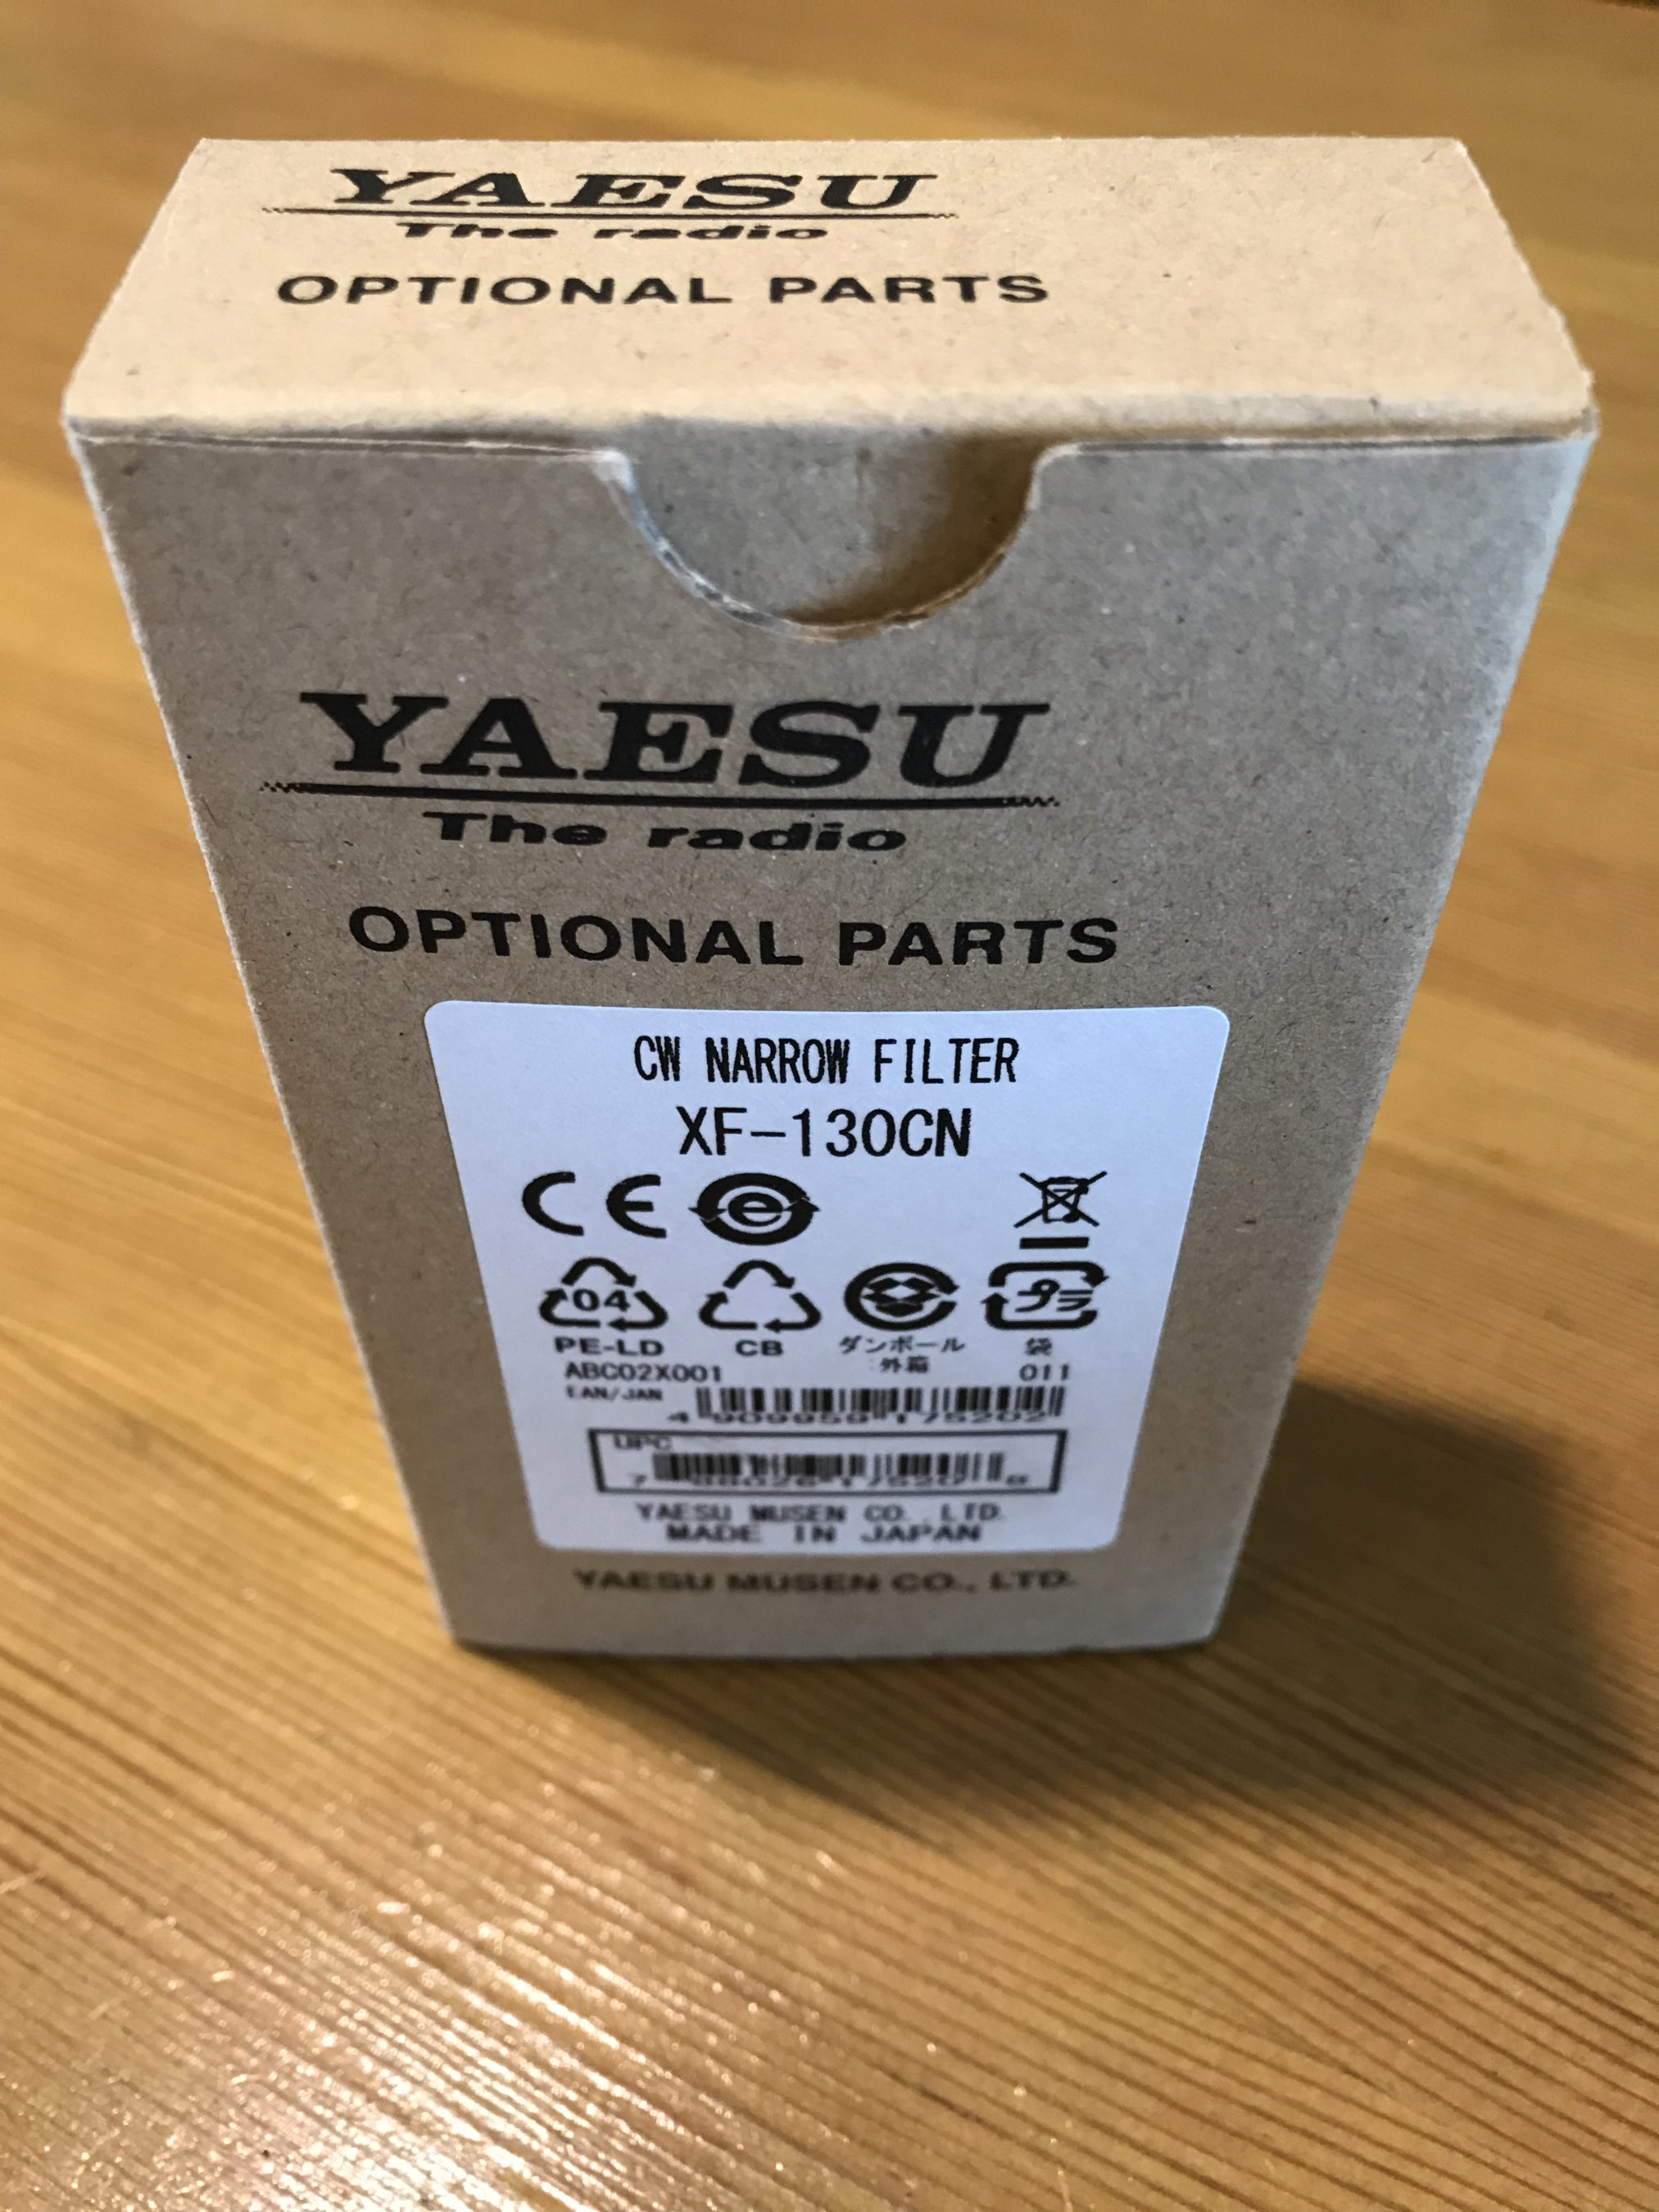
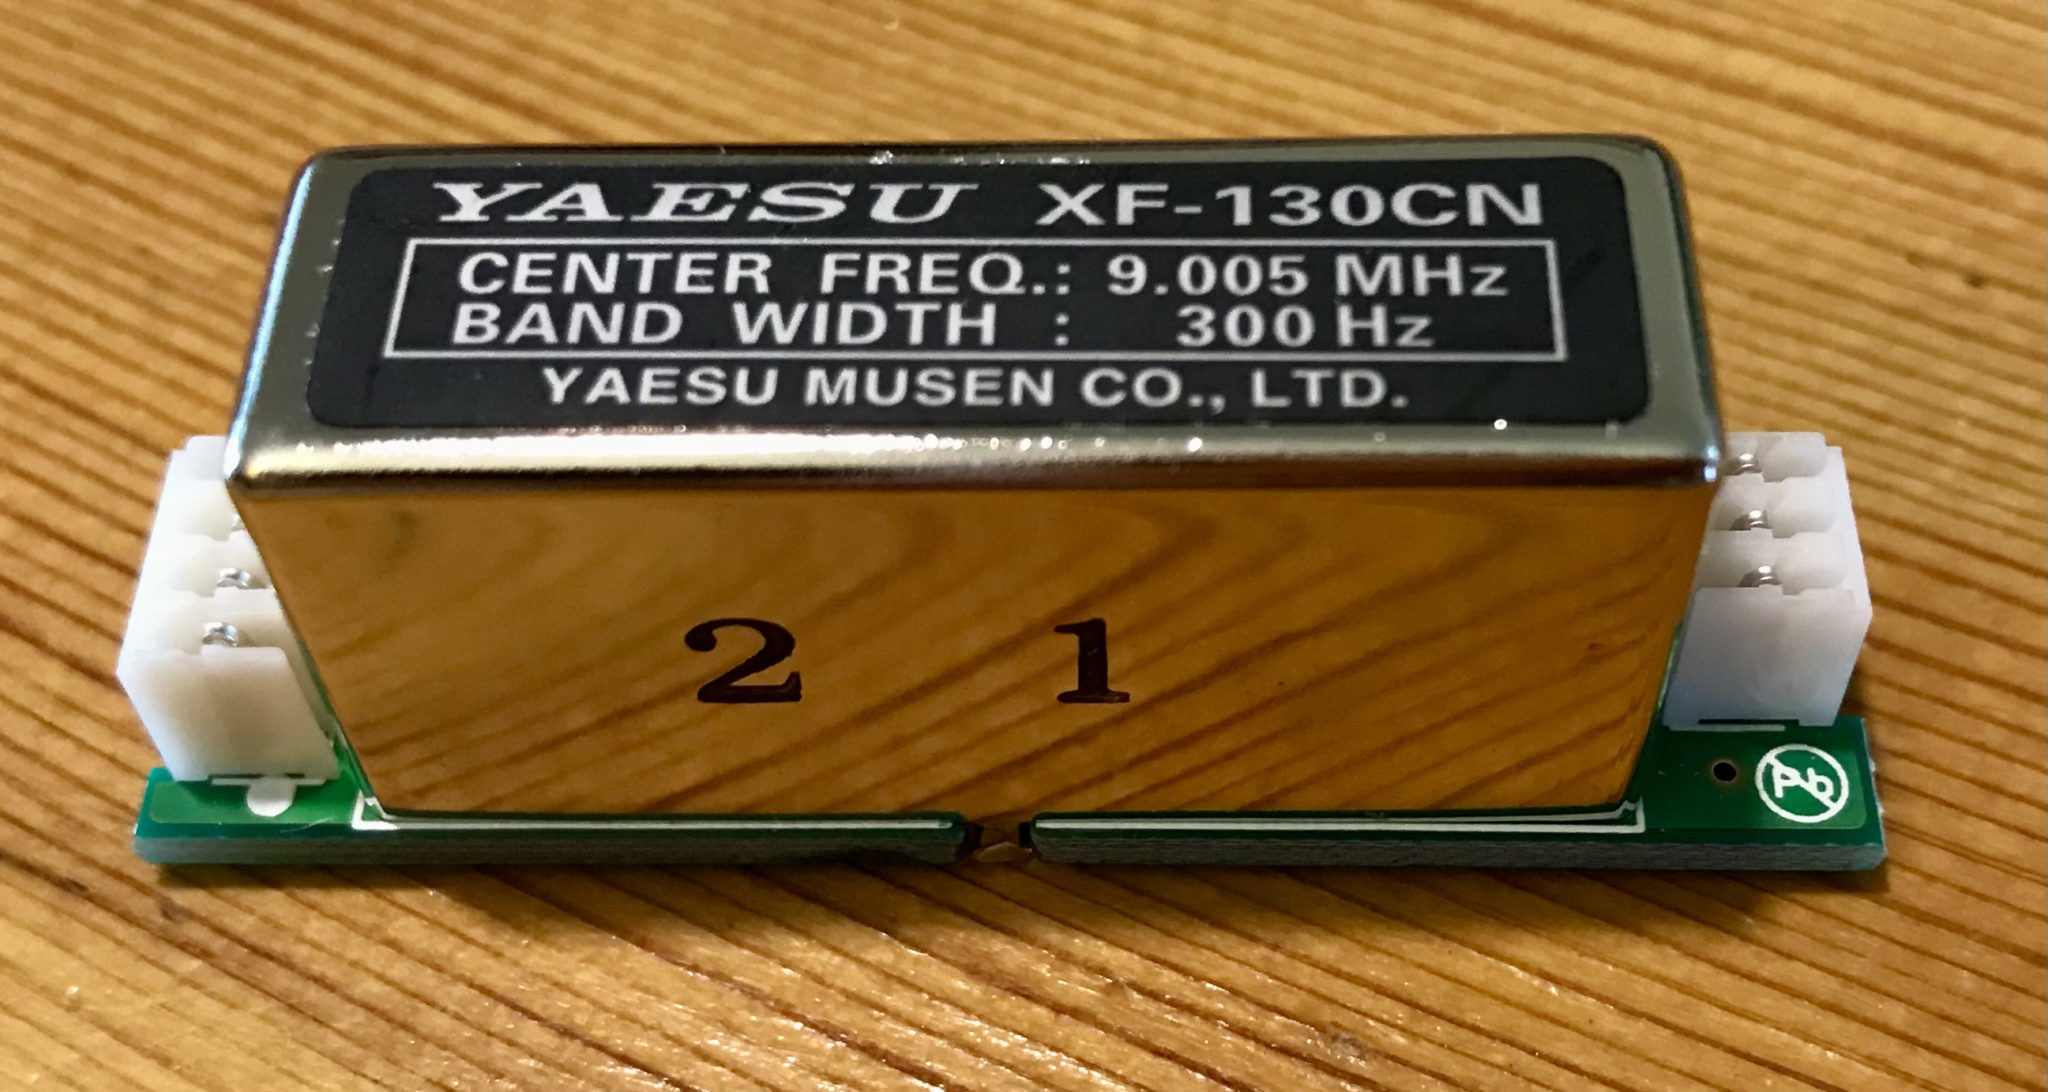
Yaesu XF-130CN 300hz CW Filter for the FTDX10
The FTDX10 300hz filter looked very similar to the ones I fitted in the FT1000MP and it doesn’t look like they’ve changed at all over the years.
Yaesu XF-130CN 300hz CW Filter
Removing the cover from the FTDX10 it’s immediately apparent where the filter goes. A neat little cutout in the RF shield draws your eye immediately to the spot.
Cutout in the RF shield for the optional 300hz filter
Fitting the filter is easy enough however, you do have to take care to move the little black wire to one side otherwise it gets caught under the filter and stops it from seating properly onto its connections. There’s not a lot of slack on the wire either so care is needed to not pull it too taught.
Note the black wire on the right hand site of the connections for the 300hz filter
I was surprised to see how small the standard 500hz filter is in comparison to the optional 300hz filter.
Optional 300hz filter next to the factory fitted 500hz filter
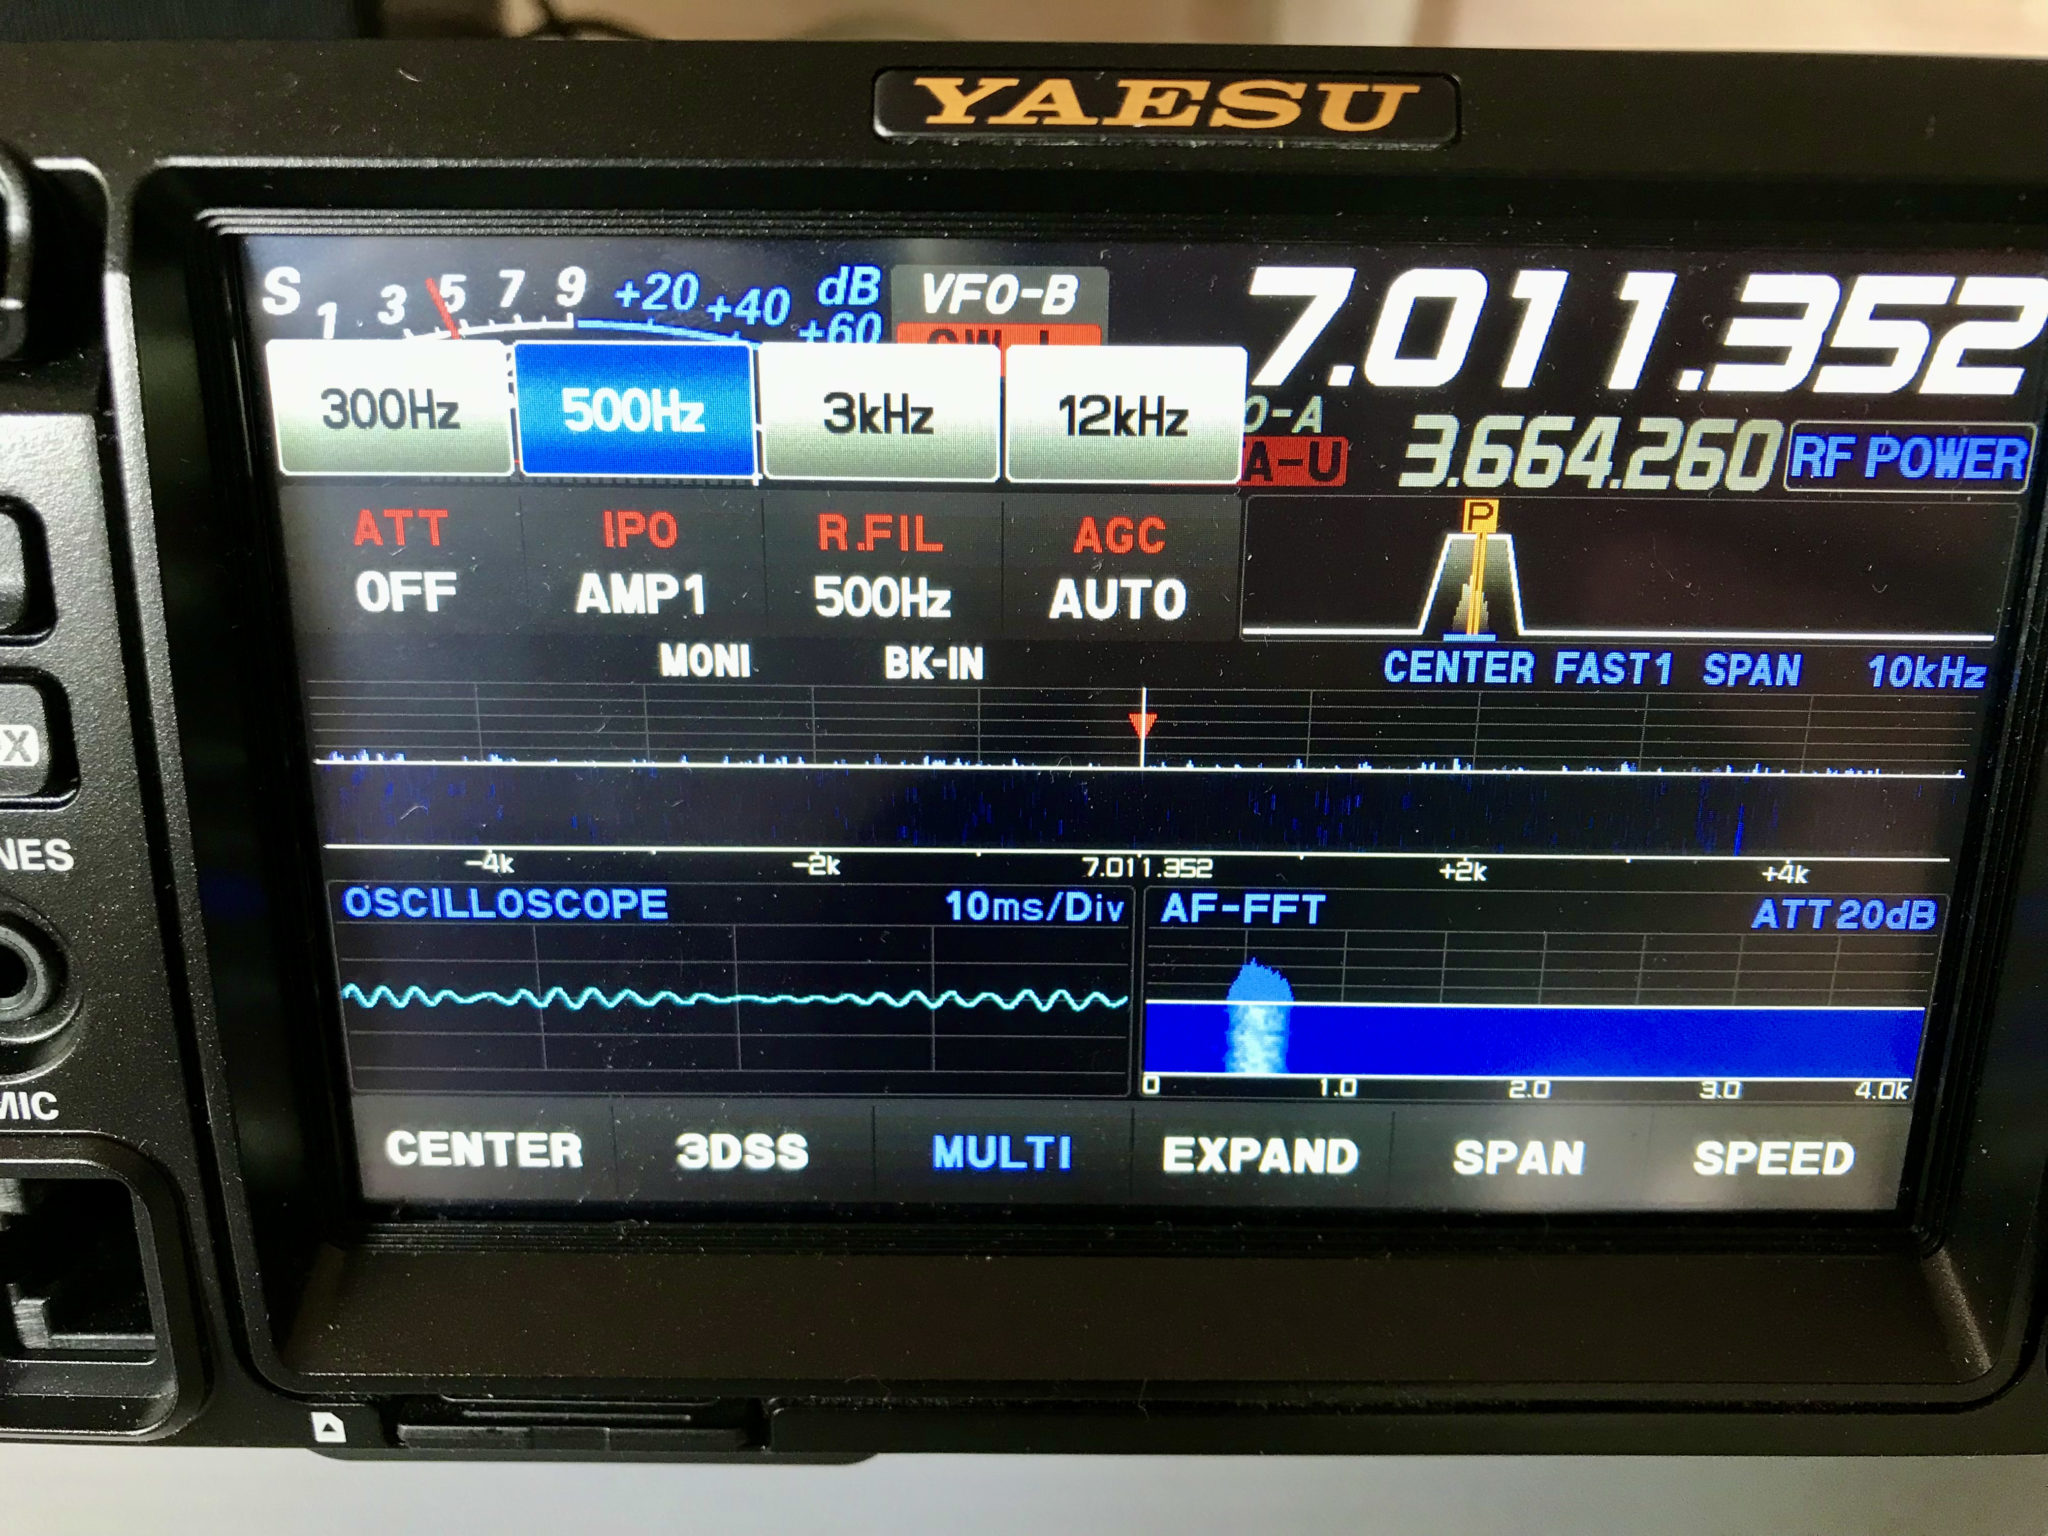
With the filter safely in position and seated perfectly I had the cover and 9 screws back on in no time at all and then got the radio powered up to check if the menu system had the option of a 300hz filter in CW mode.
FTDX10 CW filter menu with 300hz option
Getting on air the filter makes quite a difference to the amount of background noise when listening to weak DX stations. Adding DNR and APF to the equation removes all background noise completely with the 300hz filter making it possible to hear the weakest of CW stations and complete silence in-between.
The bands aren’t in particularly good shape today however, I tuned around on the 20m band and found W7SW in Phoenix Arizona calling CQ. He wasn’t particularly strong but, it was a good opportunity to experience the difference between the filters without any DNR or APF enhancement.
Short video showing difference between 500hz and 300hz filters with W7SW calling CQ
Unfortunately W7SW disappeared before I could make another short video with the DNR and APF on to show the difference. I’ll revisit this again soon and get some video snippets up showing the difference the optional 300hz filter makes with DNR and APF.
After my disappointment with the Vine RST-TP1 twin paddle that I bought and subsequently returned to Martin Lynch and Sons due to the poor build quality and finish I continued my hunt for a morse key.
During my conversation with Tony, the sales manager at ML&S one thing he did say to me was that if I was really serious about morse code then there really was only one key to buy these days, a Begali from Italy.
Morse Code has always been my main mode ever since I passed my 12wpm morse test and obtained my M0AWS A class licence, it’s a mode I dearly love and get a huge amount of pleasure from. (It also helps to keep the little grey cells alive in retirement!)
So without delay I googled the Begali website and started looking at their offerings.
Begali do a fine range of twin paddle keys starting from €131.00 +VAT and shipping right up to almost €700+VAT and shipping, far more than I wanted to spend.
Having spent almost £180.00 inc VAT and shipping for the Vine RST-TP1 and being extremely disappointed with it I decided to spend a little more to ensure I bought something of quality that was going to last.
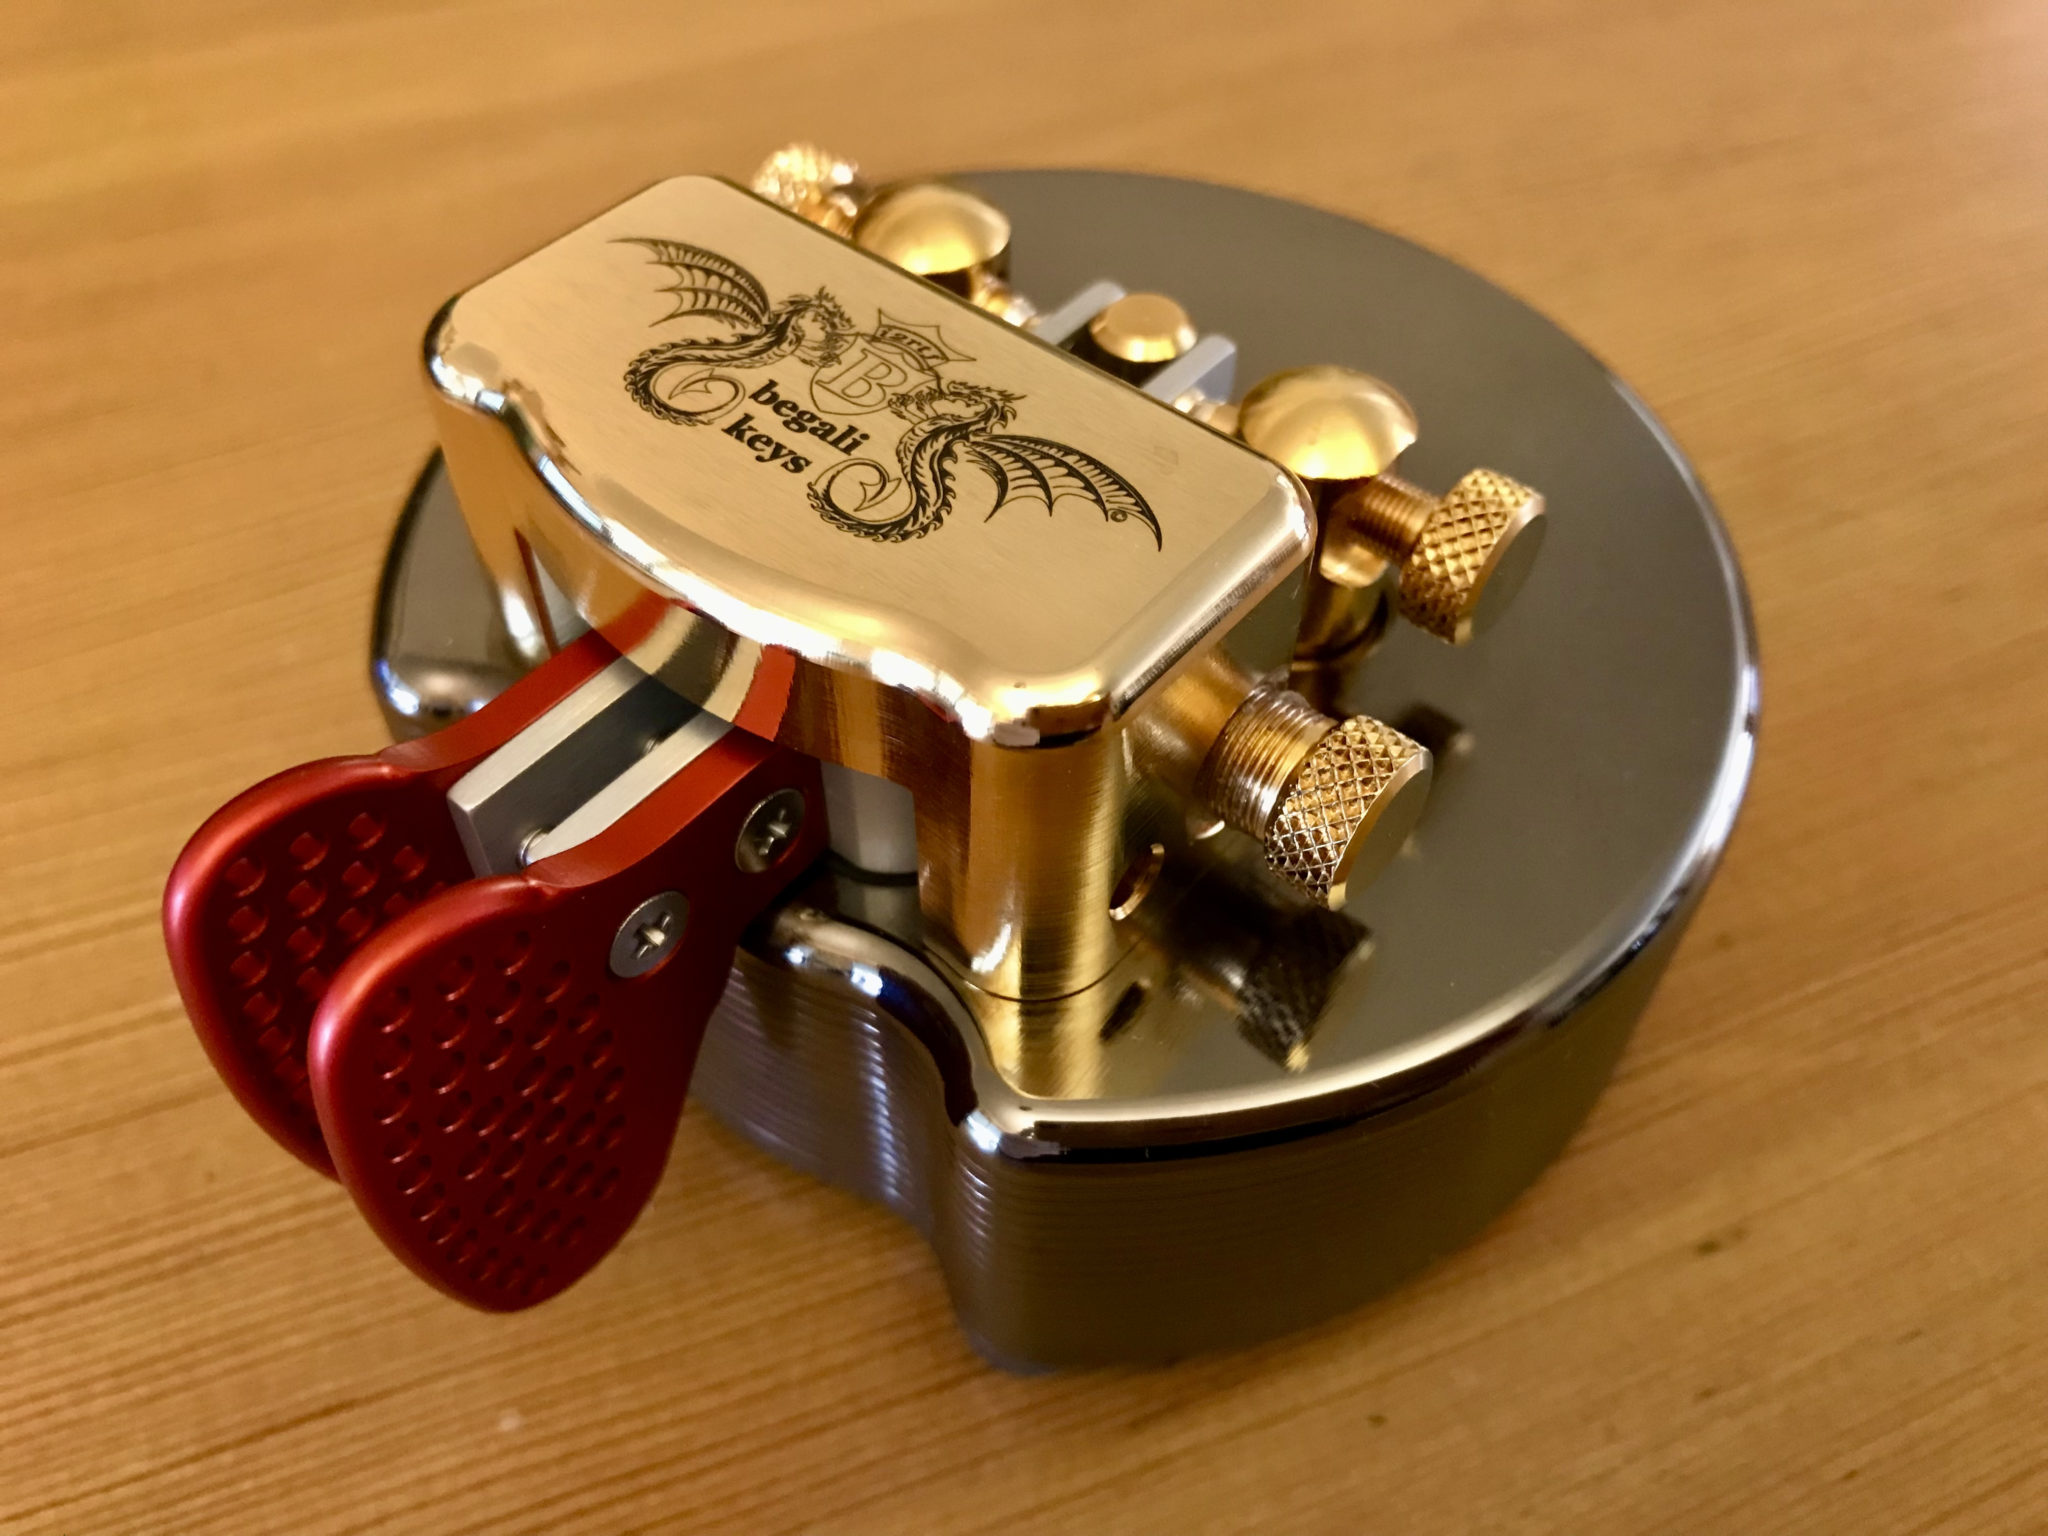
My Begali Pearl with Palladium base, gold top and red paddles, a thing of beauty
A couple of weeks after ordering the key arrived hassle free, a miracle considering the hassle Brexit has caused with import and export of goods between the U.K. and Europe.
Bruna at Begali assured me that they had a system in place that takes care of all the import taxes etc and that the delivery process would be smooth and trouble free, and indeed it was!
Upon opening the box I was taken by the sheer beauty of the key, beautifully finished, perfectly put together and well engineered. I knew this was going to be a pleasure to use before I’d even touched the paddles!
My Begali Pearl Twin Paddle Morse Key
Being left handed I’ve had to setup both my Yaesu FTDX10 and Icom IC-705 such that the dit and dah are reversed on the paddles but, once done I felt at home with the key very quickly.
Having been out of the hobby for some 15 years my morse is a little rusty so I set about doing a fair bit of listening before trying to work stations. To my surprise I was soon decoding stations at 20wpm in my head albeit with a little more thought than it used to take but, accurate enough to have a go at working a few stations.
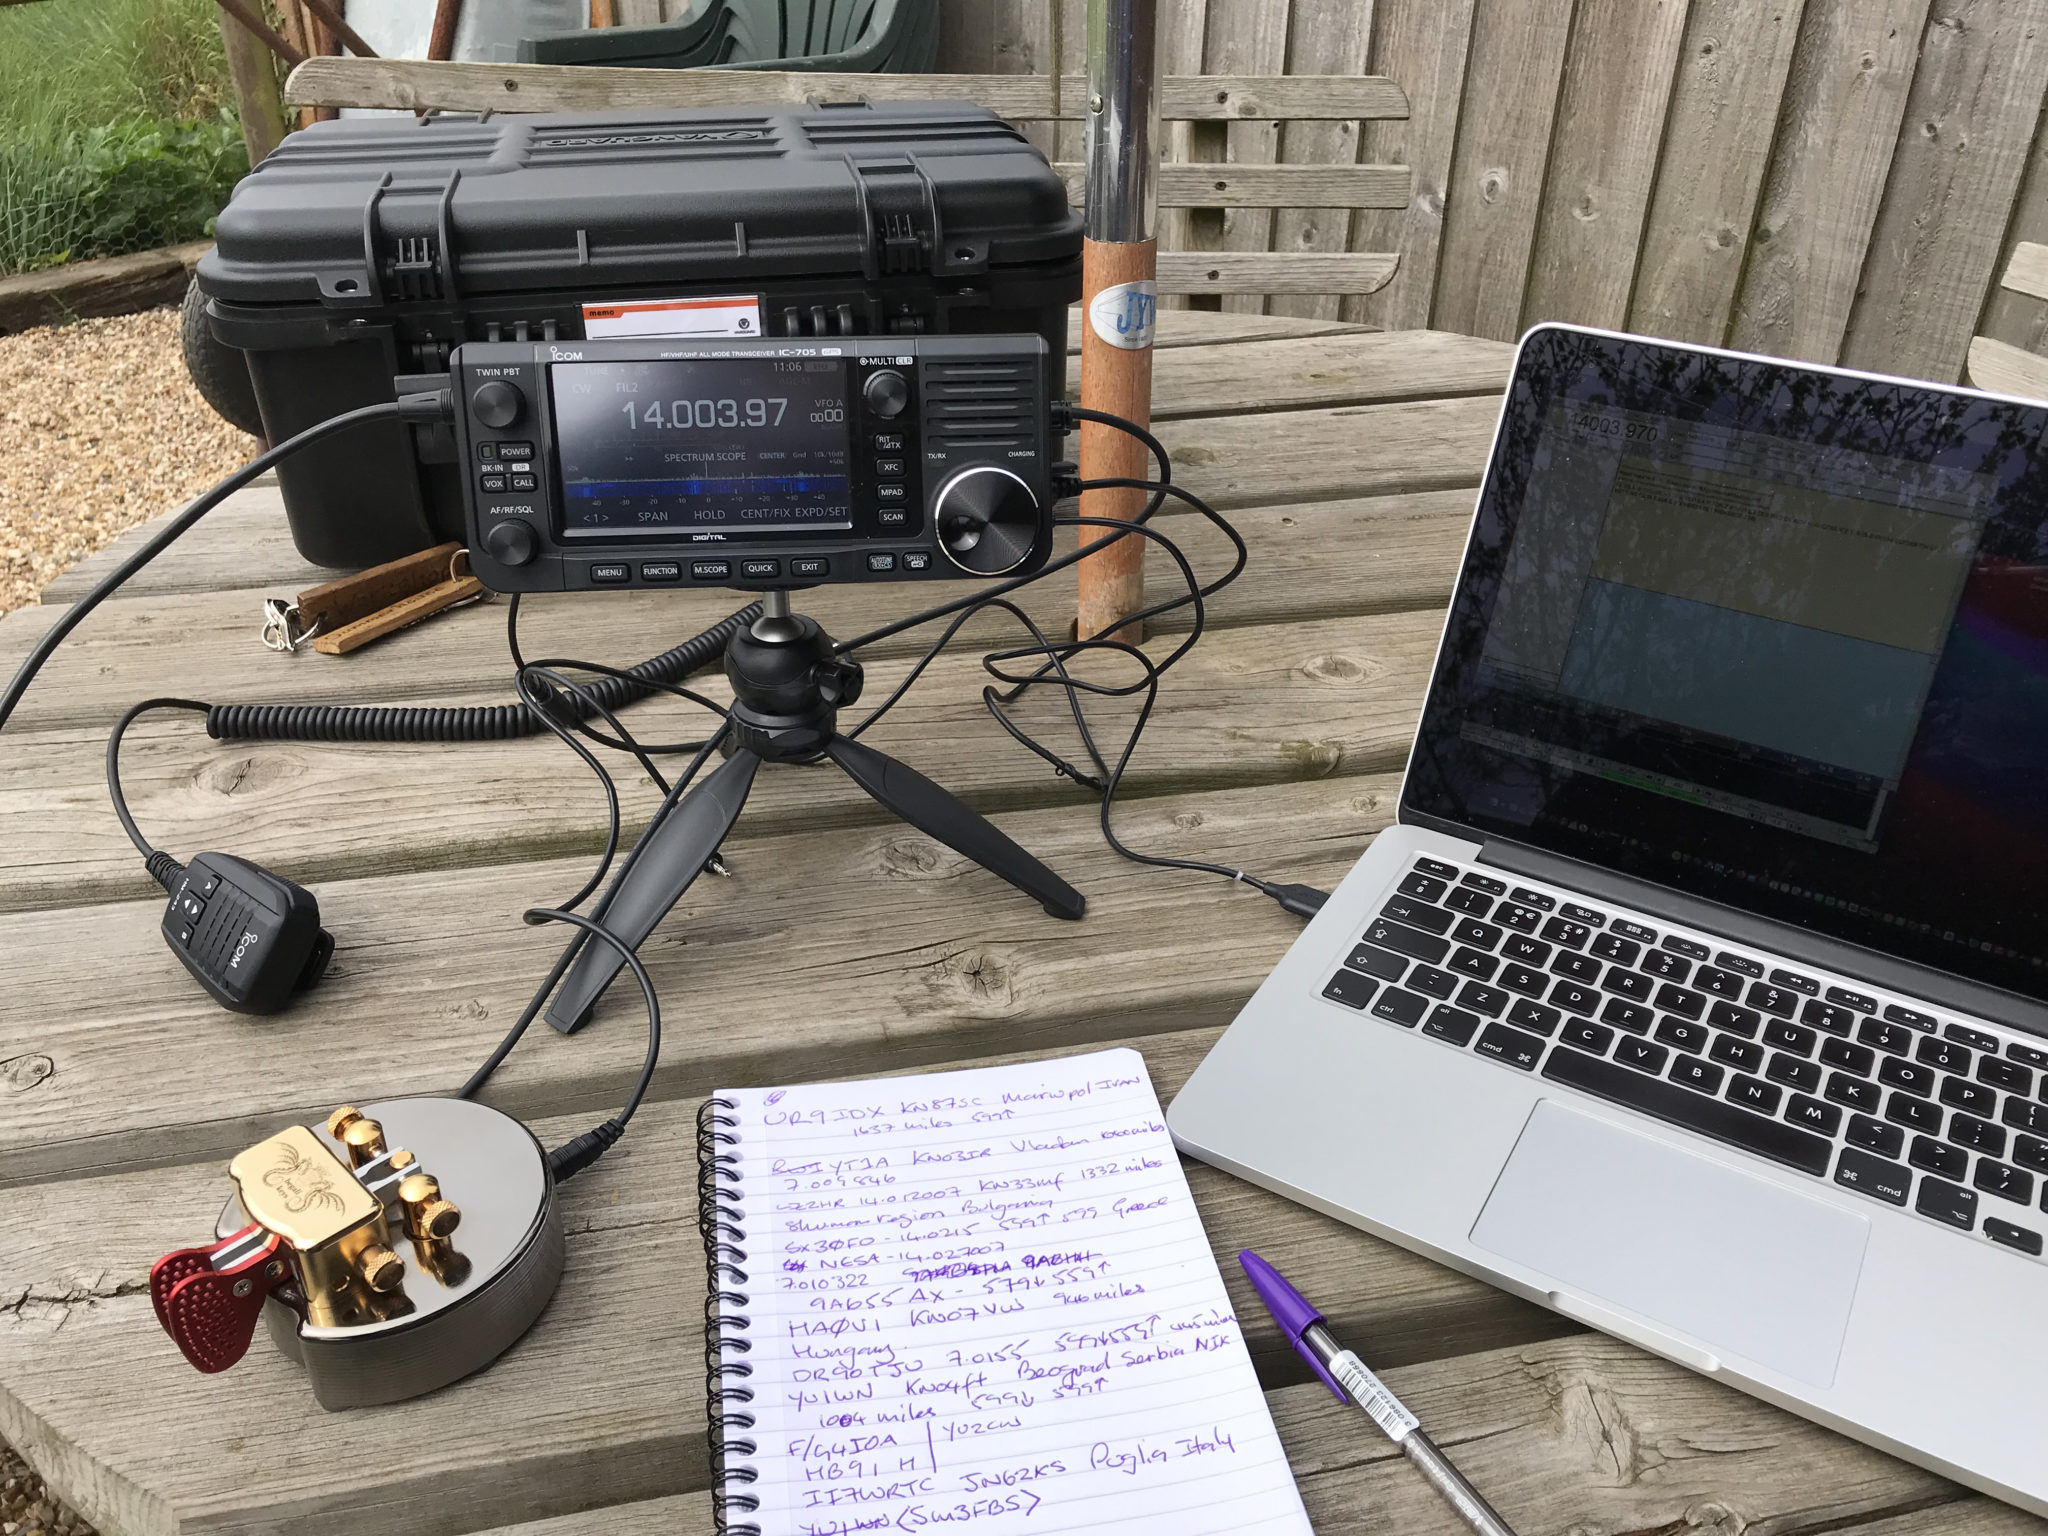
Working CW stations on 20m with the Begali Pearl Twin Paddle and Icom IC-705
Using the key is pure delight, it’s light to the touch, responsive, infinitely adjustable, comfortable and a joy to use. I knew right away that I had made the right decision.
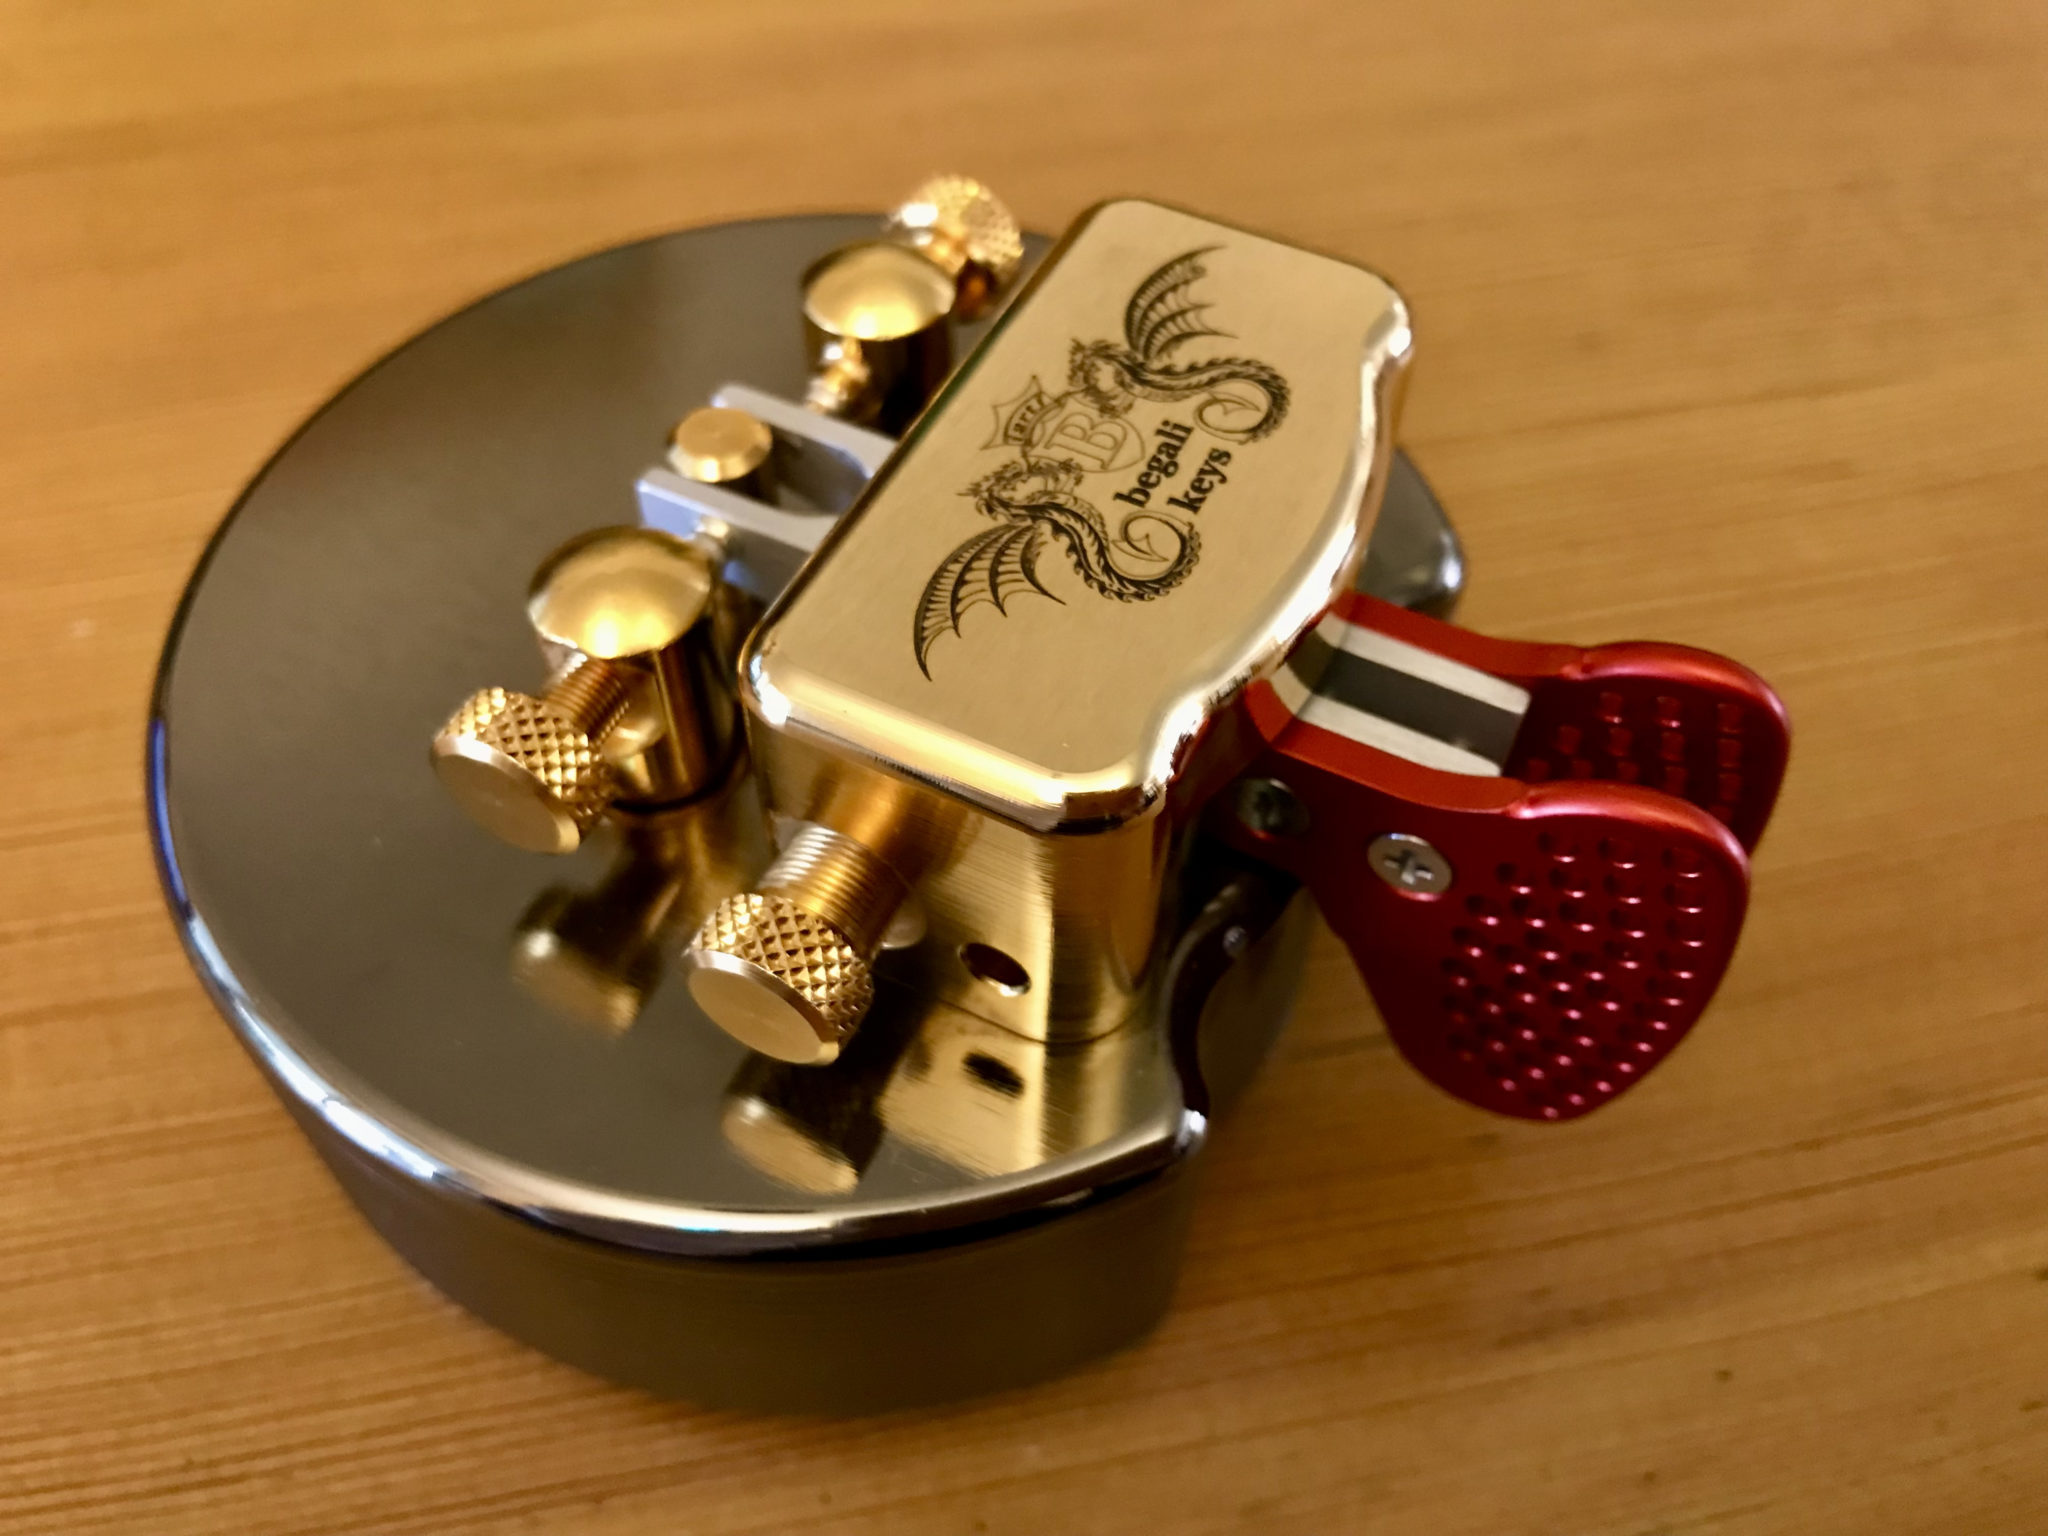
At 1.7kg it’s a heavy key which ensures it doesn’t move around the desk no matter how hard you lean on it. I find the key really relaxing to use as it only needs a gentle touch to bring the contacts together. Adjustment is super accurate thanks to the very fine threaded adjuster screws that have been beautifully machined.
It’s clear from the moment you get a Begali Pearl out of the box that it has been made with care and pride, something that is a rarity today.
Laser engraving on the Begali Pearl Twin Paddle Morse Key
I’ve decided that this key is going to be my main station key and will spend most of it’s life connected to my Yaesu FTDX10 radio, that means I need another key to go into my portable case with my IC-705. I’ve already made the decision what it’s going to be, of course it’ll be another Begali, the Simplex Basic Twin Paddle.
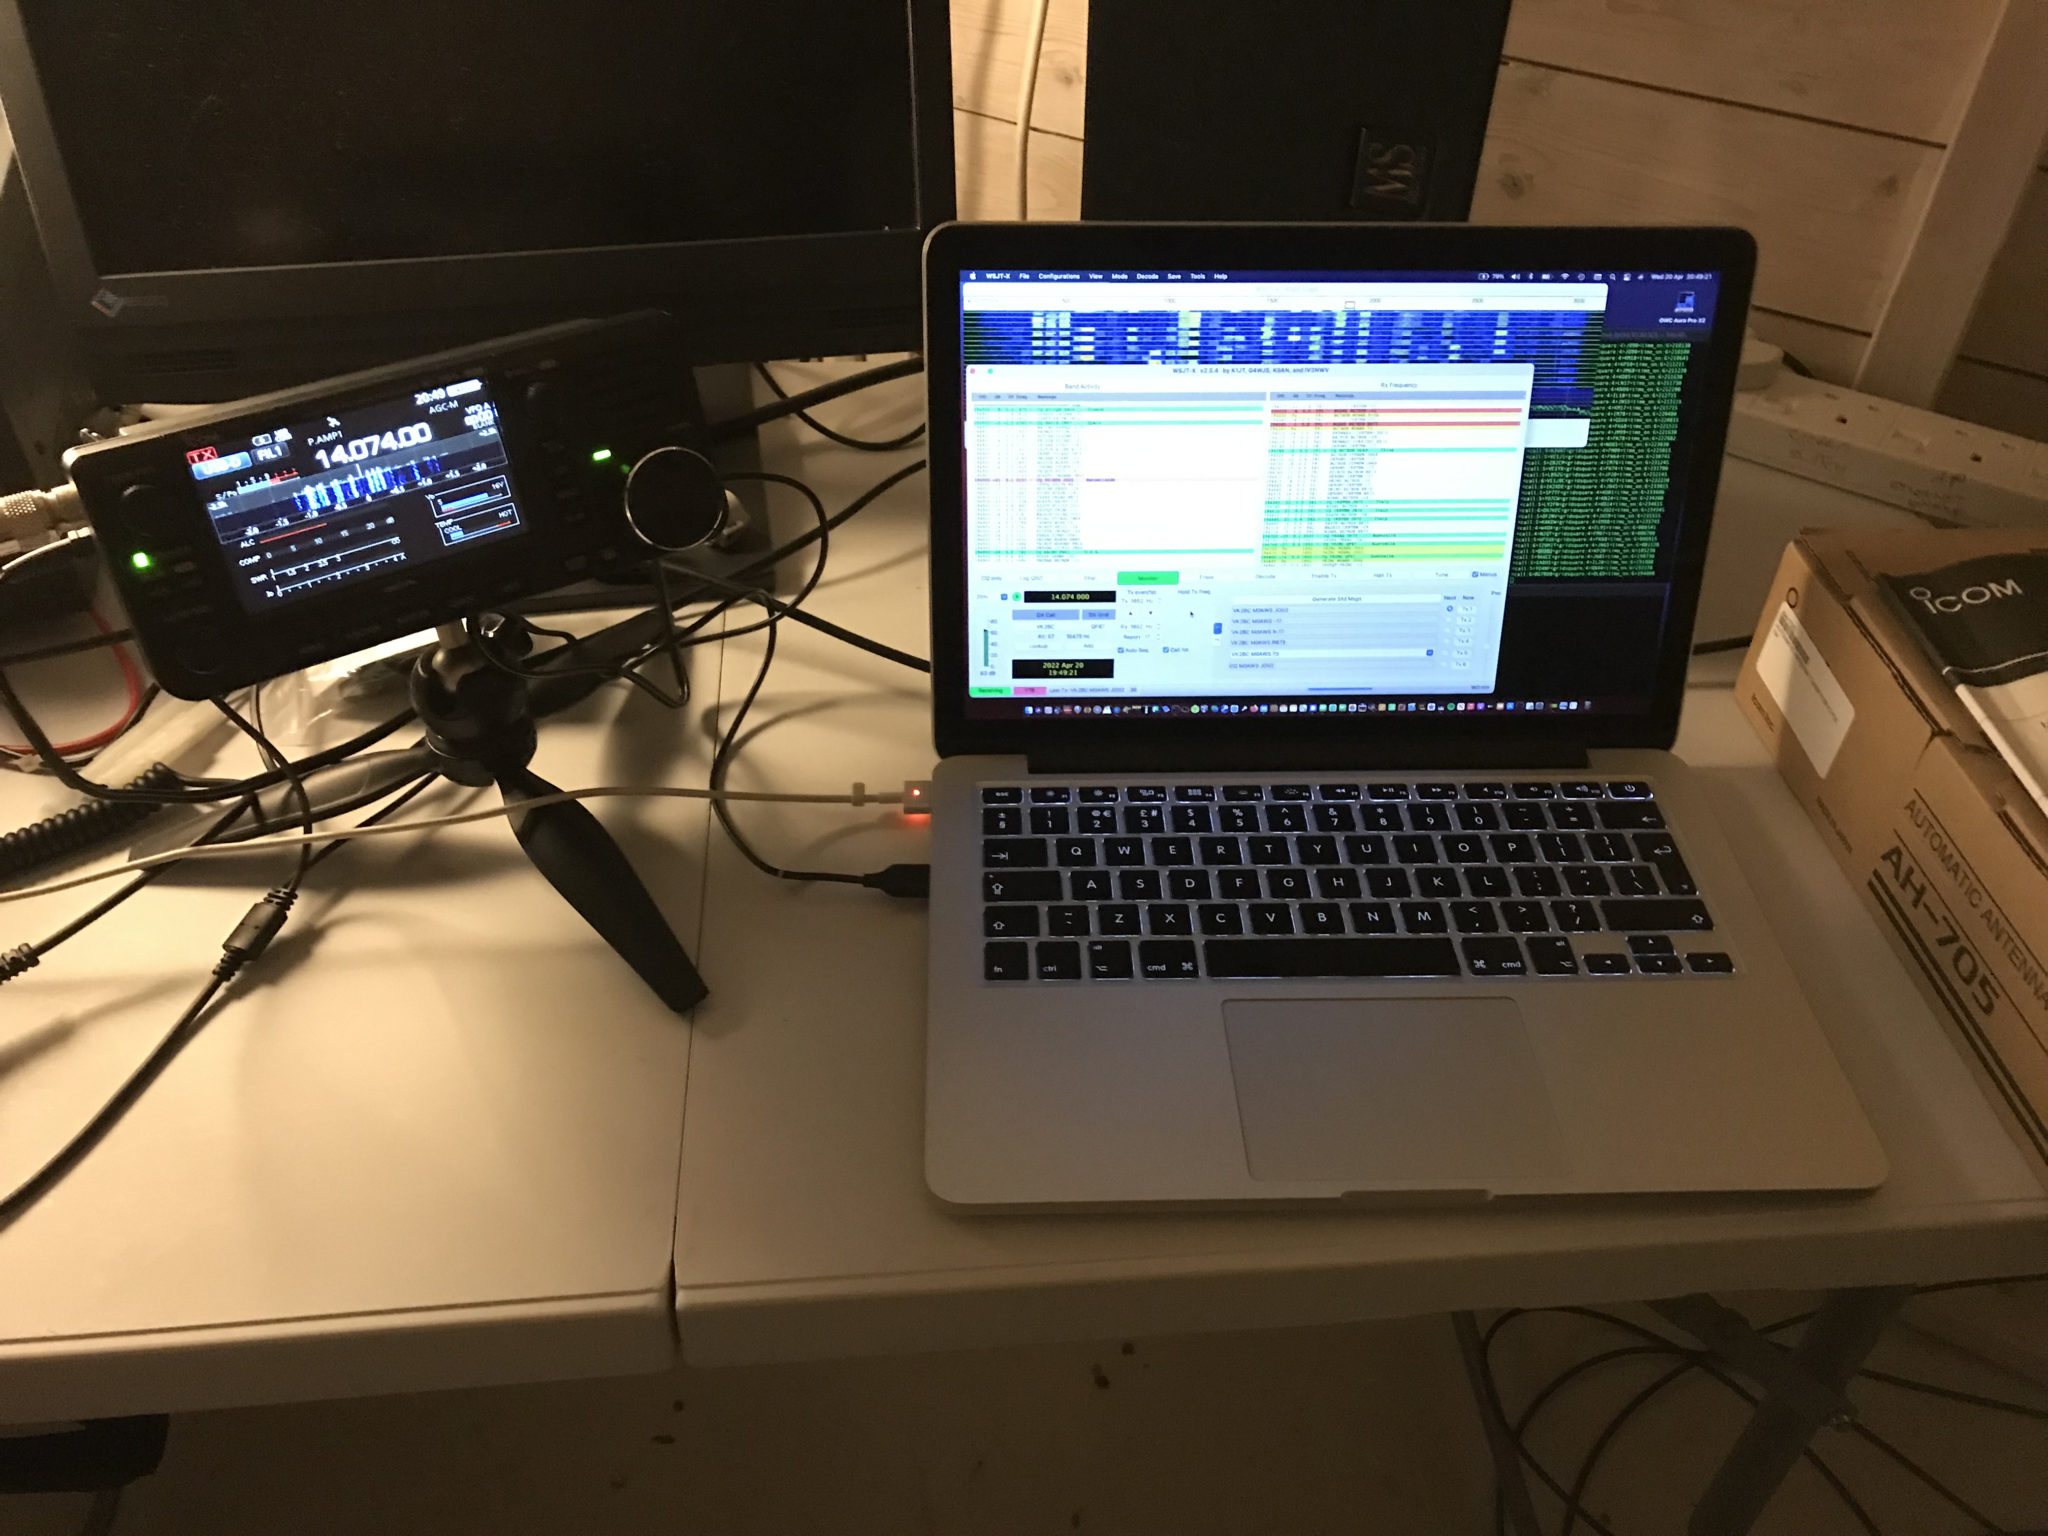
My IC-705 and AH-705 arrived today from ML&S, I wasted no time getting it hooked up to an antenna and started working my way through the manual getting to know the menu system.
After a few hours tinkering I piped up on 20m SSB and worked a couple of stations with ease using 10w. No problems getting through and to my surprise got a 5/9 report from both stations.
Later in the evening I decided to give it a go on 20m FT8 using just 5w O/P using the battery on the back of the radio that was now fully charged. It’s interesting to note that I didn’t need any drivers on my MacBook Pro to use the CAT and Audio via USB on the IC-705. It was simply plug and go. Much easier than it was with the FTDX10.
There was a fair amount of DX about on 20m including a few stations from Australia and Japan. I never managed to get a response back from either but, PSKReporter was showing that I was heard!
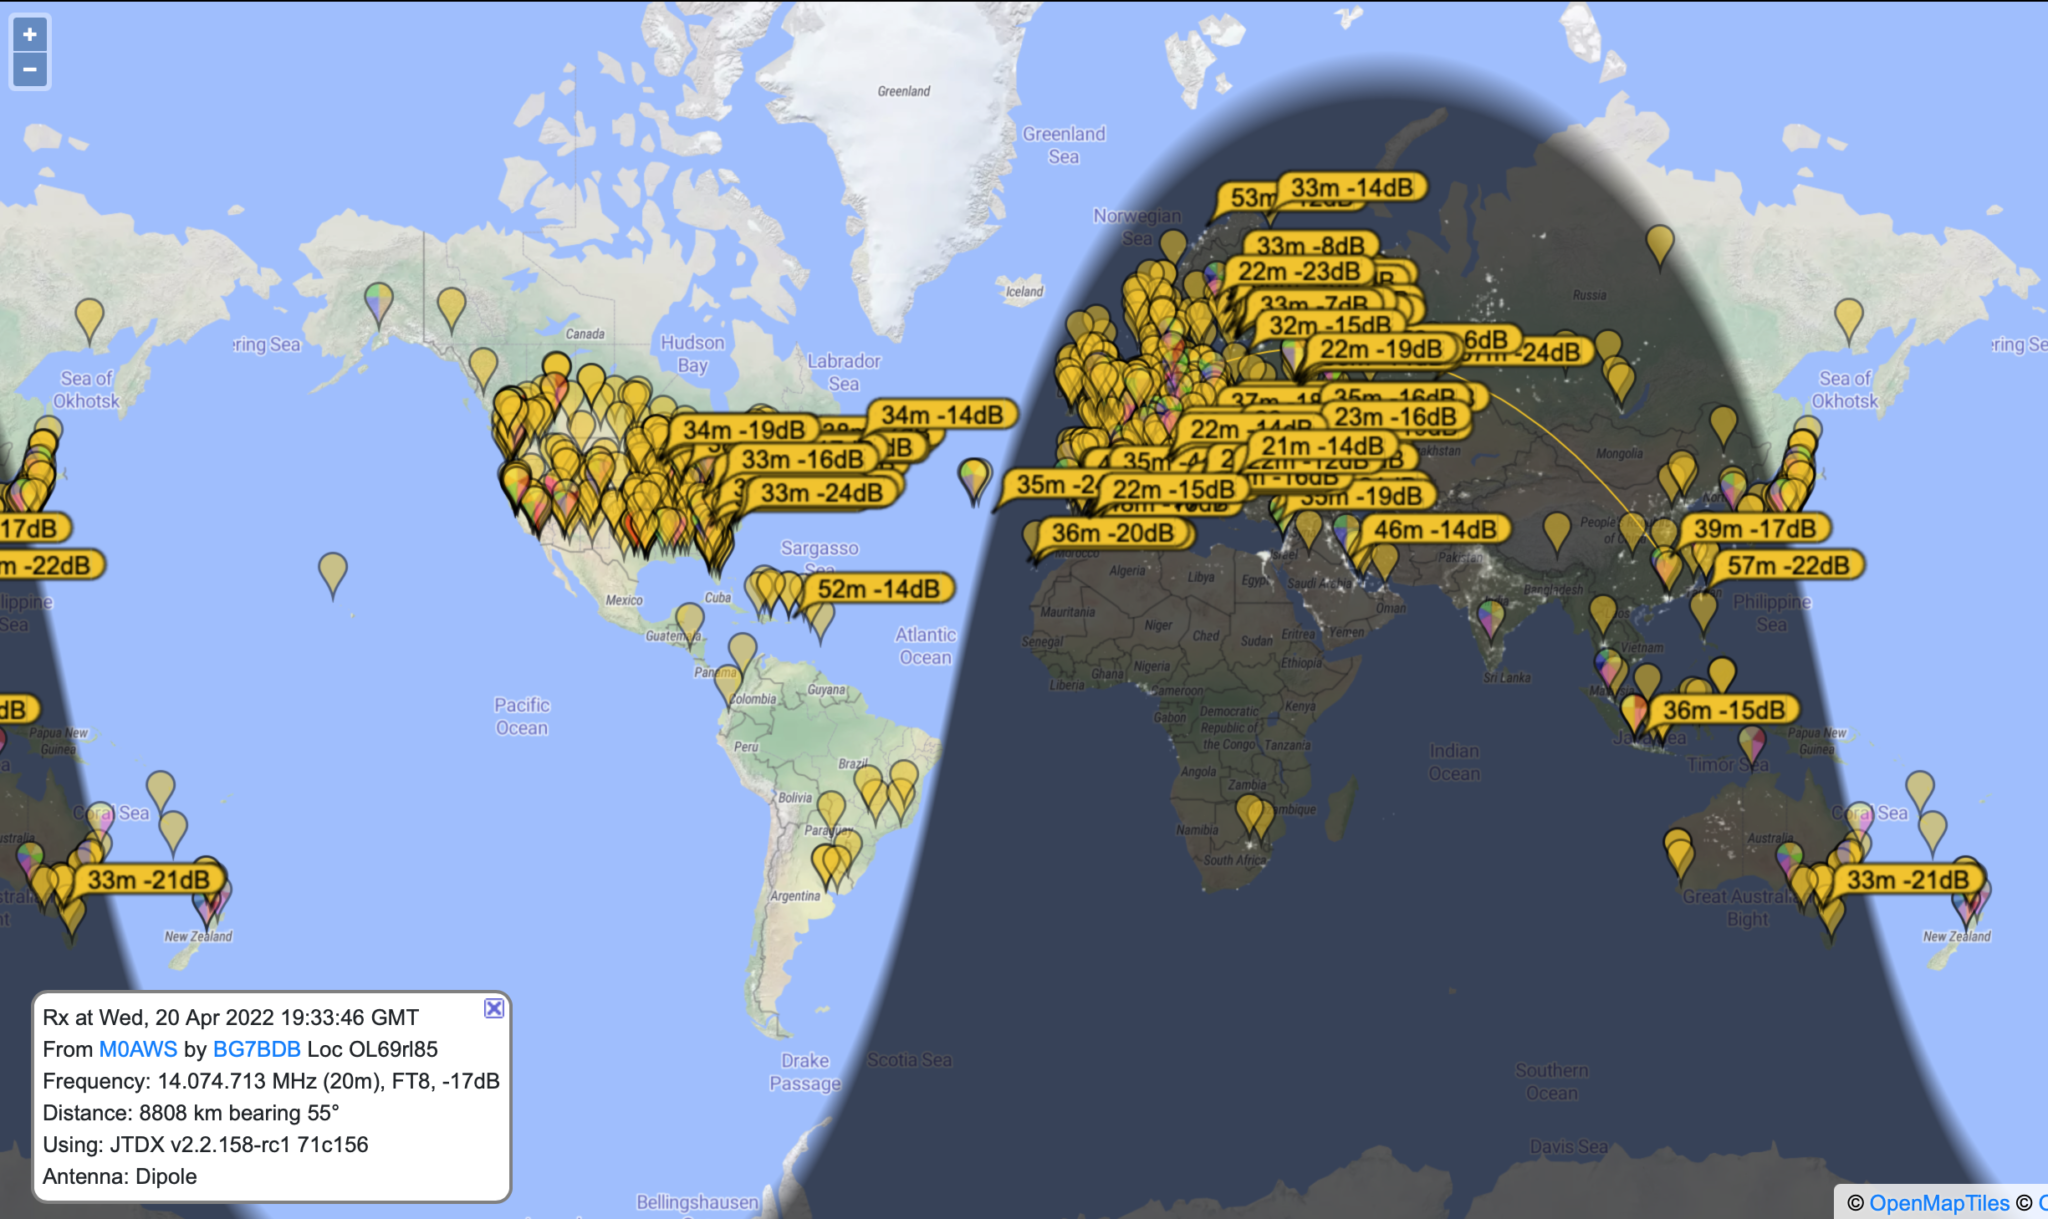
PSKReporter showing M0AWS being heard by BG7BDB
I also noticed that a station in China was hearing me too. BG7BDB in LinXiang City reported hearing me at -17dB. I quickly hunted around the waterfall and found him and gave a call.
To my amazement he came straight back to me and we exchanged SNR reports, 73 and he was in the log.
WSJT-X FT8 contact with BG7BDB
Looking at my WSJT-X log the distance to BG7BDB is 5467 Miles, at 5w O/P that equates to 0.91mW/Mile!
FT8 really is an impressive mode, it allows QRP stations to work the DX that just wouldn’t be possible on SSB. I have to say I’m really impressed with the Icom IC-705. The receiver and filtering isn’t as good as my Yaesu FTDX10 but, it’s an impressive little package. Portable operations with this radio is going to be a lot of fun!
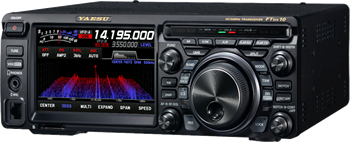
After much research and decision making I finally decided to purchase a Yaesu FTDX10 HF/6m transceiver. Out of all the radios on the market and there are many, this is the one that I’ve decided has the functionality I need and gives the best performance for the money.
I really liked the little Icom IC705 but, it’s a lot of money for a QRP radio and performance wise isn’t as good as the FTDX10.
I also liked the Icom IC7300 but, this is now a 7 year old radio (at the time of writing this) and the tech has moved on substantially since then.
The FTDX10 is a hybrid SDR radio that combines the best of both worlds to give a performance level that exceeds many of the other transceivers on the market today. Ranking 3rd on the Sherwood Engineering Receiver Test Data it’s a great radio for the money.
The other thing that really impressed me with the FTDX10 was the DNR and Contour noise reduction functionality. Watching videos online it is amazing how when these two tools are used correctly together extremely weak CW signals can be recovered on a noisy band.
So, with the radio ordered from Martin Lynch and Sons I now need to start building some antennas and impedance matching circuits so that I can get on air once the transceiver arrives.
More soon …
We use cookies to ensure that we give you the best experience on our website. If you continue to use this site we will assume that you are happy with it.Ok