A venture into the world of Meshtastic

Meshtastic is a relatively new thing in the internet of things (IOT) world and is gaining traction in the U.K. at the moment.

So what is Meshtastic?

Meshtastic is an open source, off-grid, decentralised mesh network built to run on affordable, low-power devices on the 868Mhz industrial, scientific, and medical (ISM) band. (Some devices can also run on the 433Mhz 70cm HAM band.)

The ISM band is licence free but, has limits on the RF power levels that can be used. The one plus over the HAM bands is that you can legally transfer encrypted messages over the ISM band making it secure.

The best way to think of Meshtastic is a radio version of the online decentralised Matrix chat system but, without the large server requirements and ever growing database!

Heltec ESP32 v3 Wifi, Bluetooth and 868Mhz device for Meshtastic

There are quite a few Meshtastic compatible devices on the market today with many costing around the £20 mark whilst others like the LillyGo T-Echo costing over £100 in the U.K. even though they are less than half the price in the USA.

Since I’m just starting out on my Meshtastic adventure I thought I’d start with a pair of Heltec ESP32 v3 devices that are normally readily available on Amazon but, due to the current push to build a U.K. wide mesh, they are currently out of stock pretty much everywhere.

Loading the Meshtastic firmware onto the devices is fairly straight forward and can be done using the web installer via either the Edge or Chromium web browsers.
(Note: If using Windows O/S you will need to install some drivers from the Meshtastic website to be able to communicate with the devices)

Having neither of the two browsers and being a Linux command line junkie I decided to use the Python programme to load the firmware onto the two devices. It’s worth noting that you don’t need any drivers to be able to communicate with the devices if you’re using either Debian or one of the many Ubuntu flavours of Linux O/S.

Using the Python command line program sounds like a more complicated approach but, in reality it’s super simple, extremely reliable, quick and if like me you use a Linux PC in the radio shack then you most likely already have most of what you need to get the job done. Just follow the simple steps as laid out on the Meshtastic web site and you’ll have the firmware loaded in no time at all.

Installing the Meshtastic firmware onto my Heltec ESP32 v3 using the Python command line tool

The firmware takes less than a minute to copy across to the Heltec device and is automatically rebooted ready for configuration once the transfer has completed.

It is possible to configure the device via the command line tool however, since there is a nice GUI app for both Apple iOS and Android devices I decided to install the Meshtastic app on my iPad and connect to the device via Bluetooth to configure it.

Once you’ve got the Meshtastic app installed on your device and have connected via Bluetooth you’ll be ready to start configuring the device to join the mesh. The first thing you want to do is set the region. This is different in each country but, in the UK we use the EU_868 region settings. This will set the device to use the 868Mhz ISM band which is the band being used to build the U.K. wide mesh.

View of the Meshtastic app on iOS showing the configuration options for the Heltec ESP32 v3

There is a multitude of configuration options within the app which I will go into in greater detail in a series of articles at a later date.

Heltec ESP32 v3 running Meshtastic Firmware

For those of you that, like me aren’t near any other nodes you can connect the devices to the internet and use the Meshtastic MQTT server to communicate with other nodes. This of course isn’t off-grid but, it will get you started until the mesh grows into your local area at which point your device will automatically start communicating with the other nodes over radio.

Meshtastic MQTT connectivity

Once you are connected to either the MQTT server or other nodes via radio you will see the other node details appear in the Meshtastic app. It’s interesting to look at the information and see signal strengths and traffic levels etc for each node.

View of the Meshtastic app on iOS showing Nodes in the Mesh and Device Metrics for the M0AWS-1 Node

There are a multitude of cases available for the Heltec v3 devices, especially if you have access to a 3D printer. One of the nicest cases I have seen is the Bender from IKB3D (I know, it’s a strange name!) but, it really is a super little case for the Heltec series of devices.

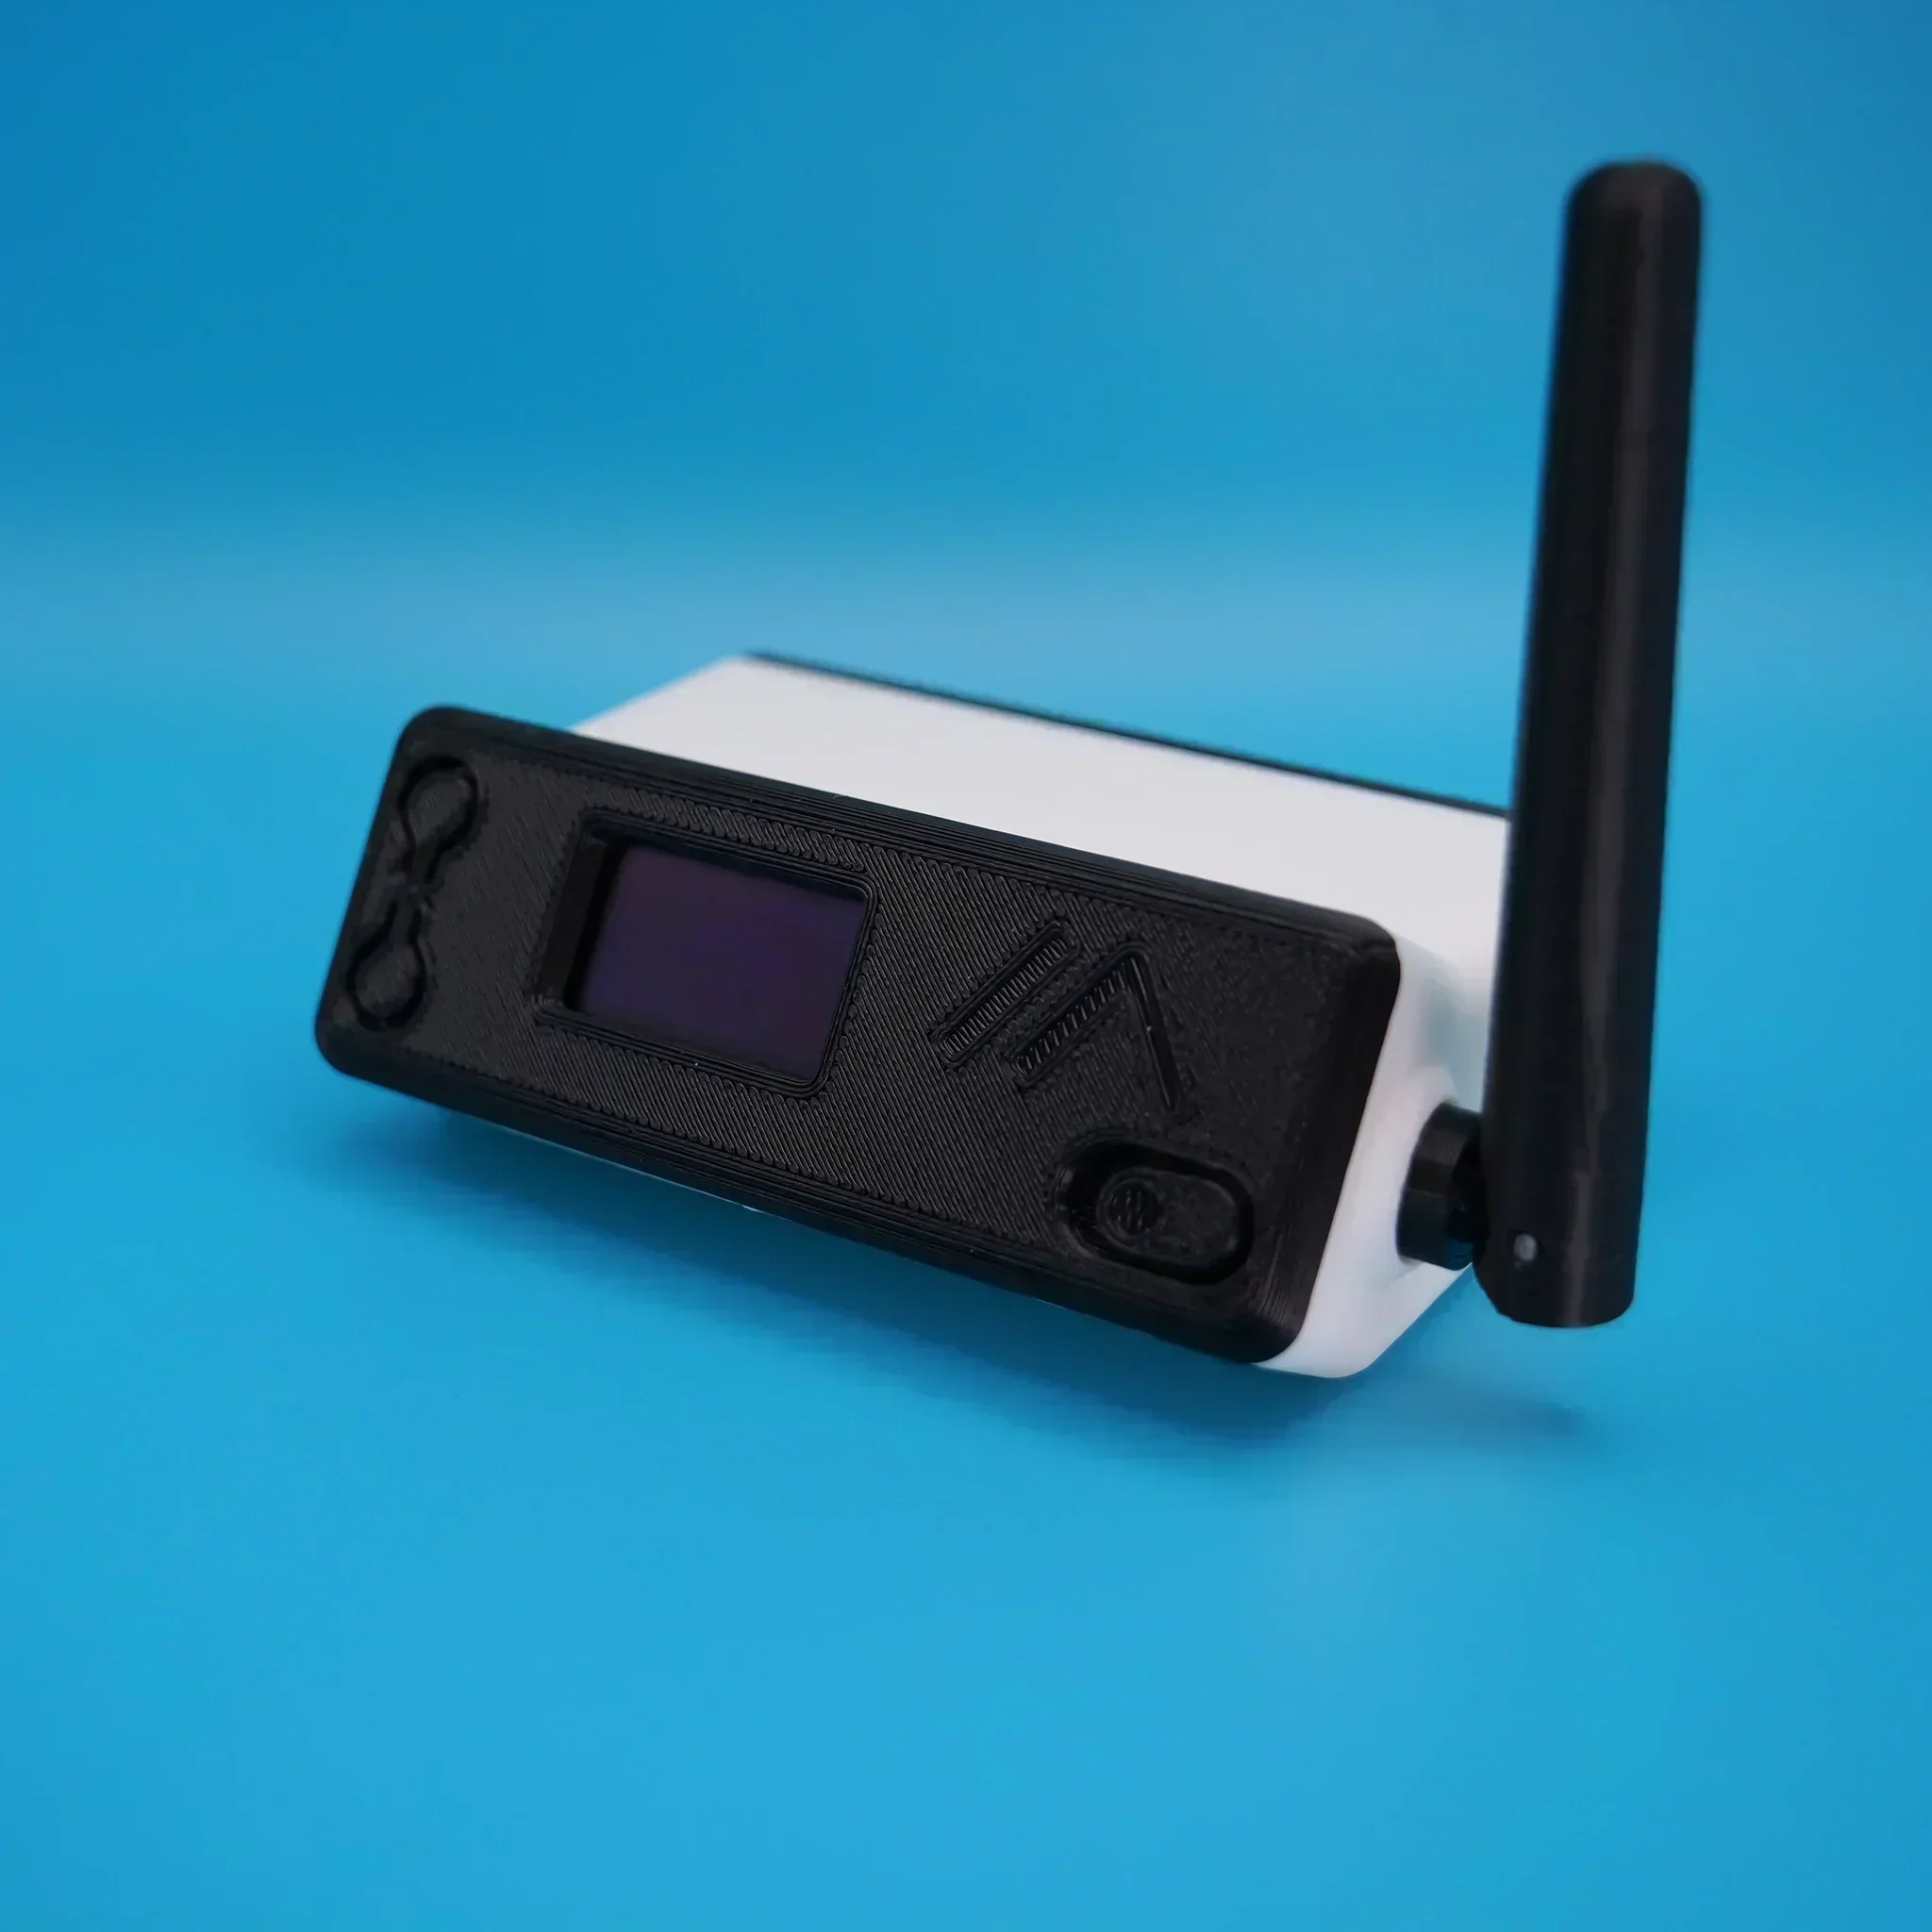
You can either buy the 3D print files for £8.99 and print it yourself or just order a pre-printed and assembled case directly from the website although, due to demand there is a long lead time currently.

More soon …

Getting chatty with JS8CALL

JS8CALL running on my MacBook Pro

I’ve been chasing the DX on the HF bands using FT8 for a while now and I have to say it’s been very successful however, it does get rather boring after a while just exchanging SNR reports and nothing else. I noticed that my time spent in the shack was getting less and less, not a good sign after all the work I’d put into building the new radio shack.

Since there’s not a lot of CW on the bands these days (everyone is on FT8) I thought I’d give JS8CALL a go.

Initially I started with trying to get JS8CALL working on my Kubuntu PC to my Icom IC-705 wirelessly. This turned out not to be as straight forward as I’d hoped but, I persevered.

I found that to communicate with the IC-705 via WFview wirelessly I needed to use FLRig as a go between. I installed FLRig from the Ubuntu repo’s only to find it’s an old version that doesn’t have support for the IC-705. Downloading the IC-705.xml file didn’t help either so I uninstalled it and headed to the source forge website to grab the source code for the latest version of FLRig.

Once I had the right development libraries installed compiling the code was easy enough and I soon had FLRig talking to the IC-705 via WFview wirelessly from my Kubuntu PC.

My first JS8 QSO was with Jonny, SM5COI in Sweden on the 20m band, using just 2.5w I had a very reliable link from my 20m band EFHW vertical antenna to his 20m band yagi antenna.

I also worked GM0DHD/P via OH8XAT using the relay capability built into JS8CALL, it works incredibly well and allows you to work the stations that you cannot hear directly, very useful!

Later in the morning Jonny, SM5COI emailed me asking for a sked on the 40m band later in the afternoon, of course I agreed and decided that I’d also get my MacBook Pro setup with JS8CALL so I could give my Yaesu FTDX10 a spin on JS8 mode.

Installing and configuring JS8CALL on my MacBook Pro was much easier and I had it fully operational in minutes.

The sked went well on 40m and it was good to get Jonny on another band.

With 3 JS8 QSOs in the log it’s great to be using a digital mode again that allows you to have a good chat with other radio HAMs around the world. I think this may become my preferred digital mode going forward.

More soon…

How low can you go?

Now that I’ve got my new radio shack up and running I decided to give my Icom IC-705 QRP rig an outing and see if I could work a distance of 2000 miles with 1w output.

This is something I’ve been wanting to do for a while but, only being able to sit at the picnic table in the garden or in the summer wasn’t particularly conducive to a long stint on the radio.

Icom IC-705 wirelessly connected to my MacBook Pro

For this challenge I decided to use FT4 or FT8, whichever was active on the bands. This is a great mode for QRP operations and can get a tiny signal through when other more traditional modes fail.

I used both my EFHW vertical for 20m/10m and my EFHW vertical for 30m that can also be tuned on most of the other HF bands too. This gave me most of the HF bands for the challenge.

Initially I worked a lot of stations in the 600-700 mile range, conditions weren’t brilliant and there was a lot of deep QSB.

My first notable distance QSO was with YO4DG near Mangalia Romania at 1383 miles, this equates to 0.72mW/Mile, my lowest mW/Mile achievement up until this point.

Not long afterwards I saw SV8DCY on the WSJTX waterfall, I wasn’t sure if he’d hear me or not but, I gave a call. To my surprise he came back and became the longest distance QSO for a short time. At 1485 Miles to Kalloni Lesvos Island, Greece this equates to a new low of 0.67mW/Mile.

I then went on to work a bunch of stations in the 1000 miles or less range for a while as conditions on the bands were up and down. It’s amazing how many times I got an answer from a station only for them to disappear completely before the QSO was completed.

The next contact of note was with CU3HN in the Azores, 1713 Miles at 0.58mW/Mile, a new lowest mW/Mile record set. it’s amazing how far you can get a signal with such a tiny amount of power.

RV6F in the Stavropol region of Russia was the next big mile marker, 1932 miles at 0.51mW/Mile. It took a number of attempts to get the QSO to complete as we kept losing each other due to the deep QSB that was between us on the 20m band but, with a little patience and persaverance we eventually got the QSO to complete and it was in the log.

At this point I decided to switch over to the 10m band to see if it had opened up to more than just Europe. When I checked earlier there were only European stations being heard, most being well under 1000 miles. Sure enough the band had indeed opened up and I was hearing stations out to the east that were in excess of 2000 miles.

PSKReporter map showing signals heard on the 10m band

After tuning up and listening for a bit my first call was to RL9F in Perm Russia. This was the one that I’d been looking for, 2084 miles at 0.47mW/Mile this was the one that could complete the challenge.

After a few failed attempts due to deep QSB we eventually got a complete QSO in the log finishing the challenge.

2000 miles using 1w is a lot of fun, frustrating at times when you’re being heard by stations on the east coast USA but, none are answering your reply to their CQ calls.

PSKReporter has proven invaluable, being able to see who can hear you makes a big difference when trying to eek out the last mile when using next to no power.

In total 31 stations were worked over a 9 hour period, not huge numbers but, for many an M0AWS call sign isn’t exotic enough to answer and so many of my calls to stations were ignored. Sad really.

You can view all the log entries for the 2000 Mile 1 Watt challenge on my WSJTX Log.

So, what next? Well I guess it has to be 3000 miles or more using just 1w from my trusty Icom IC-705.

More soon …

Searching the WSJT-X log whilst on air

searchwsjtxlog v0.4 showing search for partial callsign

Being a UNIX/Linux command line guy I’m not a fan of a lot of these GUI based logging programs that are full of functionality I’ll never use. I currently have RumLogNG for the MacBook Pro but, I really don’t like it. It does many things I don’t need and not the things I really need when on air.

So I decided to write a bunch of command line based programs that do exactly what I want with minimal fuss. The first of these programs was adi2html, a simple program that converts the WSJT-X ADI log file into HTML so I can easily put it on my website.

I’ve now written a new program using the same BASH shell technique to allow me to search the WSJT-X log file quickly and easily whilst on air.

searchwsjtxlog is a simple little shell script that searches for either a full or partial callsign and presents the results instantly. I use this script a lot when working FT4/8 as I can see if I’ve worked a station before and on what bands easily and quickly.

The script works on Linux and MacOS Big Sur (Not got Monterey to test but, should work fine). If you find a bug please let me know and I’ll fix it as soon as possible.

Note: Since MacOS uses such an old version of the BASH it cannot handle spaces in the path to the wsjtx_log.adi file. On MacOS you’ll need to create a softlink to the file and then put the path to the soft link into the script for it to work properly. CD into the directory where you have saved the searchwsjtxlog.sh file and then run the following command:

ln -s /Users/YOURUSERNAME/Library/Application\ Support/WSJT-X/wsjtx_log.adi ./wsjtx_log.adi

Make sure you replace YOURUSERNAME with your MacOS username. The command is all on one line and not on two lines as shown above.

You can download v0.4 of searchwsjtxlog using the link below.


More soon …

FTDX10, Apple Computers and the USB Audio Chain

One of the things I’ve had issues with ever since purchasing the Yaesu FTDX10 transceiver is control of the audio chain via the USB connection on the rear of the radio.

The output from the radio into my Macbook Pro is just too high, WSJT-X is constantly pushed beyond the green zone and often into the red zone when monitoring FT8 signals with the AGC off. The only way to cure this is to keep the AGC on Auto which sometimes results in not hearing the very weak DX stations due to the AGC not reacting fast enough. Putting the AGC on fast causes the red line to be hit far too often once more.

Sadly, the USB Audio Codec doesn’t provide any volume adjustment on audio coming from the radio into the MacBook Pro thus, it’s just full volume all the way. This is a flaw in the codec design and really does need to be resolved long term.

Looking at the audio going the other way, that is from the MacBook Pro into the radio via the USB port fortunately there are gain controls available both on the MacBook Pro and on the radio itself.

Ever since venturing into the world of WSJT-X & FT8/4 I’ve had an issue with only being able to move the PWR slider in the WSJT-X up to the first marker at the bottom of the screen, anymore and the ALC on the radio goes off the scale instantly!

So yesterday I decided to investigate the audio chain into the radio more thoroughly and see what could be done about the levels.

Looking at the radio manual I found that there is an RPORT GAIN setting in the menu system that can be used to alter the amount of gain applied to the incoming audio signal on the USB port in the radio.

FTDX10 Rport Gain entry in the manual

As detailed in the manual, the default setting for this is 50 in a range of 0 to 100. So that’s a 50% increase in gain applied to the incoming audio at the radio end, that’s quite a boost! (The gain is applied both in SSB and Data Modes)

I decided to experiment reducing this figure to see if it gave me greater control over the audio output from WSJT-X via the PWR control. This did indeed help however, there was still too much audio coming into the radio from the MacBook Pro and so I needed to look further along the audio chain.

Moving back onto the MacBook I opened the Midi App and took at look at the Output controls for the USB Audio Codec, sure enough this was set to max for both channels, not good.

Reducing the levels in the midi app started to make much more of a difference, I could now raise the audio level using the PWR control in WSJT-X without things immediately going wild and could now control the levels with a far greater level of granularity than ever before.

After much tinkering I eventually found the levels whereby I could drive the rig to the selected output power (20w) without the ALC going off the scale and the signal becoming horribly distorted, there was calm in my audio chain once more.

So what settings did I settle on?

On the radio itself I wound down the RPORT GAIN setting from 50 to 20, this reduced the amount of gain applied to the audio coming in on the USB port considerably and helped to tidy up the FT8 signal.

FTDX10 RPORT GAIN Setting reduced from 50 to 20

It’s great that there is the facility on the radio to reduce the gain on the inbound audio signal, if only Yaesu would do the same for the outbound audio level.

Next, on my MacBook Pro via the Midi app I reduced the output level on the USB Audio Codec from the default maximum down to 0.494 (-19). This stops the audio level from being too high going into the radio and removes all distortion from the resulting signal.

Midi App on Macbook Pro showing reduced audio output

Once these small changes have been made it becomes necessary to raise the PWR level in the WSJT-X app to roughly the centre position. At this point the radio gets a clean, distortion free audio input whilst driving the radio to the full 20w output with no movement on the ALC whatsoever.

I found I could move anywhere on the frequency spectrum on FT8 without any of the levels changing and with the ALC not moving whilst the radio delivered the full 20w output.

I also checked FT4 mode as it is an MFSK mode to see if these settings worked for it too and I’m glad to say it worked perfectly! (I also found I really liked FT4!)

WSJT-X with the PWR setting at roughly 50%

Altering the PWR level in WSJT-X doesn’t have the huge effect it had before and now it’s very easy to adjust the level without the ALC going off the scale in an instant.

It took me about an hour or so to get this just right but, it was well worth the time invested.

I hope this is of use to other Apple Mac computer users in the HAM community.

More soon …