
RaspberryPi computers are now moving into the realm of being powerful enough to replace the traditional desktop PC. My most recent purchase, a RaspberryPi 500+ is proof of this as it has been my daily desktop PC since it’s arrival.
One of the things I use heavily are virtual machines. They’re great for developing, prototyping and running new services. With the ability to snapshot, rollback and backup in an instant, virtualisation helps to reduce the development and test time for many of the programs and services that I’m playing with.
With RaspberryPi computers now supporting 16GB of RAM and M.2 SSD drives there is no reason for not taking advantage of virtualisation.
To this end I decided to test running some virtualised loads on my new 500+ with the plan to deploy to 16GB Pi5’s with SSD drives in place of more expensive Intel based computers.
On my Intel based machines I use QEMU, KVM and Virt-Manager to manage the multitude of virtual machines (VMs) I have running here. Since this is a solid, high performance platform for running VMs I decided to take the same route on the 500+
Installing the necessary packages is extremely simple, just one simple apt command:
sudo apt install qemu-kvm libvirt-daemon-system libvirt-clients virt-manager bridge-utilsNote: If you’re using Debian 13 (Trixie) then the apt command to use is:
sudo apt install qemu-system-arm libvirt-daemon-system libvirt-clients virt-manager bridge-utilsThe qemu-kvm package doesn’t exist in Debian 13 and so you have to replace it with the qemu-system-arm package.
To be able to create and run VMs you need to add yourself to the libvirt and libvirt-qemu groups.
sudo usermod -a -G libvirt your_username
sudo usermod -a -G libvirt-qemu your_username
Of course you can do it the old-fashioned way by editing the /etc/group file and adding your username to each group.
You’ll need to create a bridged ethernet device for the VMs to use to access the ethernet interface on your RaspberryPi.
If like me you don’t use NetworkManager the easiest way to create a bridge is to define it in your /etc/network/interfaces file.
For this example I am using an IP Address of 192.168.0.100, gateway on 192.168.0.1 with a netmask of 255.255.255.0 and DNS nameserver on 192.168.0.5.
The normal entry in the interfaces file would look like this:
# Main ethernet
auto eth0
iface eth0 inet static
address 192.168.0.100
netmask 255.255.255.0
gateway 192.168.0.1
dns-nameservers 192.168.0.5
dns-domain lan.local
dns-search lan.local
#
#
To create a bridge this entry needs to change to:
# Main ethernet
# Setup Bridge called br1 on eth0
allow-hotplug eth0
iface eth0 inet manual
auto br1
iface br1 inet static
address 192.168.0.100
network 192.168.0.0
netmask 255.255.255.0
broadcast 192.168.0.255
gateway 192.168.0.1
dns-nameservers 192.168.0.5
bridge_ports eth0
bridge_stp off
#
#
Once this is done reboot your RaspberryPi and check you have access to your local LAN and of course the internet. You will now also inherit the two new groups that you added yourself to above.
Note: If you are using NetworkManager open the network settings app and create a bridge on eth0. You can also use the nmtui copmmandline app if you prefer.
At this point you’re ready to create your first virtual machine.
It’s important to have an arm64 version of Linux in ISO format that you can use to install into your VM. My preferred distro is Debian and so I downloaded the Debian 13 Arm64 netinst ISO from the debian.org website.
From the main menu start “Virtual machine Manager” or on the commandline type:
virt-manager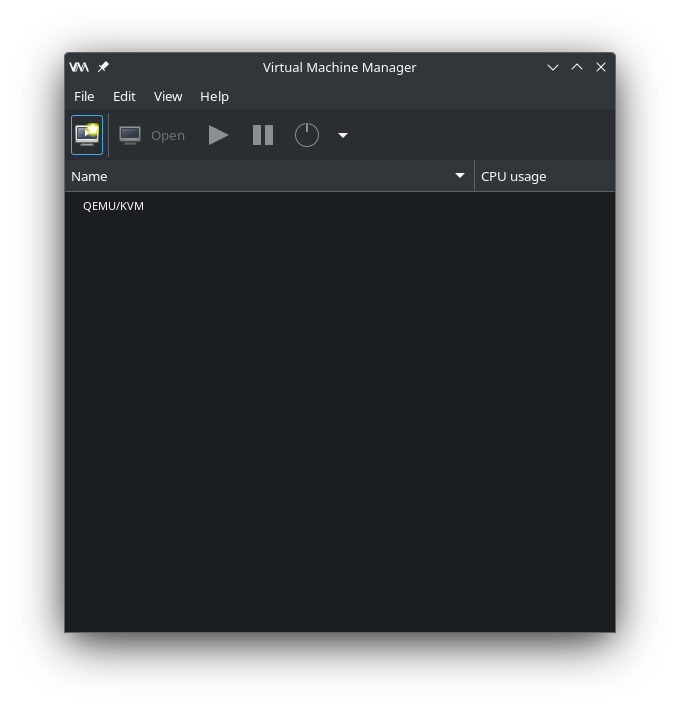
Click the Create new VM button and then navigate to where you saved your ISO file and select it as the installation media.
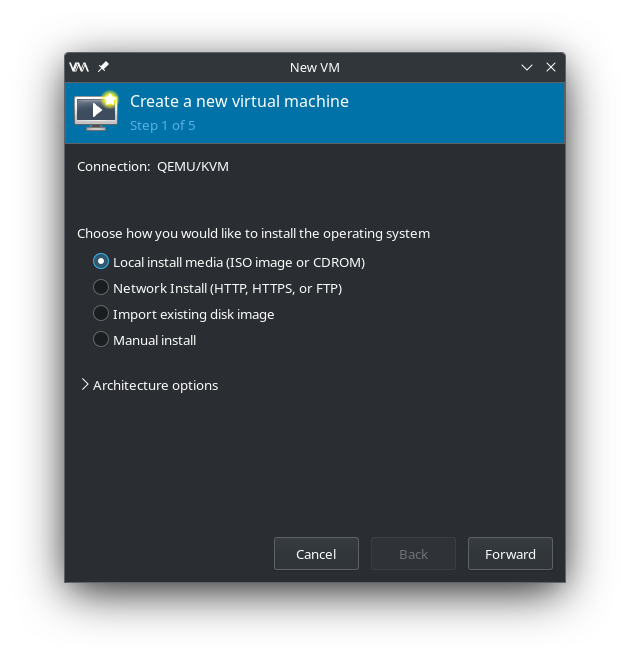
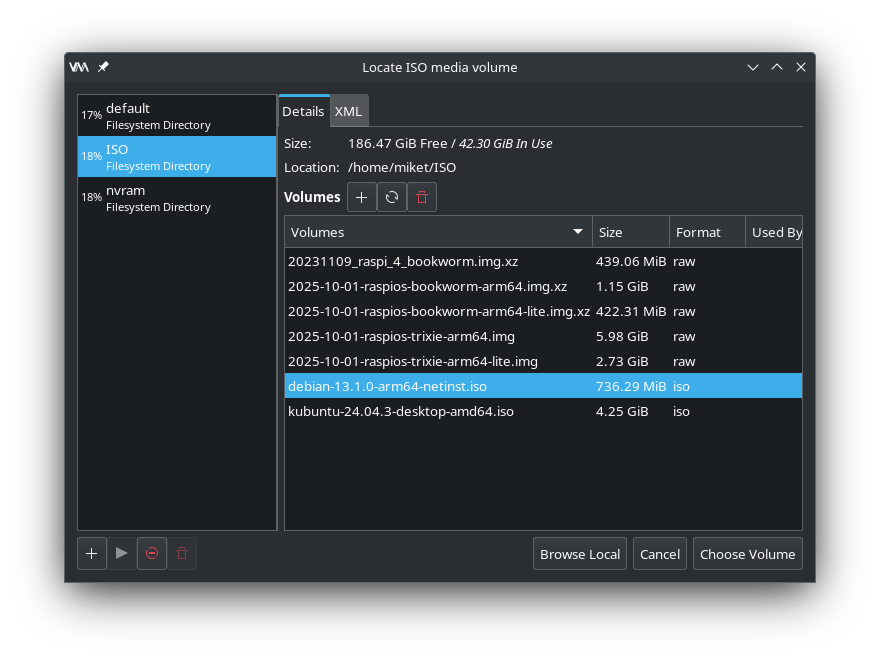
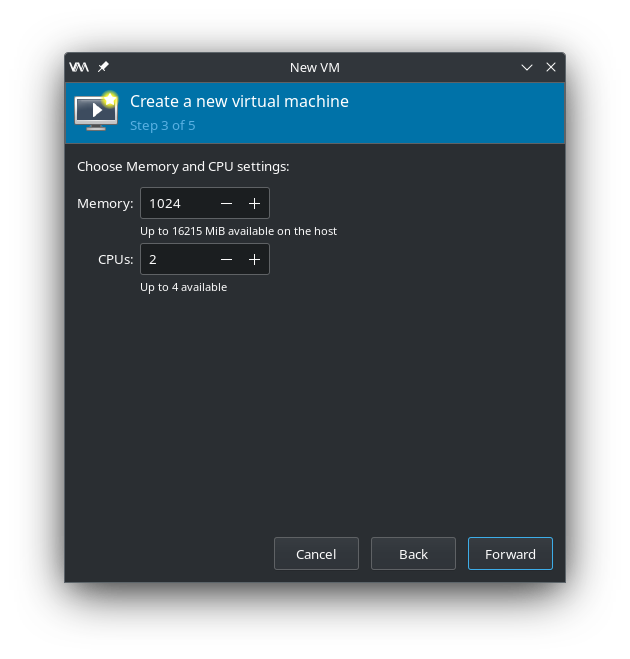
Once you’ve chosen your ISO you’ll need to configure the actual VM. Start by setting the amount of RAM and number of virtual CPUs you want the VM to have.
Next set the size of the virtual disk that the VM will use.
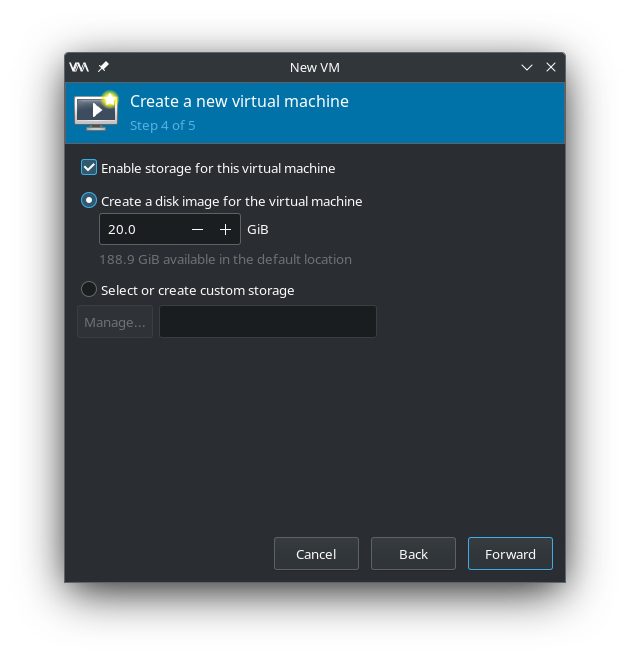
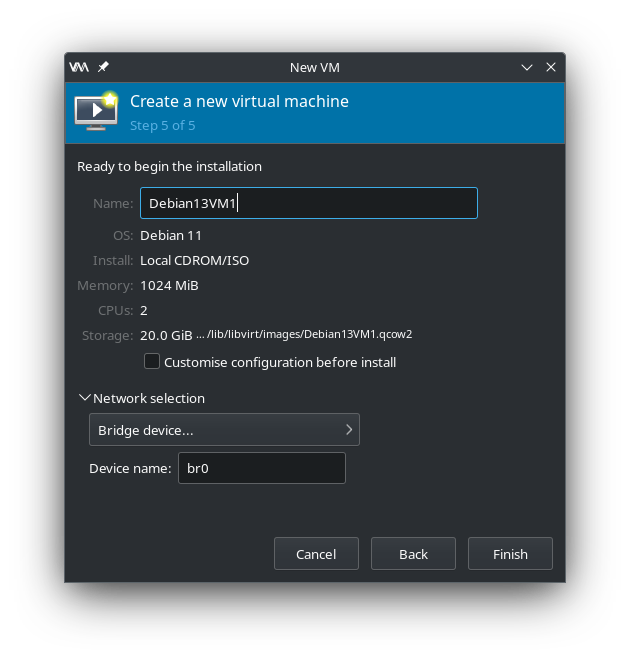
Finally, give the VM a name and set its network device to br0 as created above. Click finish and your VM will boot.
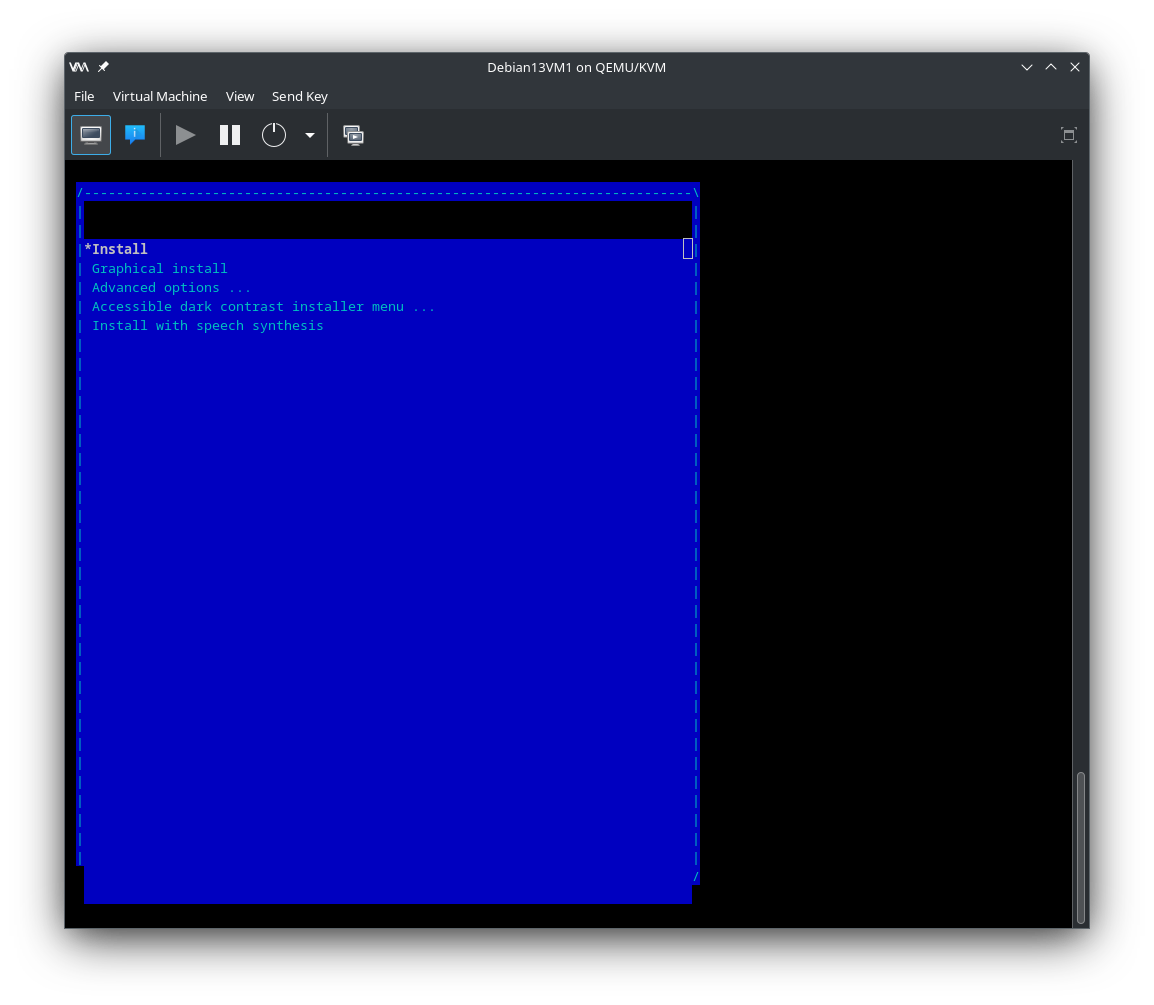
Now it’s just a case of going through the standard Debian install process to build your Debian VM.
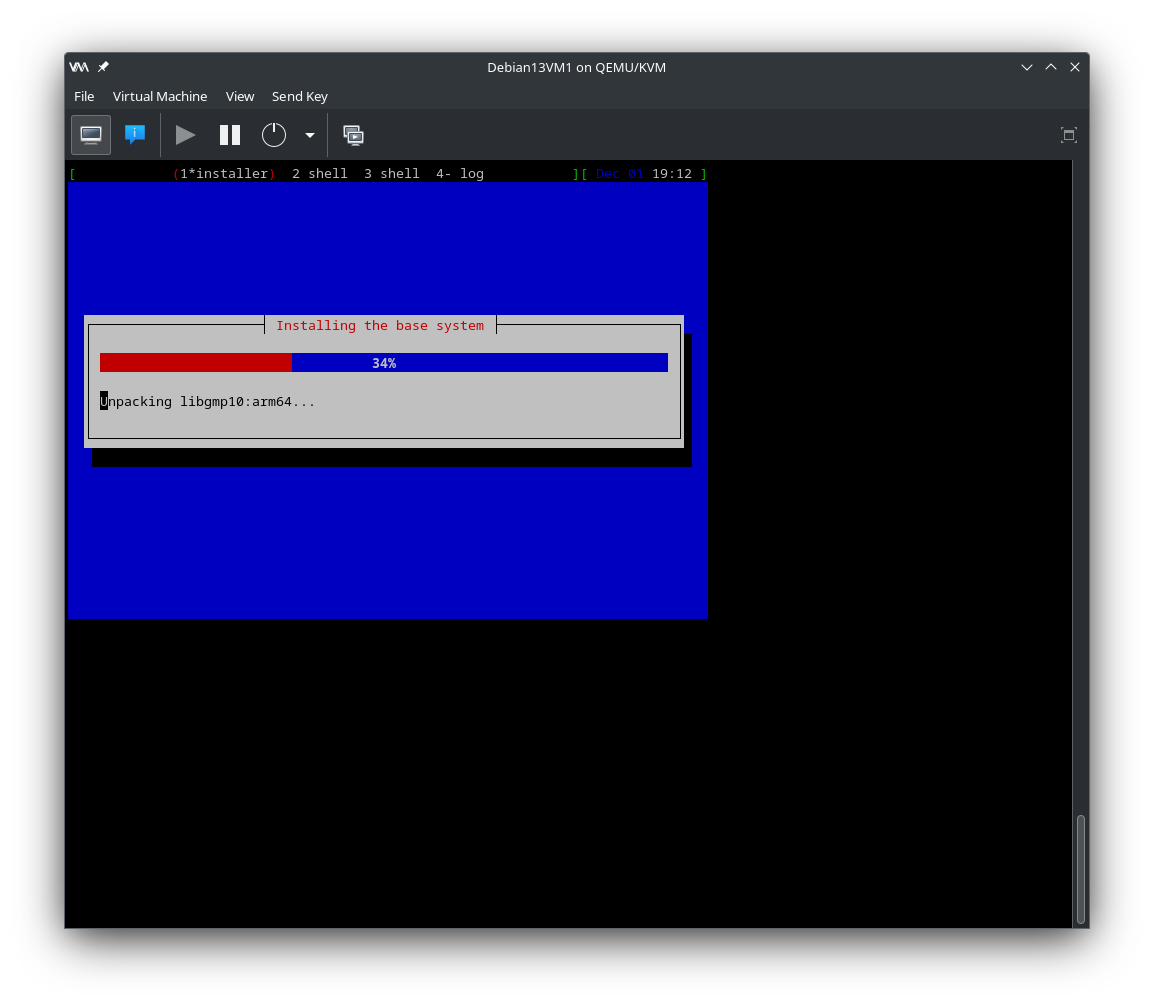
Once the installation is complete and the VM has rebooted you will have a functional Debian computer ready to use for whatever you like, just like a physical PC but, in virtual form. You’ll find that the VM runs as fast as the actual physical machine thanks to the kernel based virtualisation.

For more information on Virtual Machine Manager take a look at the Ubuntu Server documentation.
More soon …