
Sometime back I purchased a RadioBerry HAT for my RaspberryPi 4 single board computer (SBC) to use as an experimental platform to test PiHPSDR software modifications and to test changes to the actual RadioBerry software. With these two projects completed I decided that the receiver on the RadioBerry was so good it would be a shame not to put it to good use.

For many decades I’ve been an avid Short Wave Listener (SWL) but, haven’t had a general coverage receiver for many years. The RadioBerry fills this gap in my radio lineup perfectly but, needs to be put into a suitable cabinet with speakers, display, control knobs and antenna connections.
Rather than just buy another bland square box I decided it would be nice to repurpose an old, vintage radio receiver from a bygone era and bring it into the 21st Century.

After much searching on the popular auction sites online I eventually found the perfect old receiver for the project, a vintage Philips 170A-15 valve receiver from 1946.
This lovely old Art Deco looking receiver is made from Bakelite which was an early type of plastic made from phenol-formaldehyde resin, obtained from coal tar and methanol.
The full specification for the receiver can be found on the Radio Museum Website.
Sadly this is a non working example of this lovely old receiver and so I don’t feel so guilty stripping it out and replacing it’s internals with the RadioBerry.


Having the original serial number and Licence plate on the radio is nice, it also makes it easy to search for information about the old receiver.
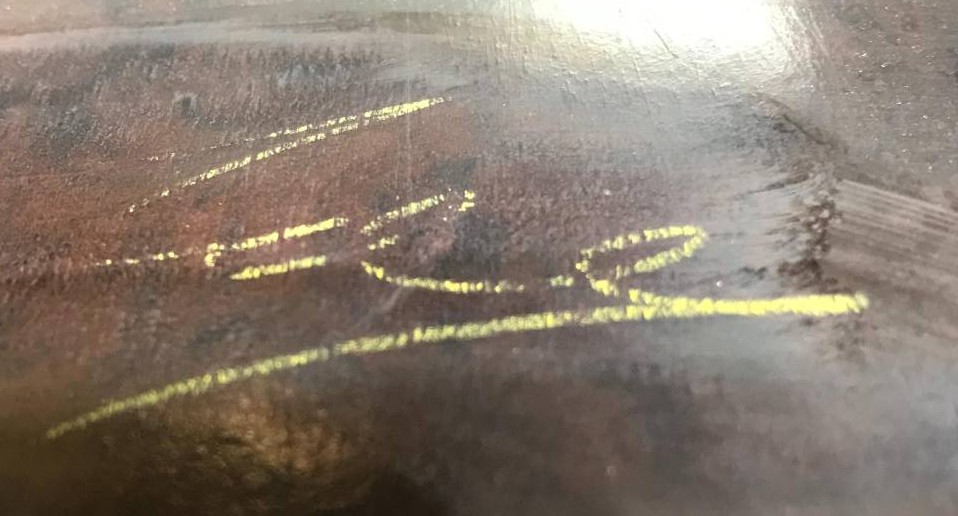
One nice thing I did discover during the disassembly of the receiver was the signature of the person that put the radio together during manufacture on the inside of the Bakelite cabinet.
Getting the internals out of the cabinet was fun, so many little screws holding the old valve electronics and tuning display in place.
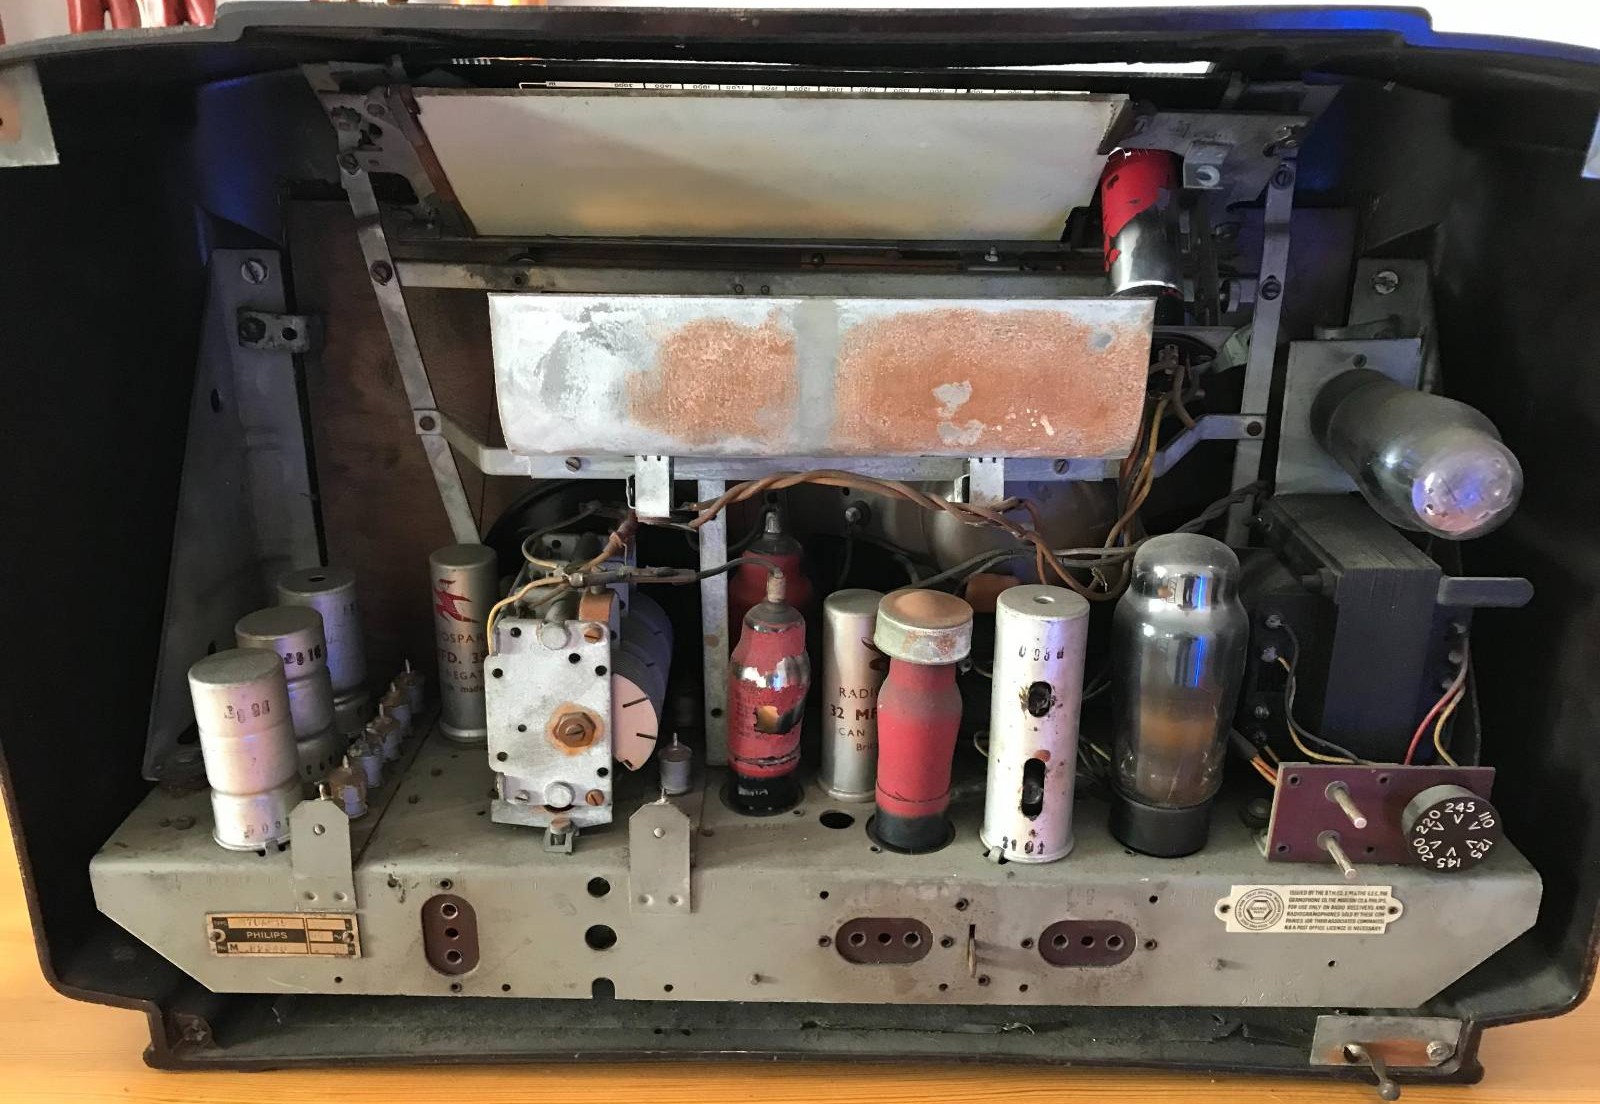
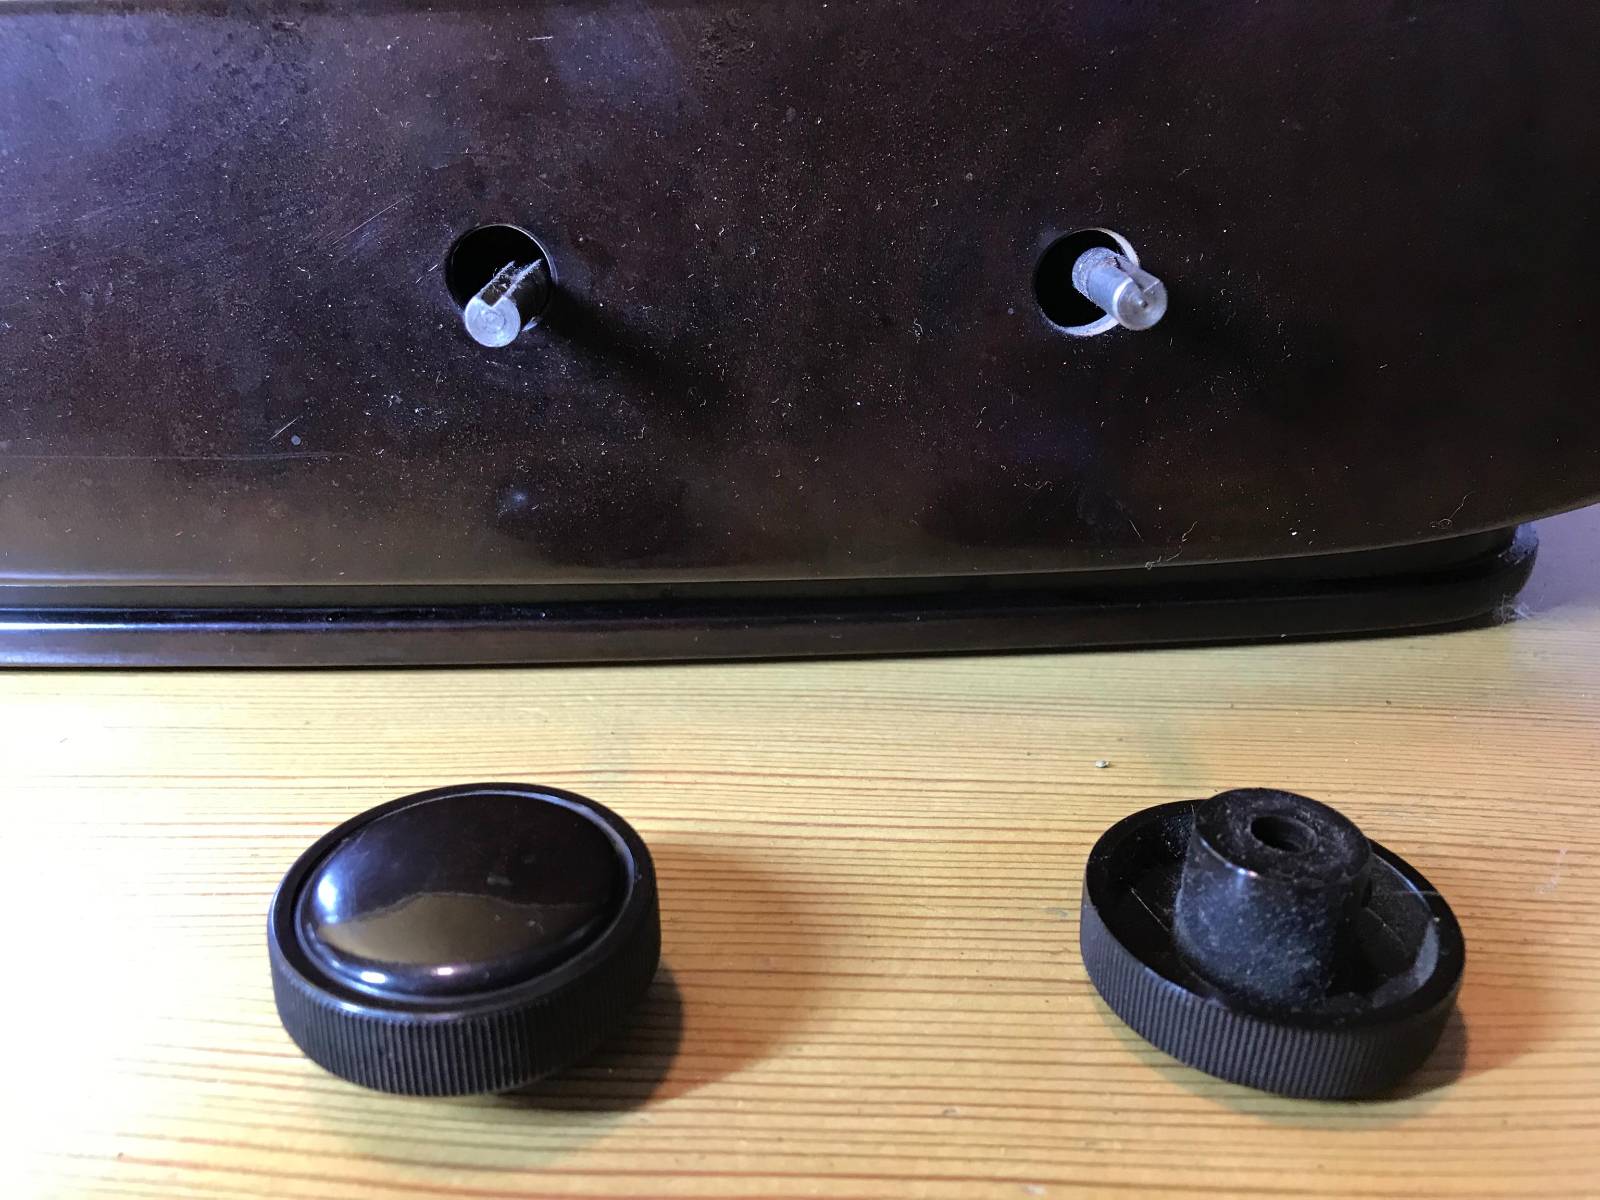
Once the electrical part of the radio was removed I gained access to the old speaker that was fitted to the front panel of the receiver. Unfortunately the speaker cone had a tear in it rendering it useless so I’ll need to get a new speaker(s) for the rebuild.
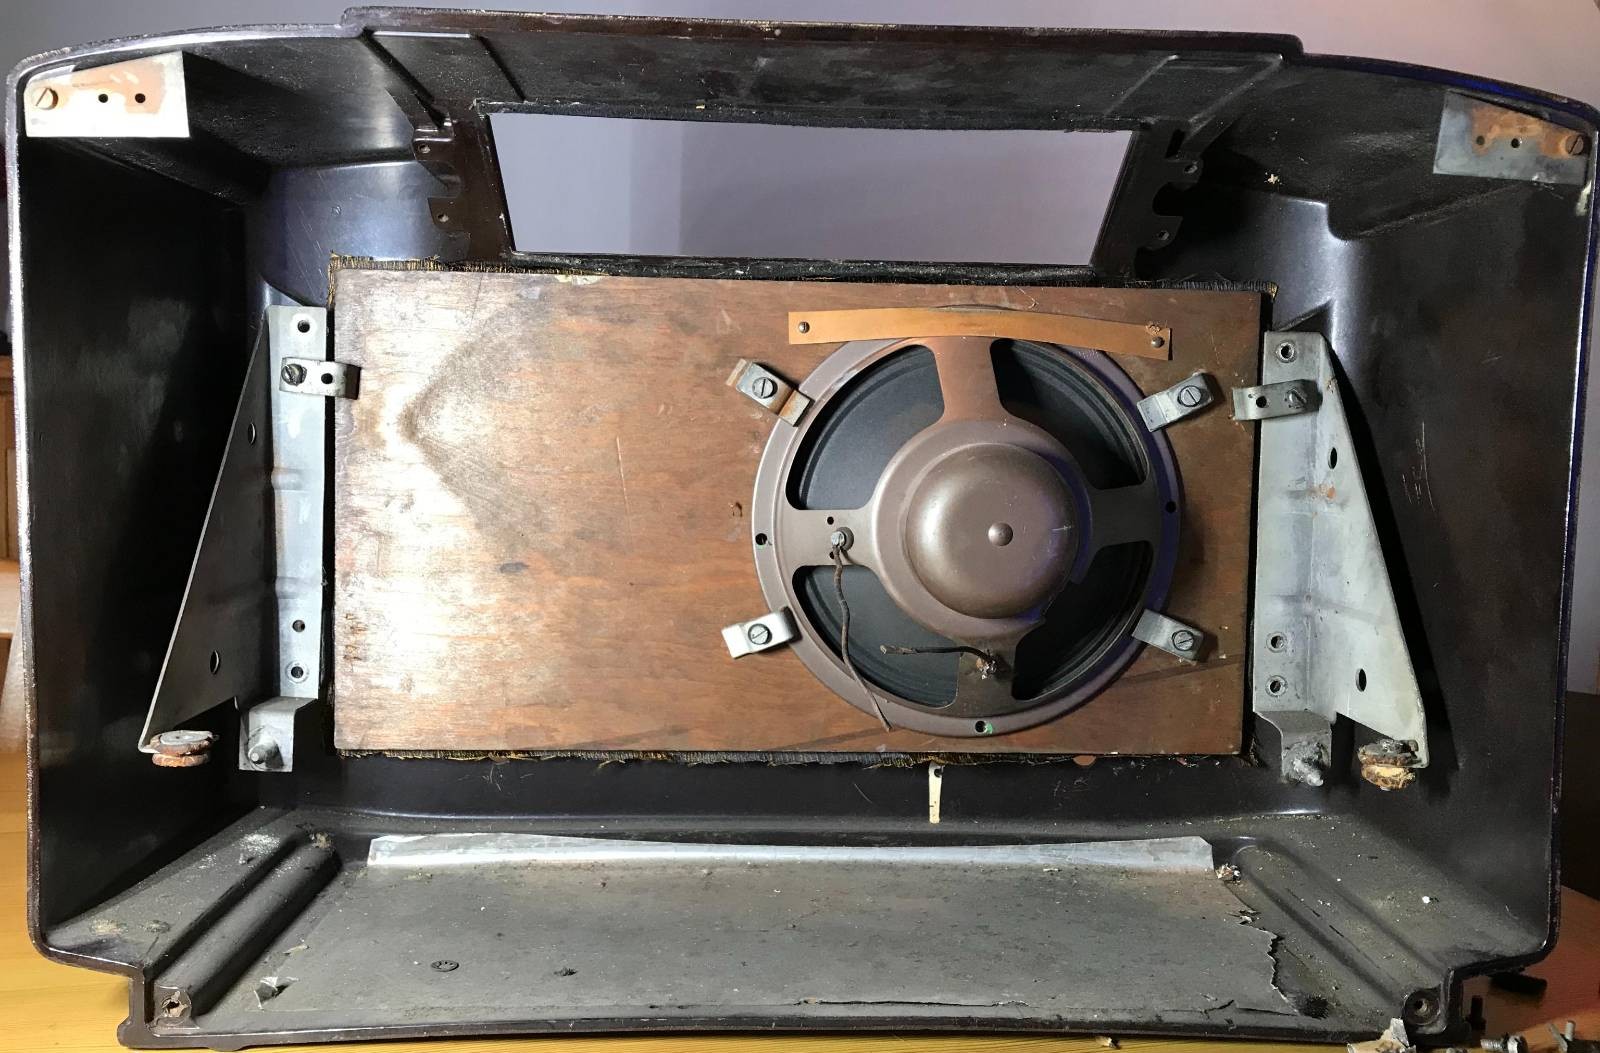
Once I got the speaker and fittings removed I set about cleaning the cabinet inside and out to remove the 79 years worth of dirt and grime that had collected within. The fascia of the receiver cabinet seems to have lost it’s shine and will need to be polished to get it back to it’s original beauty.
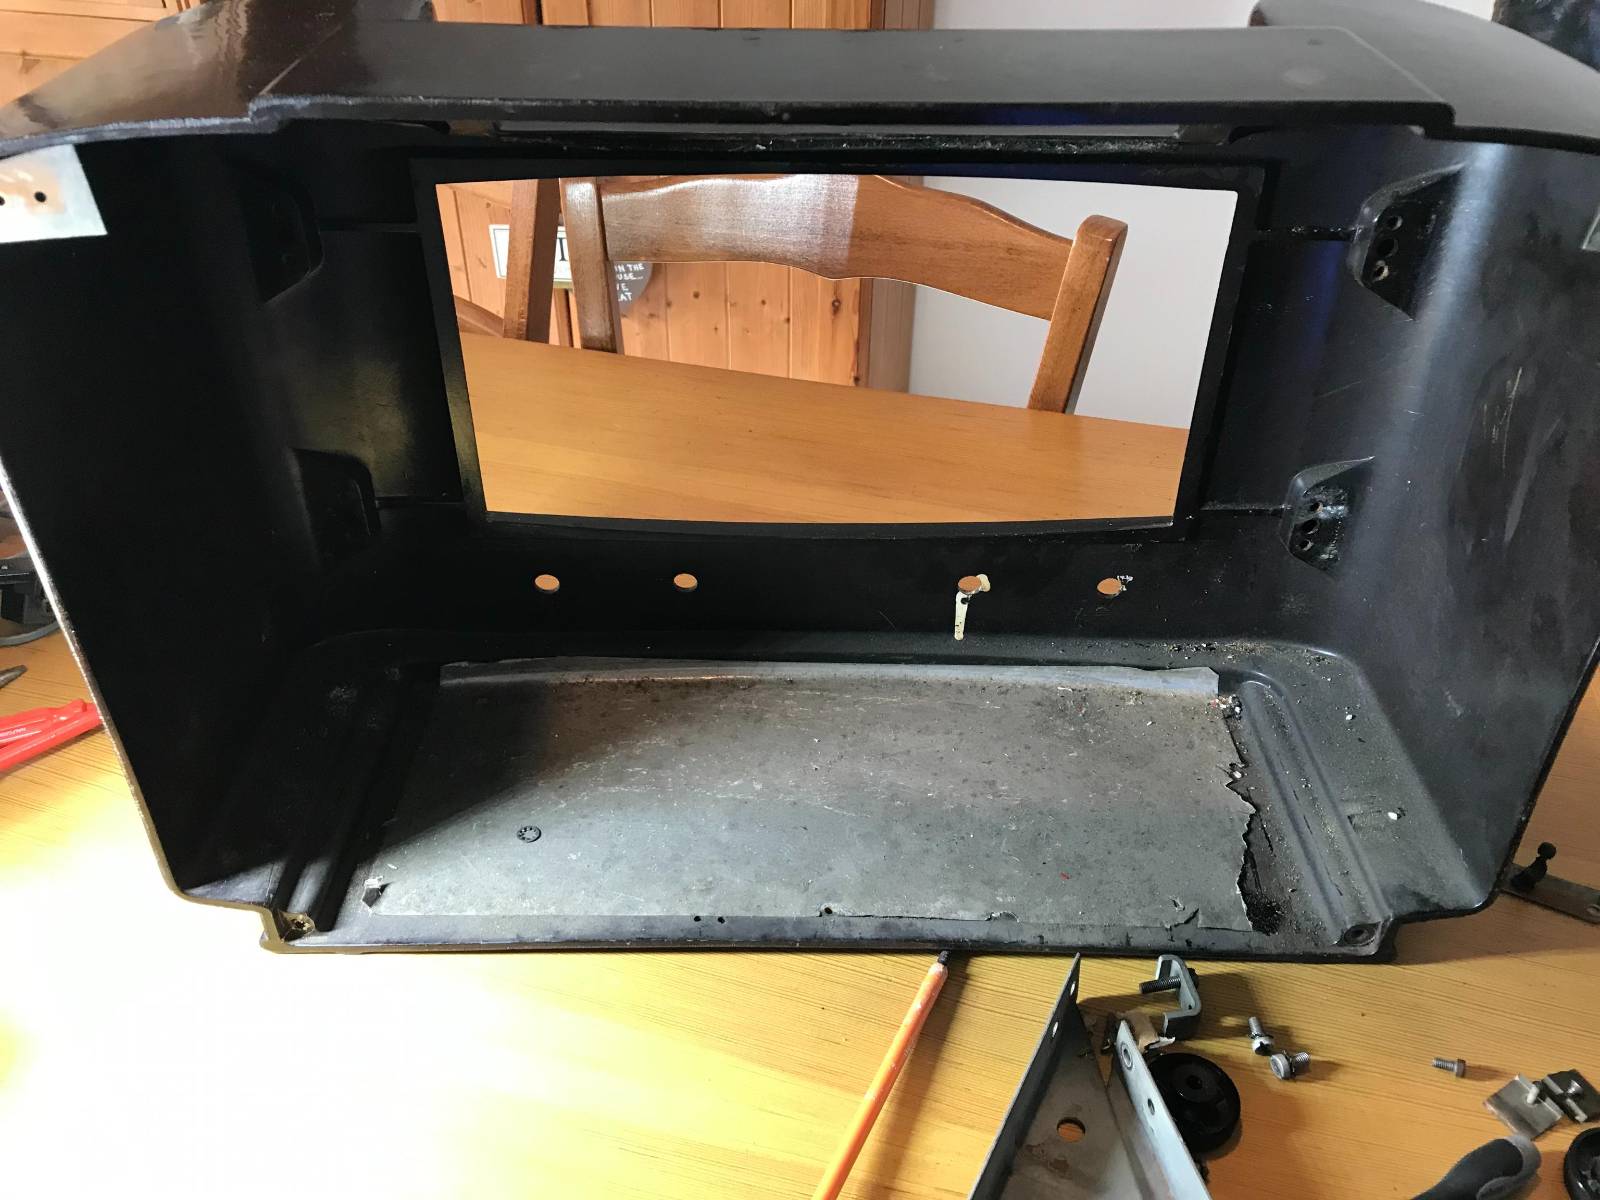
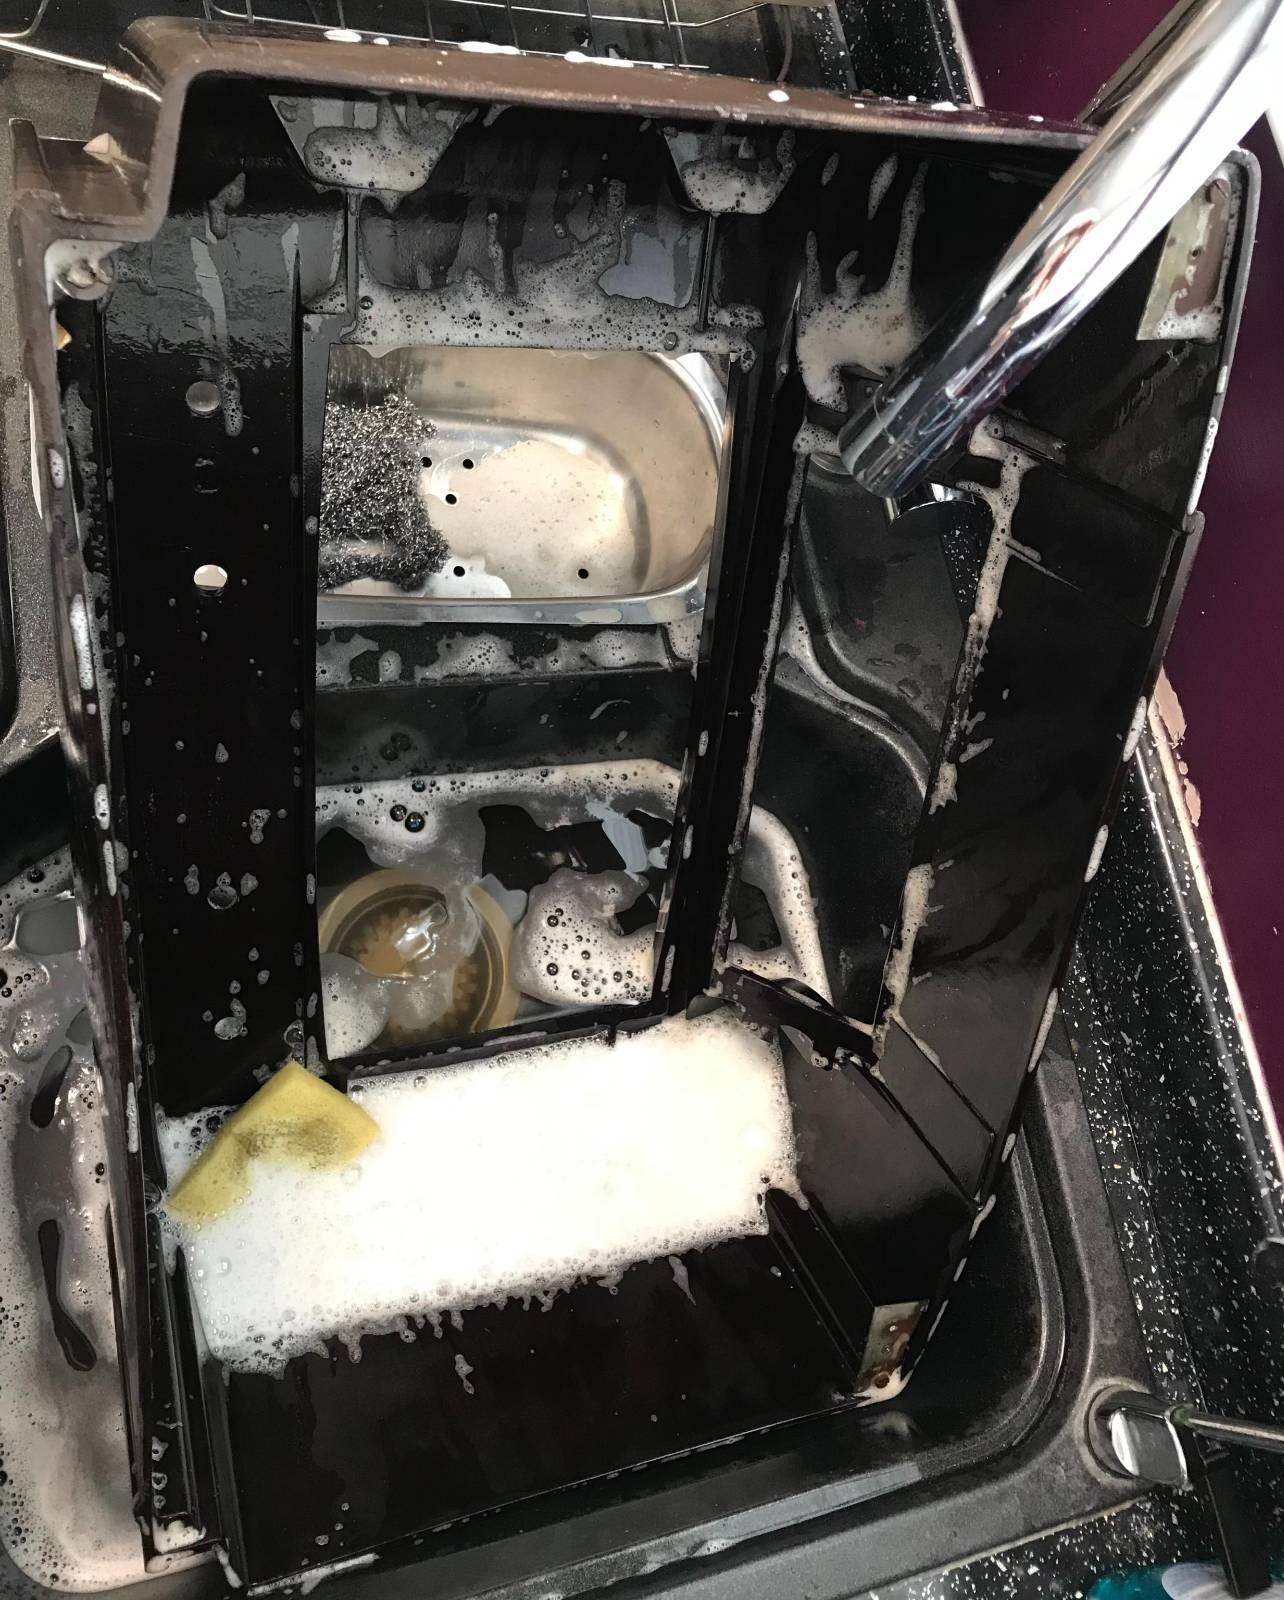
It took 5 lots of fresh water and washing up liquid to get the cabinet clean. The first three lots of water looked like mud in no time at all such was the state of the cabinet.
With the cabinet now cleaned and put to one side to dry thoroughly I have started to search for the best type of polish to use to put the sheen back onto it.
Once I’ve got the cabinet looking good again I’ll start fitting the new internals. I also need to find a source for a new piece of material to cover the speaker hole at the front of the cabinet as the original material is looking somewhat tired.
More soon …