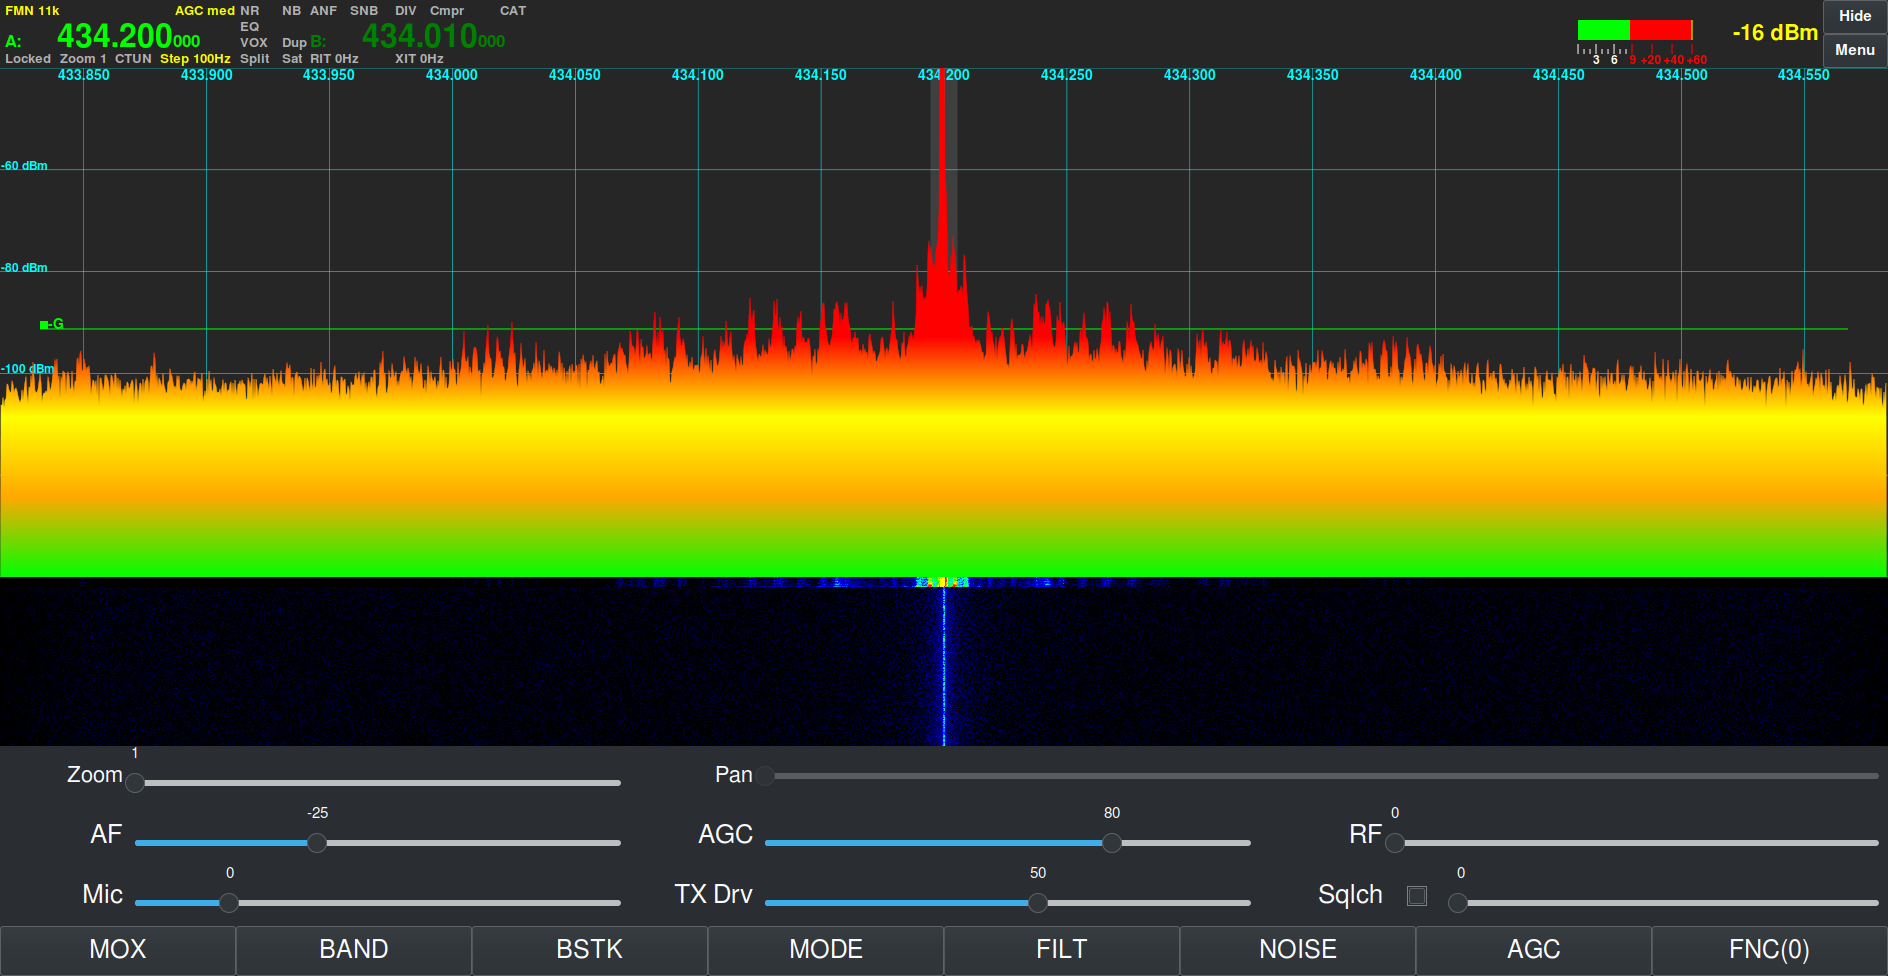
For some time now Steve (M0XVT), Alan (G1SQB) and I have been working on a version of piHPSDR to use with our Hermes Lite 2, Anan 200D, Adalm Pluto, Pluto+ and LibreSDR transceivers. The biggest problem we’ve had is the constantly changing code on github that often would stop the software from working on one device or more each time we updated and then we’d have to spend hours finding the issue and fixing it.
Eventually we got tired of this and decided to build our own stable version that doesn’t get anything from github and is made up of all the parts necessary to create a version that just works on the devices that we use on a daily basis.
Using piHPSDR on the QO-100 satellite and the HF bands across a number of very different types of hardware is a challenge in itself, especially when the devices use different protocols and only certain library sets work with certain firmware on some devices, the combinations get complicated to say the least.
To differentiate our build of piHPSDR from all the others available on the internet today we decided to call it piHPSDR-Improved.
So what is piHPSDR-Improved?
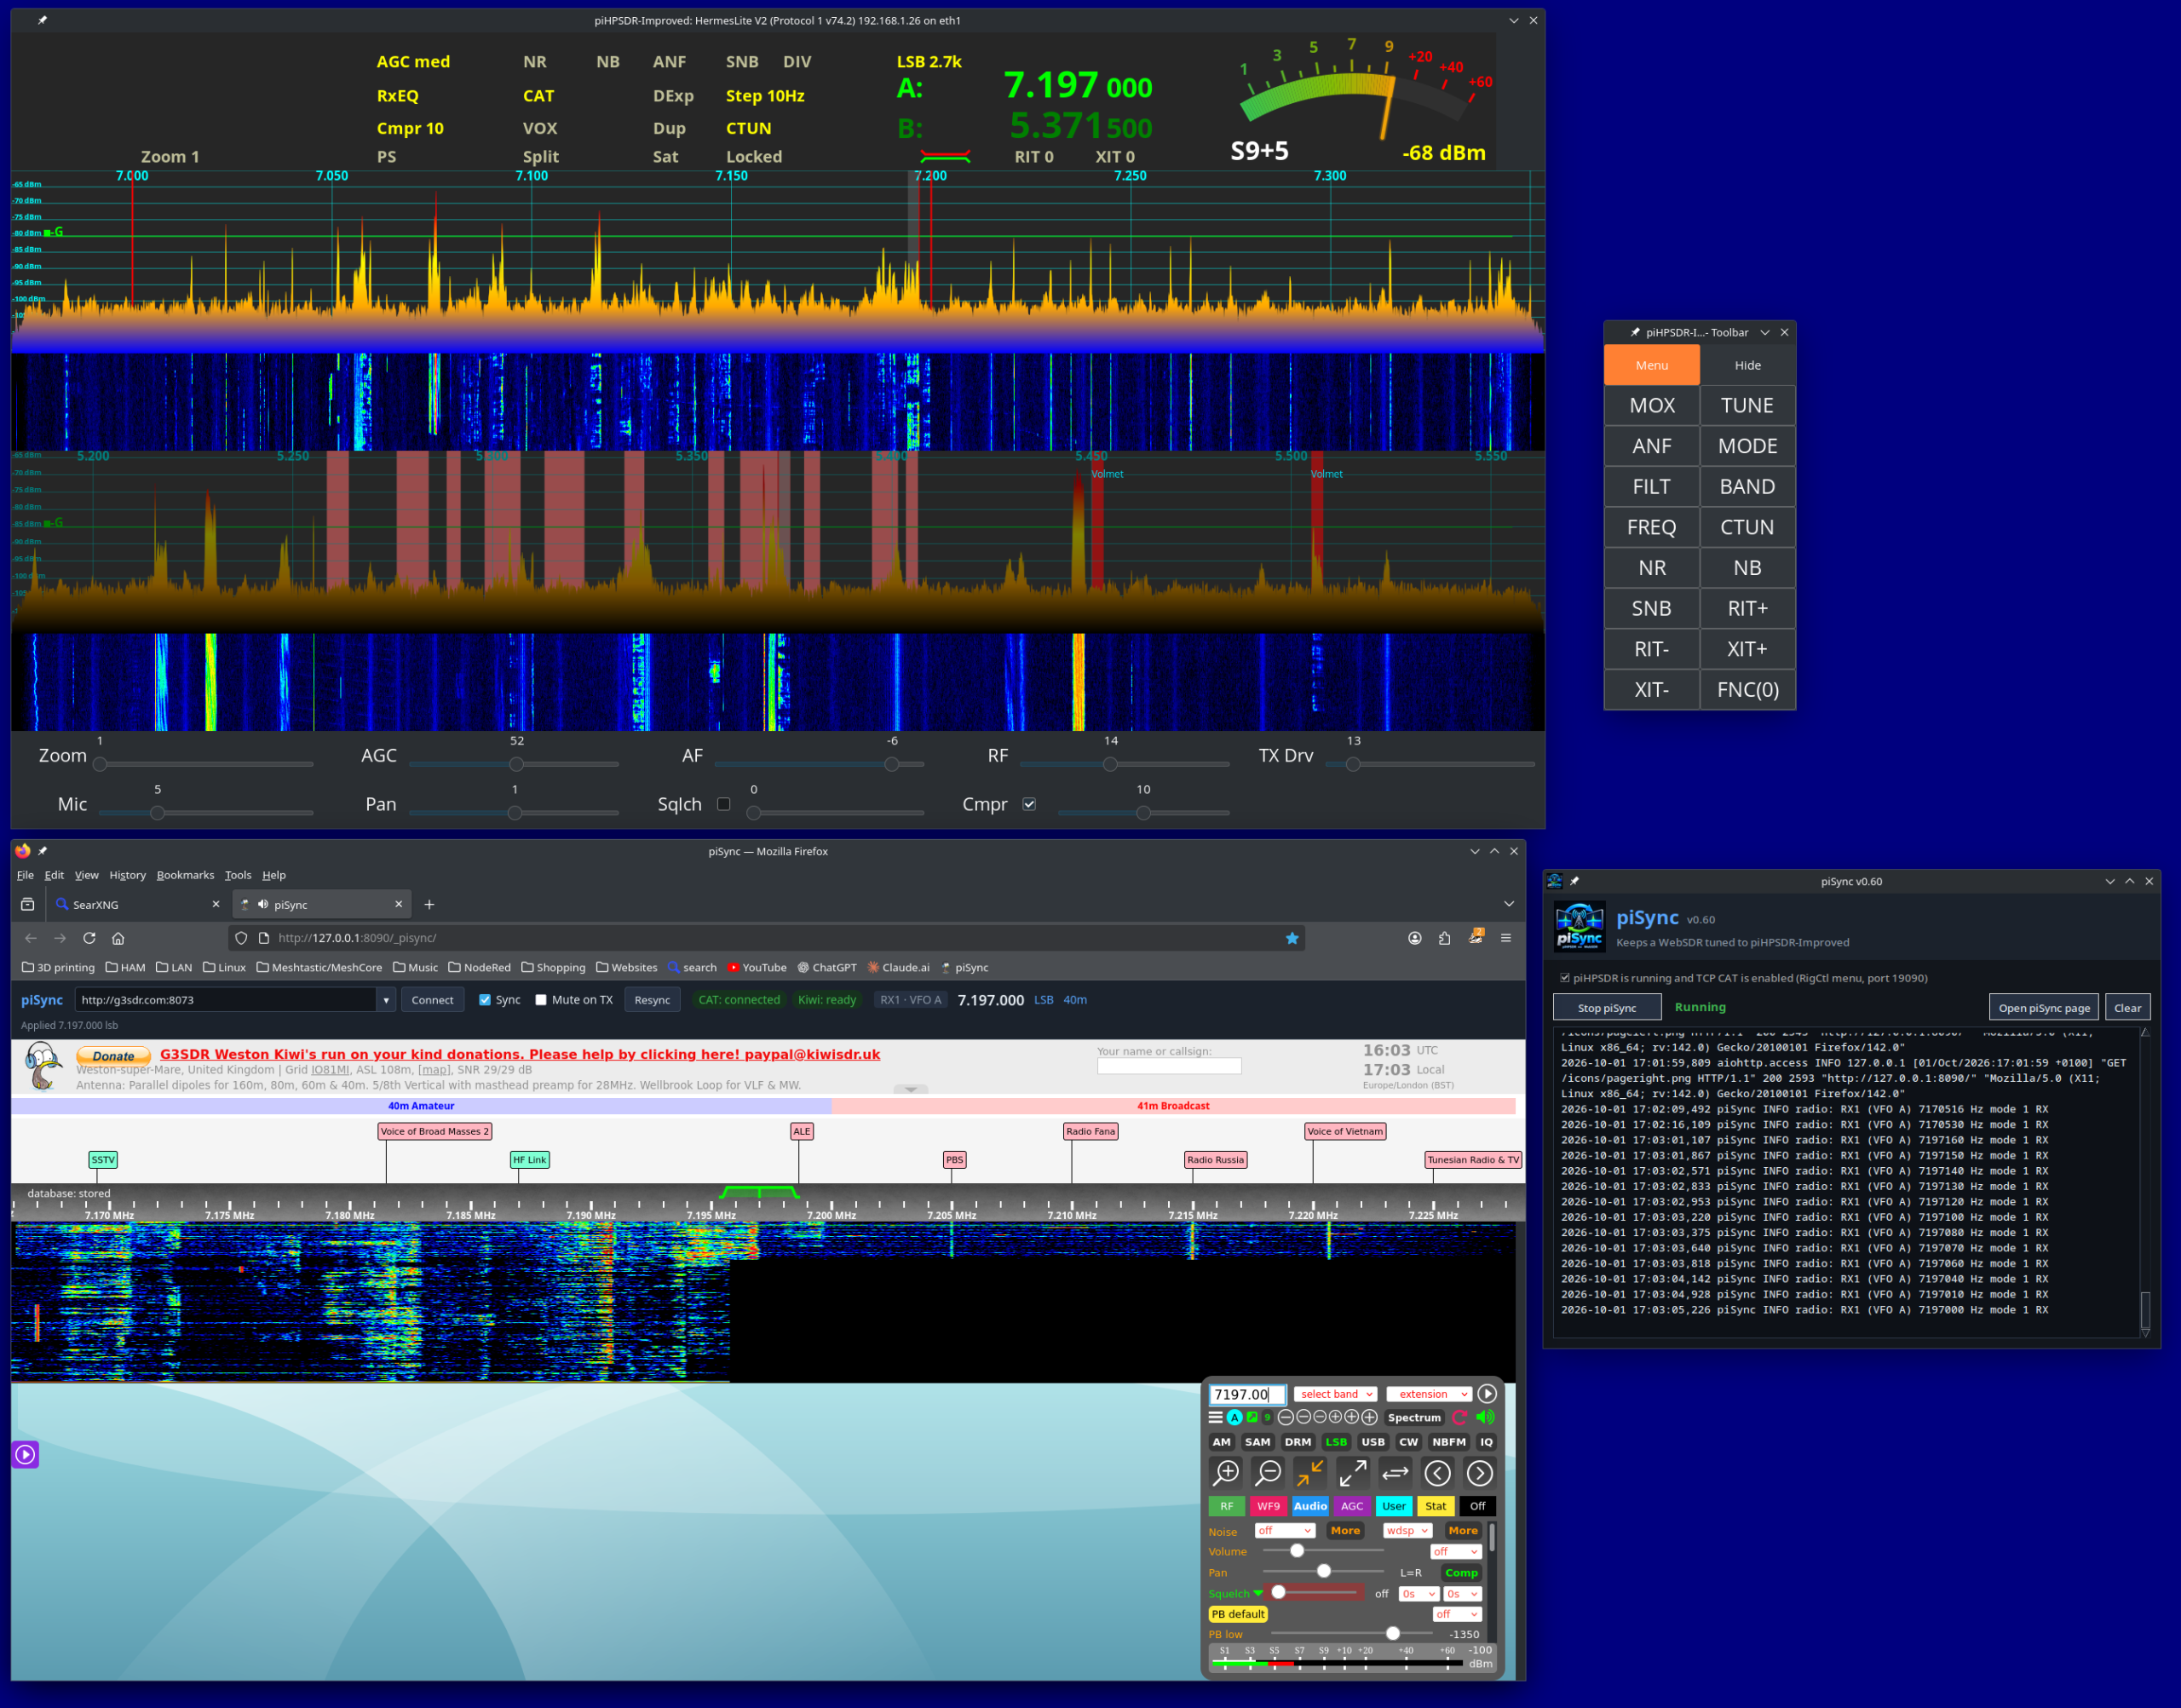
piHPSDR-Improved is a version of piHPSDR that has the fixes and enhancements in it that we’ve dreamt of having over the last couple of years. Some of the fixes are simple things like being able to detach the toolbar from the main window thus giving more space for the two panadapter/waterfall displays and have all the toolbar buttons on another screen in a floating toolbar. Other enhancements were more involved and addressed some of the most annoying issues like none of the settings for VFOB (RX2) were saved and so, every time you started the program you had to setup the RX2 all over again from scratch. These sound like simple fixes but, believe me, they’re not.
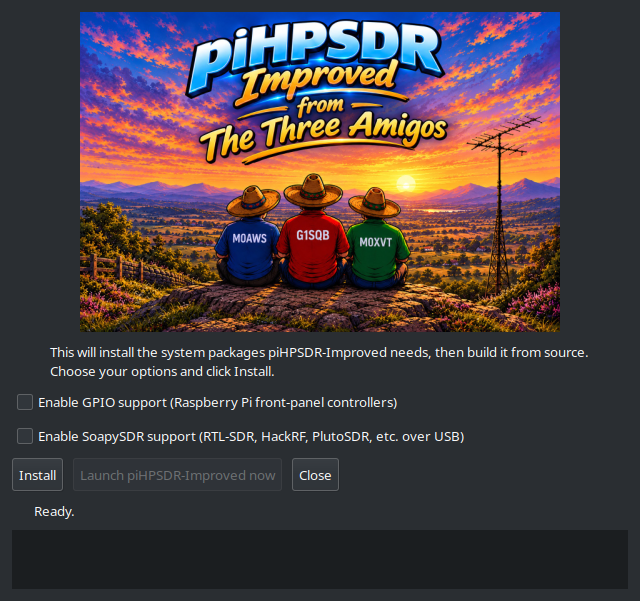
Another thing we wanted to do was make piHPSDR-Improved easy to install. Many Windows users transitioning from Windows to Linux often regret it the moment they have to use the Linux command line to install piHPSDR.
We’ve committed to having GUI installers for all the applications that we develop and release, regardless of how much extra work this entails.
It’s time installing software on Linux desktop PCs was as easy as it has been on Windows PCs for decades.
We’ve taken a modular approach to building piHPSDR-improved. Rather than putting everything into the one application, we’re going to be releasing add on modules that will bring new functionality over time. This way we can build on a structured, stable base keeping everything operational all of the time.
The first module we’re releasing is piSync and we’ve included it in the zip file that you’ll download to install piHPSDR-Improved.

piSync adds functionality to piHPSDR-Improved that Windows Thetis users have had for a long time, namely the ability to use an online WebSDR along side their own SDR transceiver and have it track the frequency, band and mode automatically. This functionality has proven to be incredibly useful when you are struggling to hear a weak DX or QRP station.
With piSync you can now use an online WebSDR receiver closer to the DX station to aid getting that QSO in the log. It’s like having another receiver in your radio that is located anywhere in the world, for free!
We believe this is a first for the Linux platform and we’re really pleased to be able to share it with the Linux community.
We’ve had great fun with piSync during testing and we think you’re all going to find it extremely useful too.
We’re also planning on adding support for FLRig in the next version of piSync so that you’ll be able to use a WebSDR with any transceiver that is supported by FLRig.
Of course it goes without saying, all of our software is Opensource. When you download and install piHPSDR-Improved or any of the new modules you will get the full source code every time and be free to do whatever you like with it. Every module will also have it’s own GUI installer, no more command line, just double click and go.
Both piHPSDR-Improved and piSync have been tested on RaspberryPi 5/500+, Linuxmint Cinnamon, Kubuntu, Debian 12 (Bookworm) and Debian 13 (Trixie) so, we’re pretty confident it’ll work on most Debian/Ubuntu based Linux distro’s on Intel/AMD PCs and the current versions of the RaspberryPi SBCs.
Inside the zip file you’ll find a file called README.1st, do make sure you read this before installing any of the software as it contains some important information that’ll make installation as easy as possible.
To download both piHPSDR-Improved and piSync in an easy to use zip file, just click the Download button below.
We’ve got lots of ideas for new features, modules and bug fixes (Yes there are still some bugs in there!) which we will be releasing over time. Don’t expect this to happen overnight as Steve still works full time and Alan and I are both enjoying our retirement.
This is just another facet of our hobby and we don’t like to rush things. We do like to use our radios on air, pretty much daily and so we do this software development in between all the other fun things that Amateur Radio has to offer.
To be clear and open we do use Claude Code to help with development. I go through as much of the code as I can without spending days and days just reading code. I am retired after all and have spent enough of my life professionally writing and debugging both my own code and other people’s code. We do a lot of testing on a good number of Linux distros before we even consider releasing the software to the wider world and use it on air as part of the testing process, so we’ve done as much as we can to ensure we’ve not introduced new bugs to the software. Keep in mind we do this as part of our Amateur Radio hobby and so, it needs to be fun and enjoyable.
We hope you enjoy using the software and find it useful. If you’ve got ideas for new things you’d like to see in future versions then please feel free to contact any of us via our contact details on QRZ.
UPDATE: We’ve fixed a little bug in piSync and released an updated version. You can download it from this article.
More soon …