I’ve not been on the radio much over the last few weeks as I’ve had my head down other radio related rabbit holes.
One of the rabbit holes is a Node-Red project to make my online logs a little more interactive. For sometime now my logs have been displayed on my website as nicely formatted, searchable HTML pages however, they don’t really allow the viewer (myself included) to see the global coverage of all the contacts so, I decided to write a Node-Red flow that would do just that.
M0AWS Interactive Log Flow
The flow itself isn’t too complicated and basically consists of reading in the individual ADIF formatted log files, processing the data and then sending the data in the correct format to the map node for display.
I’ve had to write a few functions to handle the processing of the ADIF formatted data but, these aren’t particularly complex and are fairly easy to understand even if like me, you’re not a Javascript programmer.
The flow is working perfectly however, I’m in the process of reworking the format generic payload function to reduce the amount of code and make it more efficient.
M0AWS SSB / CW / FreeDV Interactive Log World Map
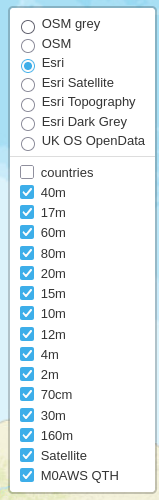
M0AWS Interactive Log Map Layers Menu
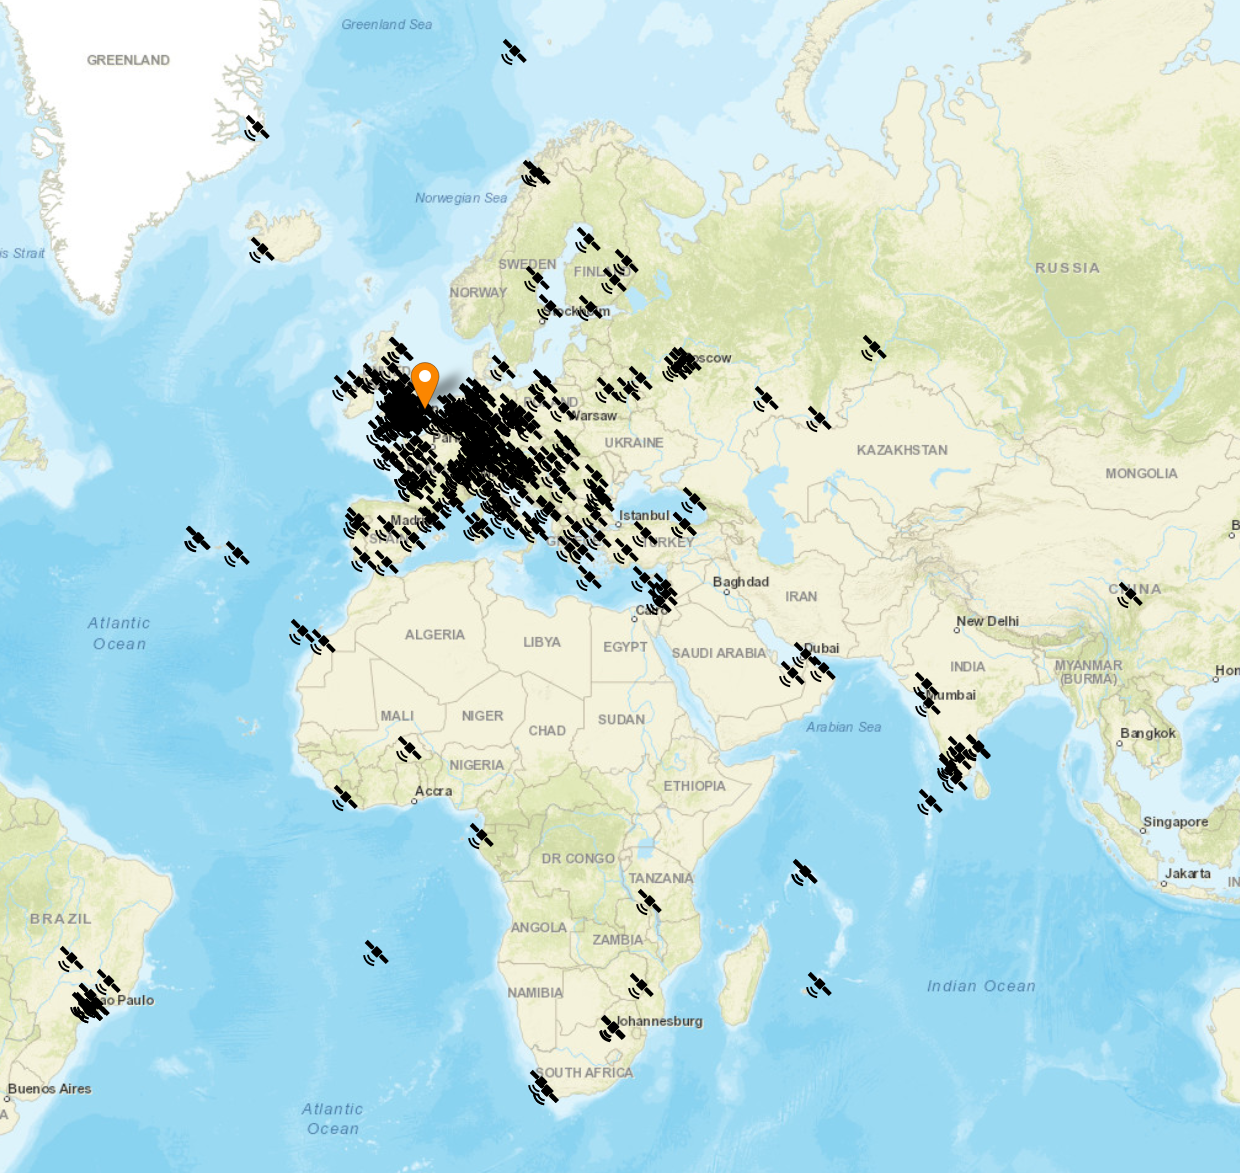
The flow generates two maps, one for voice / CW /Satellite contacts and the other for WSJT-X FT4/8 contacts. Every pin on the map is colour coded by band with satellite contacts being denoted by a satellite icon.
Each pin / icon on the map is clickable and reveals the data of the QSO being displayed.
In the top right-hand corner of the map there is a drop down layermenu that allows the viewer to filter by band thus reducing the number of icons on the screen at any one time.
Seeing the data presented on a map really brings my logs alive. An example of this is that I had no idea I’d worked so many stations in India on the QO-100 Satellite.
The small icons in the pins show a microphone for SSB/FM/FreeDV contacts and a downwards pointing triangle in a box for CW contacts. Sadly I couldn’t find a Morse key icon in the collection available.
M0AWS filtered view of QO-100 Satellite contacts
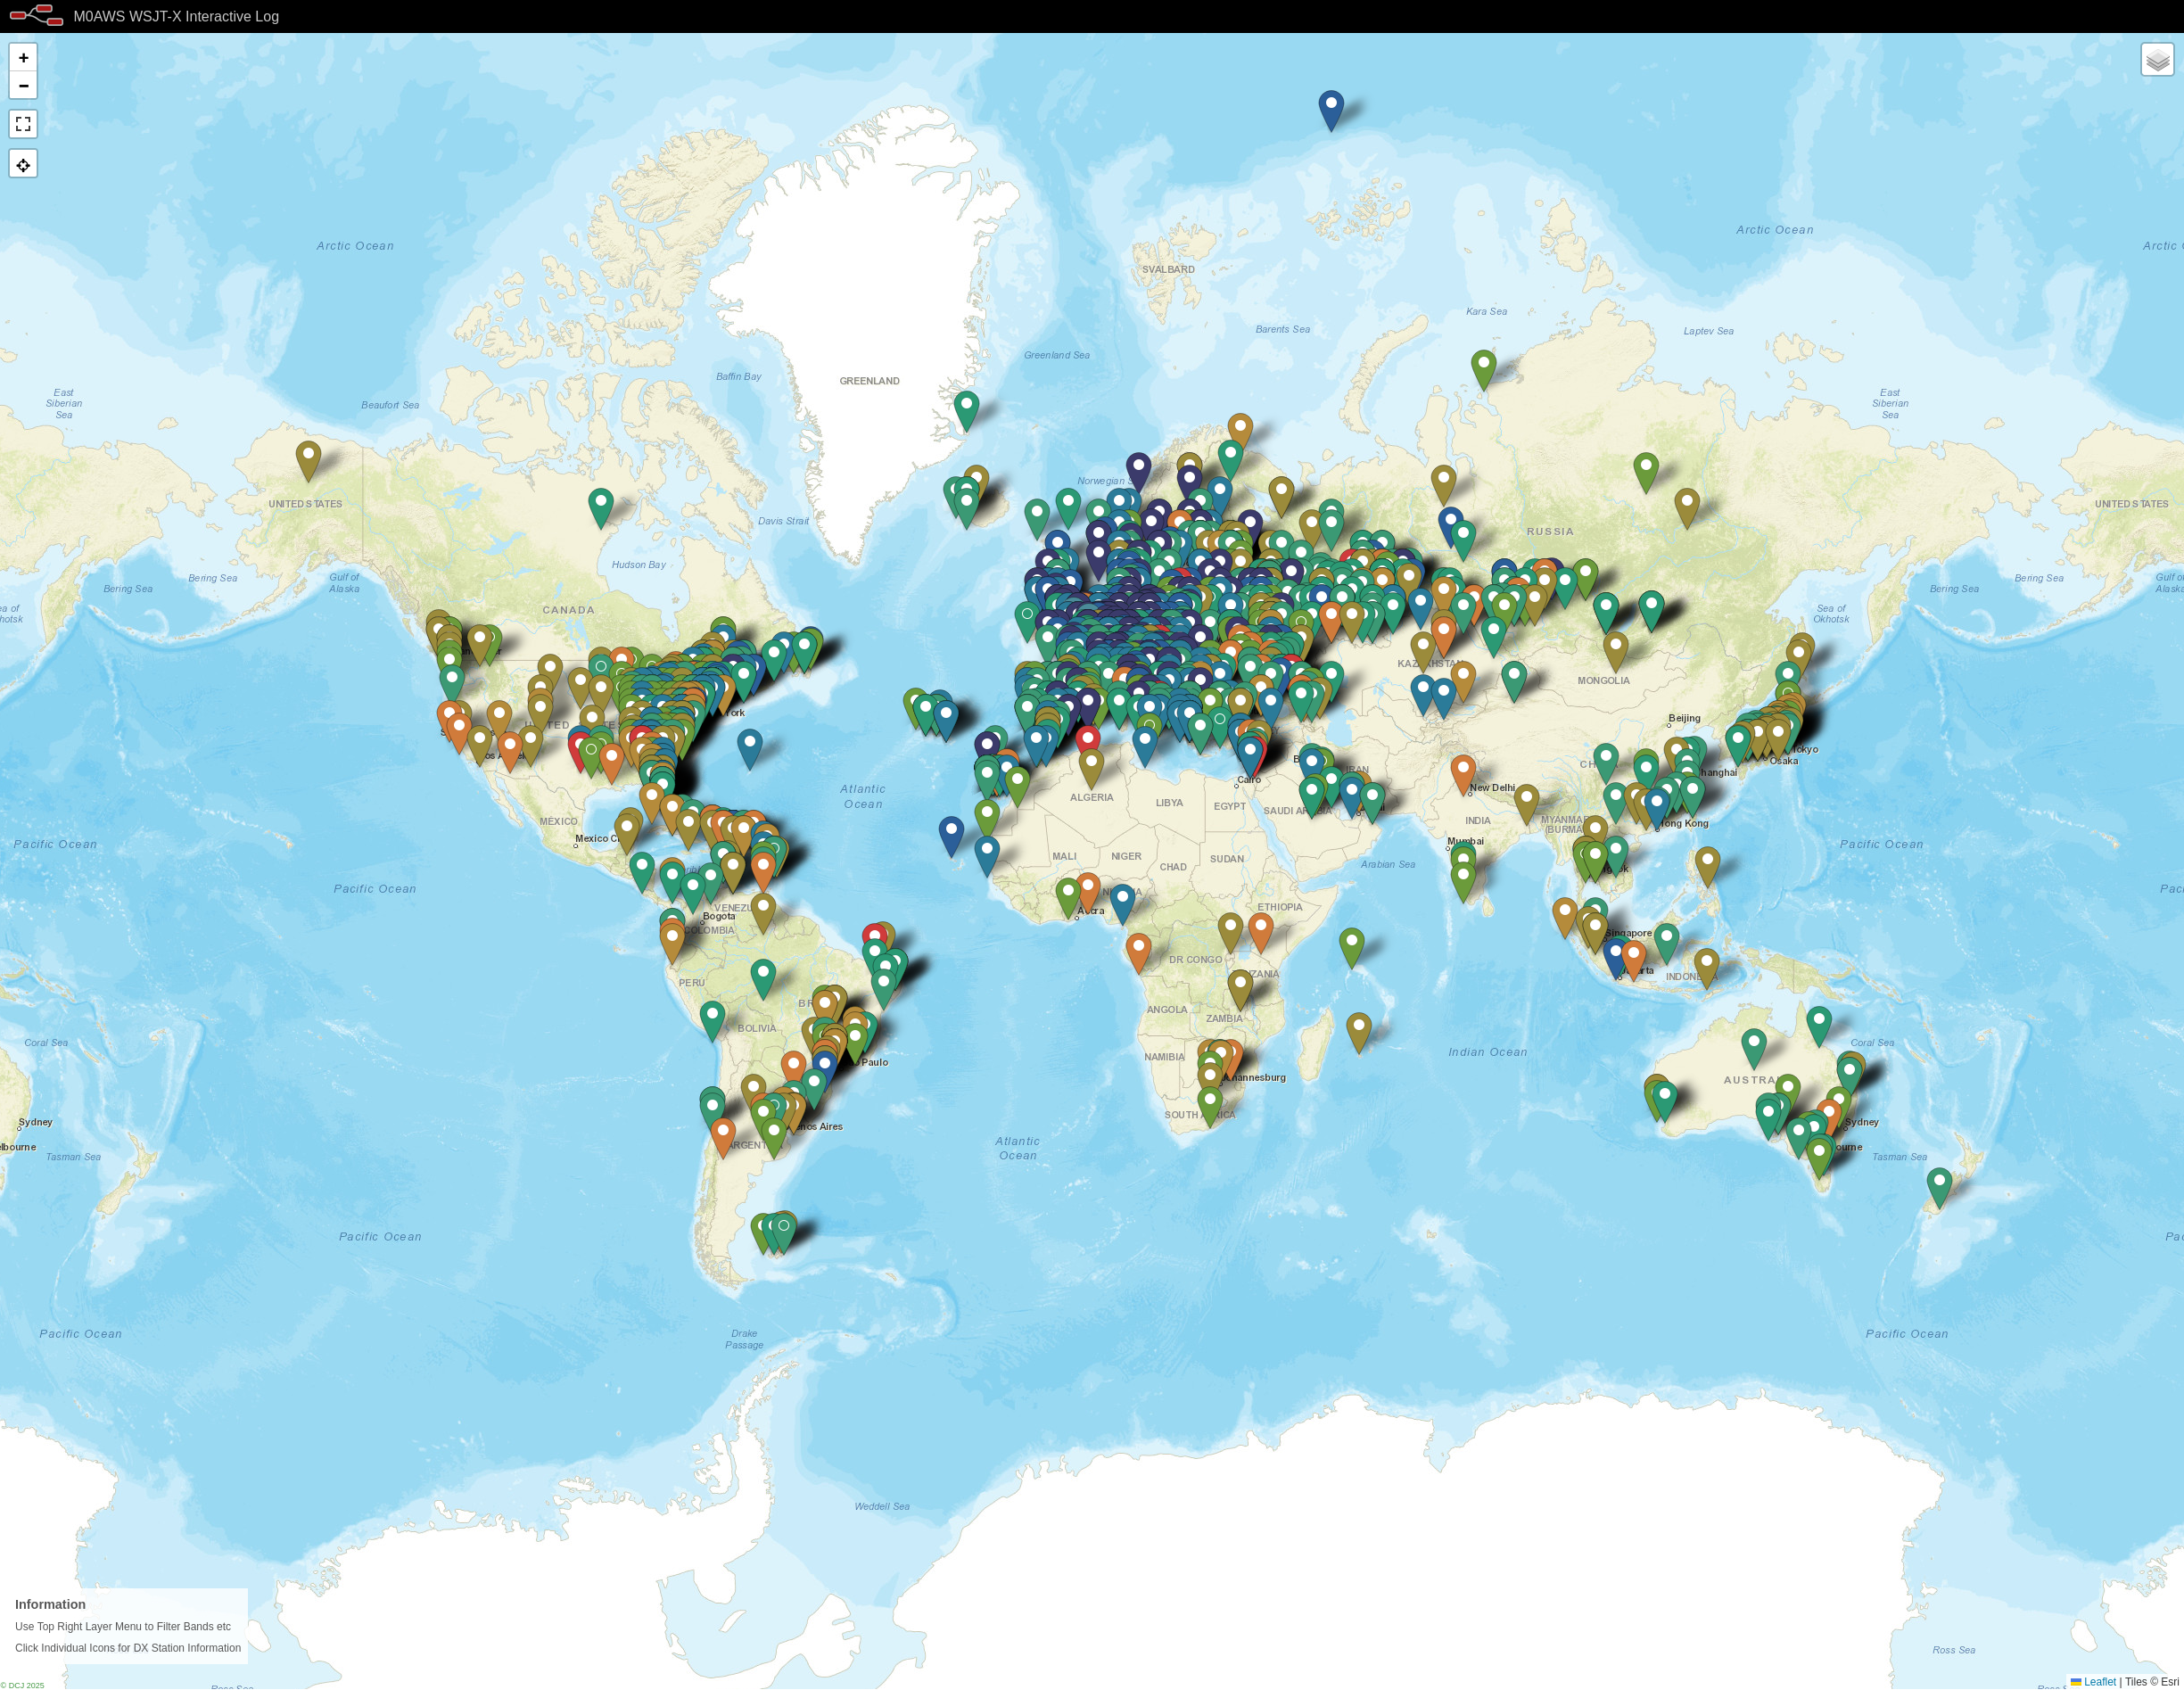
I only use FT4/8 for testing new antenna designs however, it’s interesting to see the global coverage accomplished with this weak signal mode.
M0AWS WSJT-X FT4/8 Interactive Log World Map
Once I’ve finished rewriting the format generic payload function I will make the flow available for download here so that others can also create an interactive view of their radio logs.
If you want to have a look at the maps and try them out for yourself, they are available under the Logs menu above.
This Node-Red instance is running in a virtual machine (VM) on a 16GB RAM RaspberryPi 5 that is also running a number of other VMs at the same time so, it’s safe to say it’s not heavy on CPU and will run on the older Pi4 as well.
For some time I’ve been considering purchasing a 3D printer so that I can create parts for my HAM Radio projects. The issue has always been, what printer to buy?
Having searched online, watched many YouTube videos and endless reading I ended up even more confused and no closer to making a decision. In the end I decided to step away from the idea for a while and see where things went.
Some time much later I ventured back to the subject and discovered the Bambu Lab 3D printer range. These were getting rave reviews and were positioned as being ideal for the total 3D printing beginner.
Once again I read as much as I could about the Bambu Lab printers, watched endless videos and searched online for supplies, spare parts etc to ensure they were readily available.
Eventually I had all the boxes ticked.
Relatively easy to use software
MacOS/Linux supported
Can print using the filament types I need for my projects
Good size print plate
iPhone App
Wireless connectivity
Built in camera for time-lapse videos
Multi-colour filament delivery system
Sensibly priced filament
Readily available replacement parts
Active Eco System and community
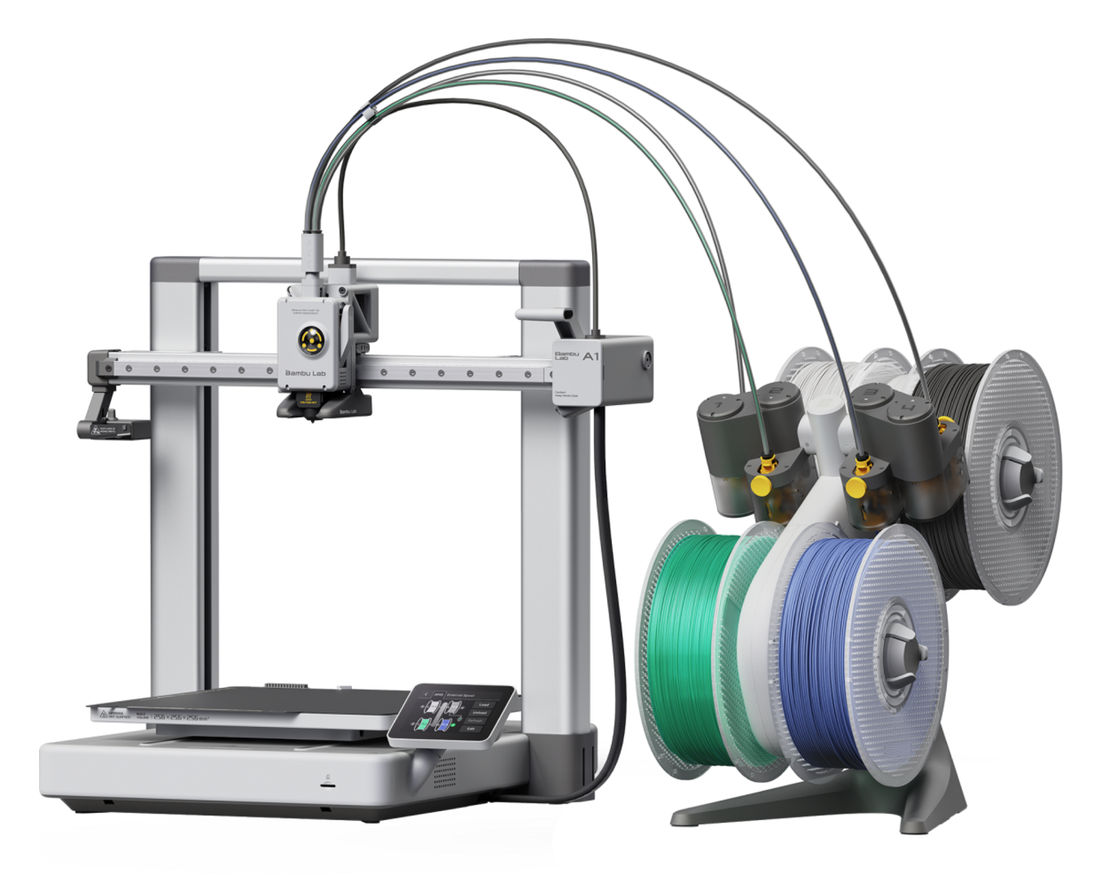
Looking at all the current 3D printers available in the Bambu Lab range I decided to purchase the A1 Combo model. This has a 256 x 256mm build plate, 4 filament feed print head and the filament Automatic Management System (AMS) that makes multi-colour printing a breeze.
With the decision made all I had to do was find a supplier. Strangely enough buying direct from Bambu Lab gave the best price and with the £10 voucher and 28% off of filament bought at the same time as the printer it was a no brainer.
£528 later I had 10 rolls of filament and an A1 Combo 3D printer winging it’s way to me.
Bambu Lab A1 Combo 3D Printer
2 days later our local DPD delivery driver arrived with 2 large boxes and a comment about how heavy one of the boxes was.
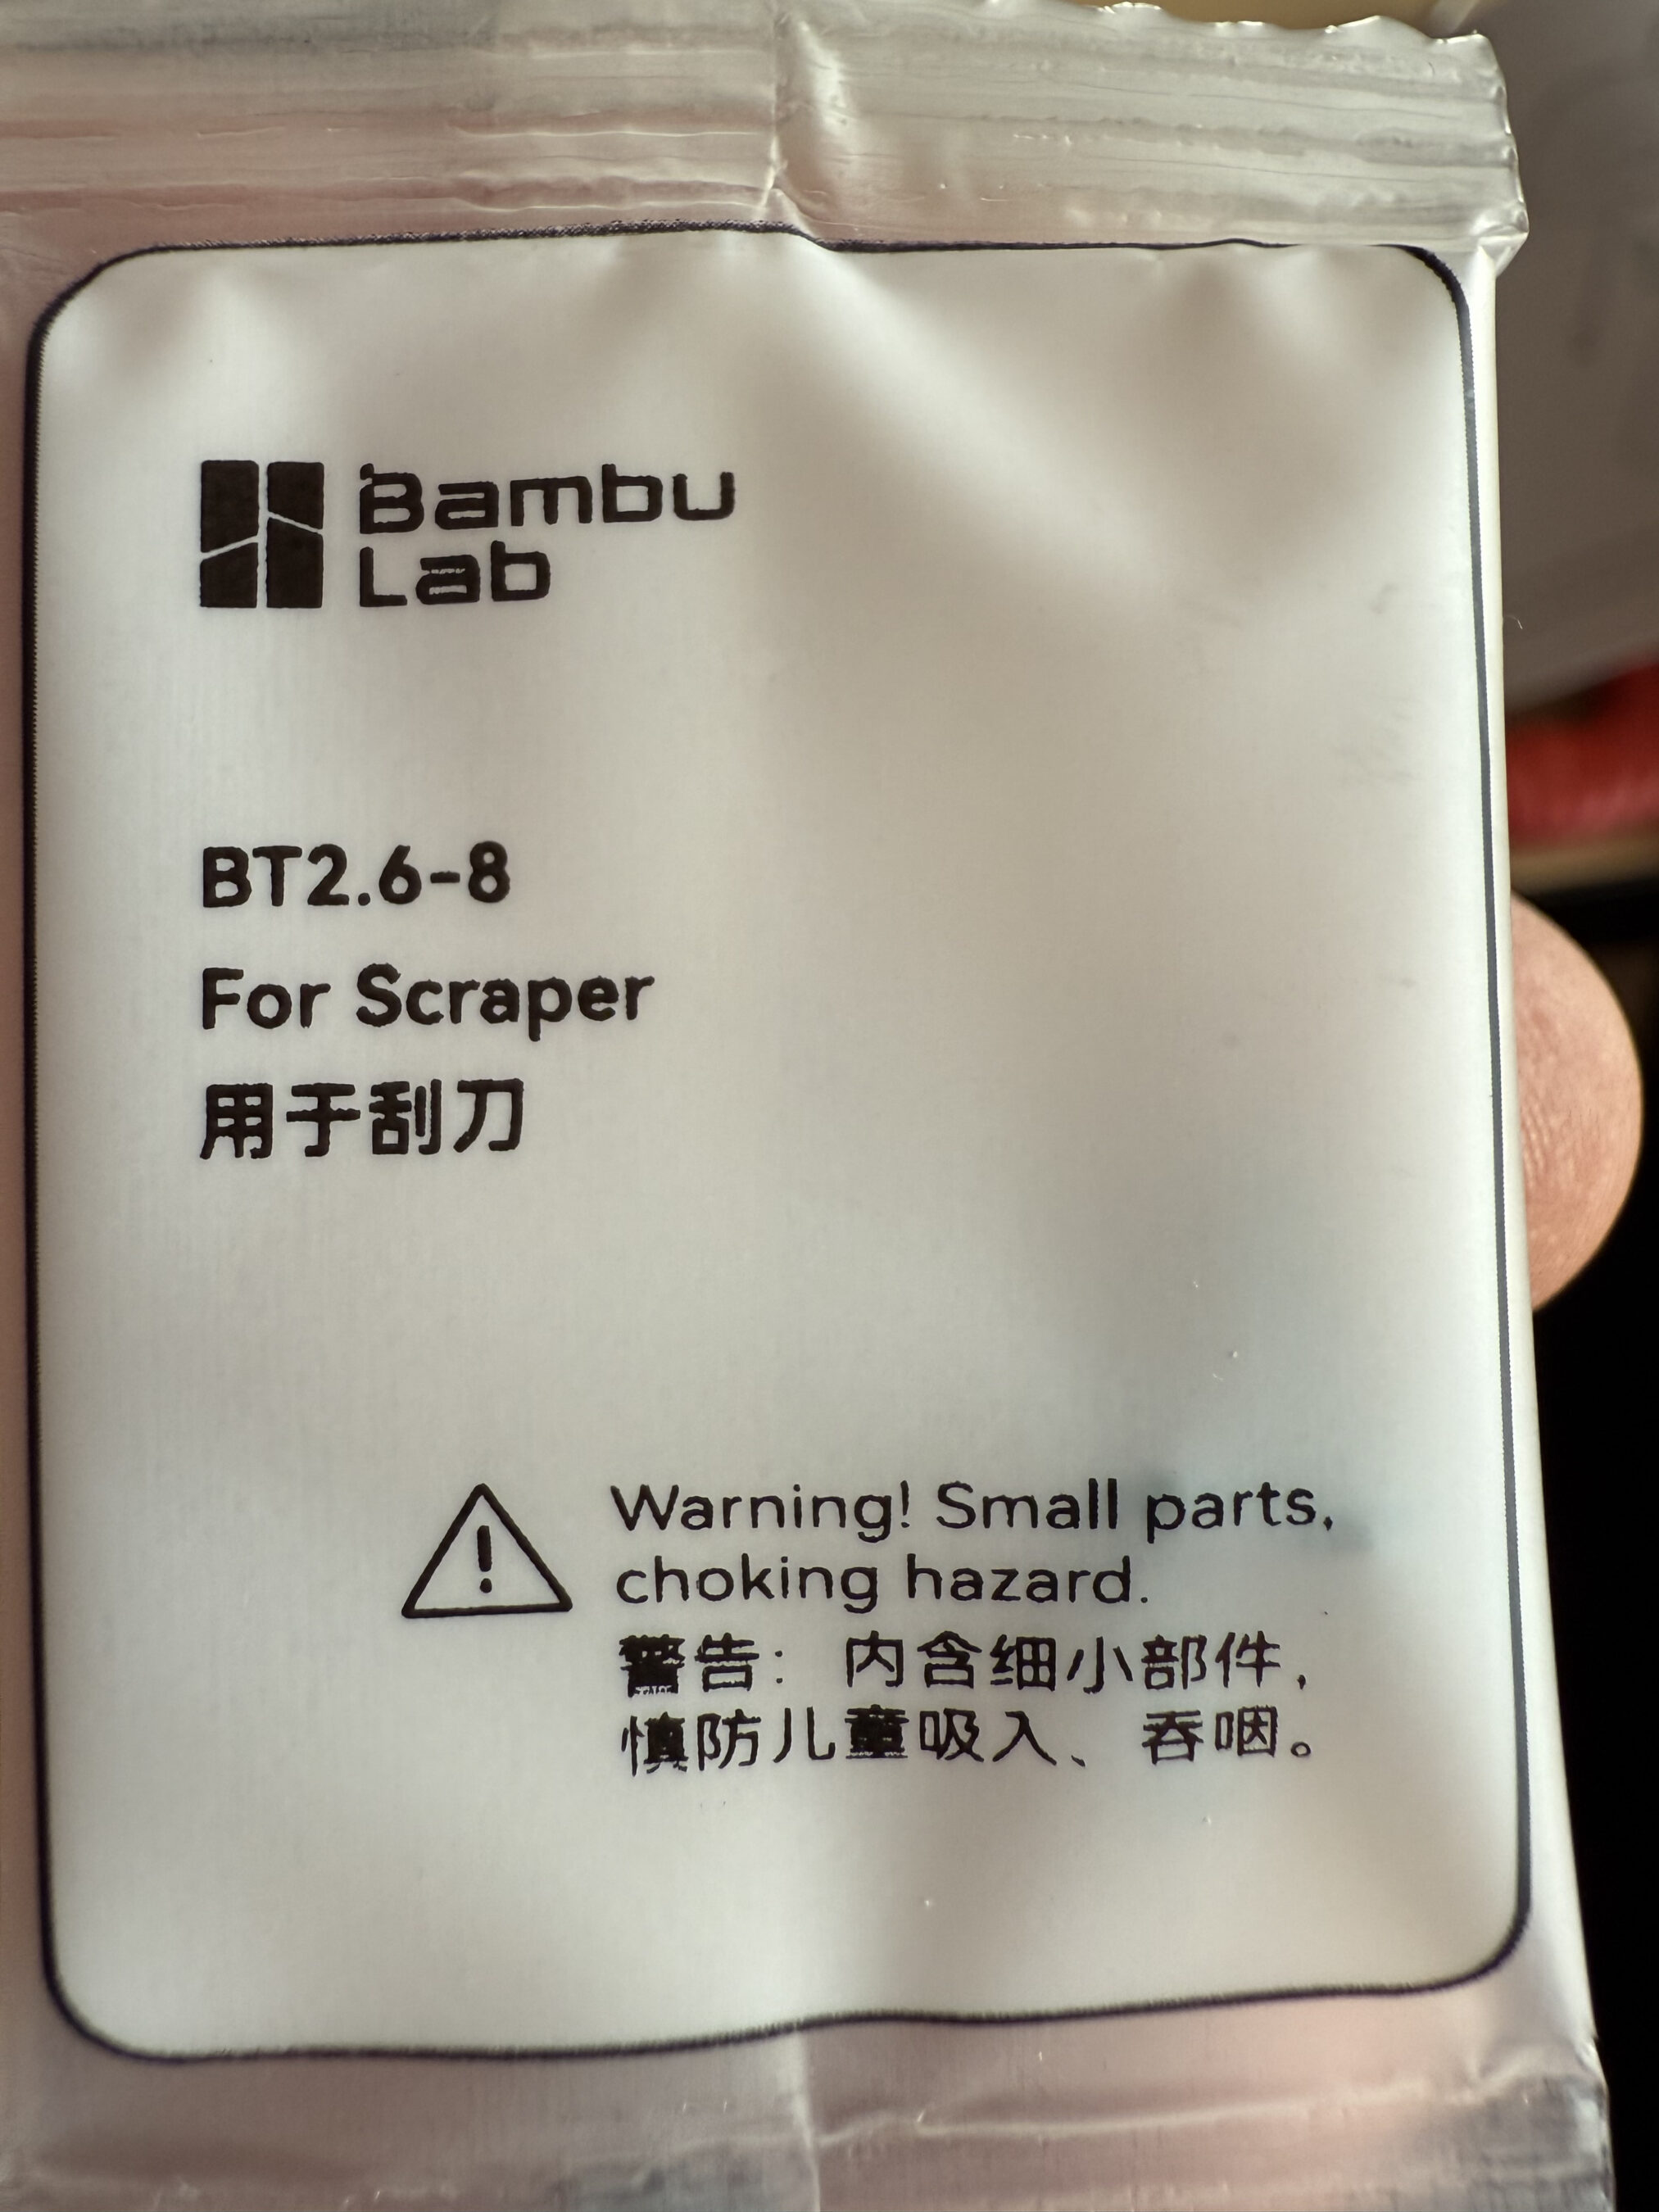
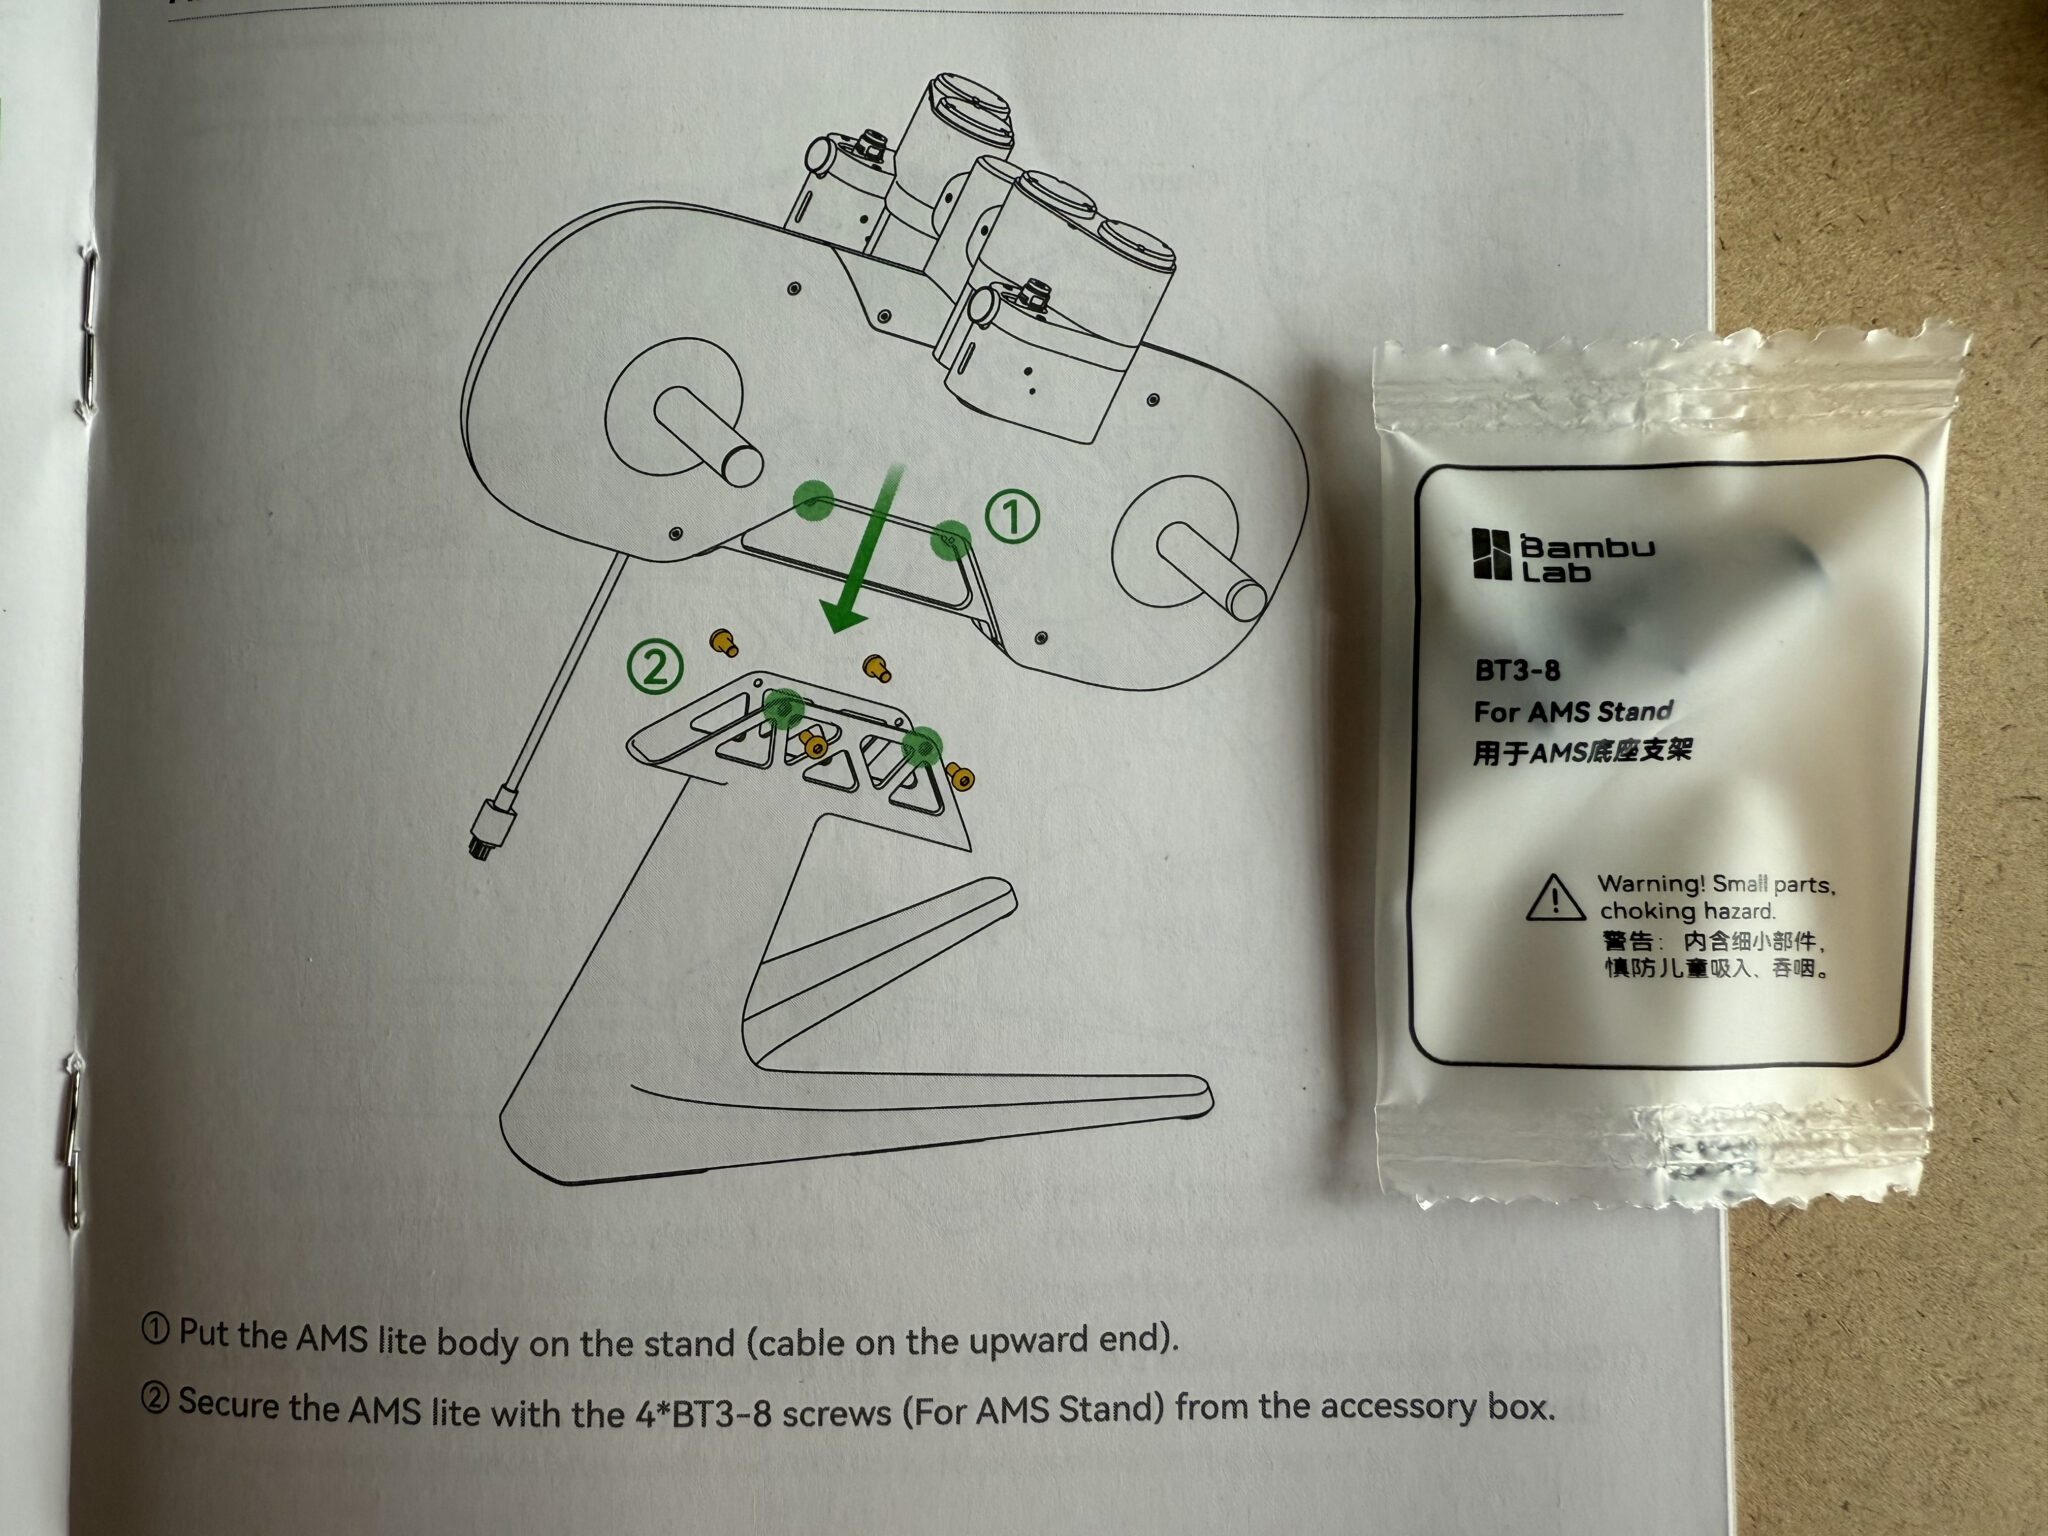
Upon opening the printer box I found it was extremely well packed. The printer comes in a partially assembled form and requires some assembly by the end user. All the parts are really well labelled right down to each packet of screws being labelled with their exact use. All the tools needed to assemble the printer are included as is the easy to follow manual.
Bambu Lab screw packages labelled for each partBambu Lab screw set for the AMS Stand
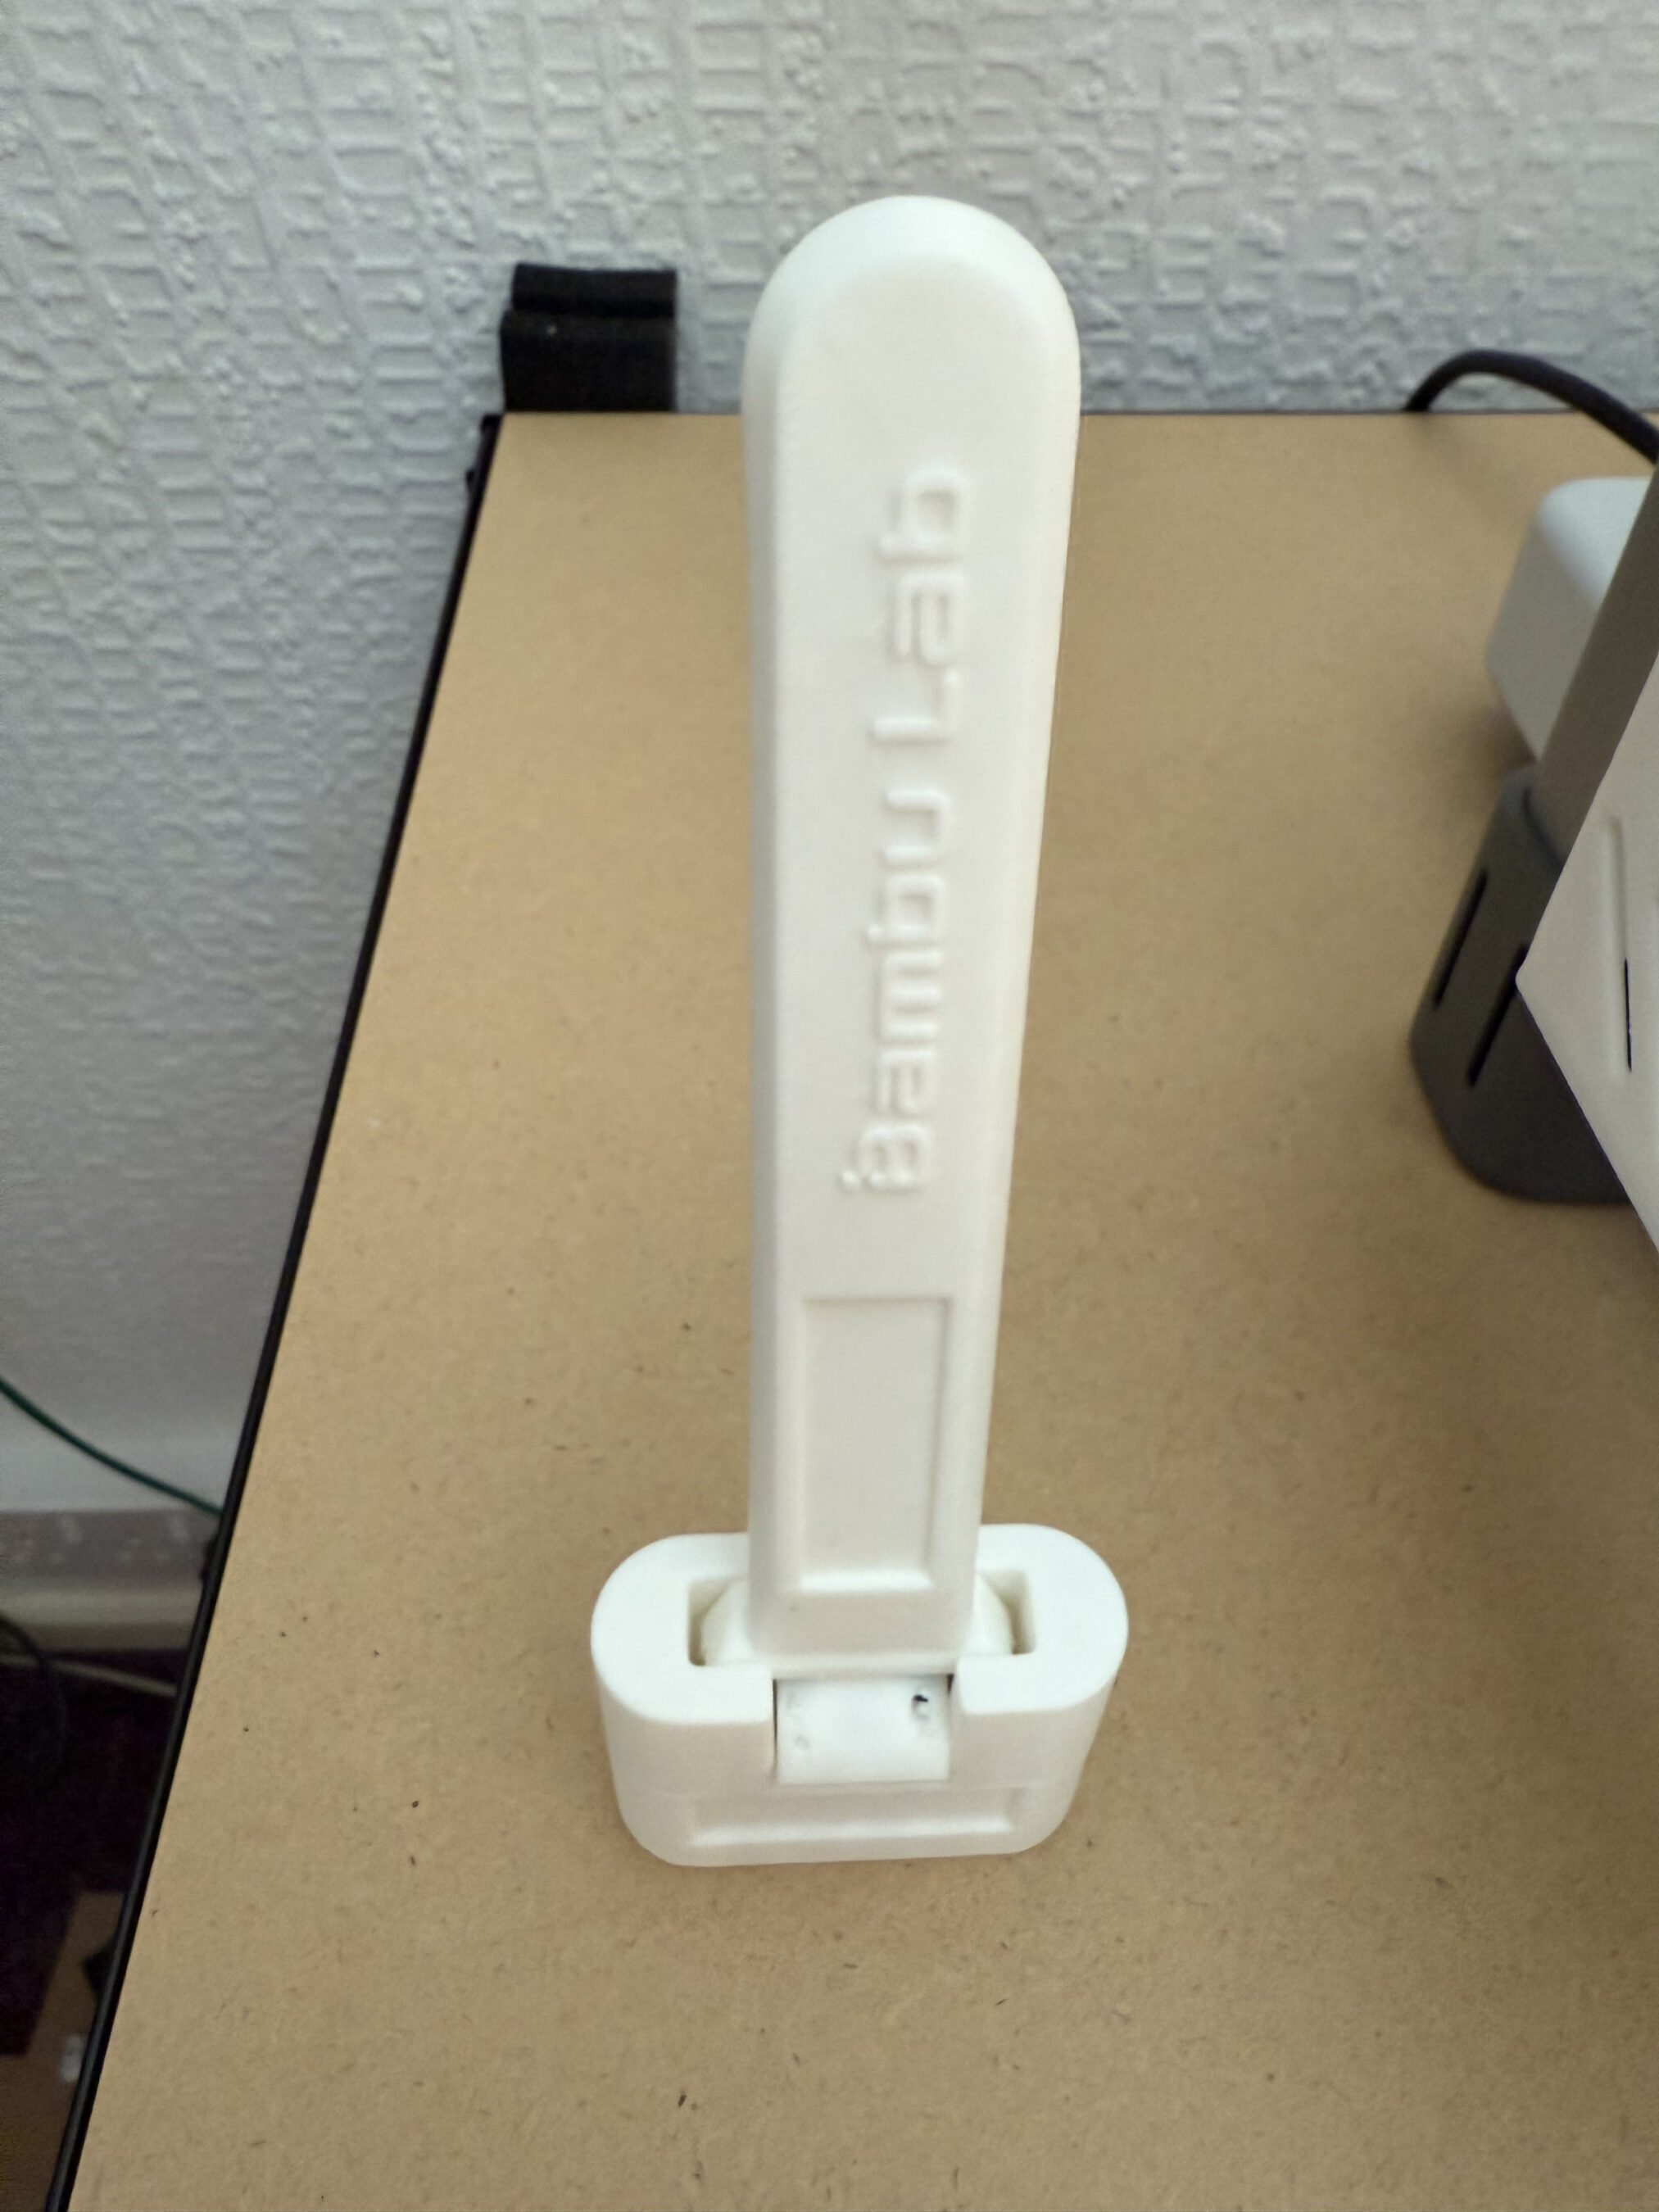
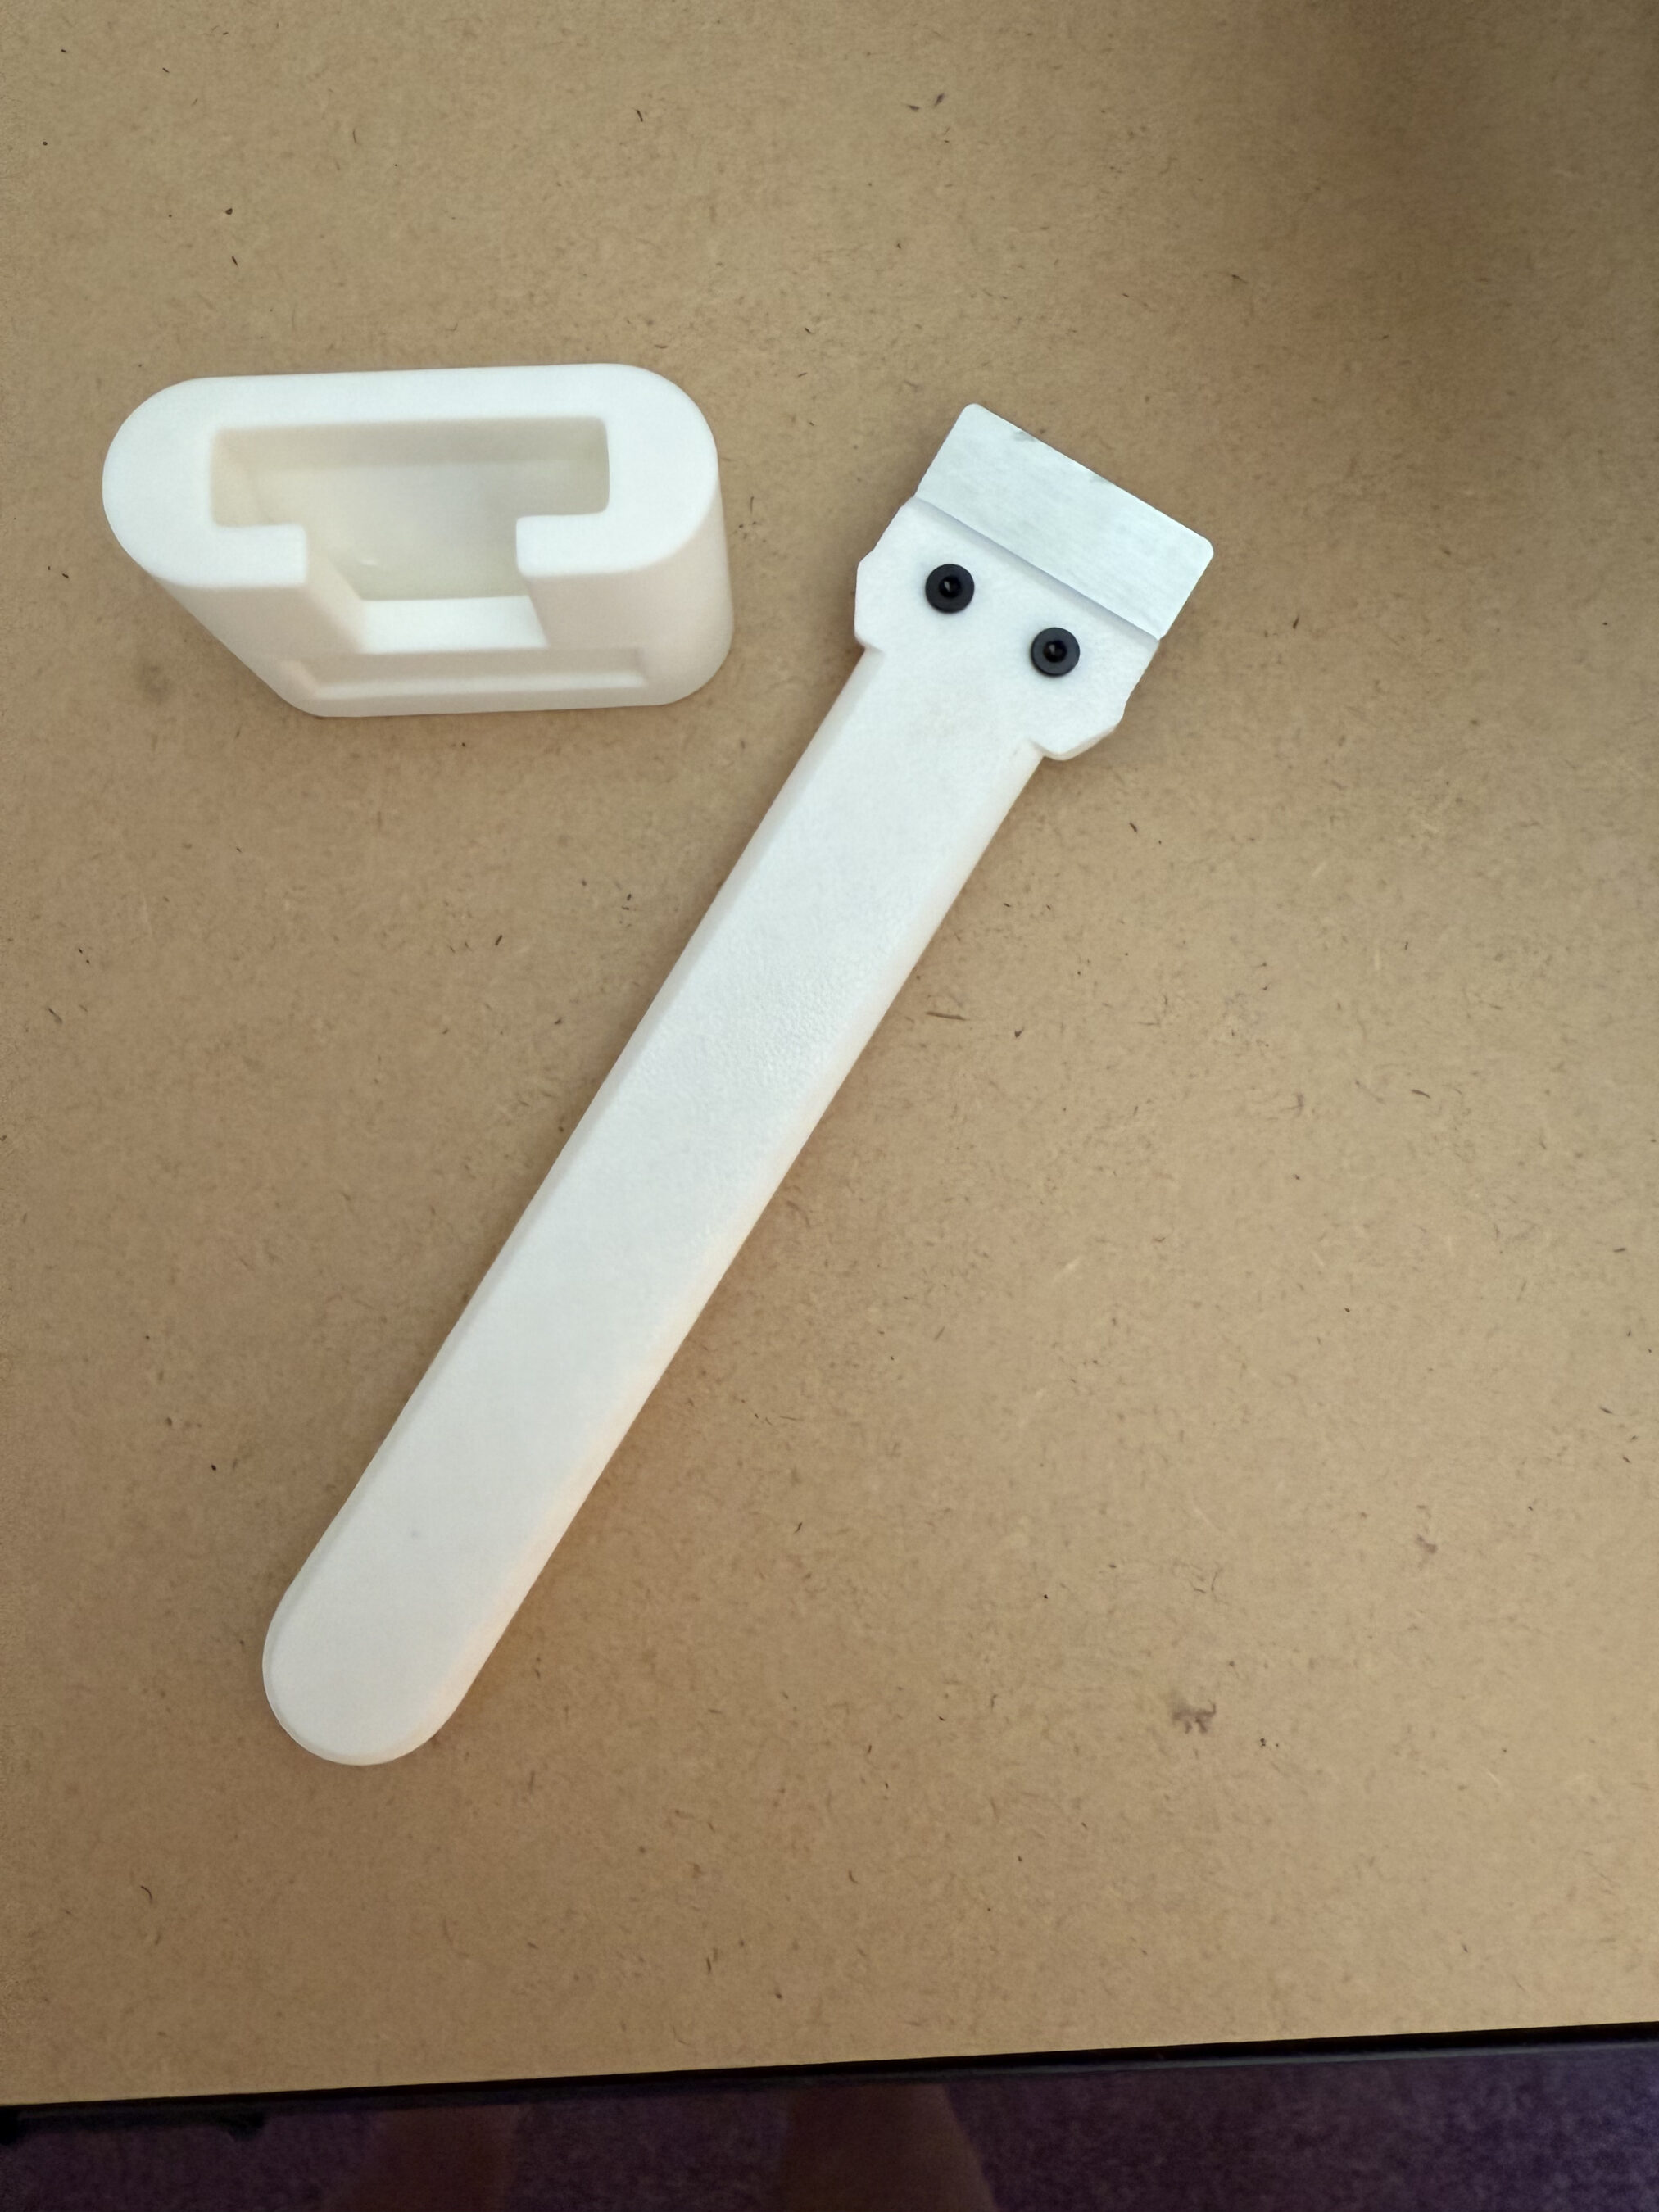
Another thing I really liked about Bambu Lab is that they supply you with screws for things that aren’t in the box, like the scraper screws shown above. At first I thought this was a bit weird but, in reality this makes complete sense as printing your own tool set is a great introduction to making your first prints.
Next I attacked the heavy box, this contained the 10 reels of filament I’d purchased at the same time. I’d ordered a good assortment of colours that would keep everyone in the family happy.
Installing the BambuStudio software on my MacBook Pro was a breeze. Using the account I setup at purchase time I was soon hooked into the Bambu Lab Makerworld community.
I immediately found the tools I needed to print and set about making my first 3D prints. The software has a lot of functionality, especially when it comes to the designing of your own objects. It’s fair to say the initial learning curve is vertical however, there are some great videos on YouTube on printing downloaded objects using the BambuStudio software.
ambuLab Scraper and Stand 3D PrintBambuLab Scraper and Stand 3D Print
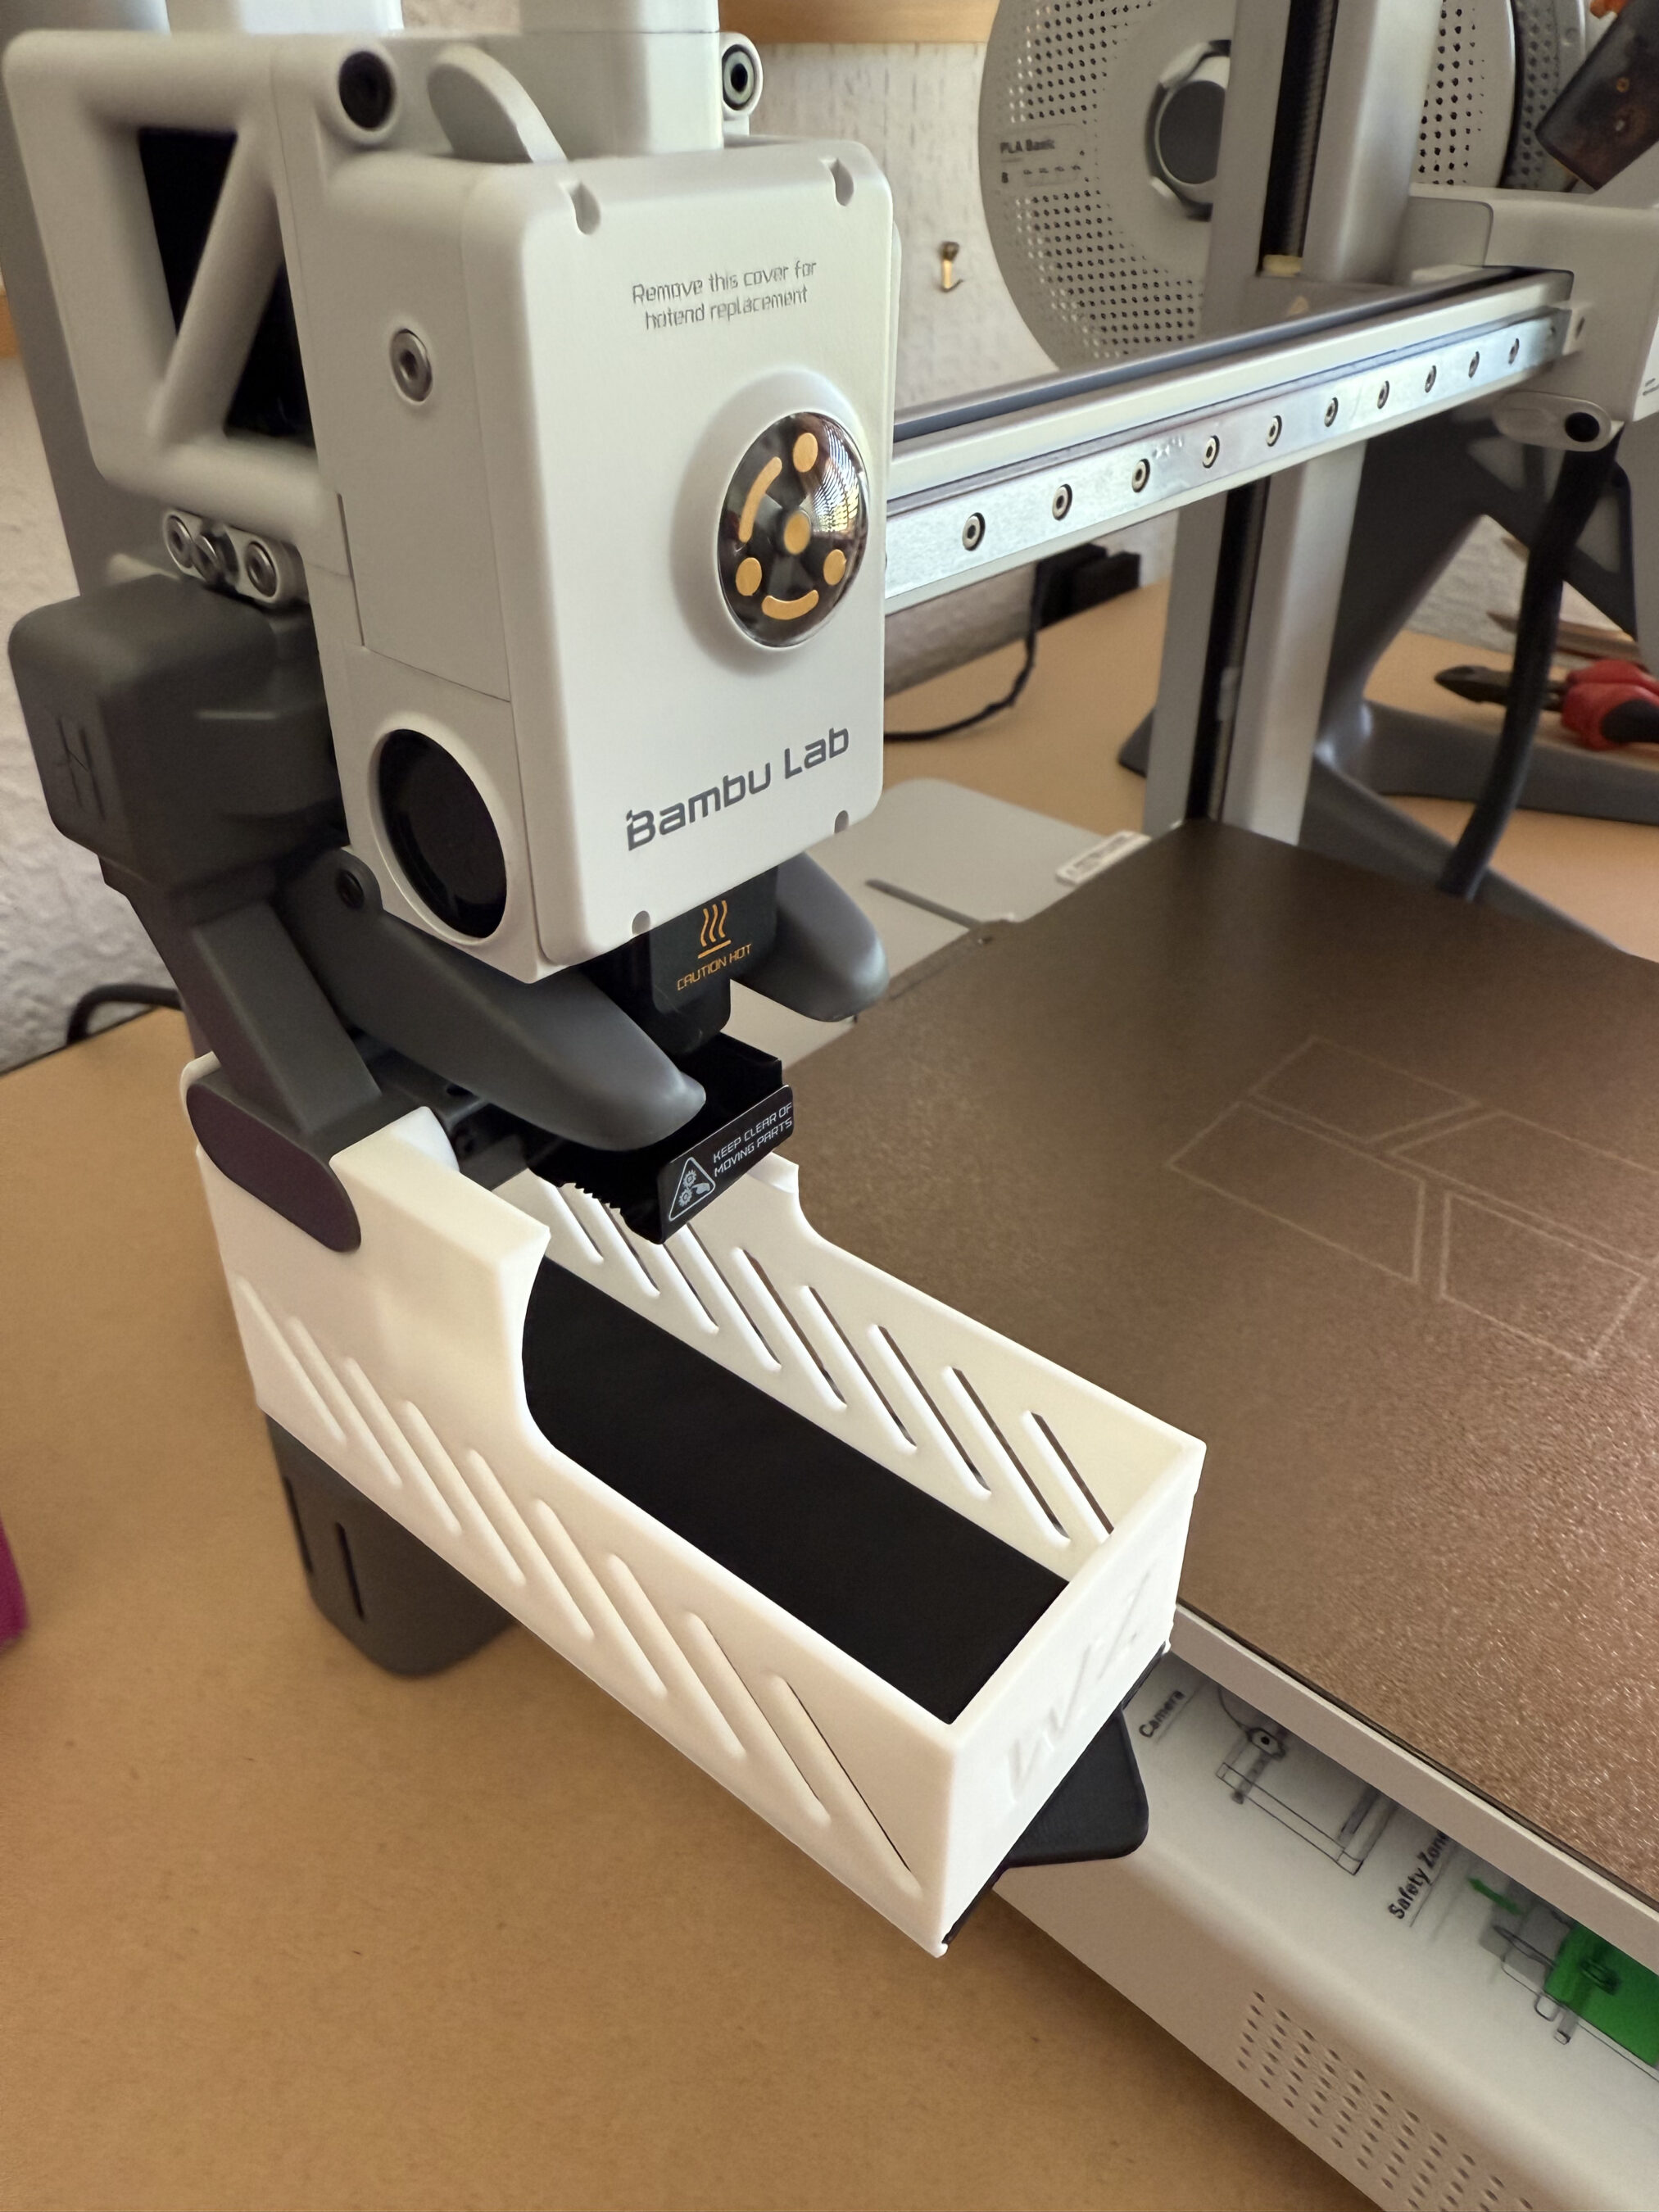
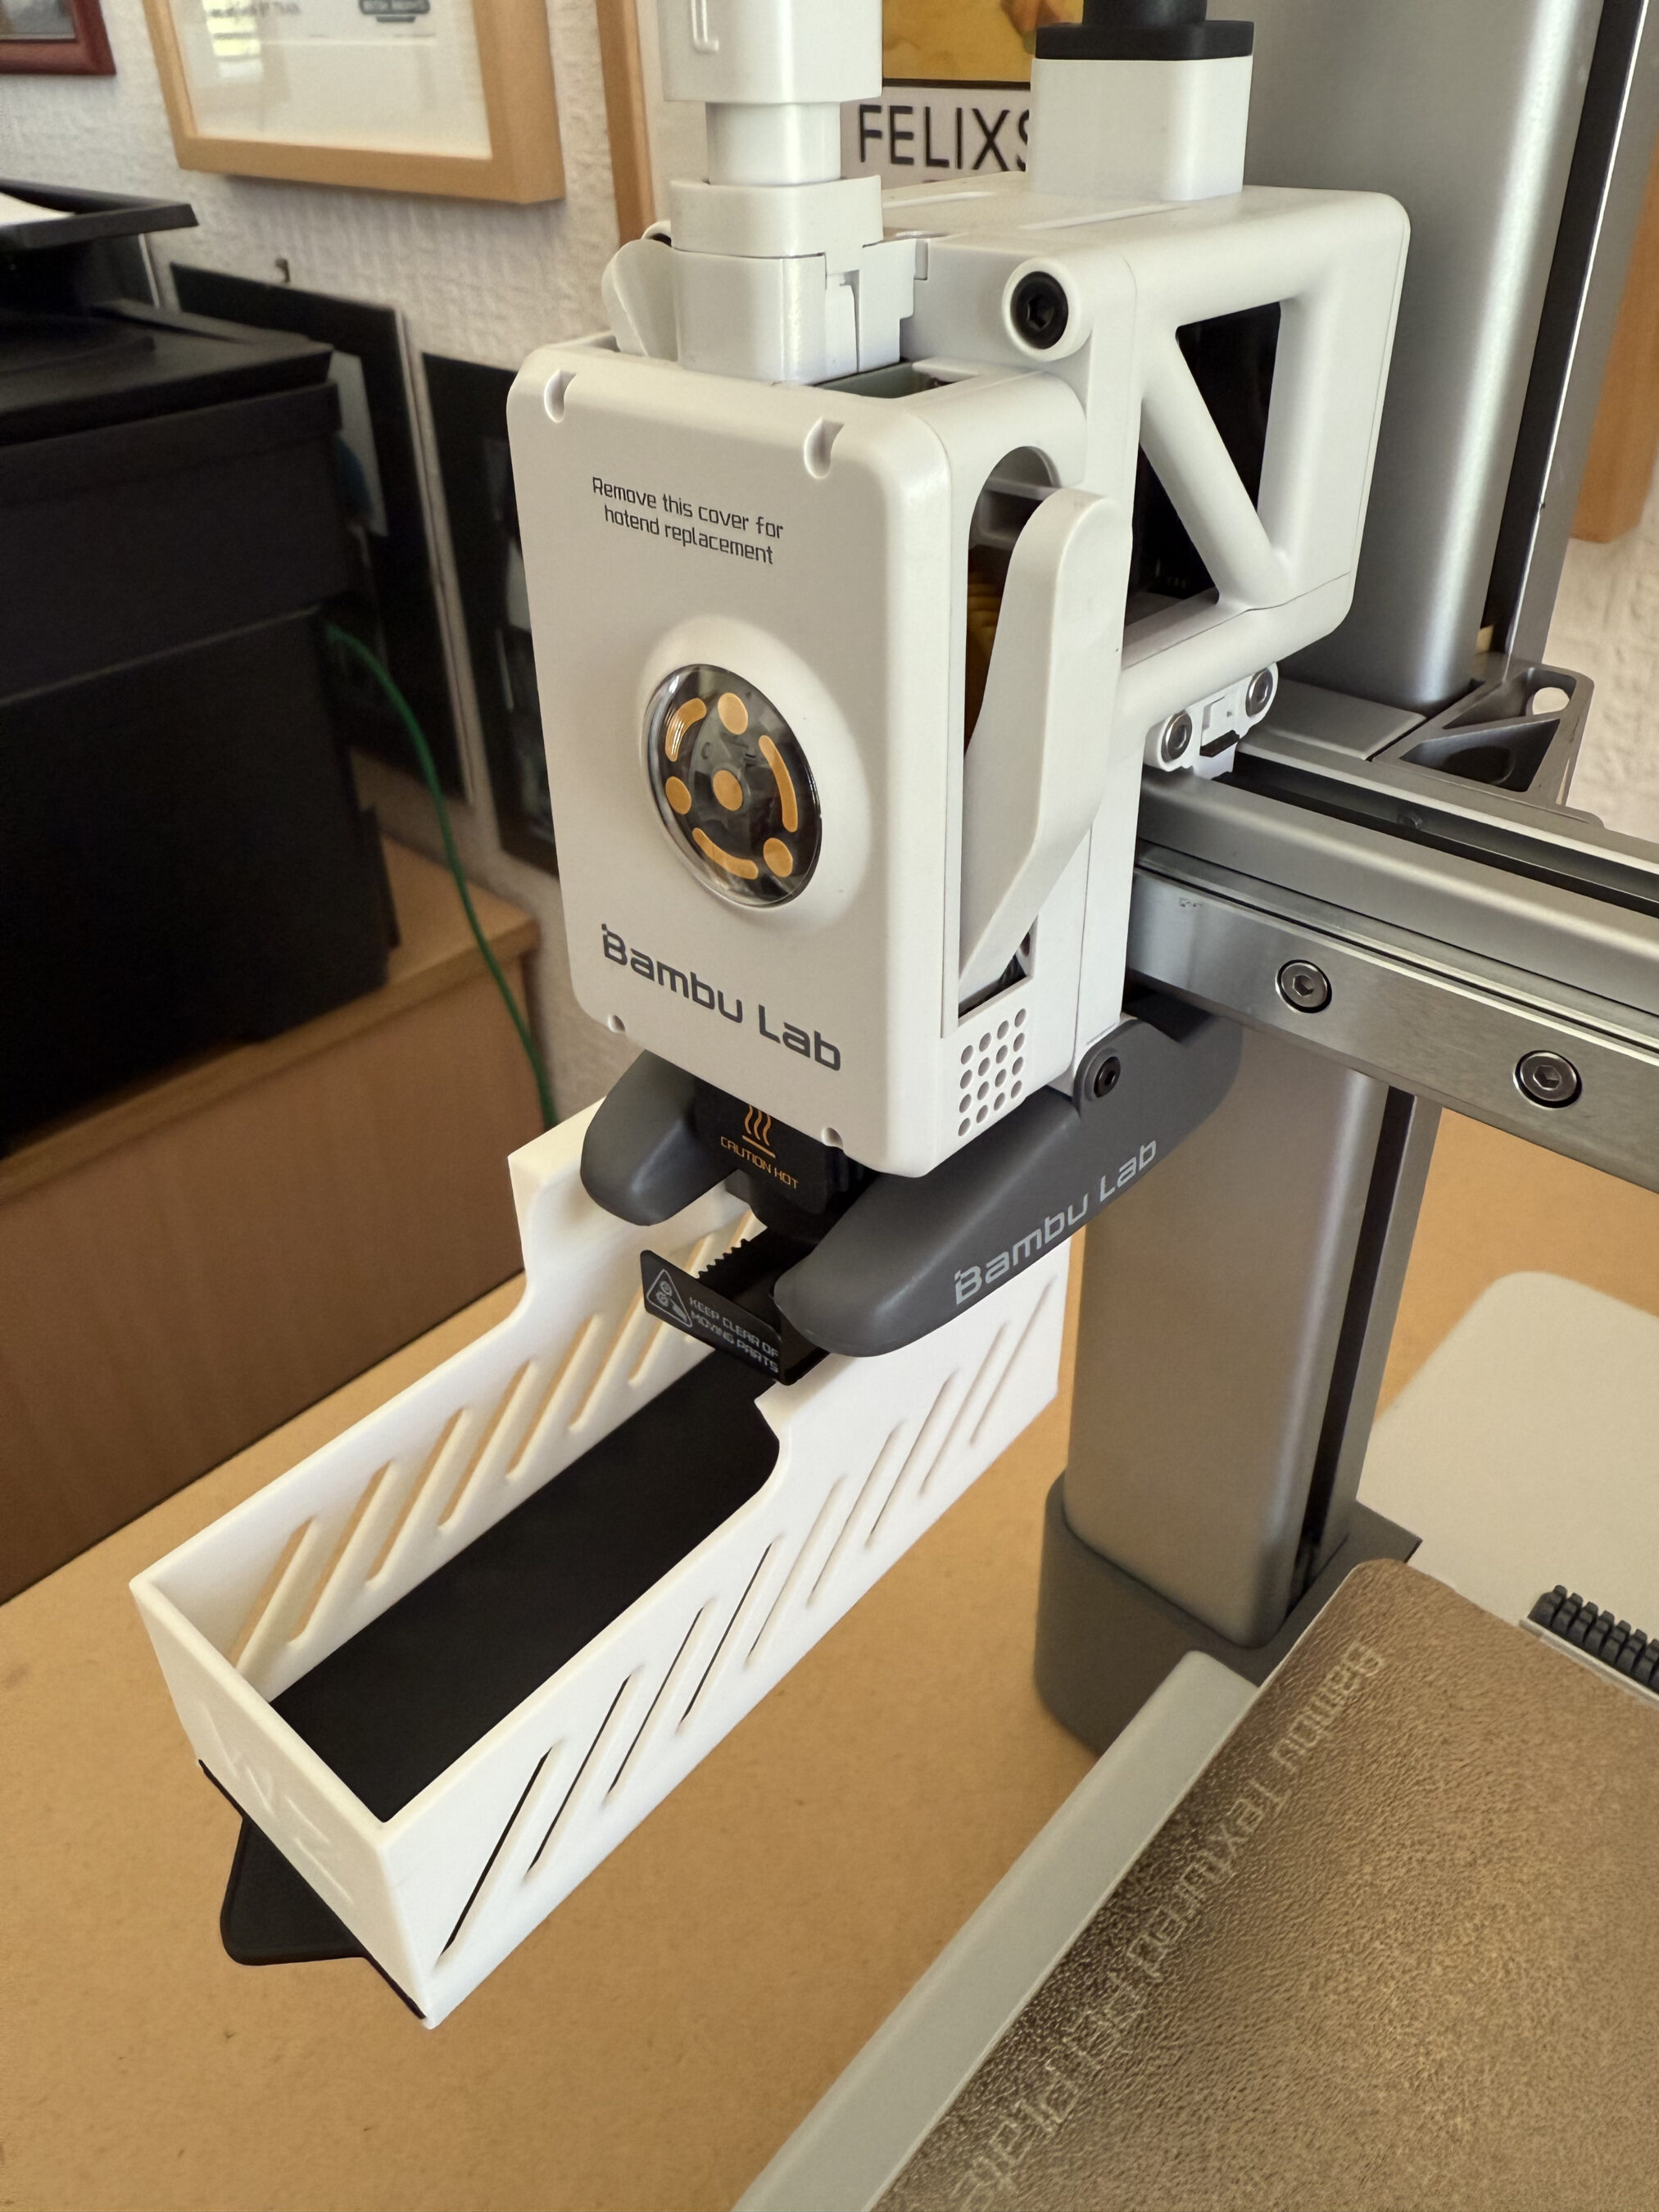
Whilst searching for 3D Print tools on the MakerWorld I stumbled across this really neat filament waste collector that fits nicely onto the X axis support. During the print there is a small amount of waste filament, especially if you are printing a multi-colour object as the print head has to be purged each time a new colour is required. Out the box there is nothing to catch the waste filament and so, it ends up on the floor. Fortunately the MakerWorld community resolved this issue with a multitude of options for collecting and storing the waste, all of which you can print yourself.
3D printed waste filament collection bin3D printed waste filament collection bin
The print speed is incredibly quick, much quicker than I ever imagined and it’s addictive to stand and watch the print take form right in front of your eyes.
Printing an iPhone Stand for my sister-in-law
Once I’d printed the necessary tools and a few downloaded iPhone stands for the family I set about looking at designing my own objects.
The Bambu Studio software does have the capability to design objects built in but, the learning curve is vertical and there are very few videos on YouTube showing how to use the object creation section of the software. This lead me to look for an alternative 3D CAD package that had tutorials on how to create 3D print objects. After a little searching online i found that Tinkercad has a great range of tutorials online to get people started with designing their own 3D print objects.
In no time at all I had an account created on the tinkercad site and was going through the online tutorials to learn how to use all the functionality offered in the free tier.
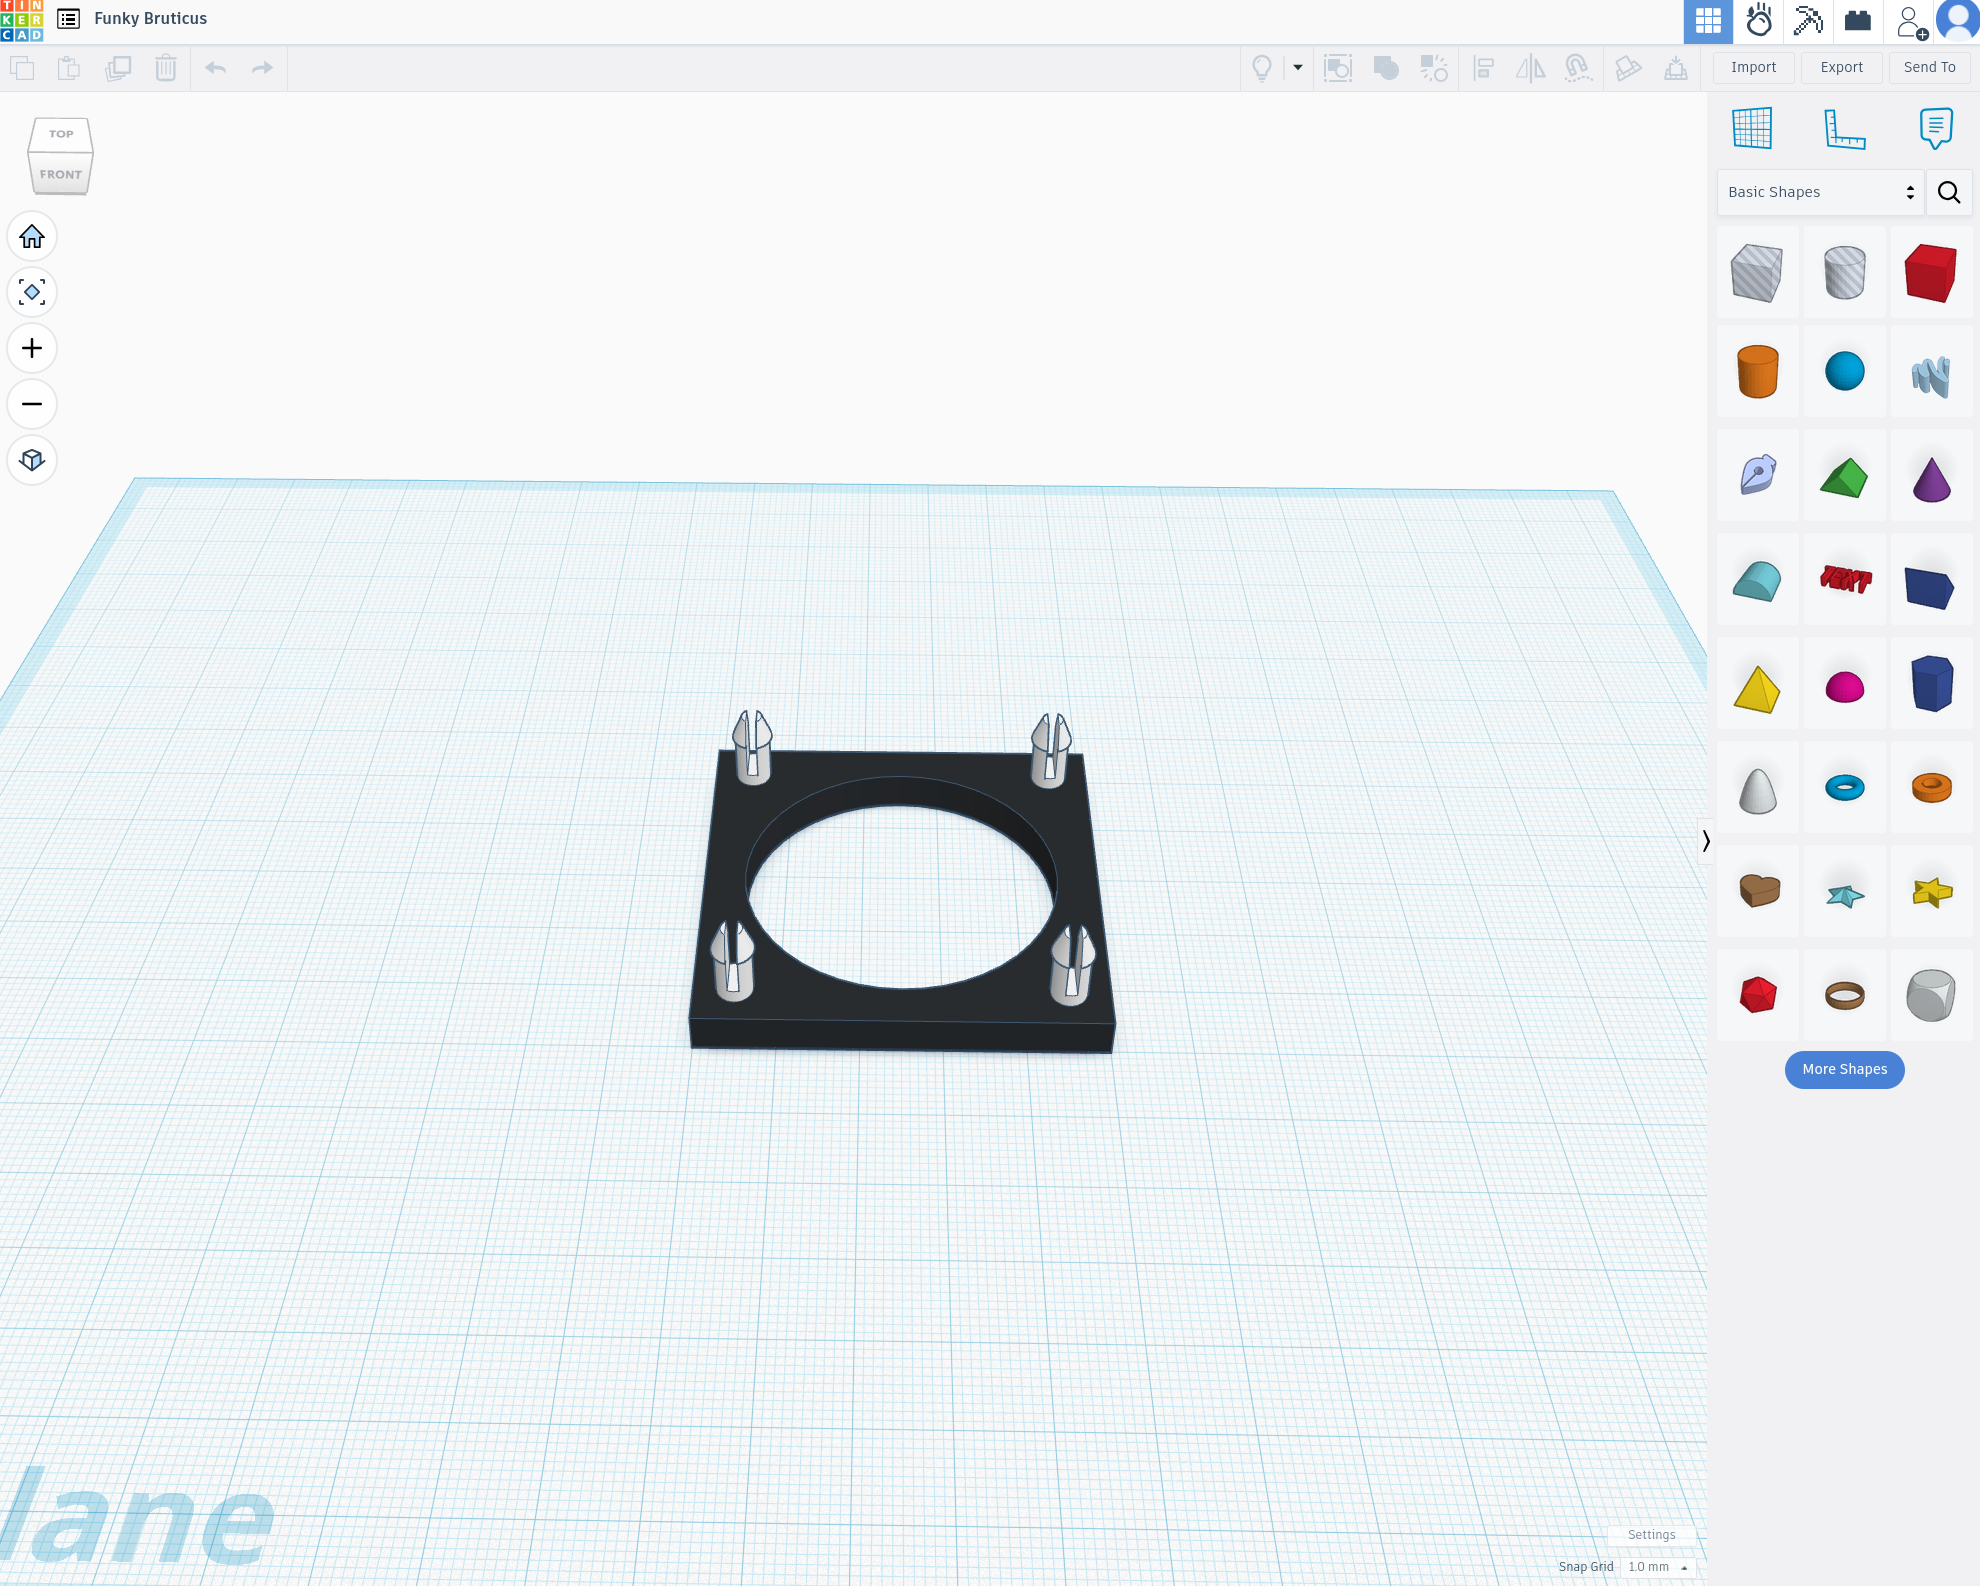
TinkerCAD – Designing a cooling fan mount
The online tutorials are very good and move along at a good pace with interactive examples that show you how things work. Once I’d completed the tutorials I dived straight into designing some objects of my own.
I’ve still got a lot to learn about 3D printing but, I have to say that TinkerCAD really does simplify the whole design process. Once my object designs were complete, all I had to do was export them in .stl format and then import the STL file into Bambu Studio and send it to the printer.
So far my prints have come out great and I’ve been really impressed with the quality of the finished articles.
I’ve now started on my list of HAM Radio 3D print projects and will document my progress over the next few weeks and months as I progress.
More soon …
We use cookies to ensure that we give you the best experience on our website. If you continue to use this site we will assume that you are happy with it.