IC-705 – Going wireless with Apple Mac computers

Since getting my Icom IC-705 I’ve had problems with computer noise causing interference when connected via USB. I solved the problem mostly by winding both the USB and coax cables around 240-31 ferrite toroids. This resolved the problem nicely on all HF bands except 10m. With further investigation I realised that the 240-31 ferrite toroid doesn’t provide much choking resistance at 28mhz and so a 240-43 would be better for the higher bands. This would mean I’d need a longer USB cable and coax to the AH-705 so that there was enough cable to wind around two ferrite toroids to cover all the HF bands.

Whilst this will almost certainly provide a complete solution to the problem there is of course another way around this issue. The IC-705 is a rare beast in that it has wifi capability built in. The wifi on the IC-705 is capable of operating in one of two different modes, Access Point (AP) and Station, a host on an existing wifi network.

Since I connected my IC-705 to my in-shack wifi I am using the radio in station mode for connectivity via wifi. By connecting it this way my MacBook Pro will also have access to the internet at the same time as connecting to the radio giving me the best of both worlds.

You can of course put the radio into AP mode and connect your computer directly to it via wifi however, you won’t have any internet access from the computer as it will be connected directly to the radio. This is how it will be used when in the field for portable operations unless you have a portable 3/4/5g wifi router.

Getting the radio connected to my shack wifi was easy, just go into the IC-705 menus, switch the WLAN on, pick the SSID of my wifi router and enter the password, the radio connects immediately. You will also need to switch on the network control option and also set up a user and password that is used when connecting to the radio from your computer. Refer to the IC-705 manual on how to do this if you haven’t done it already.

To be able to use the radio wirelessly from any Apple Mac computer you will need 2 applications, WFview and Blackhole. Both of these applications are Opensource Software, I’m a huge fan of Opensource Software and have over the years been involved in a number of opensource projects.

I’m fully aware that there is an application called SDR Control available on the Apple App Store for around £90.00 that can be used instead to connect to the IC-705 wirelessly however, I prefer to use Opensource software where possible.

Before proceeding with the instructions below make sure you have an up to date backup of your system. This installation and configuration shouldn’t cause any issues at all, it worked fine on my MacBook Pro but, it’s always best to backup before you install more complex software like this.

First you need to download WFView from the Download page, make sure to download the MacOS Universal package which was v1.1 at the time writing this article. Do **not** install WFView yet, the sequence of installation is important!
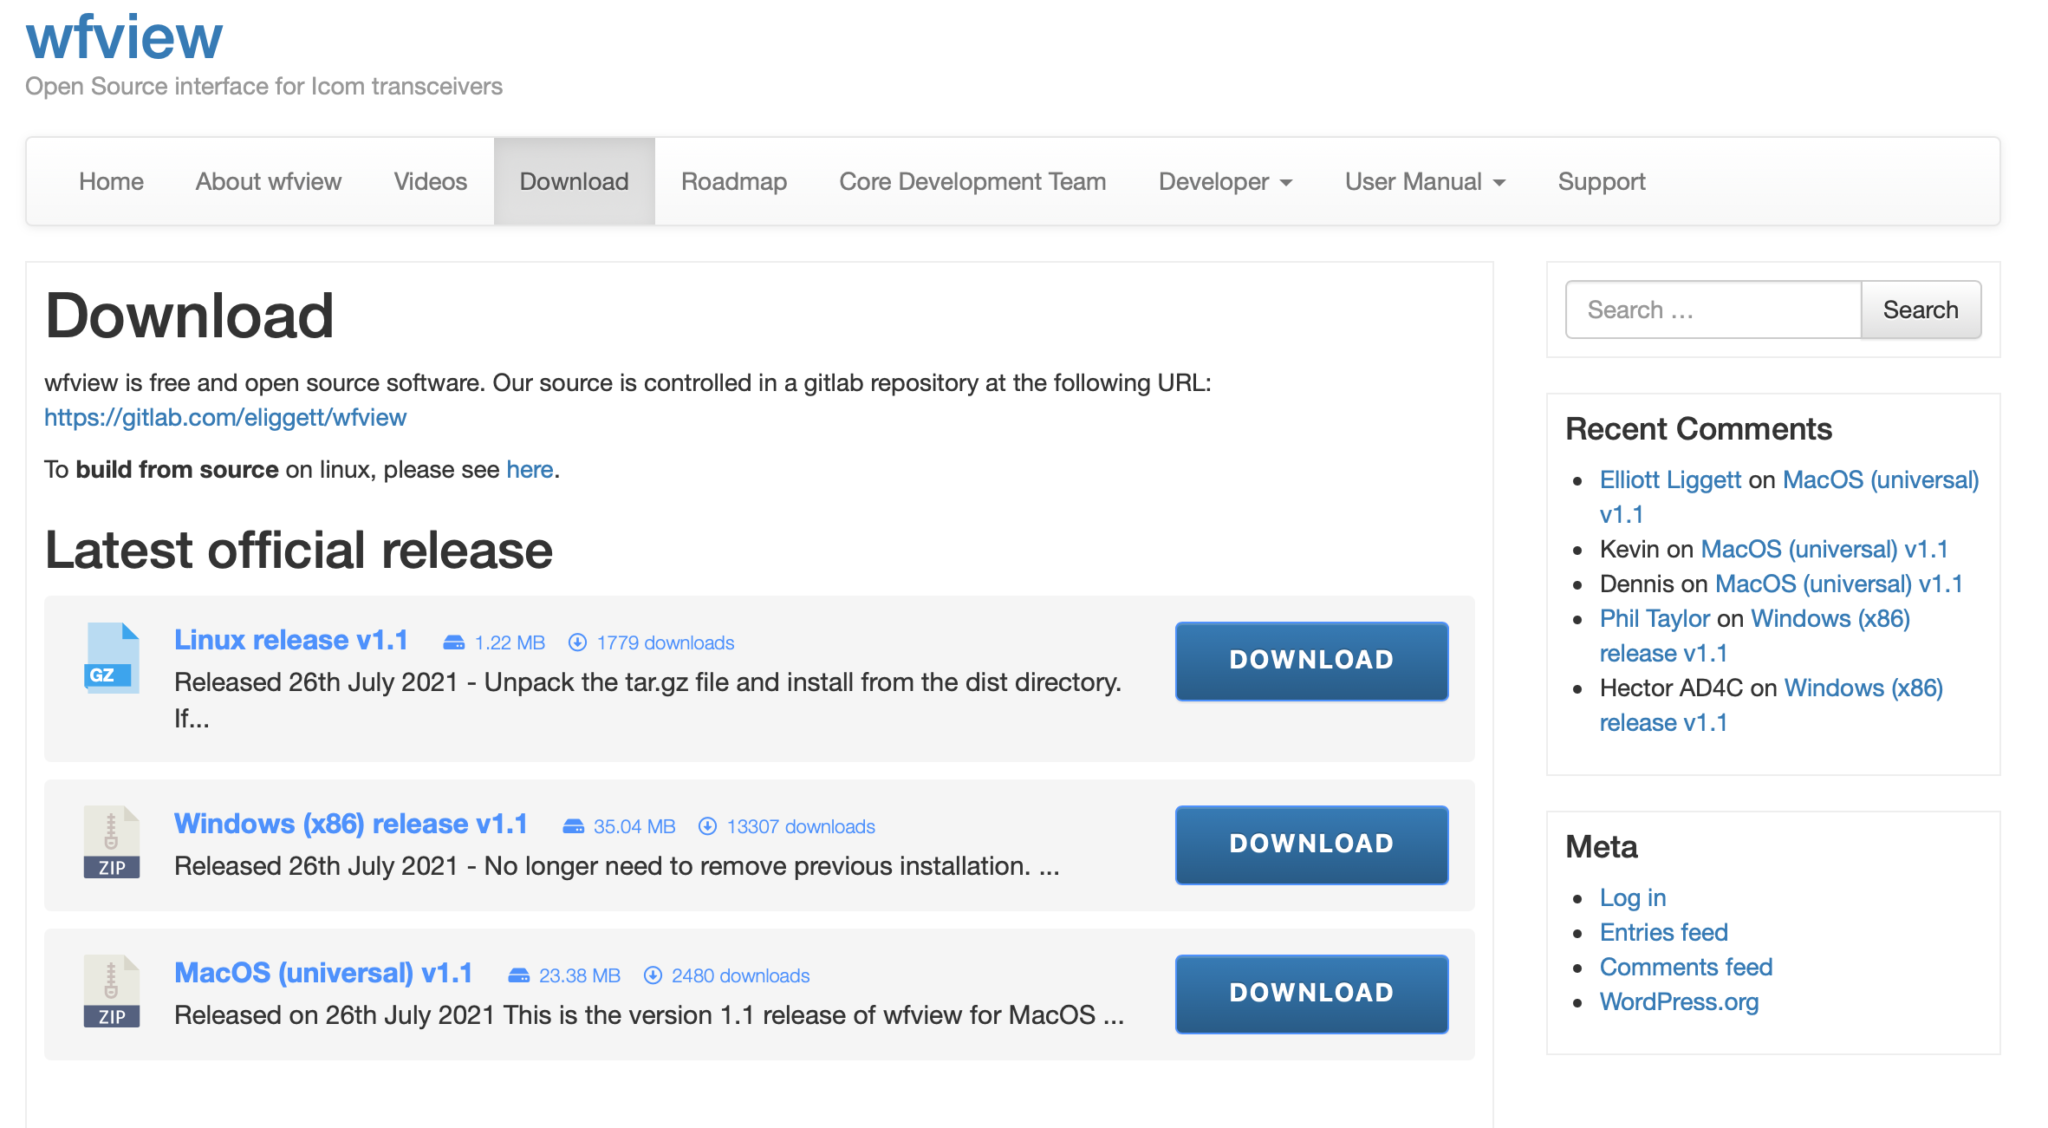
WFView Download page showing the MacOS (Universal) Package v1.1

Next download the Blackhole Virtual Audio Cable application from the download page. You will need to enter an email address and your name to be able to download the application. It’s not clear how much email/spam will be sent to you but, you will need to get at least one email to obtain the download link with the authorisation code in it.

Once you’ve entered the information and submitted it you will get an email with a URL enclosed, click the URL and goto the download page. On the page there are 3 options available for download, select the “Blackhole 2 Ch” option only. At the time of writing this v0.2.10 was the current version available.
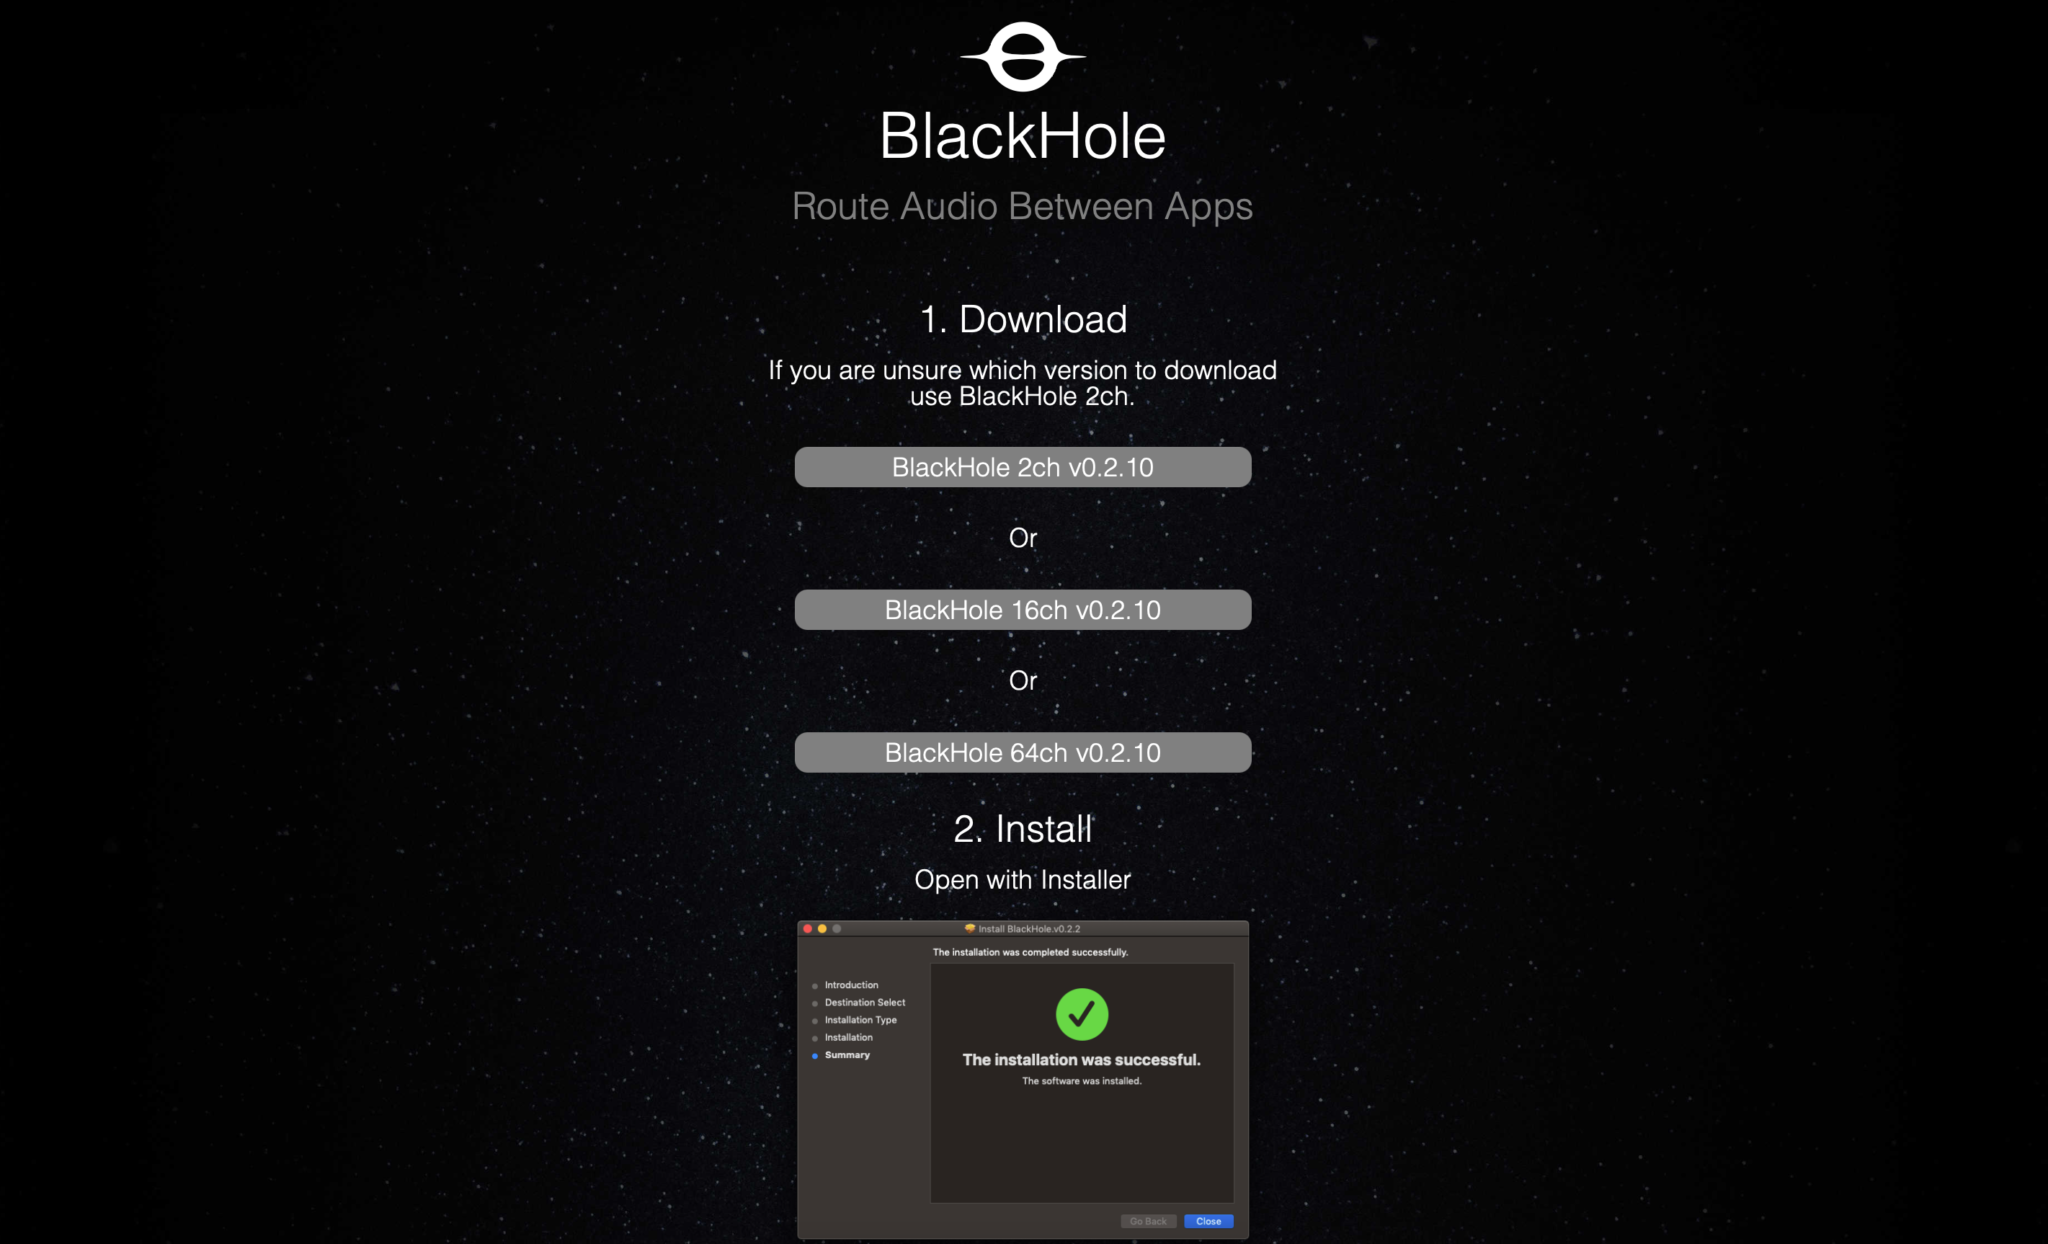
Blackhole Download page showing the 3 options available

Once downloaded you need to install the Blackhole application first as it will create the necessary virtual audio cable for WFView to use to provide sound to WSJT-X and other digital mode applications. Installation is simple and follows the normal MacOS installation process. Double click the installation package and follow the prompts accordingly.

Once installed reboot your Apple computer to make sure it starts up OK with the new kernel module installed. When your system comes back up, login and open the “Audio Midi Setup” application. (The Midi app is in Applications >> Utilities)

Once the application opens you should see that you have a new audio device called “Blackhole 2ch”. On both the Input and Output tabs set the format to 48,000Hz. This setting will get the best results when using applications like WSJT-X for FT4/8 digital modes.
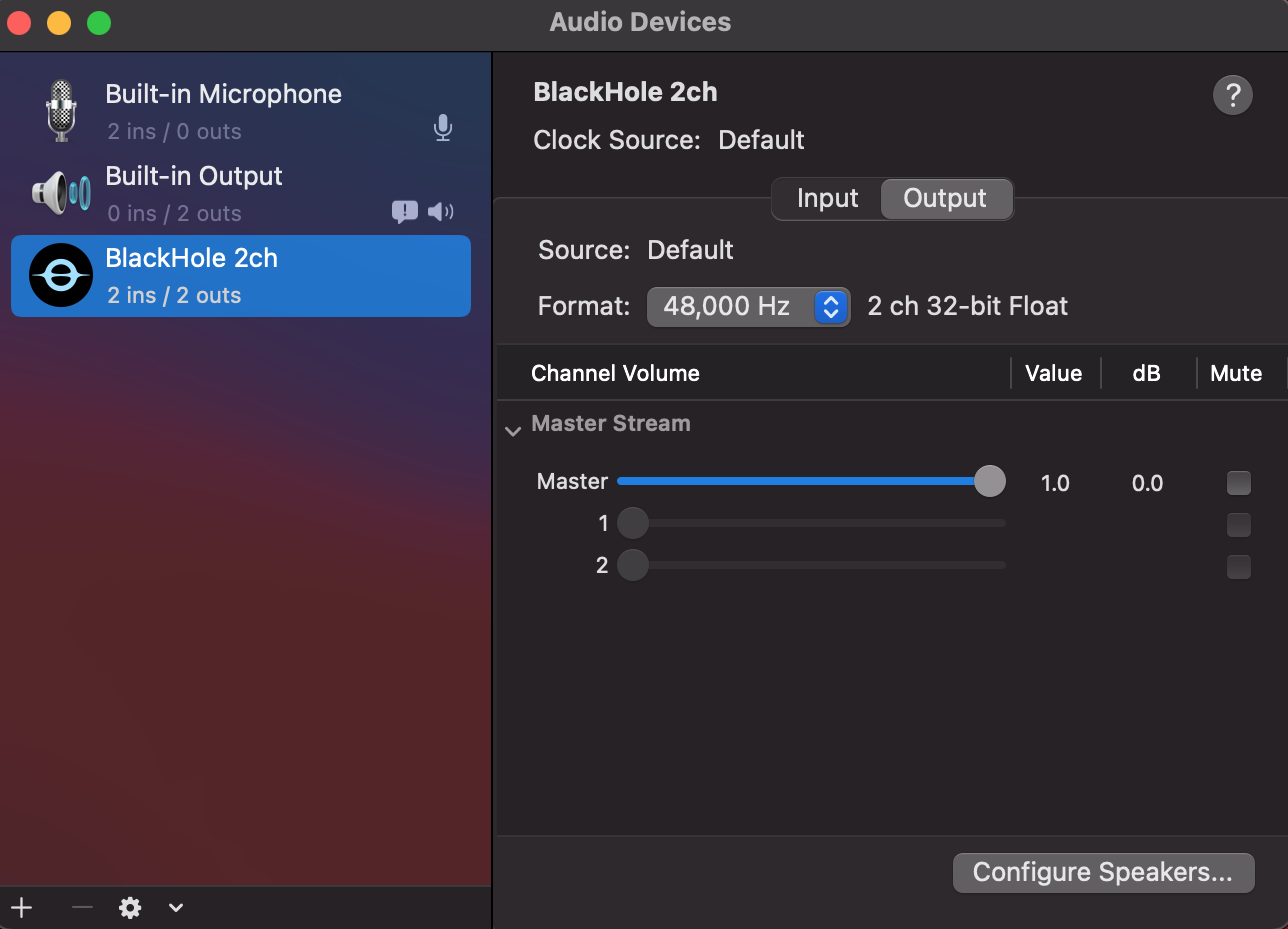
Apple Audio Midi Setup showing 48,000Hz selected

Leave everything else as default setting in the Audio Midi App, nothing else needs changing. Leave the Master volume at the default max as levels are controlled from the other apps.

Once you’ve set the 48,000Hz on the two tabs quit the audio midi app as it’s no longer required.

Next you need to copy the WFView app that you downloaded into the Applications folder on your Mac. Once in the applications folder you can create a shortcut to it on the dock by dragging and dropping the app icon onto your dock bar.

Next goto your IC-705 and go into the WLAN settings and make a note of the IP Address assigned to the radio from your wifi router. You will need this IP Address later.

At this point you are half way to having wireless control of your IC-705.

Start the WFView application and goto the settings tab.

The following settings need to be made:

1: Set Data Mod Input to LAN

2: Click the Connect Over LAN radio button.

3:Enter the IP Address from your IC-705 into the Radio IP Address field.

4: Make sure Radio Control Port is set to 50001

5: Enter the Username you configured on your IC-705 into the Username field

6: Enter the Password you configured on your IC-705 into the Password Field

7: Set Sample Rate to 48000

8: Set Audio Output and Input fields to BlackHole 2ch

9: Select the first option available in the Virtual Serial Port field. This should be as shown below:

/Users/username/Library/Containers/org.wfview.wfview/Data/Downloads/rig-pty1

Note: Replace username with your login username.

Leave all other settings as default and click Save Settings and then Exit Program.

You must exit the application in order to restart it with all the new settings.
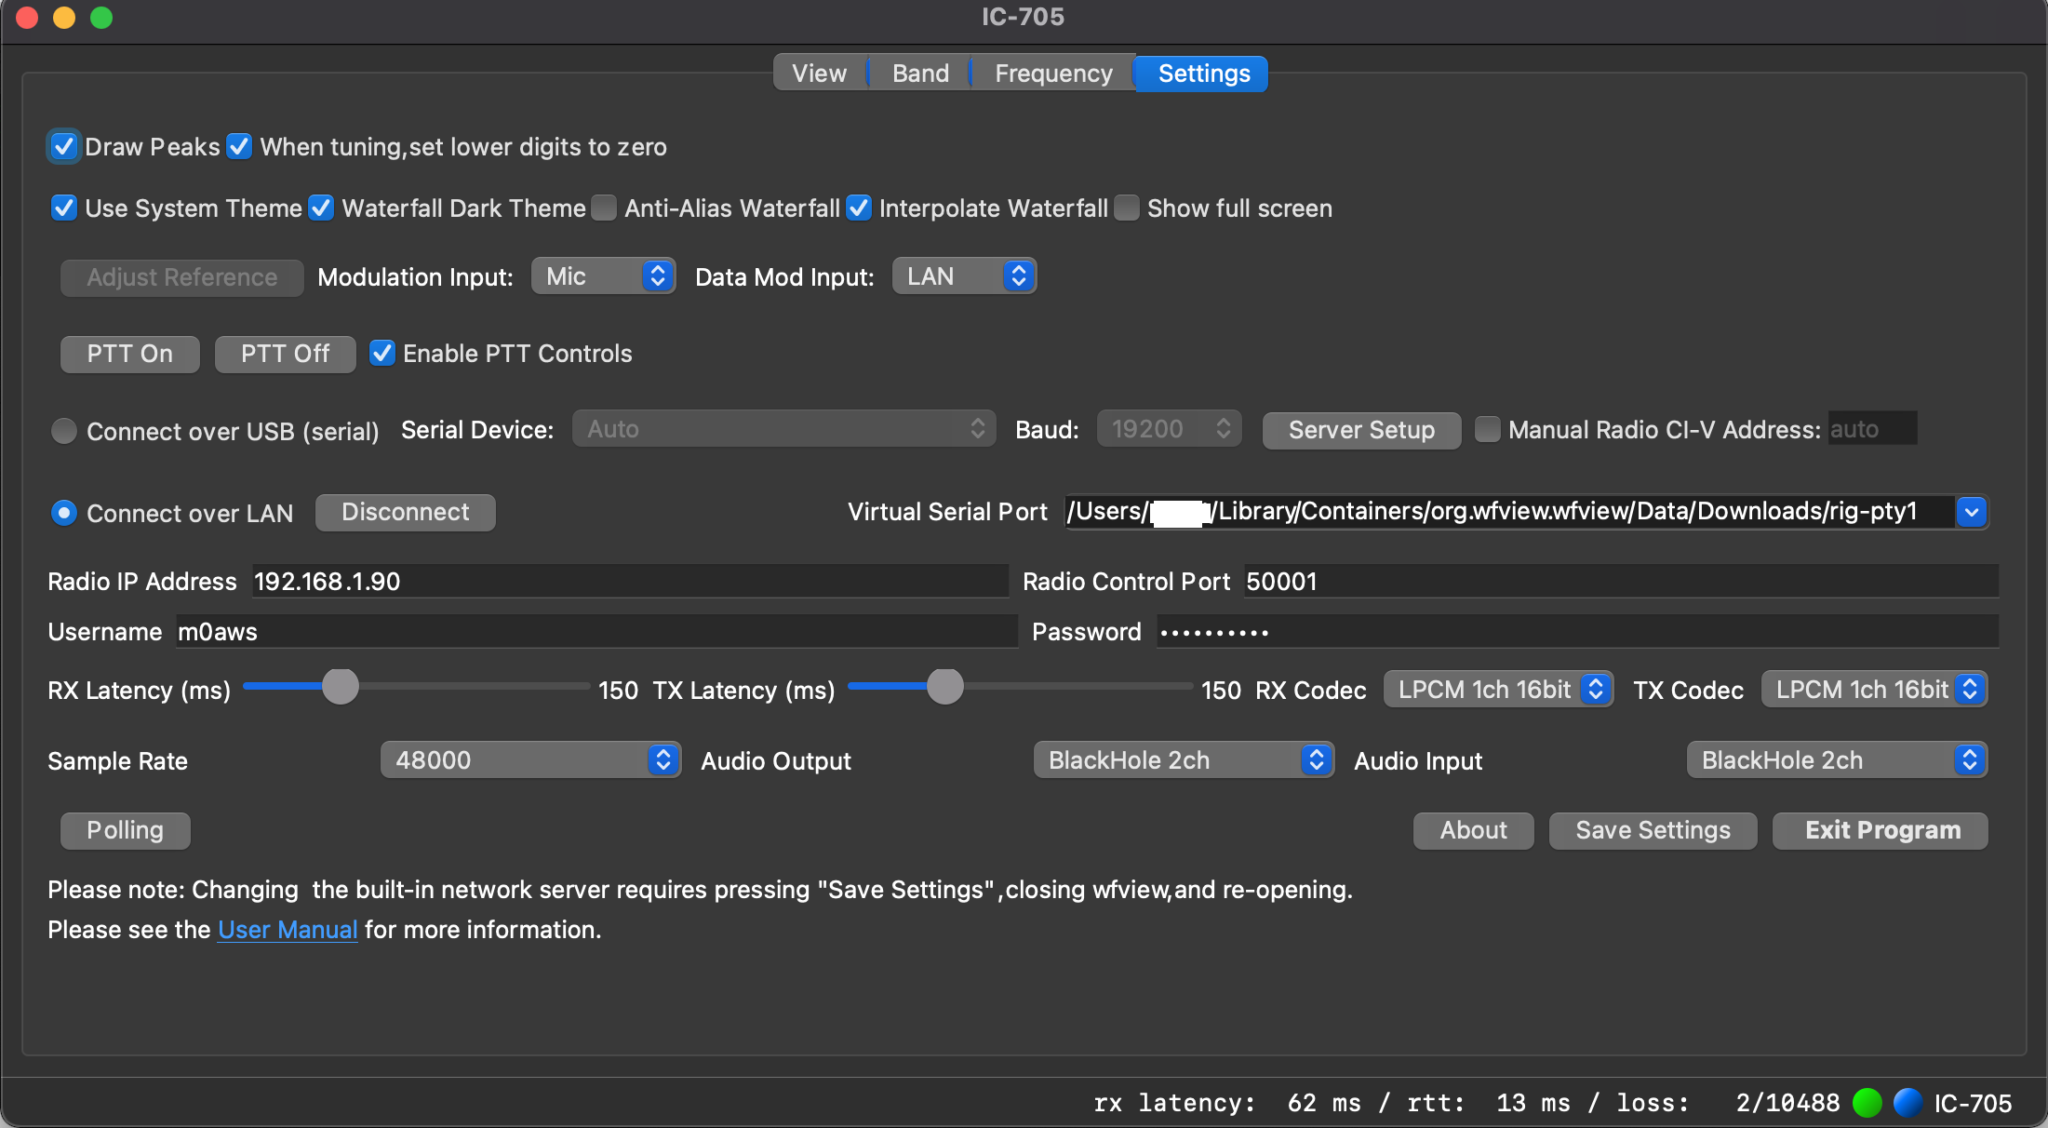
WFView Settings tab showing all the necessary settings whilst connected to the radio

Start the WFView application again and goto the Settings tab. Click on the Connect Button.

Once it has connected to the radio you will see the RX Latency details etc on the bottom right of the window. Click on the View tab and you should now have an active waterfall.

At this point you have full control of your IC-705 wirelessly. Have a play with the application and get familiar with it.
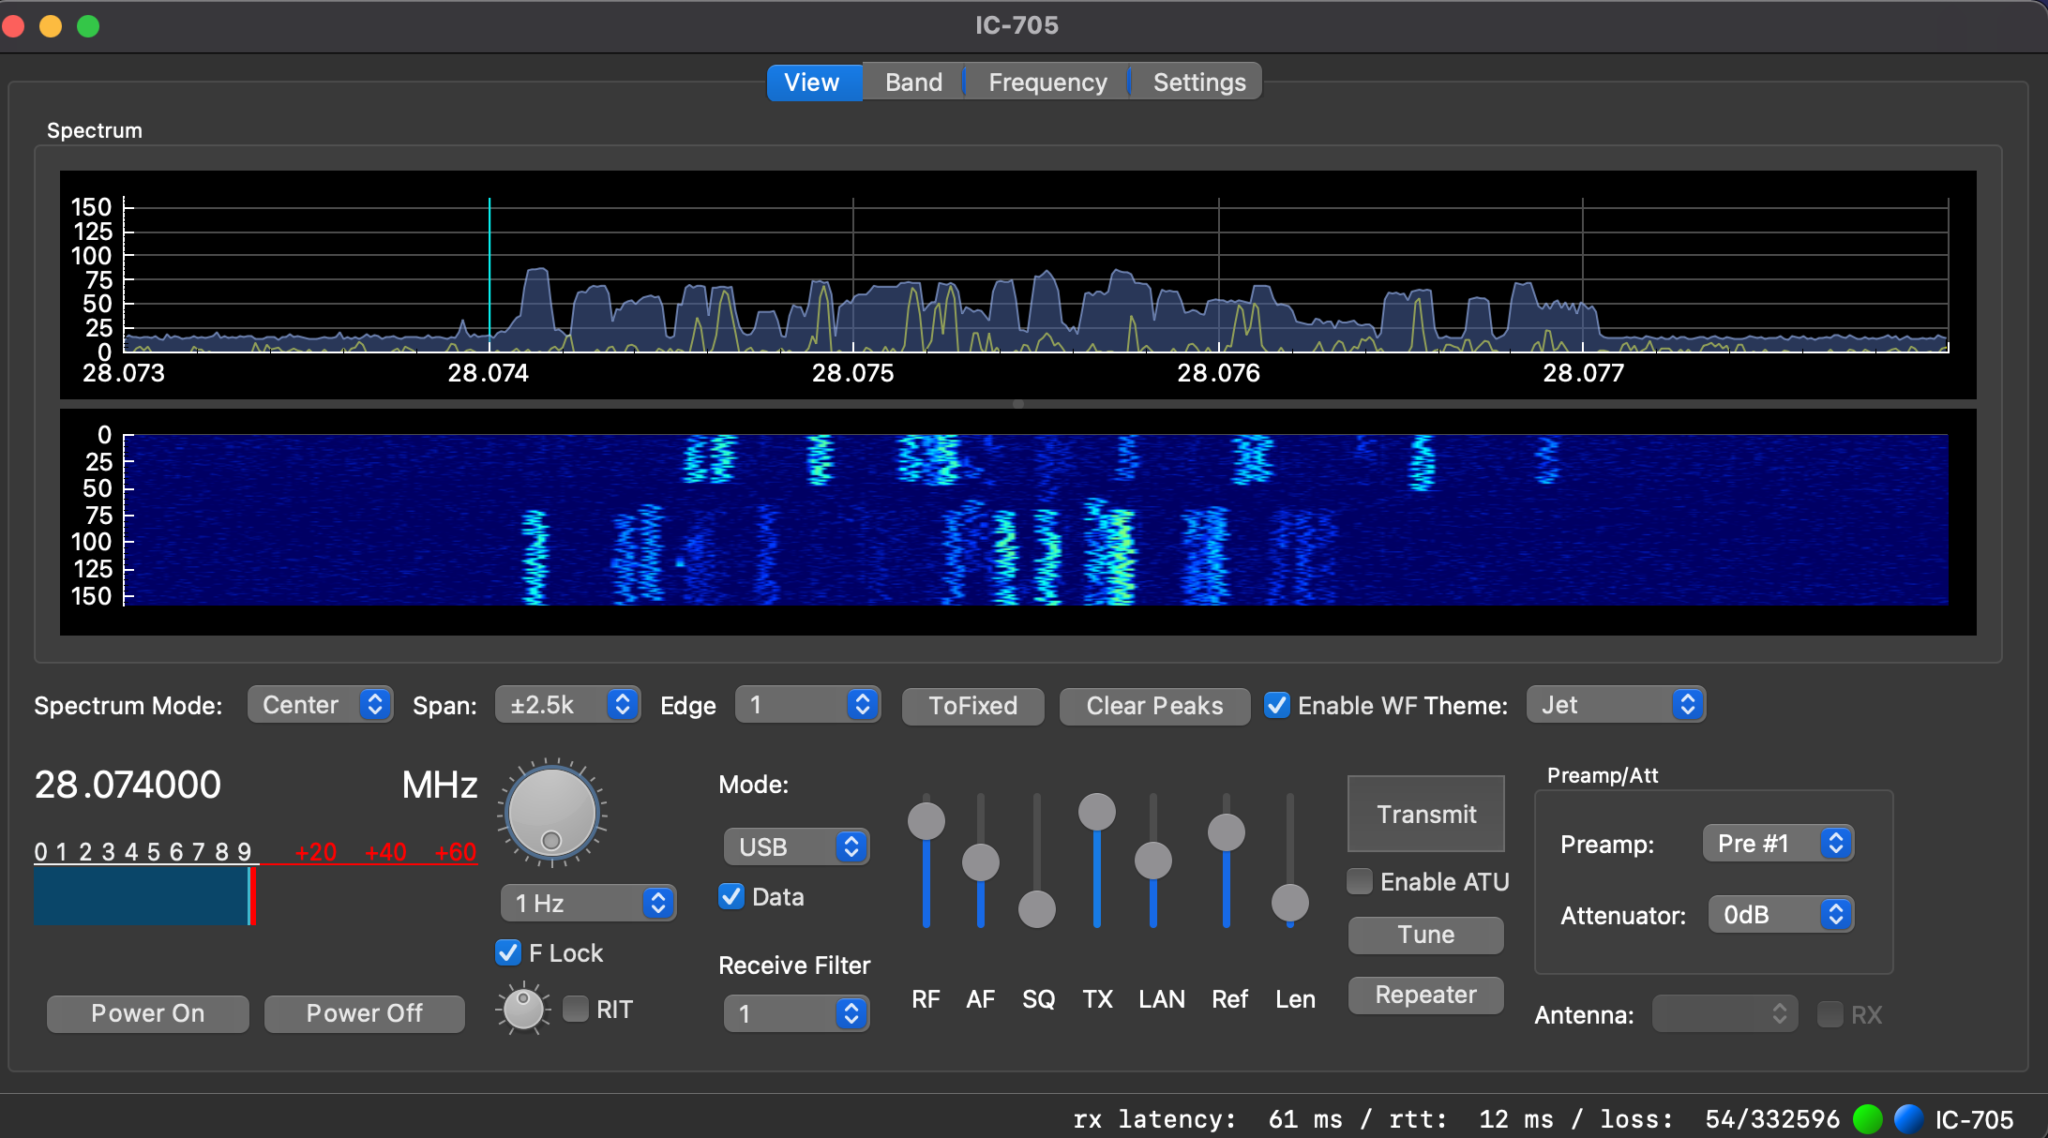
Fully operational WFView connected to my IC-705 receiving FT8 on 10m

Once I had WFView operational I set about getting WSJT-X connected to the radio wirelessly. This is actually really simple to do and just needs a couple of changes to the settings to make it work.

Start up the WSJT-X application and goto the Radio Settings tab. On this page you need to set the radio to IC-705, serial port to that shown below (Also shown in point 9 in the WFView section above) and Baud Rate to 38400.

/Users/username/Library/Containers/org.wfview.wfview/Data/Downloads/rig-pty1

Note: Replace username with your login username.
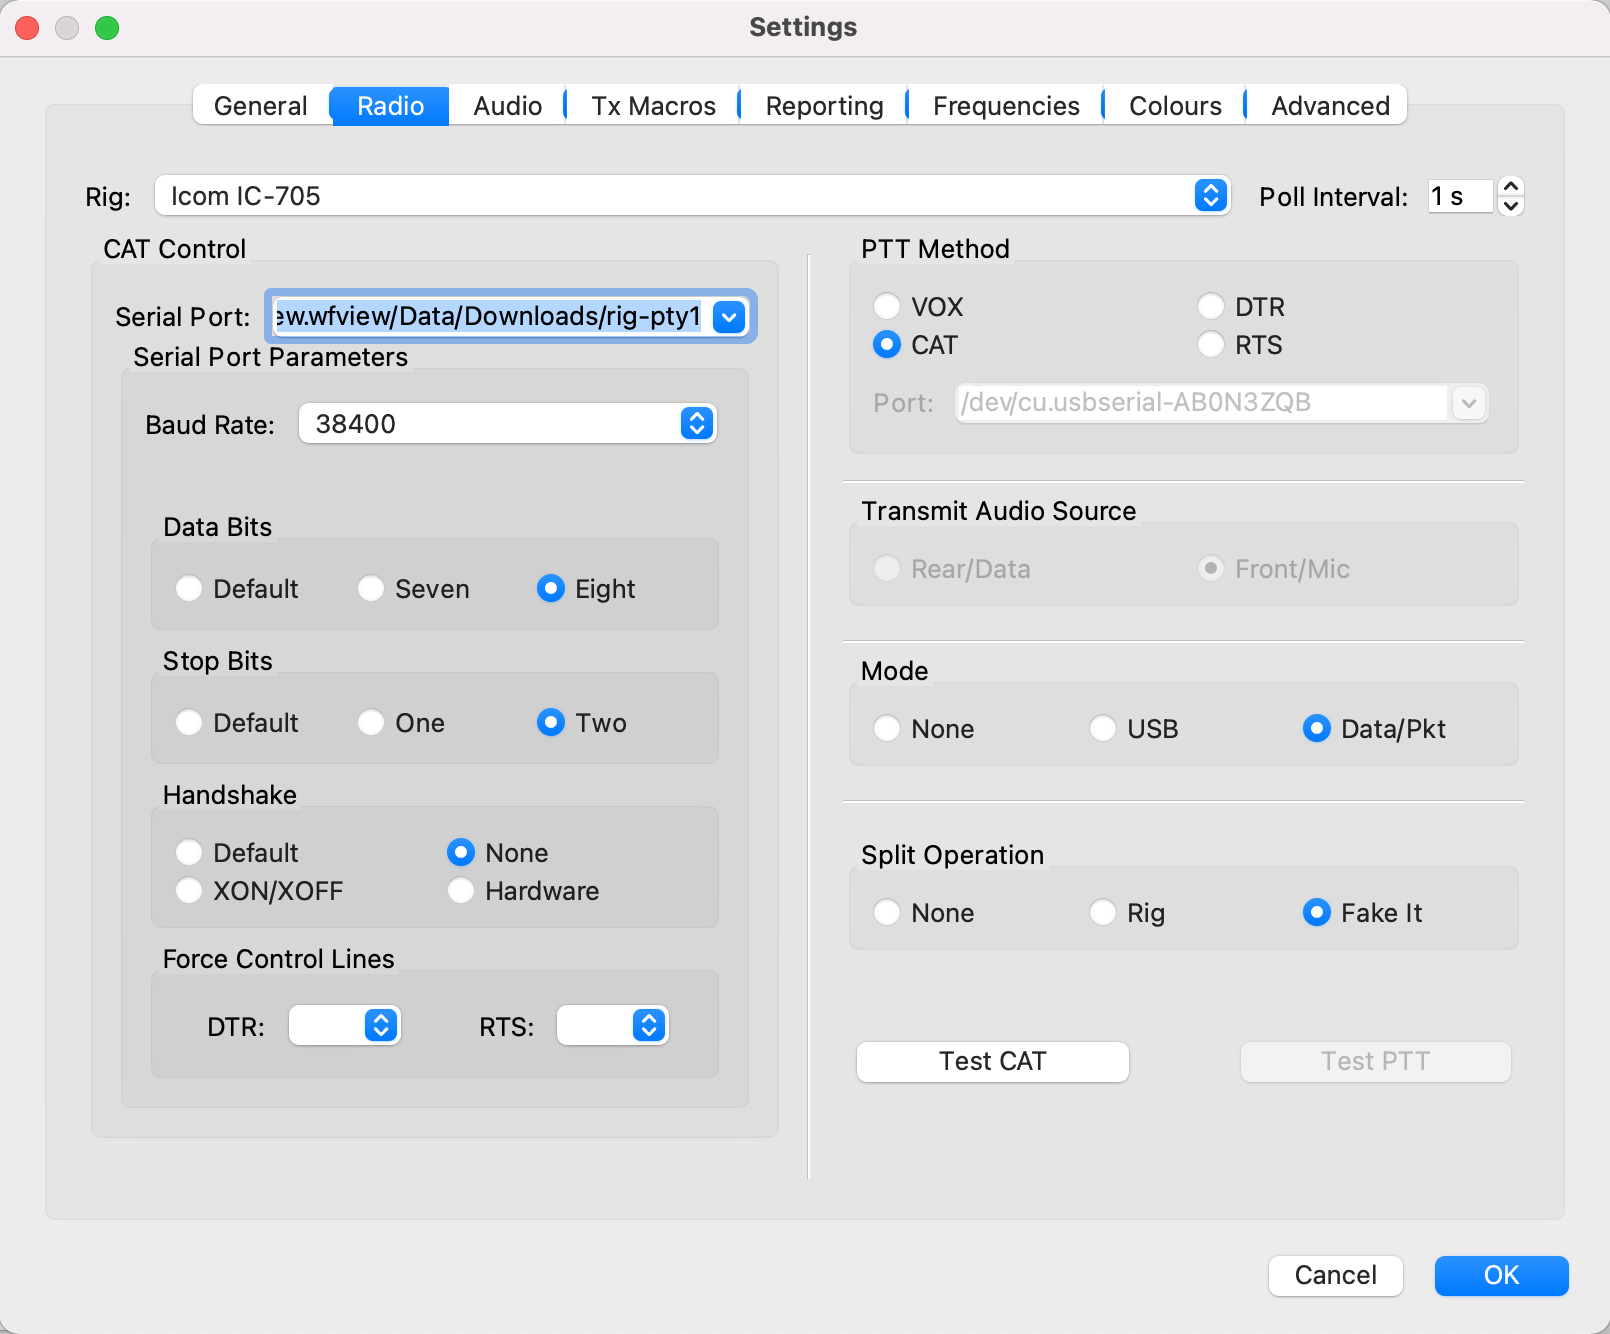
WSJT-X Settings showing Serial Port and Baud Rate

Next select the WSJT-X Audio Settings tab and set the soundcard Input/Output fields to Blackhole 2ch. Set both Input and Output to Mono as shown below.
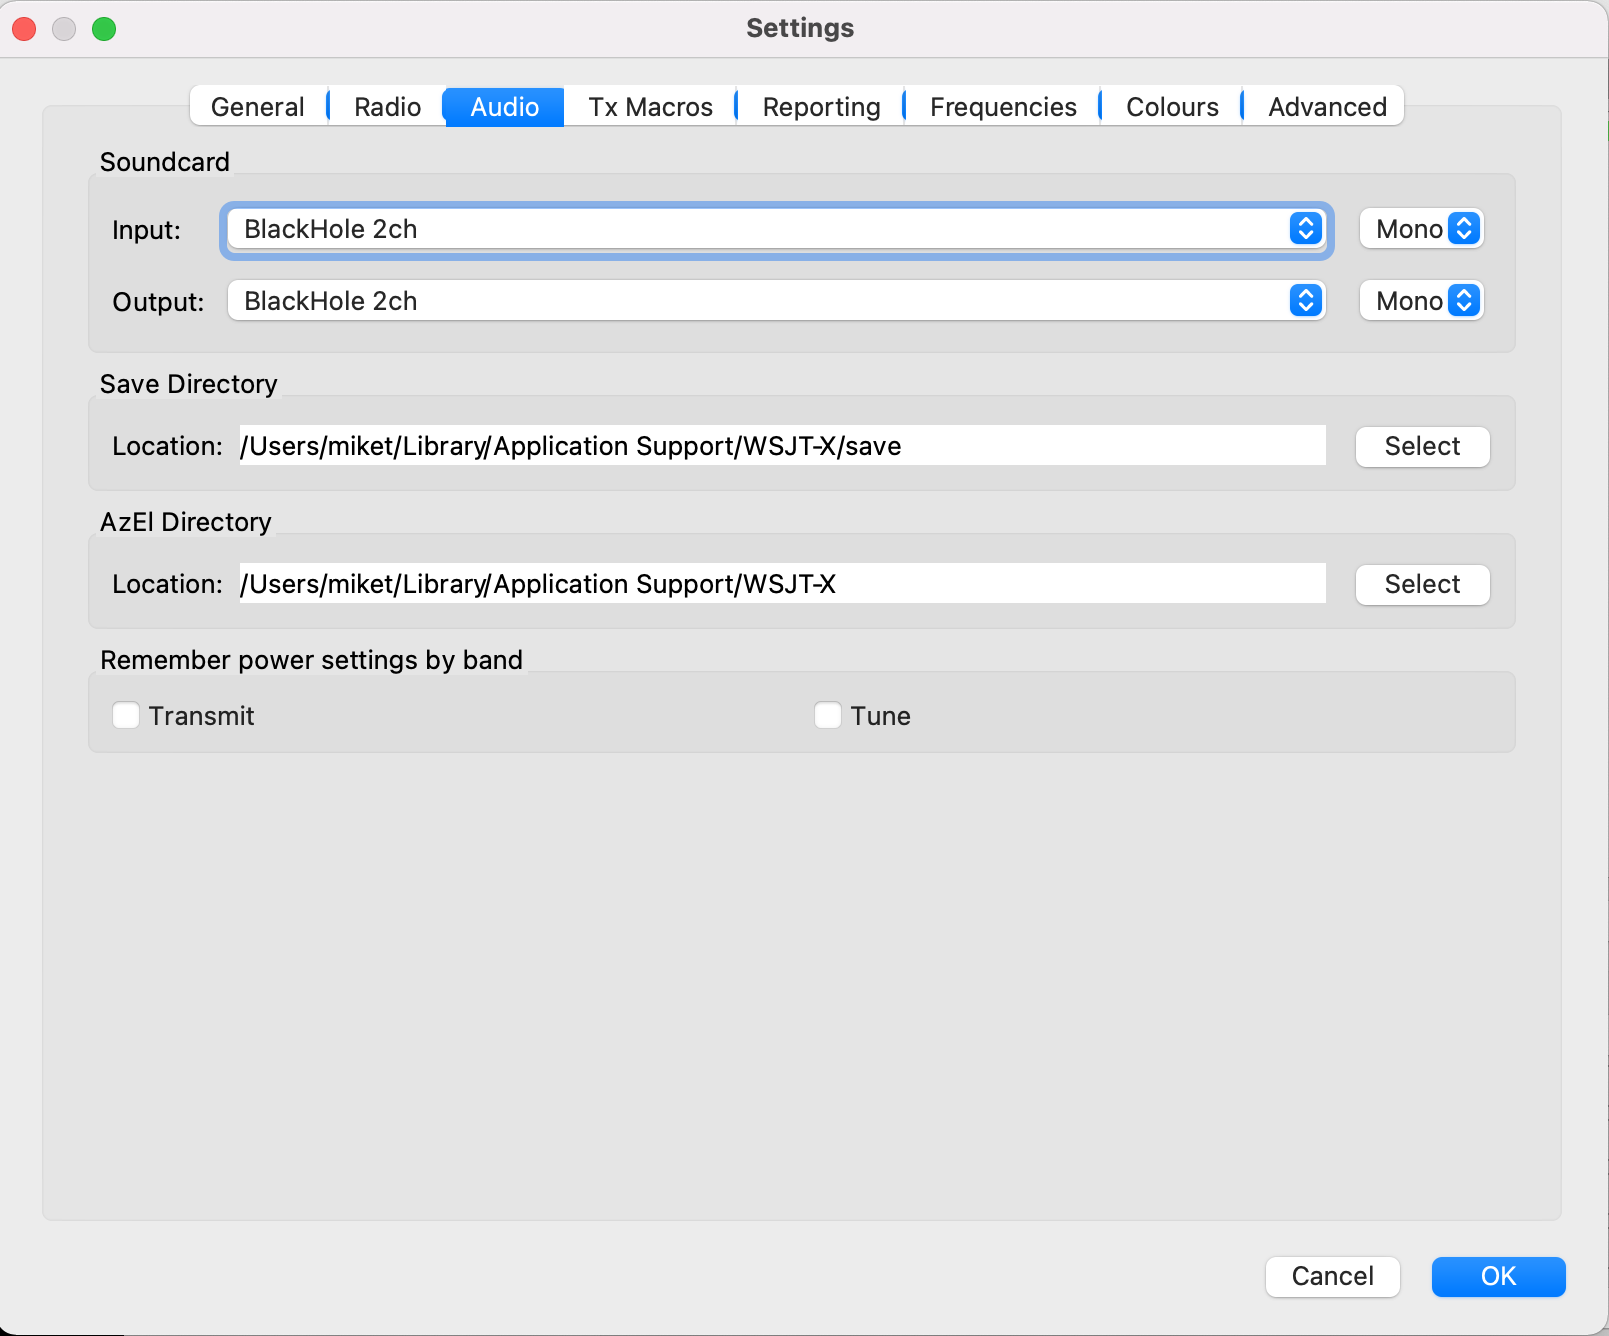
WSJT-X Audio settings

Click OK and return to the WSJT-X main screen. You should now be fully operational for WSJT-X digital modes.
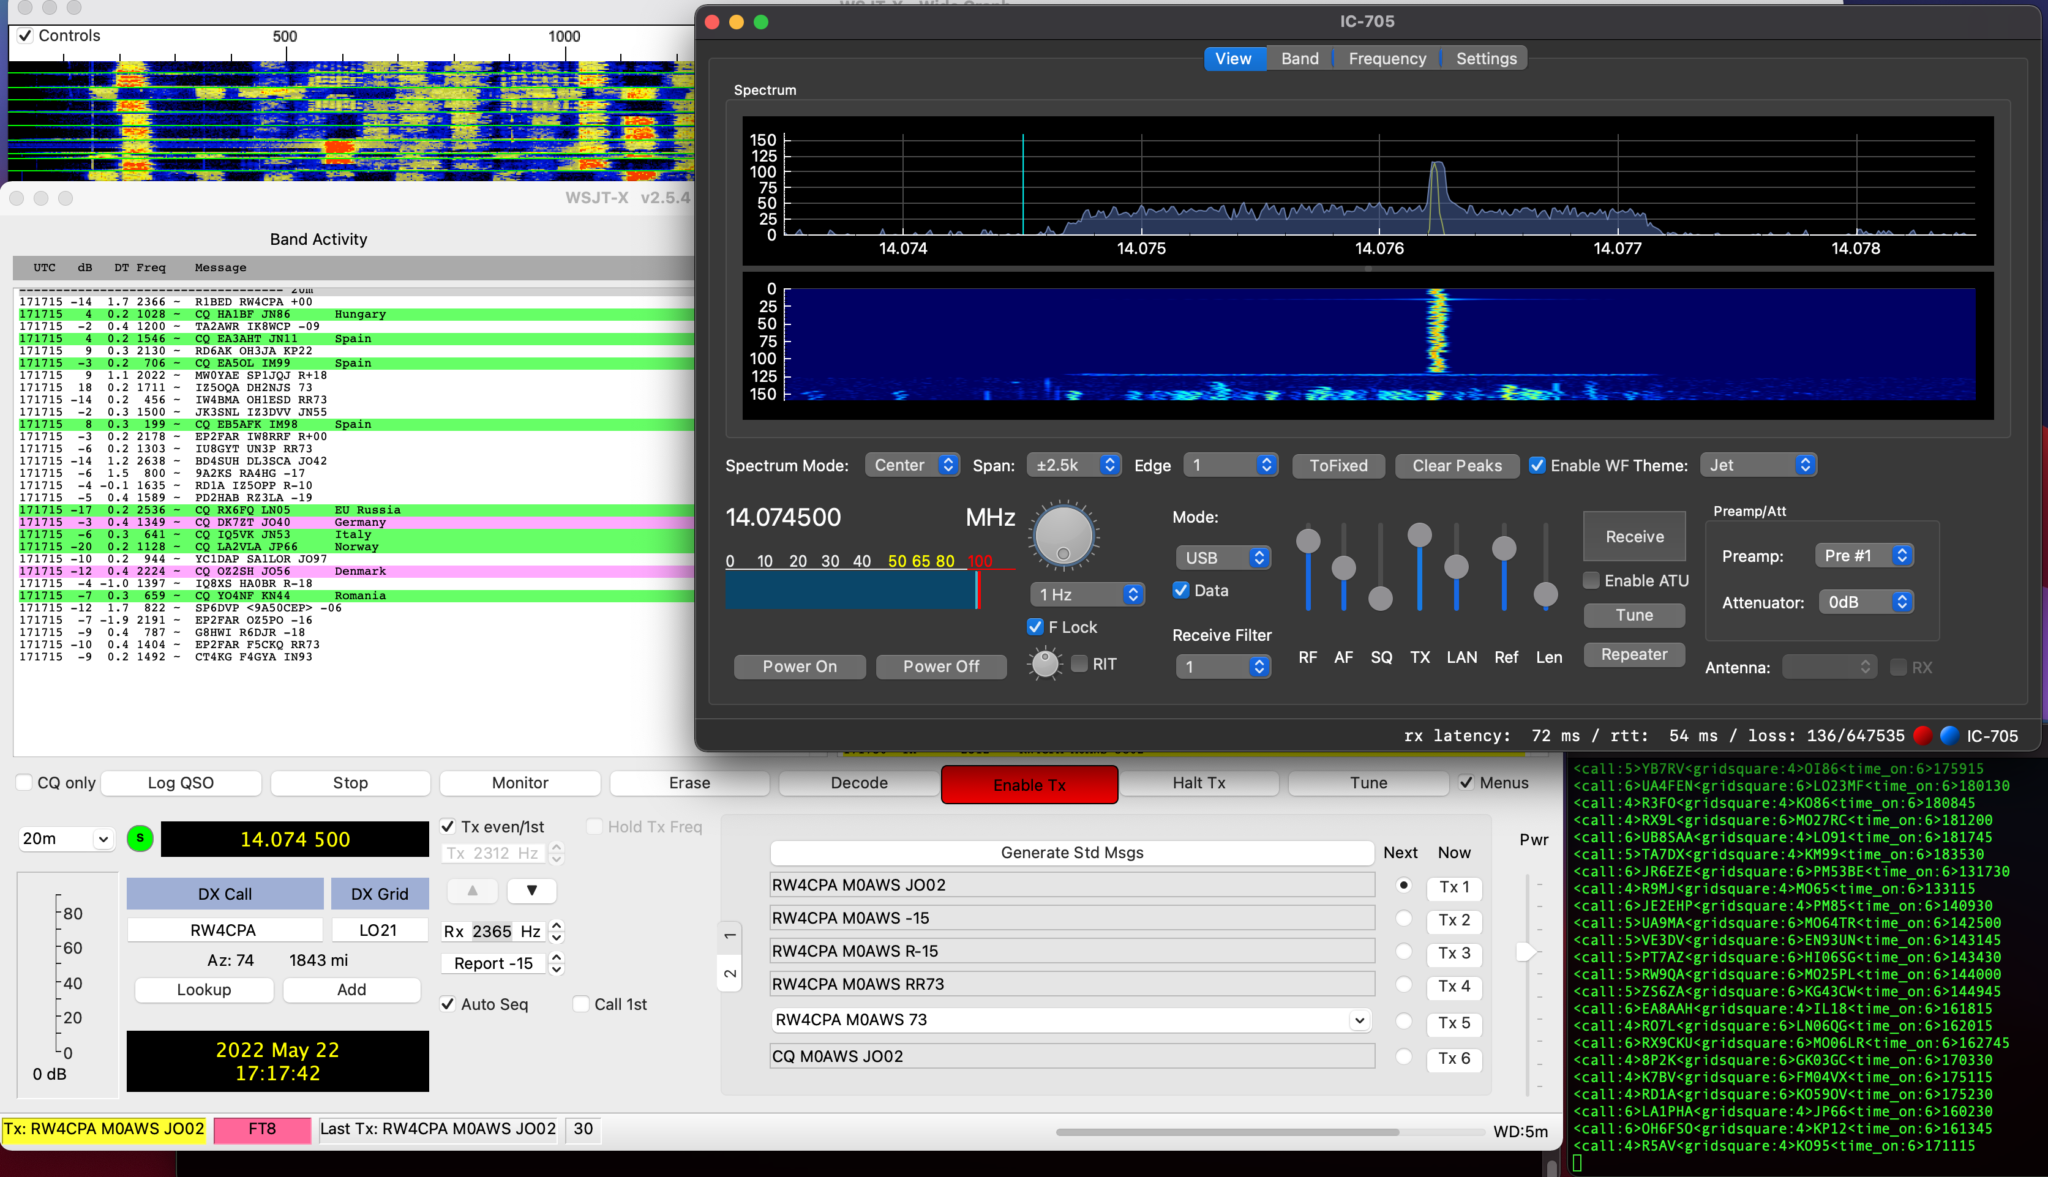
WSJT-X transmitting through WFView to the IC-705

Once I’d made a few contacts with WSJT-X in FT8 mode I went on to try and get FLDigi working with WFView as well.

Unfortunately at the moment I cannot get CAT control working in either FLDigi or FLRig, neither will accept the /dev/ttys000 as the serial device however, I was able to get the audio working into FLDigi and even decoded some morse with it. I need to do little more work to fathom out why the CAT control doesn’t work in these two applications. I’m sure there is a way to resolve this but, I just need to put in a little more time to find the solution.
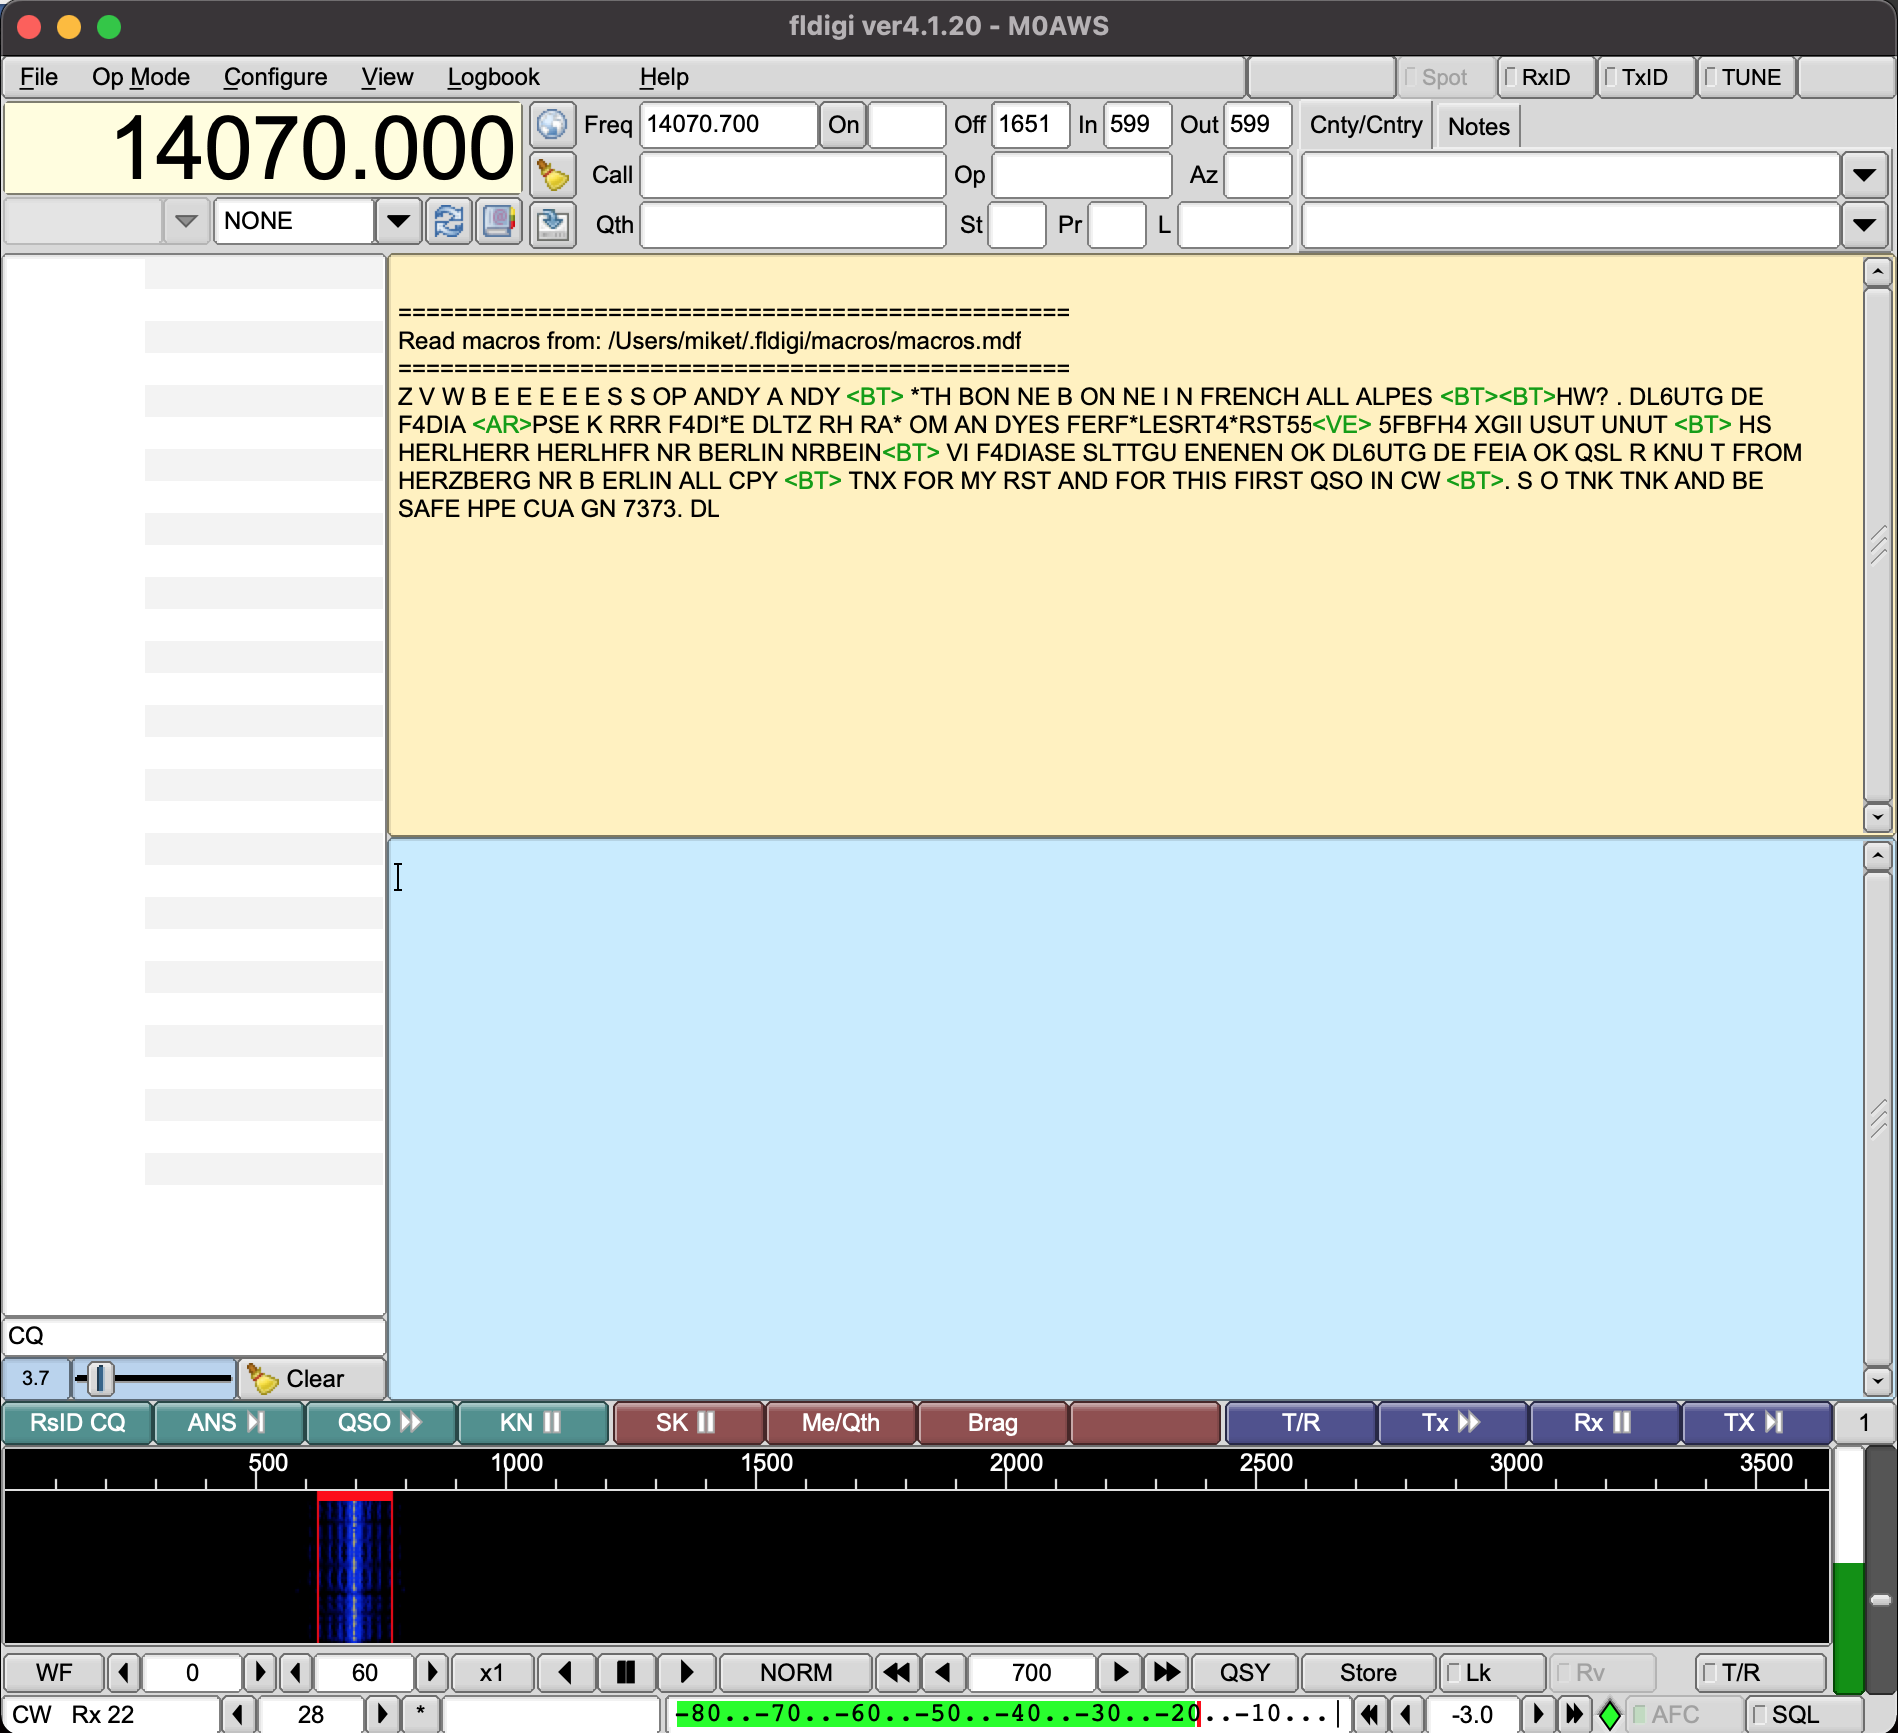
FLDigi decoding Morse code via WFView

UPDATE: There was some concern in one of the IC-705 Facebook groups that Blackhole wouldn’t work after a MacOS update. I’ve just upgraded my Macbook Pro to MacOS 11.6.6 and BlackHole is still fully functional afterwards. The MacOS update has no effect on the BlackHole service whatsoever. So you can rest easy!

More soon …
Reverse Beacon Network (RBN)

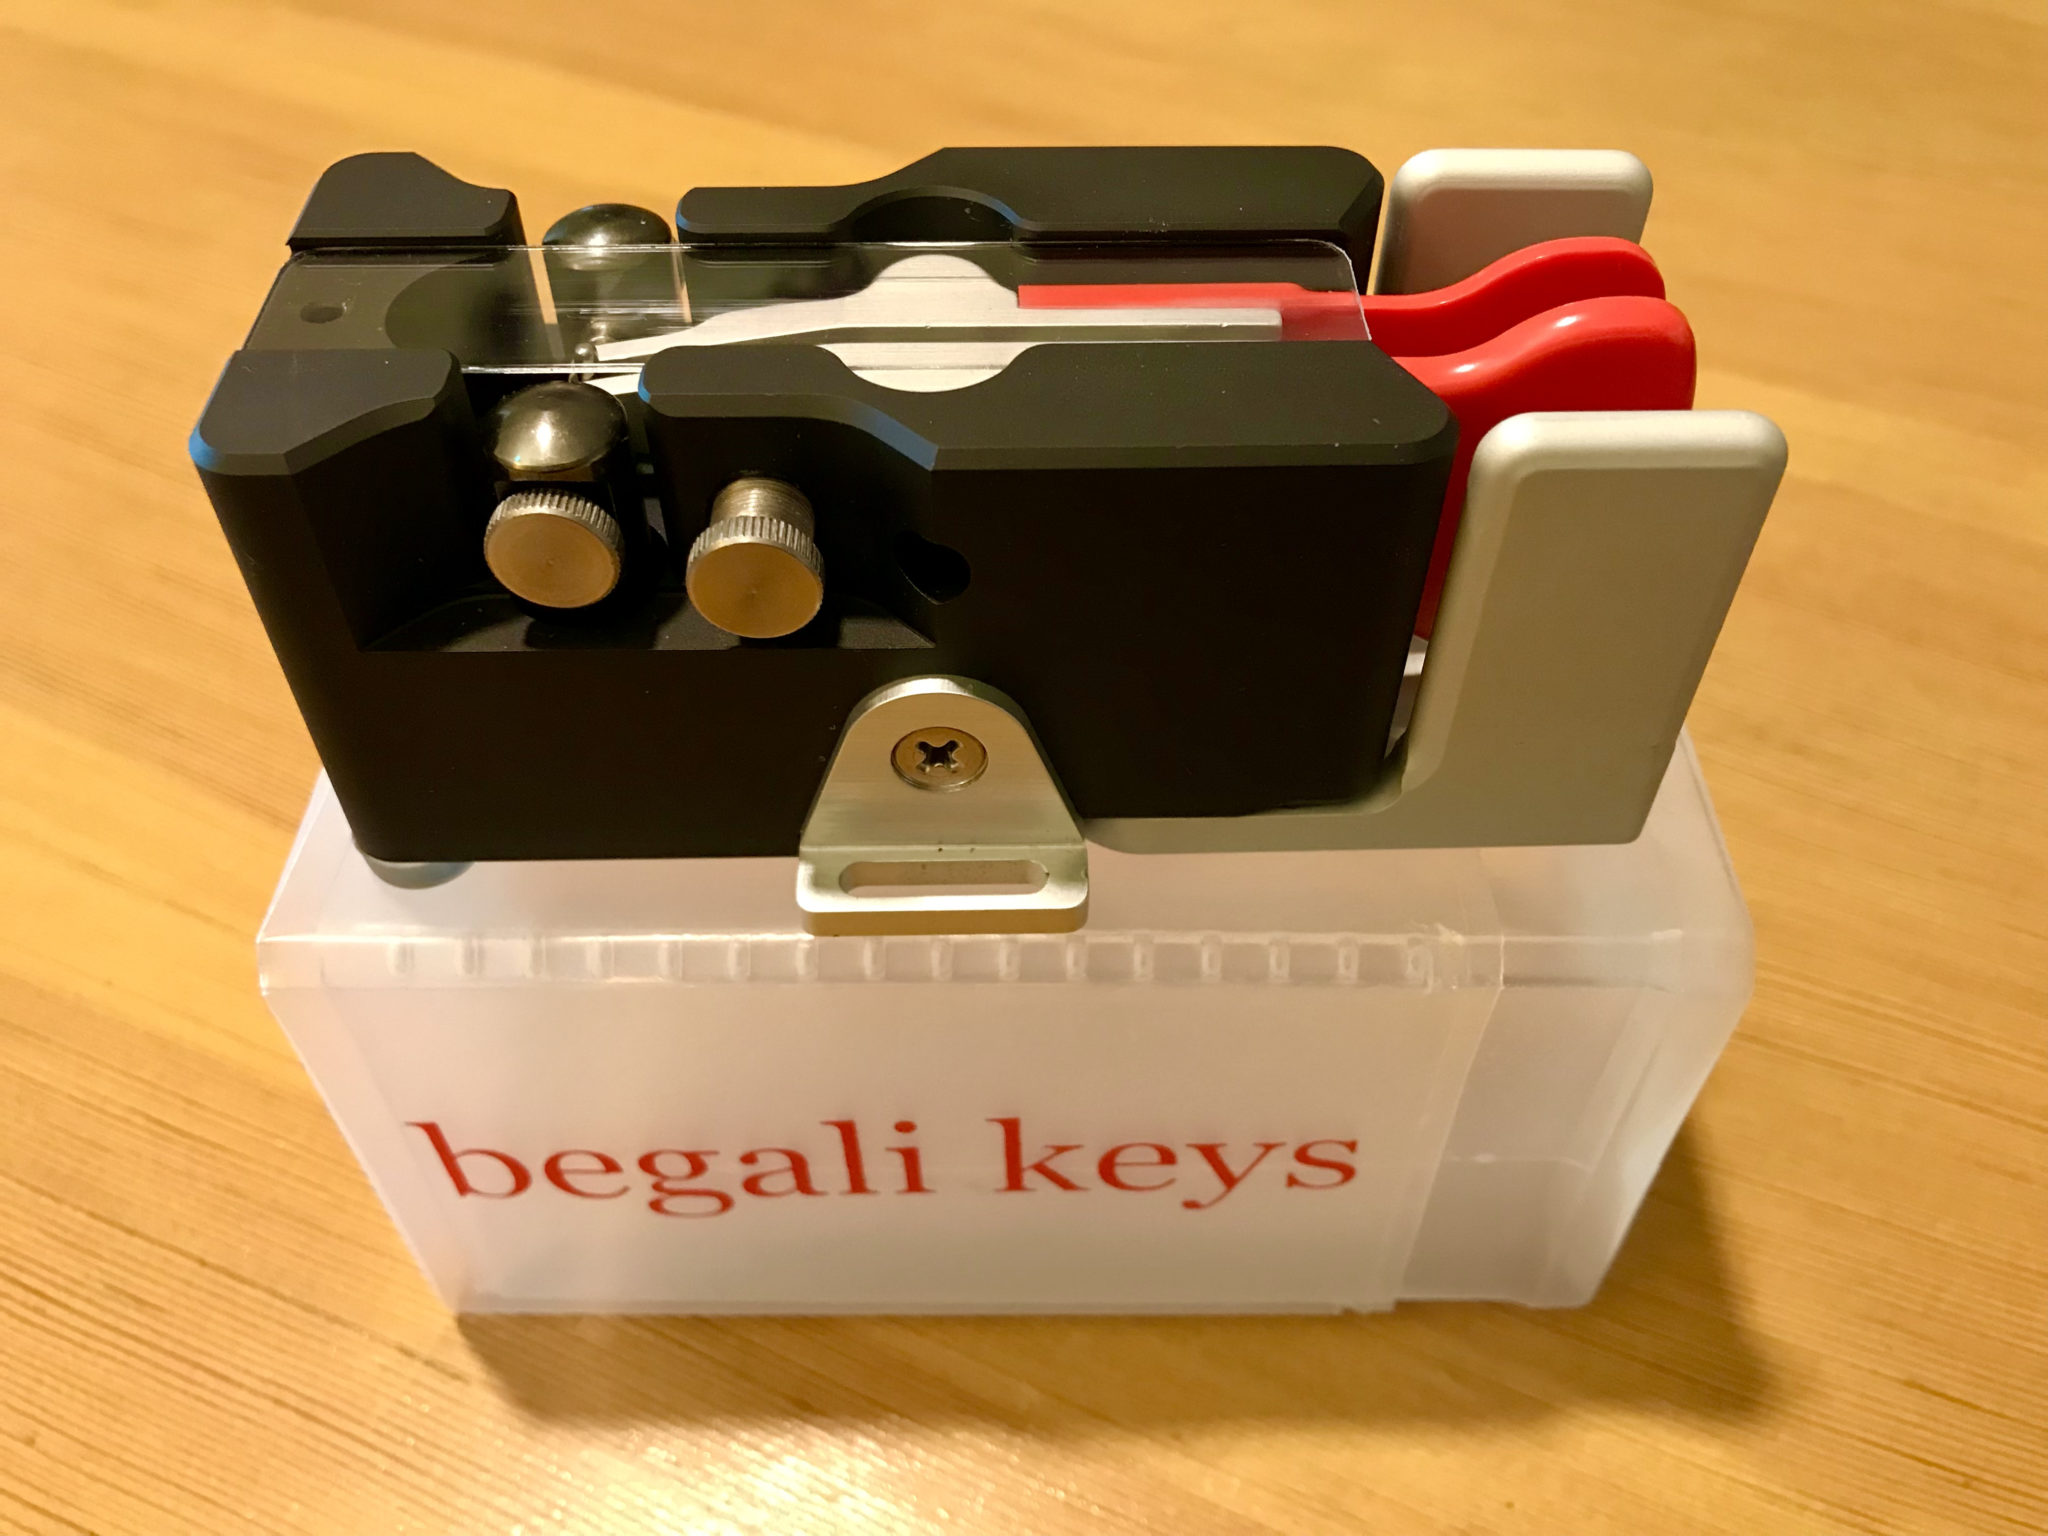
Operating a QRP station can often make you feel like you’re not getting out when no one responds to your multiple CQ calls. This was the case the other day when I was trying out my new to me Begali Traveler Light morse key.

I was on the 20m band calling and calling to no avail, the band was open as I could hear other stations just fine so I knew there was traffic on the band. The SWR on my EFHW Vertical was perfect as it always is and so I knew there wasn’t a problem with the coax/antenna combination.

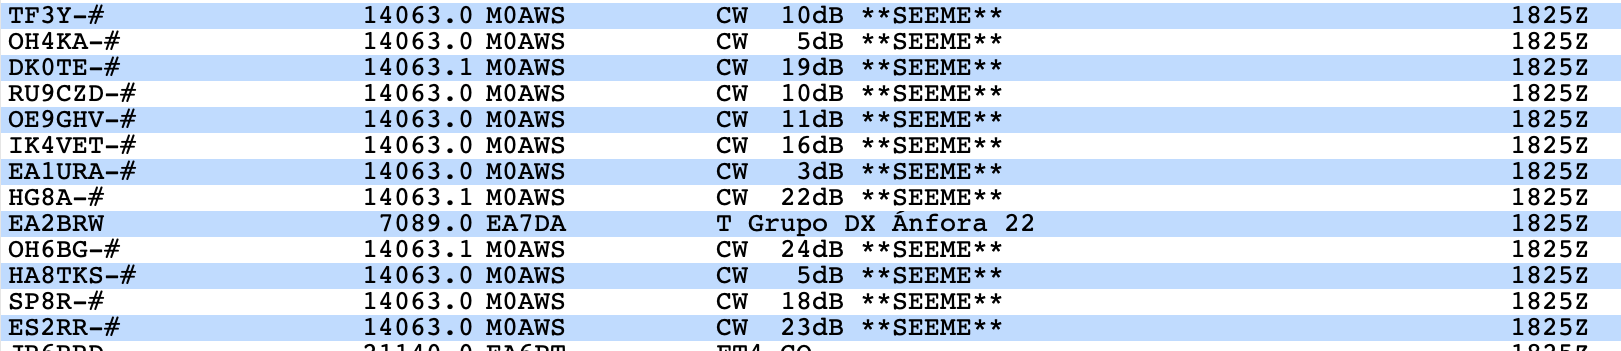
Wanting to know if my signal was indeed going anywhere I decided to make use of the SeeMe facility on the DXCluster that I use. The SeeMe facility effectively allows you to enable spots for your own callsign from the Reverse Beacon Network (RBN).

The SeeMe facility is easily switched on by issuing the set/seeme command on the DXCluster of your choice. Once enabled you will start to see spots for your own callsign from the RBN every time you call CQ using CW.

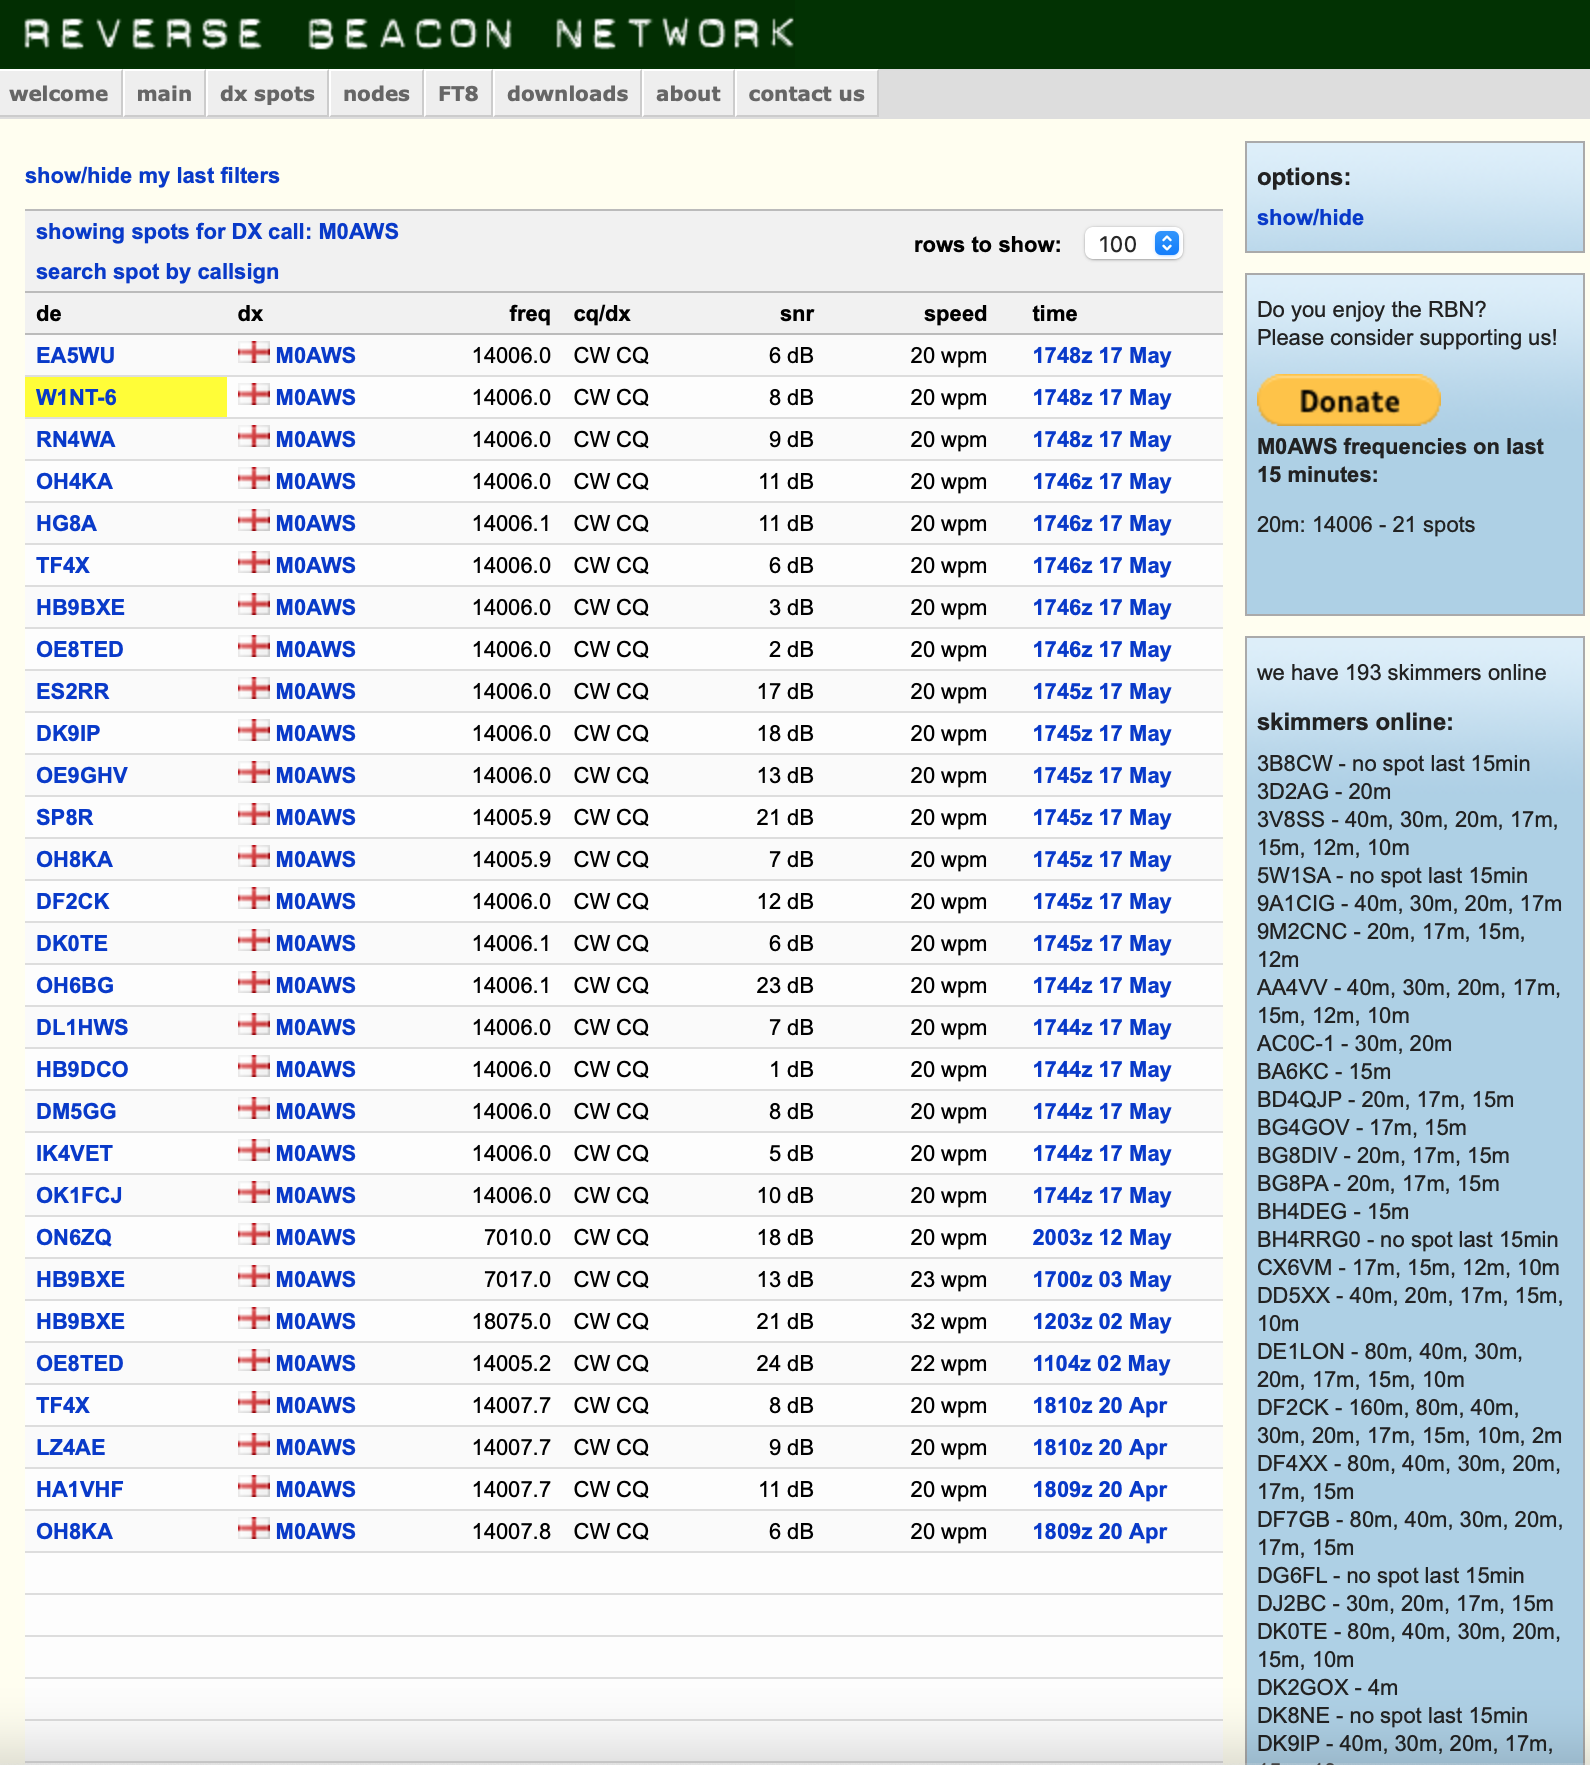
RBN Spots for M0AWS calling CQ on the 20m Band

As you can see above, I was clearly getting out very well with some great signal reports from a good spread of stations even though I was only using 5w of CW.

You can of course use the RBN website to view the spots if you prefer, it’s not quite as realtime as the DXCluster but, it provides the same information eventually.

M0AWS spots on the RBN Website

The view on the RBN Website is almost the same as that from the DXCluster however, it also shows your CW speed in WPM. I was also surprised to get a spot from the USA at 8dB, that’s a good signal (Just over S2) considering I was only using 5w of power.

I came to the conclusion that no one needed an exotic M0 call for their log and so I went on to my normal search and pounce approach and worked a bunch of stations spread around Europe and Asiatic Russia. My little 5w signal did well and I was able to get through the pileups by using my slide off to the side technique so that my little signal stood out on it’s own. This technique works well when trying to get a QRP signal into a pileup and is used often.

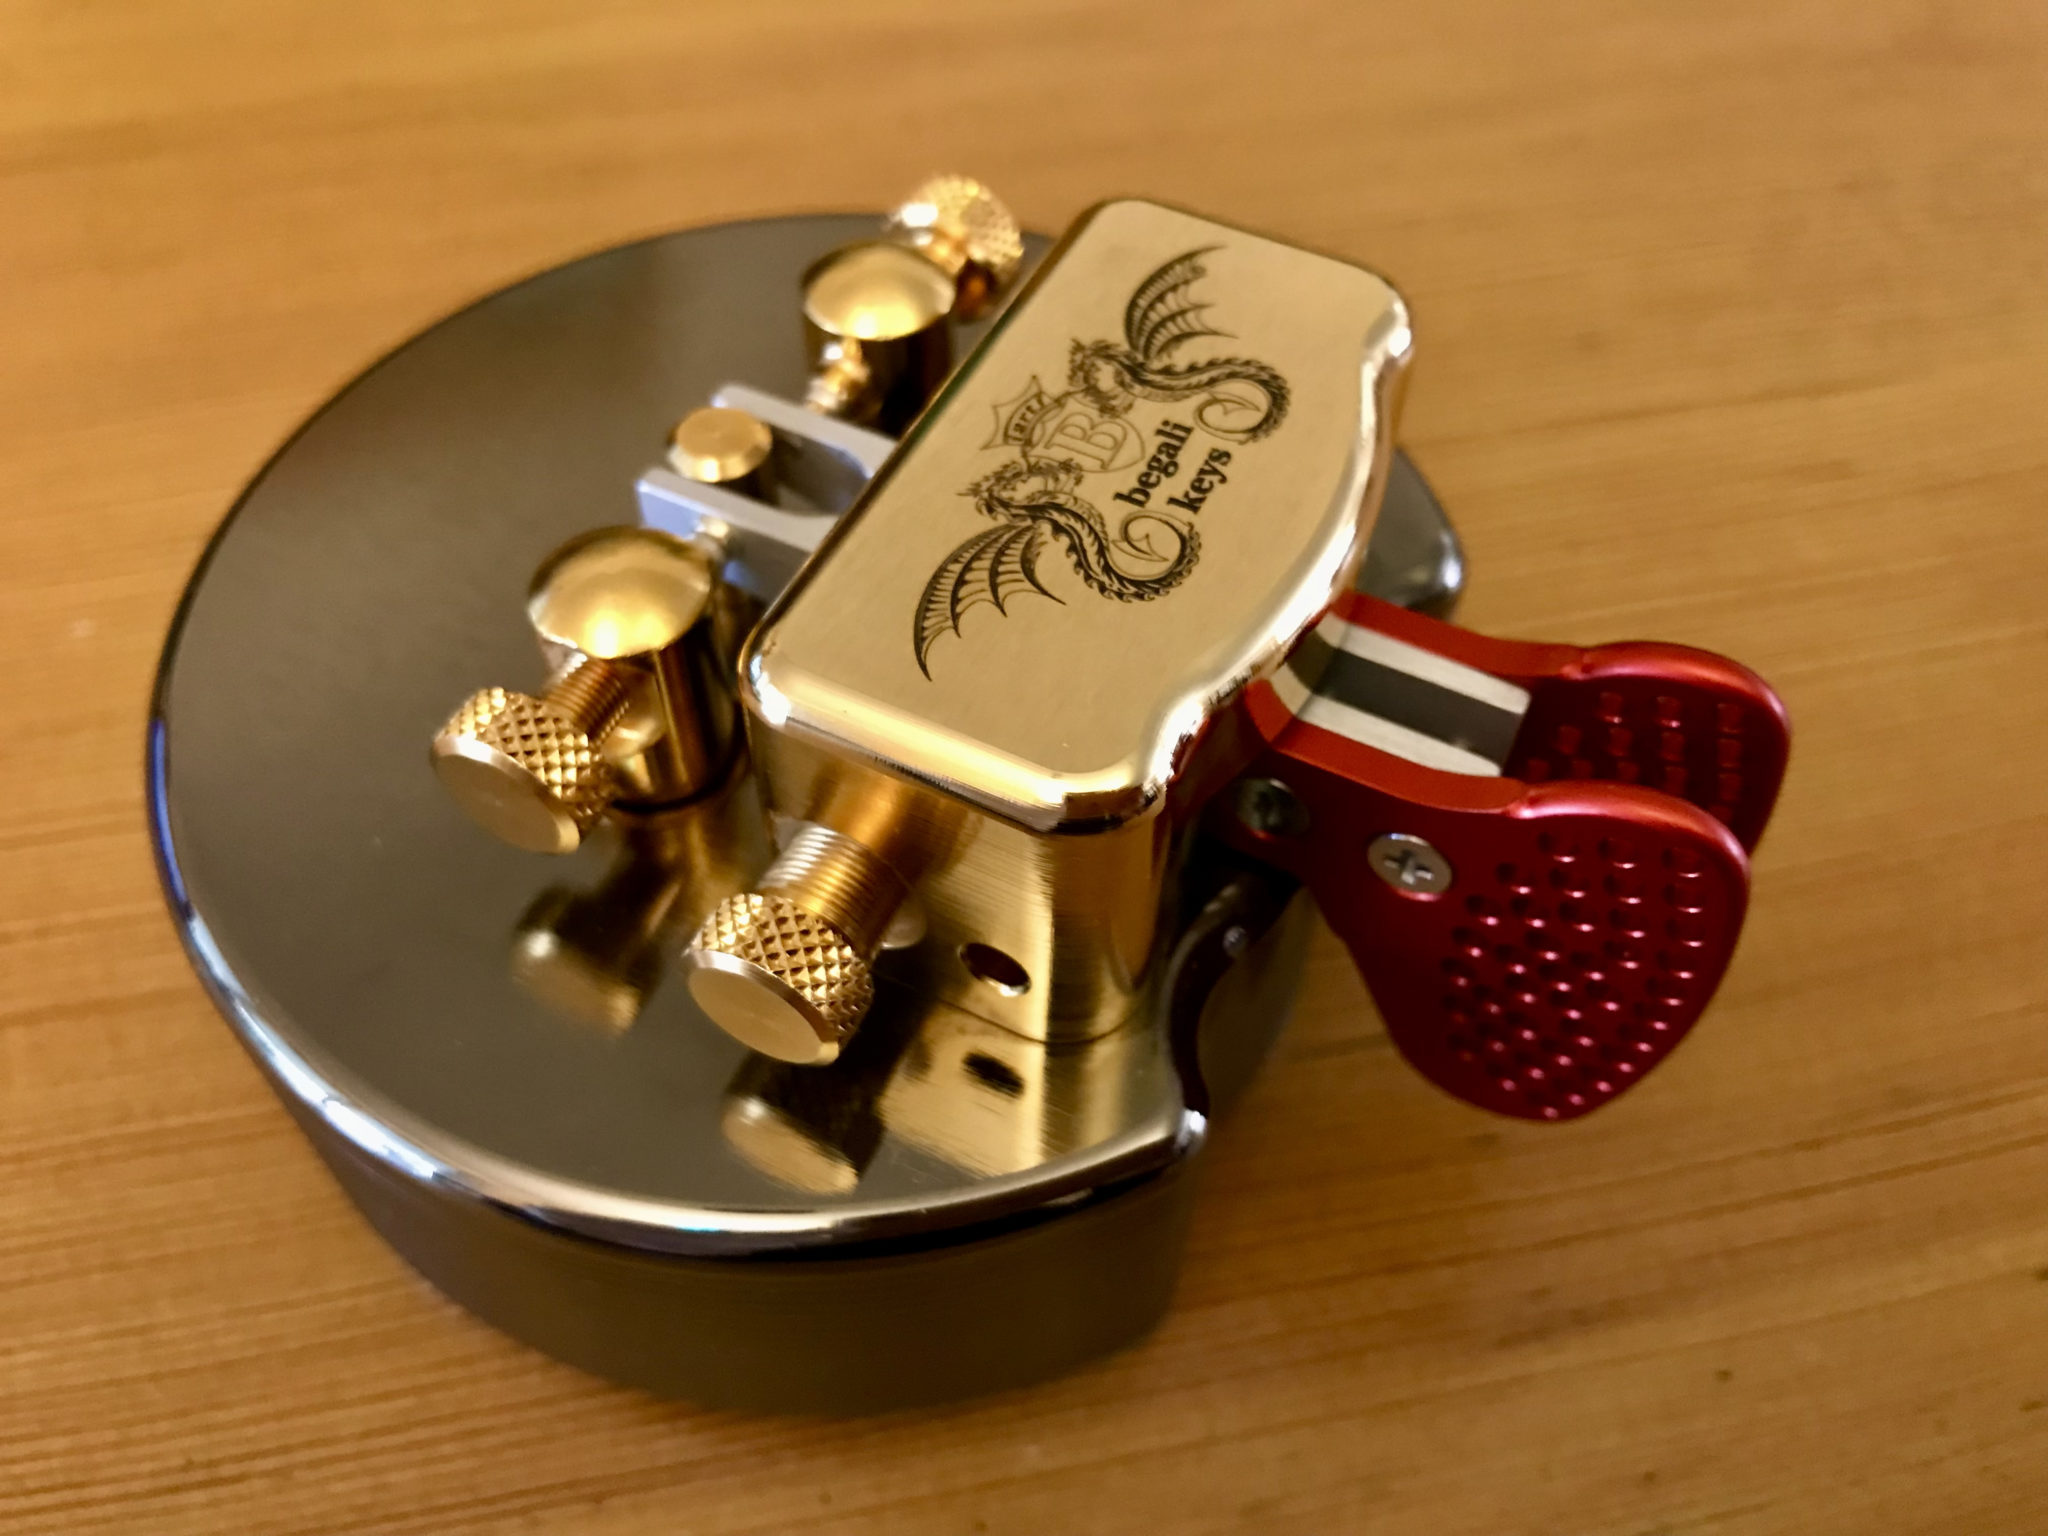
Needless to say, my Begali Traveler Light twin paddle morse key once setup how I like it was superb to use, light to the touch, quick and responsive. Begali make such beautiful morse keys!

More soon …

Another Begali Key!

Since purchasing my Begali Pearl twin paddle morse key I’ve been looking to get another Begali for my IC-705 portable setup. Going portable means I need a key that isn’t super shiny like the Pearl, something a little more hardy would be ideal.

I was looking to buy the Begali Simplex Basic directly from Begali as it would be ideal for portable operations however, my lovely wife spotted another Begali key for sale on Ebay and pinged the details over to me to take a look at.

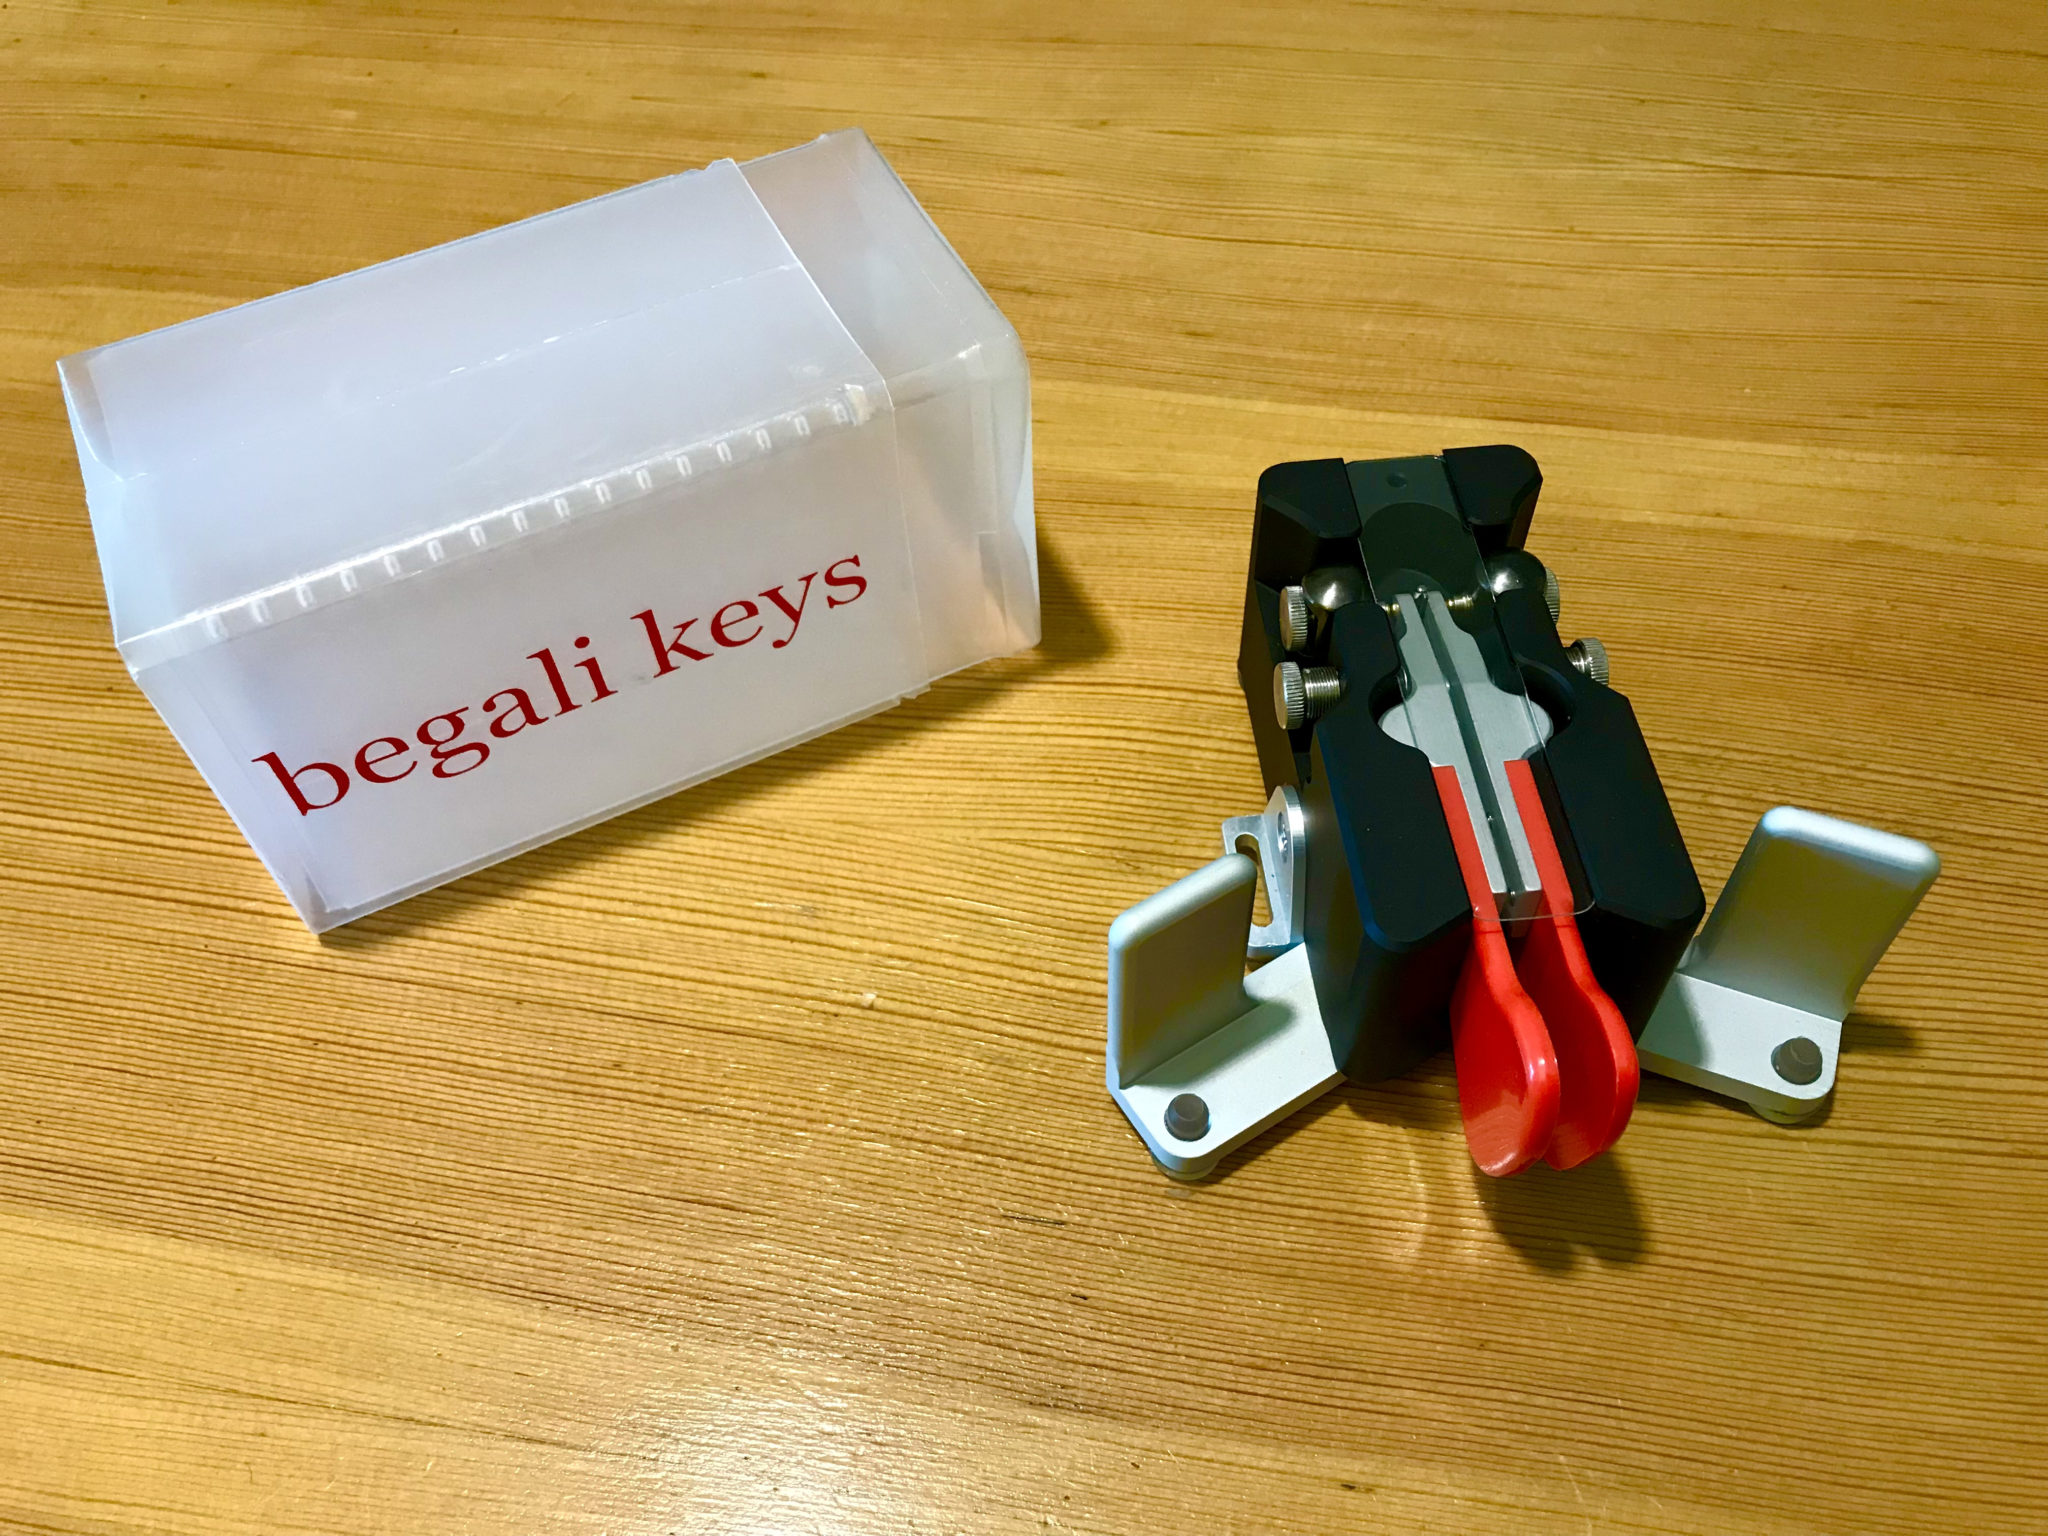
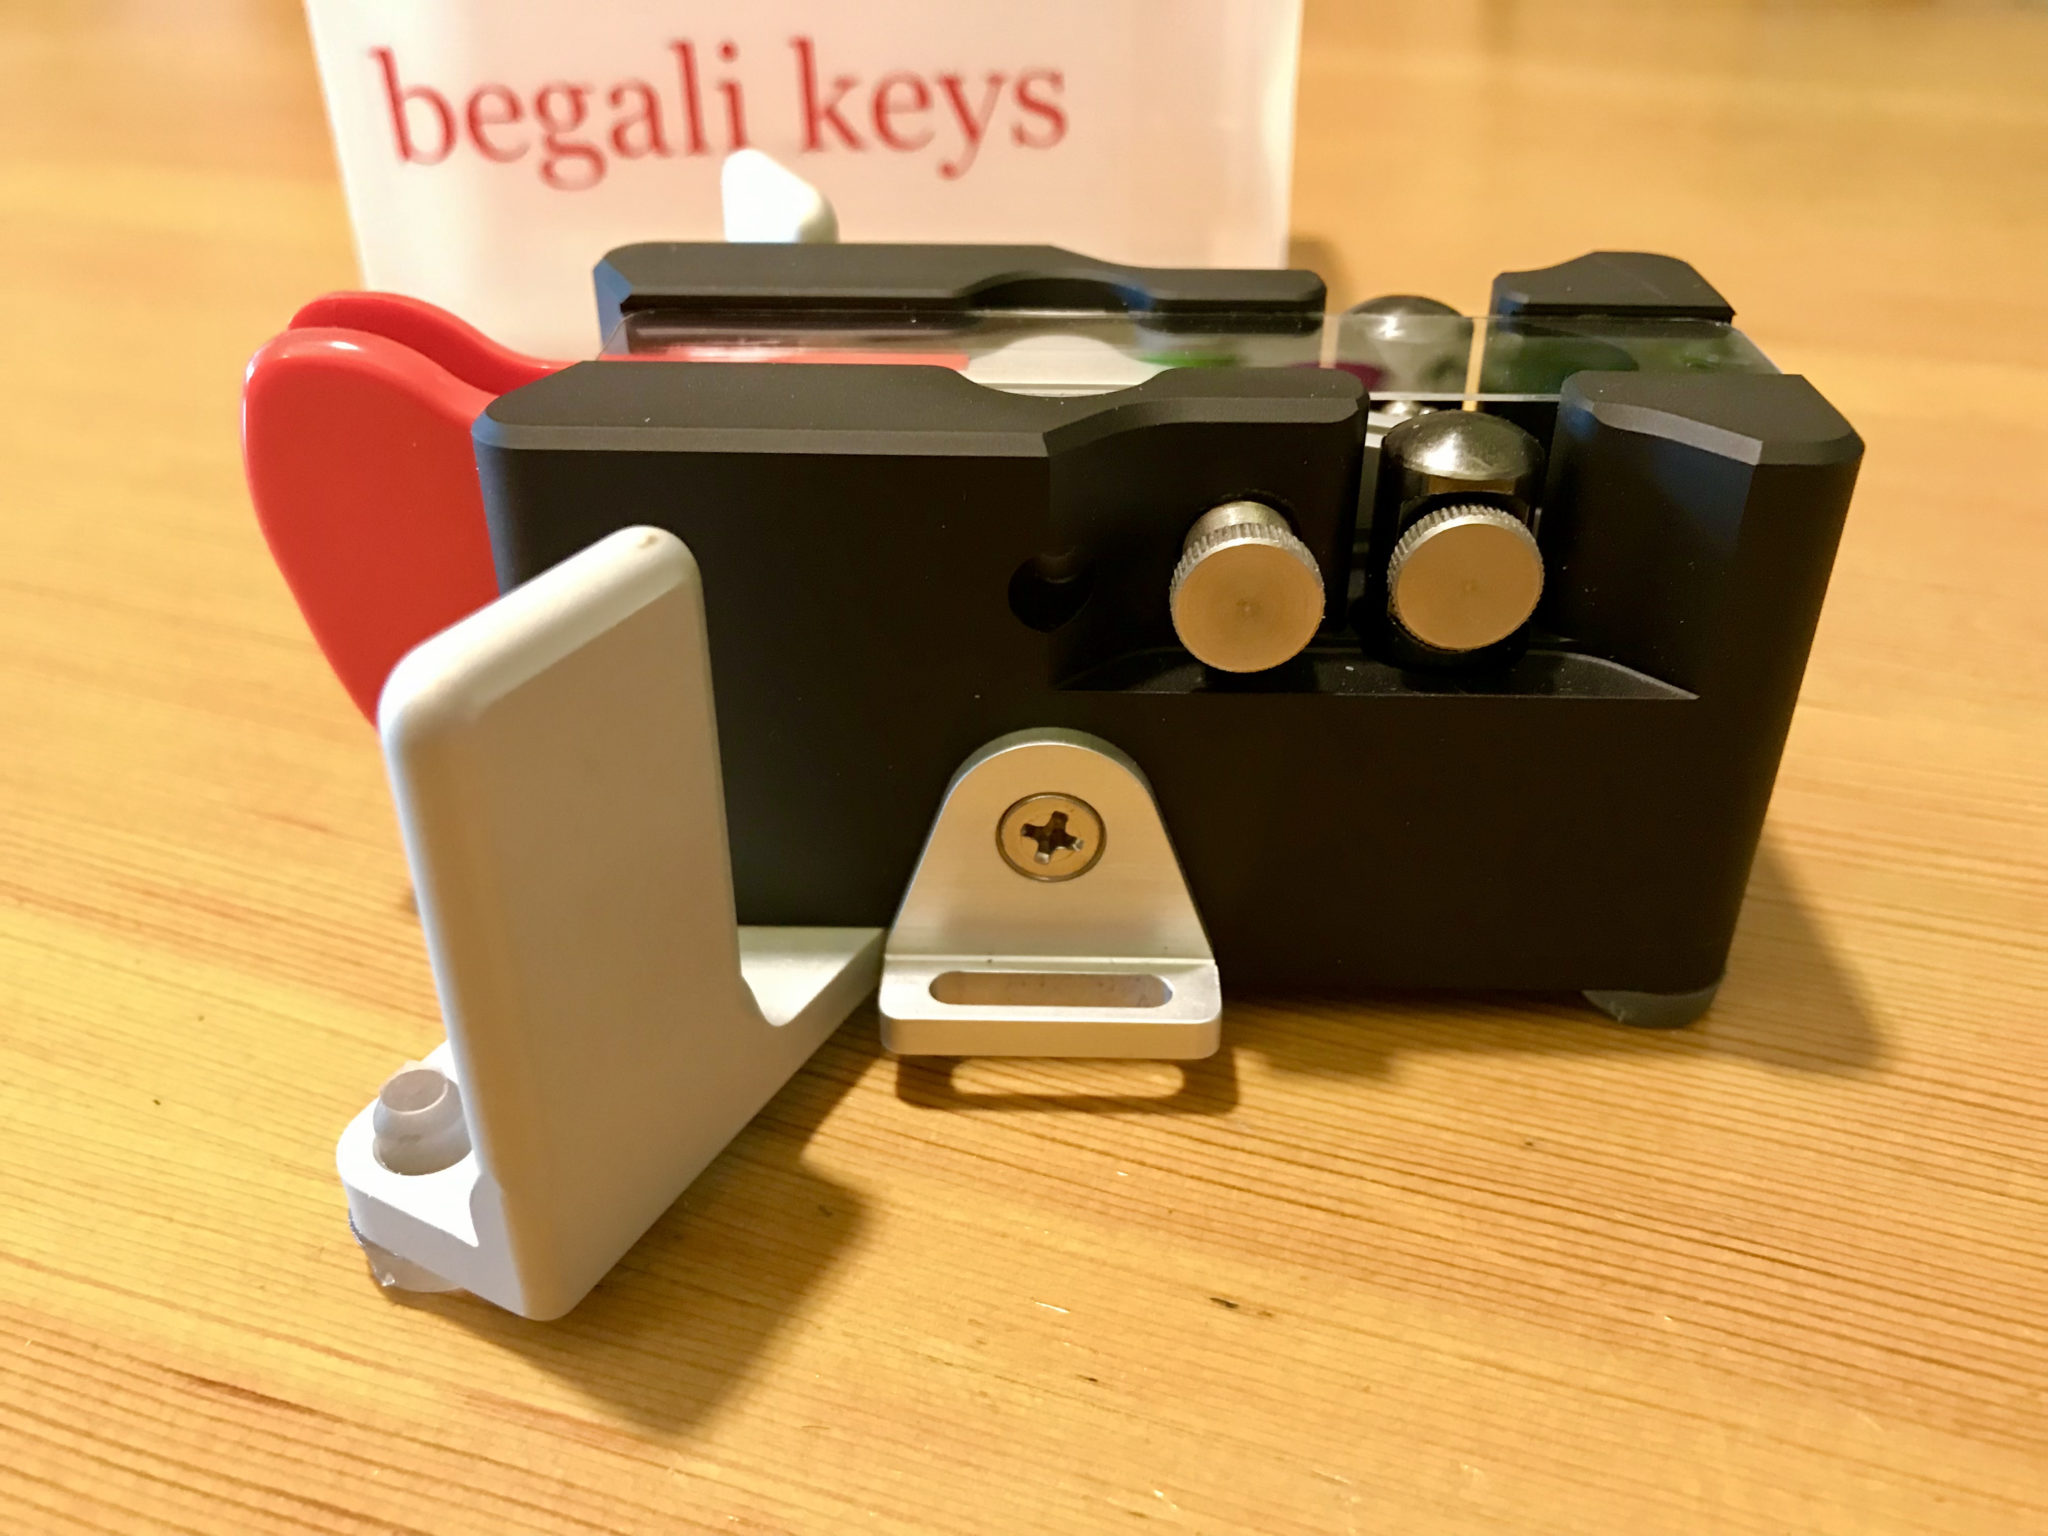
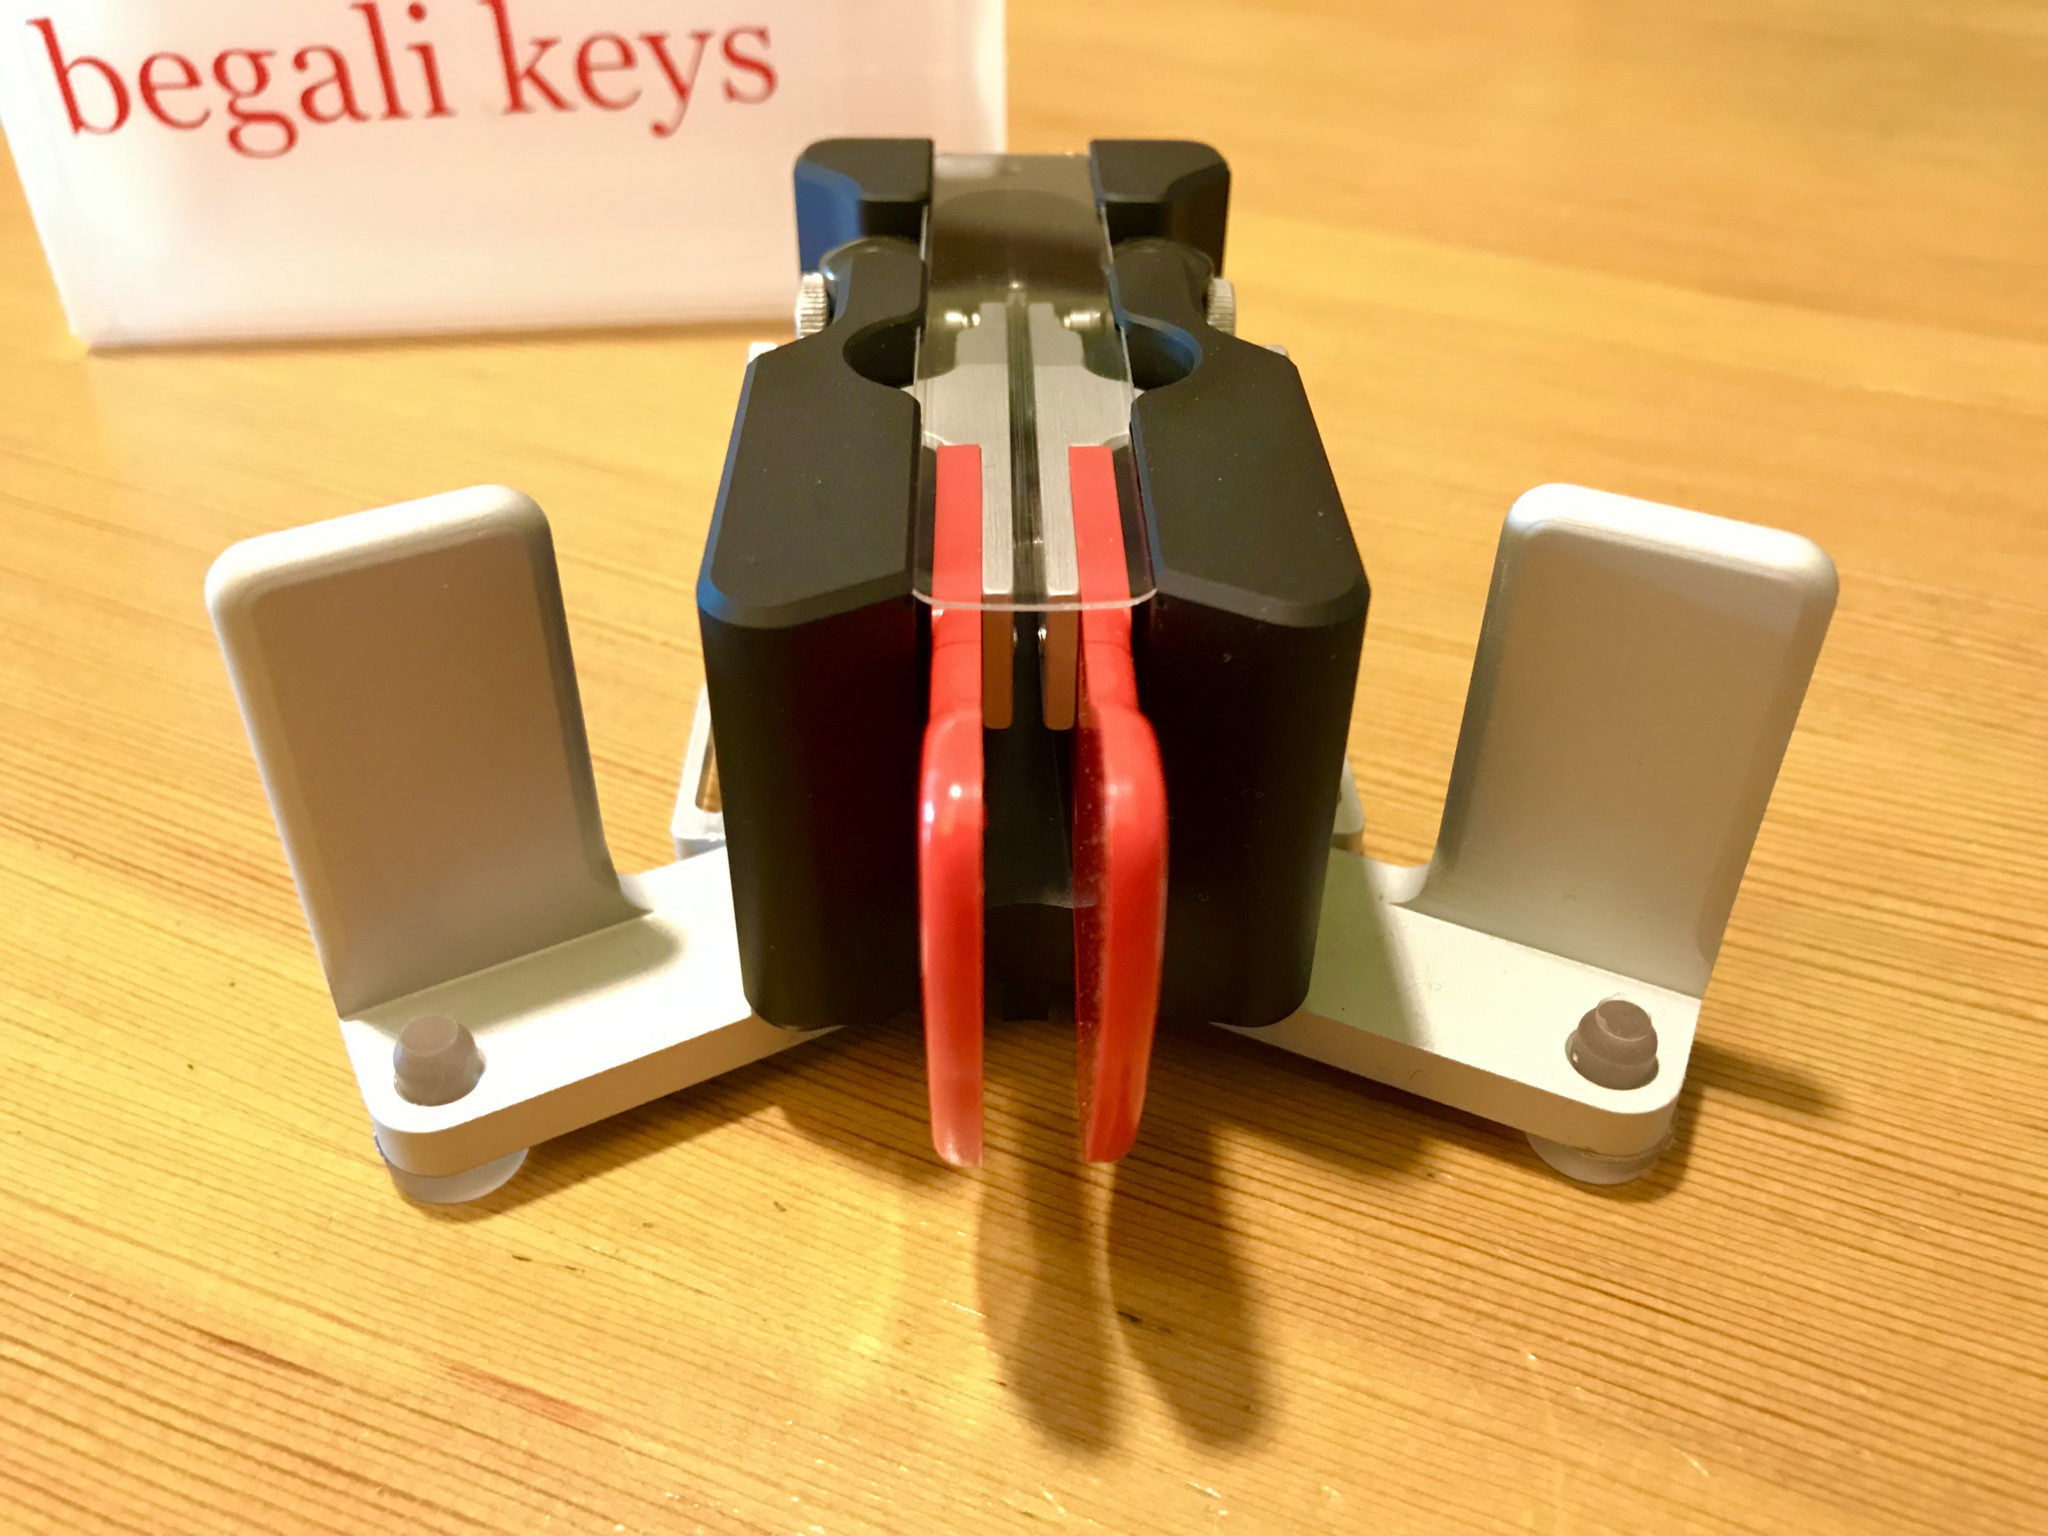
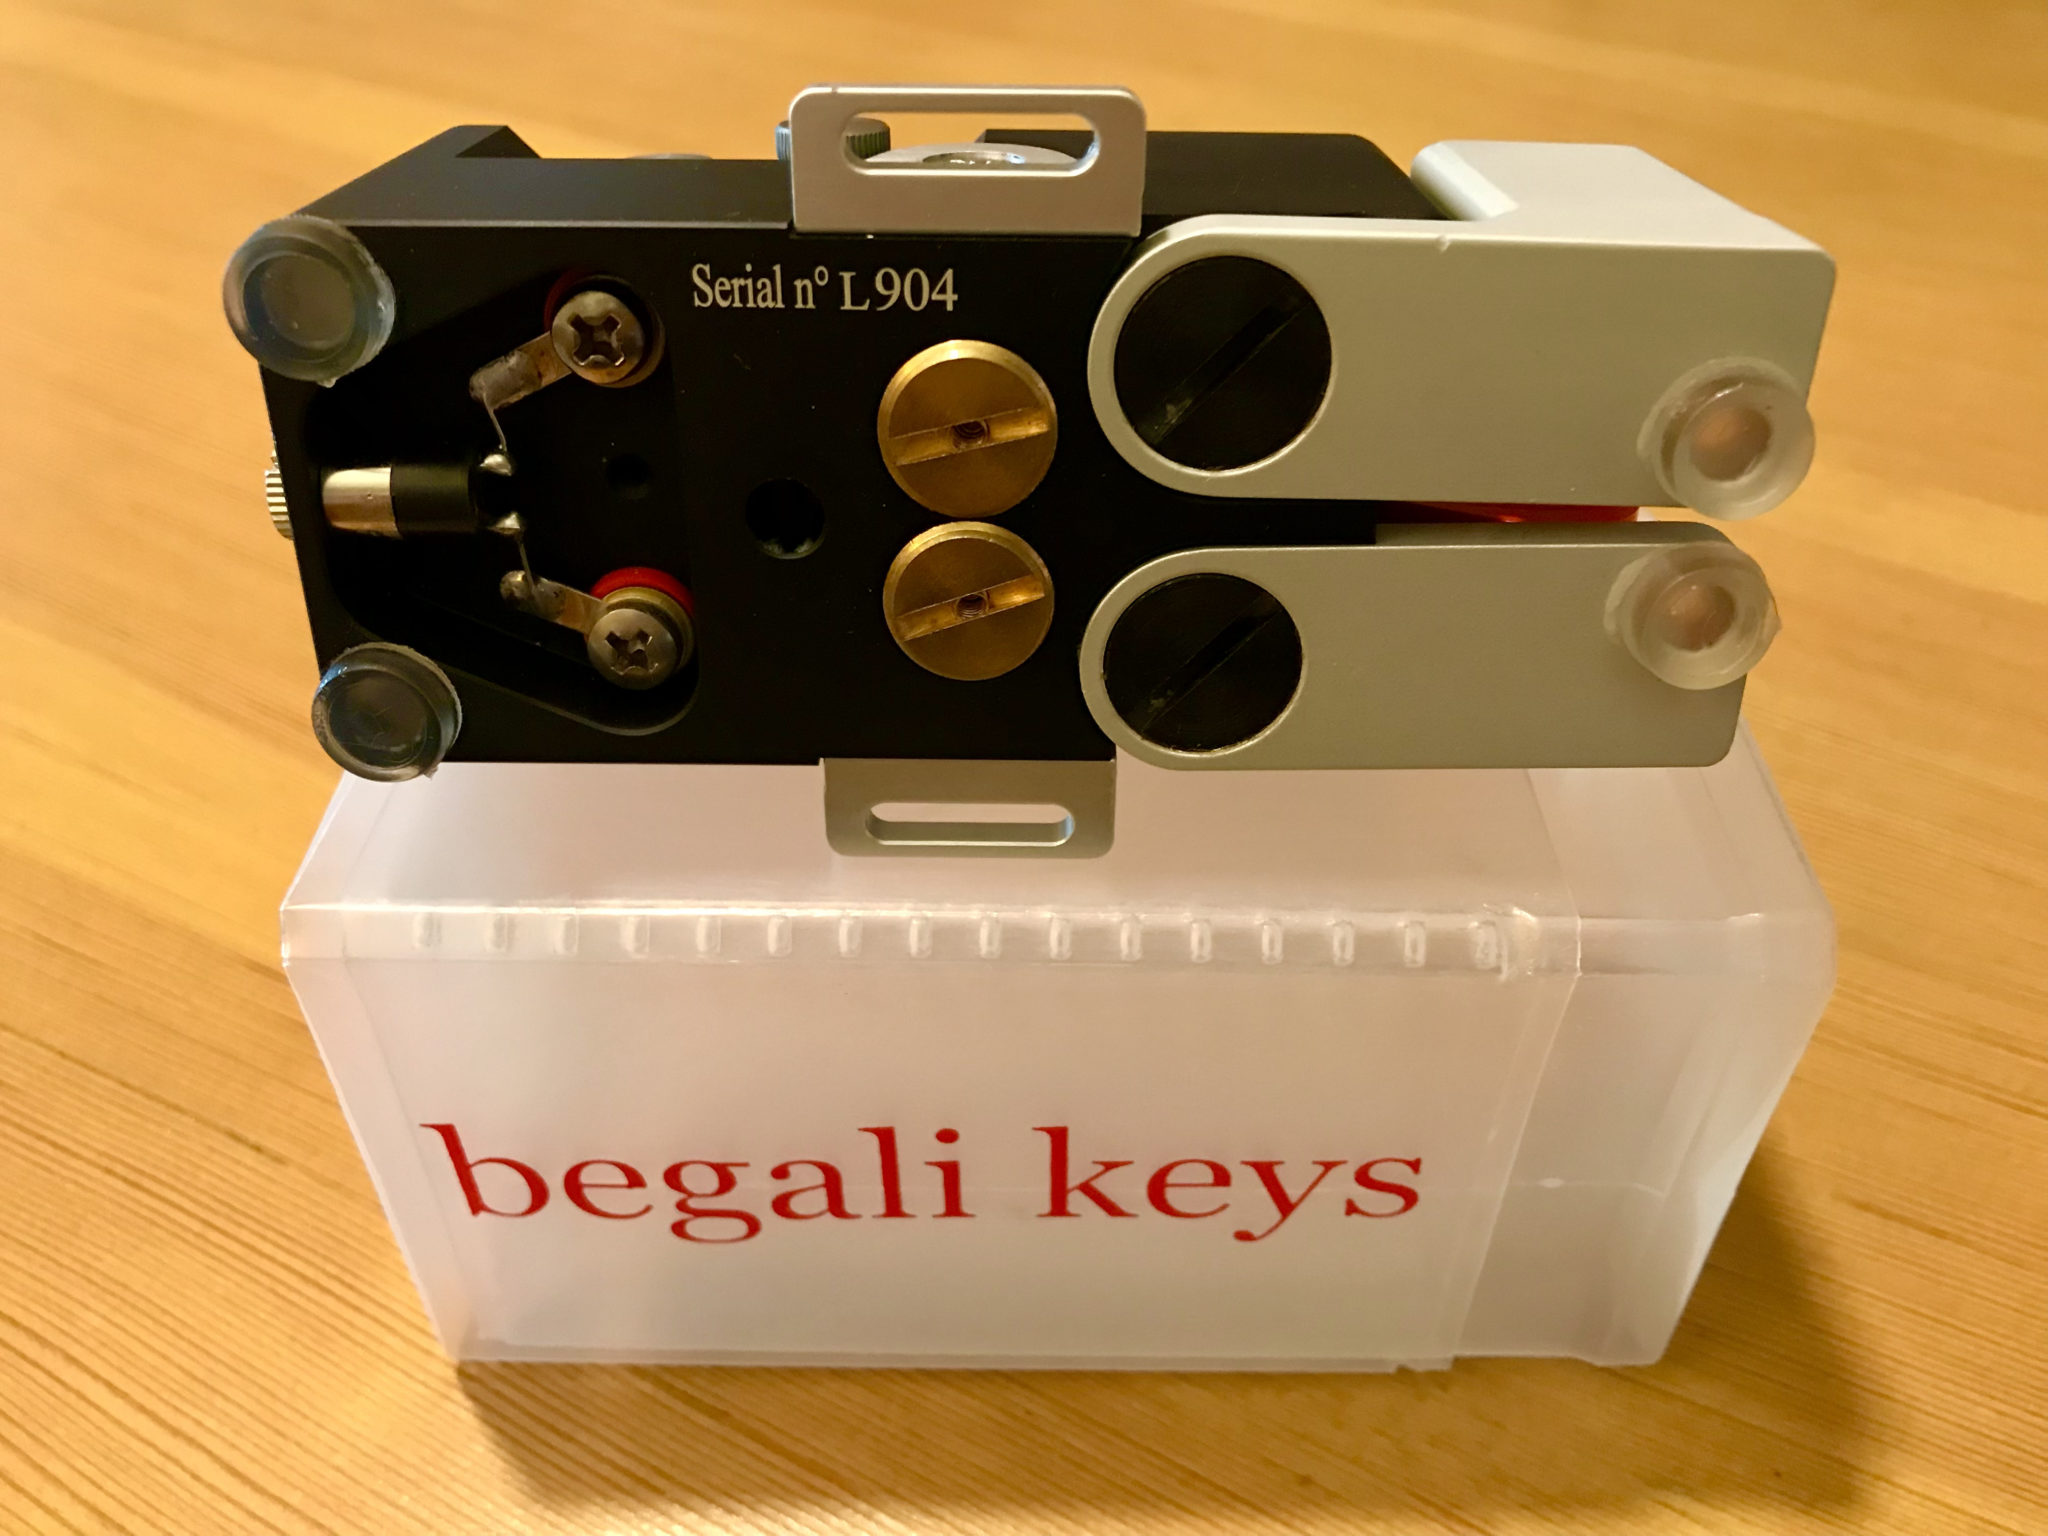
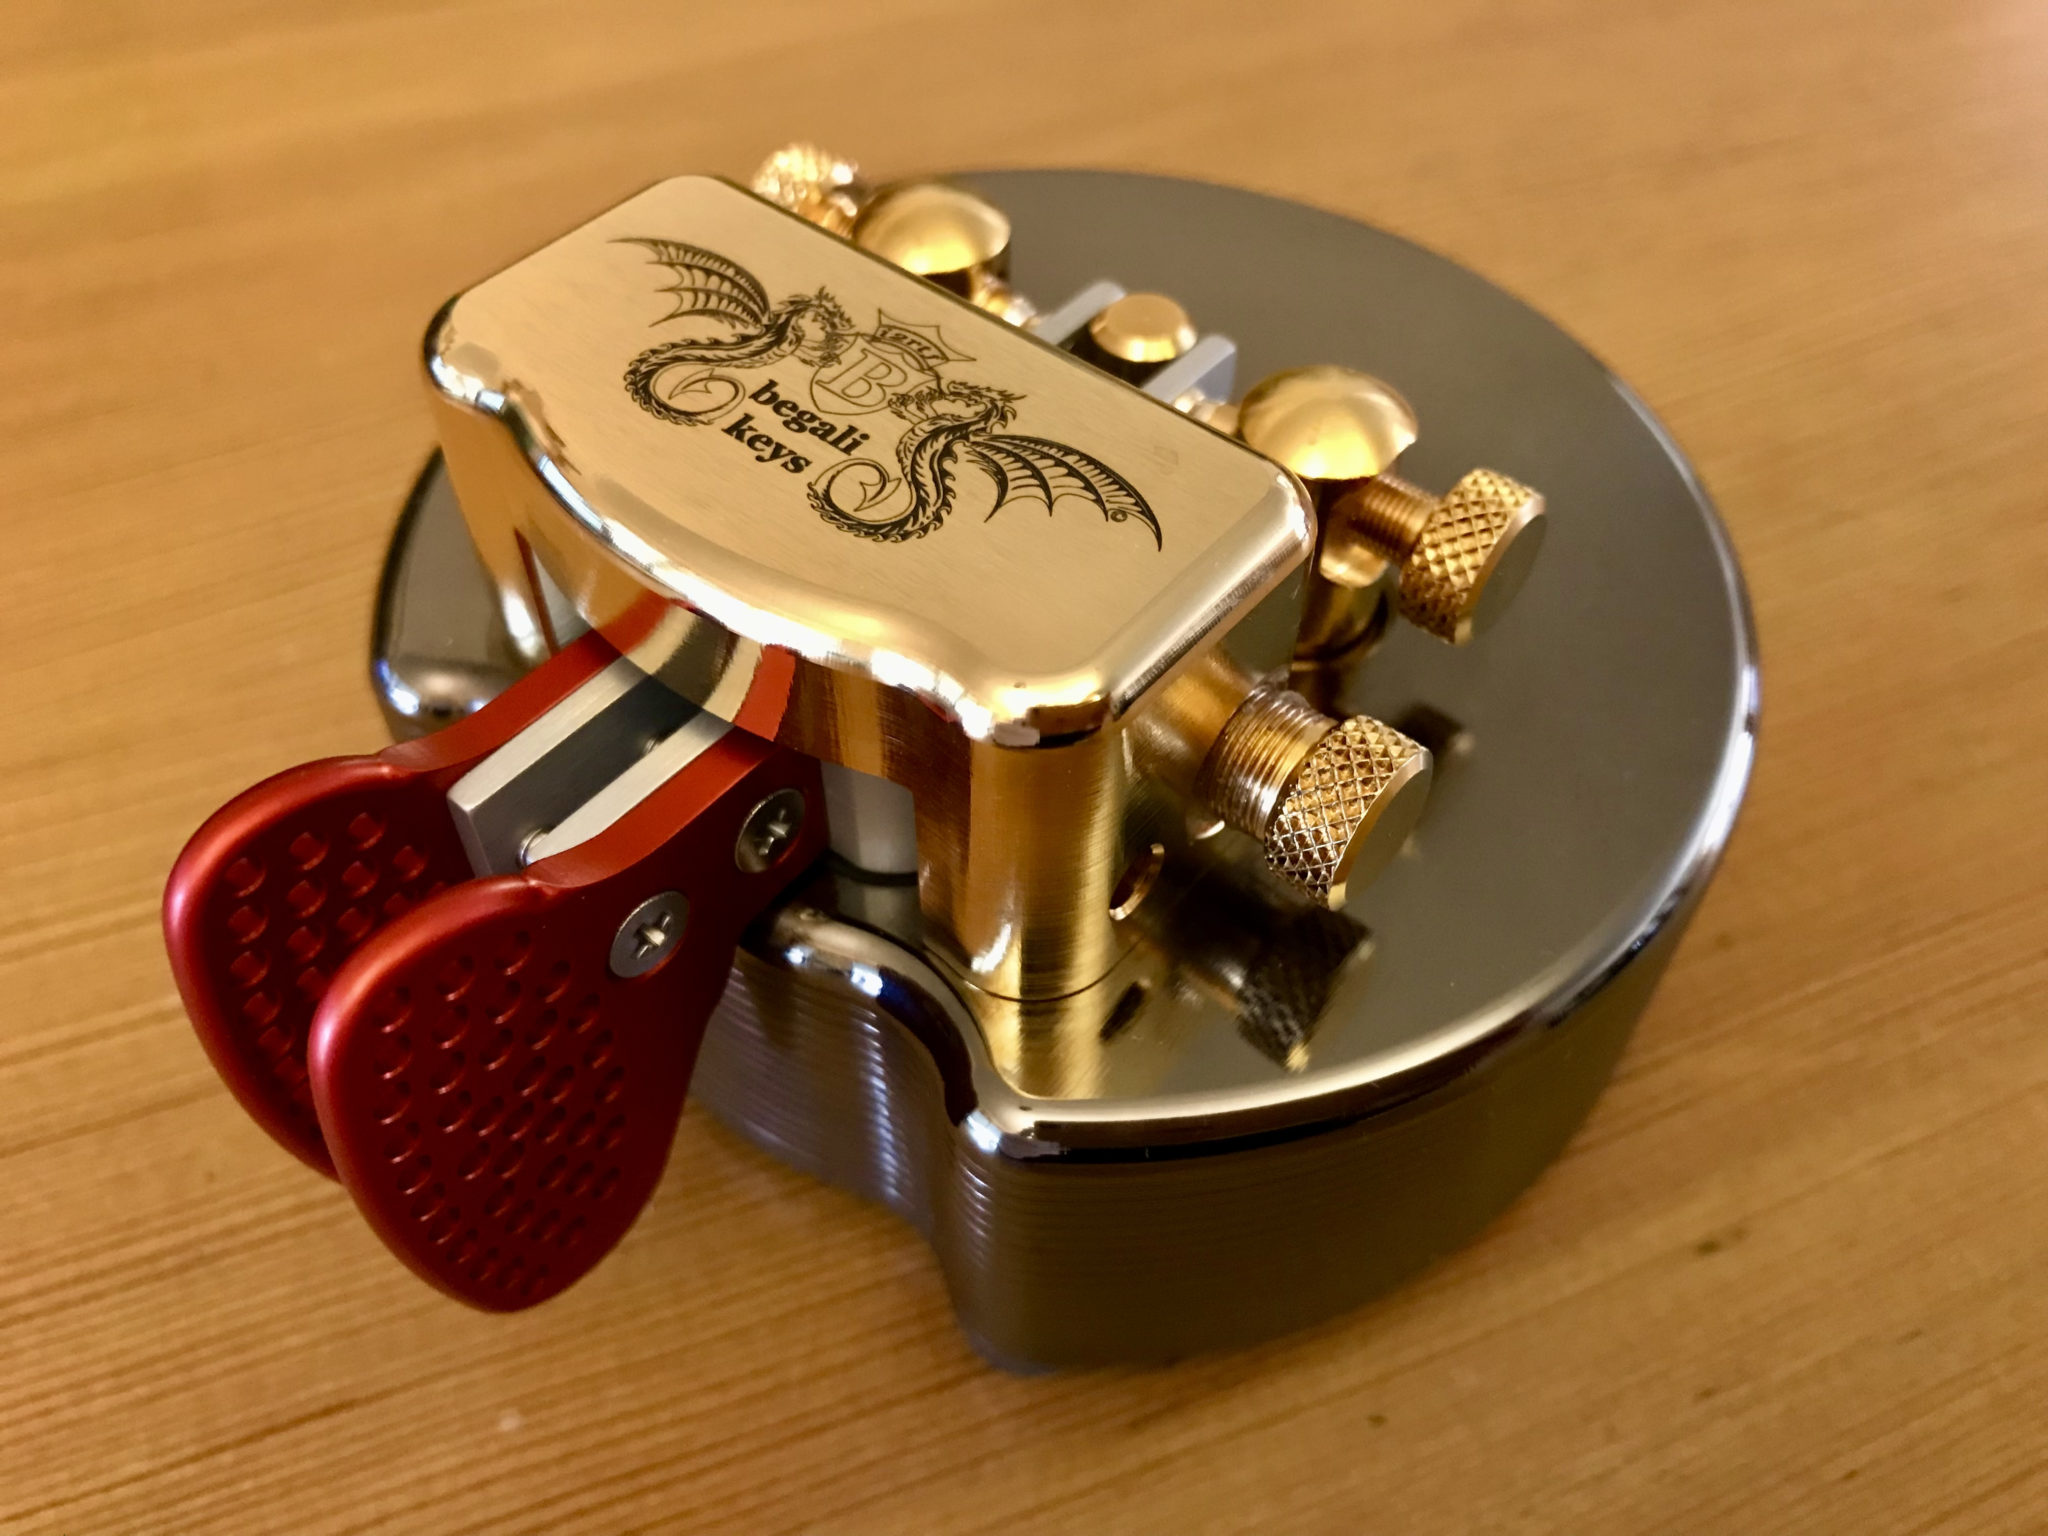
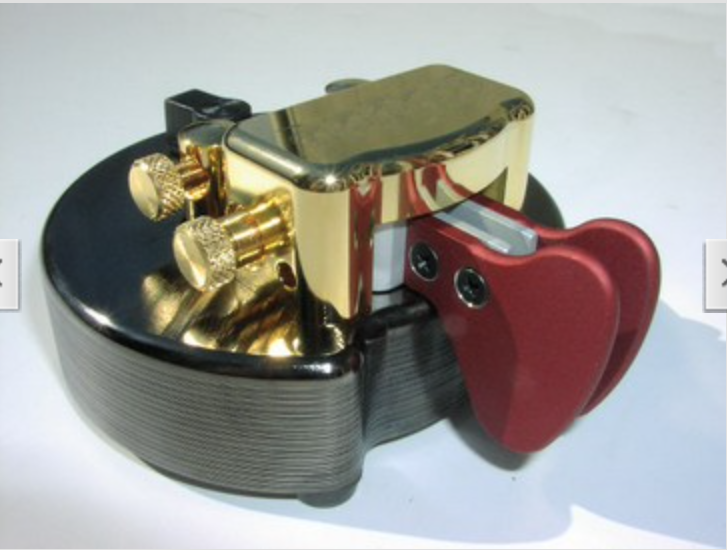
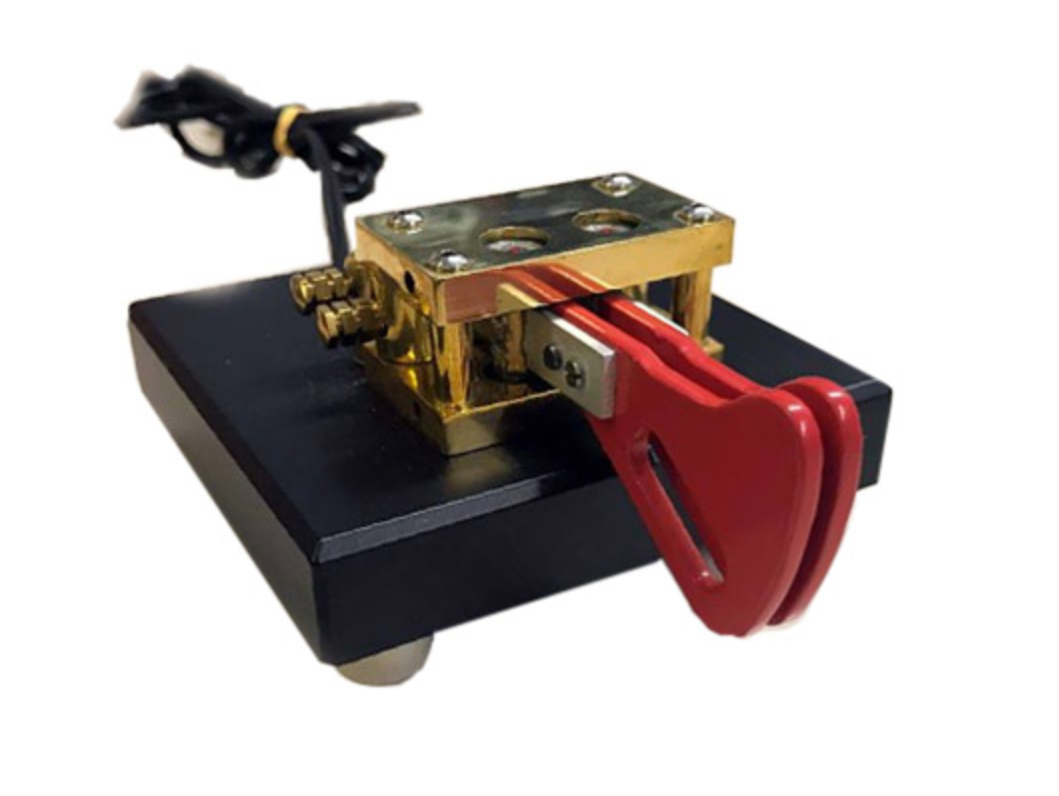
Begali Traveler Light

To my surprise the key for sale on Ebay was a Begali Traveler Light, the perfect key for portable use and at a much lower price than new.

I contacted the seller immediately asking a couple of questions about the key and got an immediate response, always a good sign!

It turned out that the key was being sold by Wallace, MM0AMV up in Scotland. Looking at his QRZ page it’s clear he’s an avid CW fan as he has two Begali keys. This was backed up by the conversation we had via Ebay messaging.

In no time at all I had paid the £170.00 including postage and was the owner of my second Begali morse key.

The key was in as new condition as described by Wallace, clearly it had been looked after well.

It didn’t take long for me to get it hooked up to my IC-705 and on air. After a little adjustment of the gap and return tension I had the key setup comfortably for my weird left-handed use.

The key isn’t anywhere as near as heavy as my Begali Pearl key but, it’s plenty heavy enough to stop it moving around when in use. This is of course is helped by the two fold out legs that stabilise the key firmly during use but, protect the paddles solidly when in transit. It’s a great design and a very unique approach to making a fairly light but, solid twin paddle for portable usage.

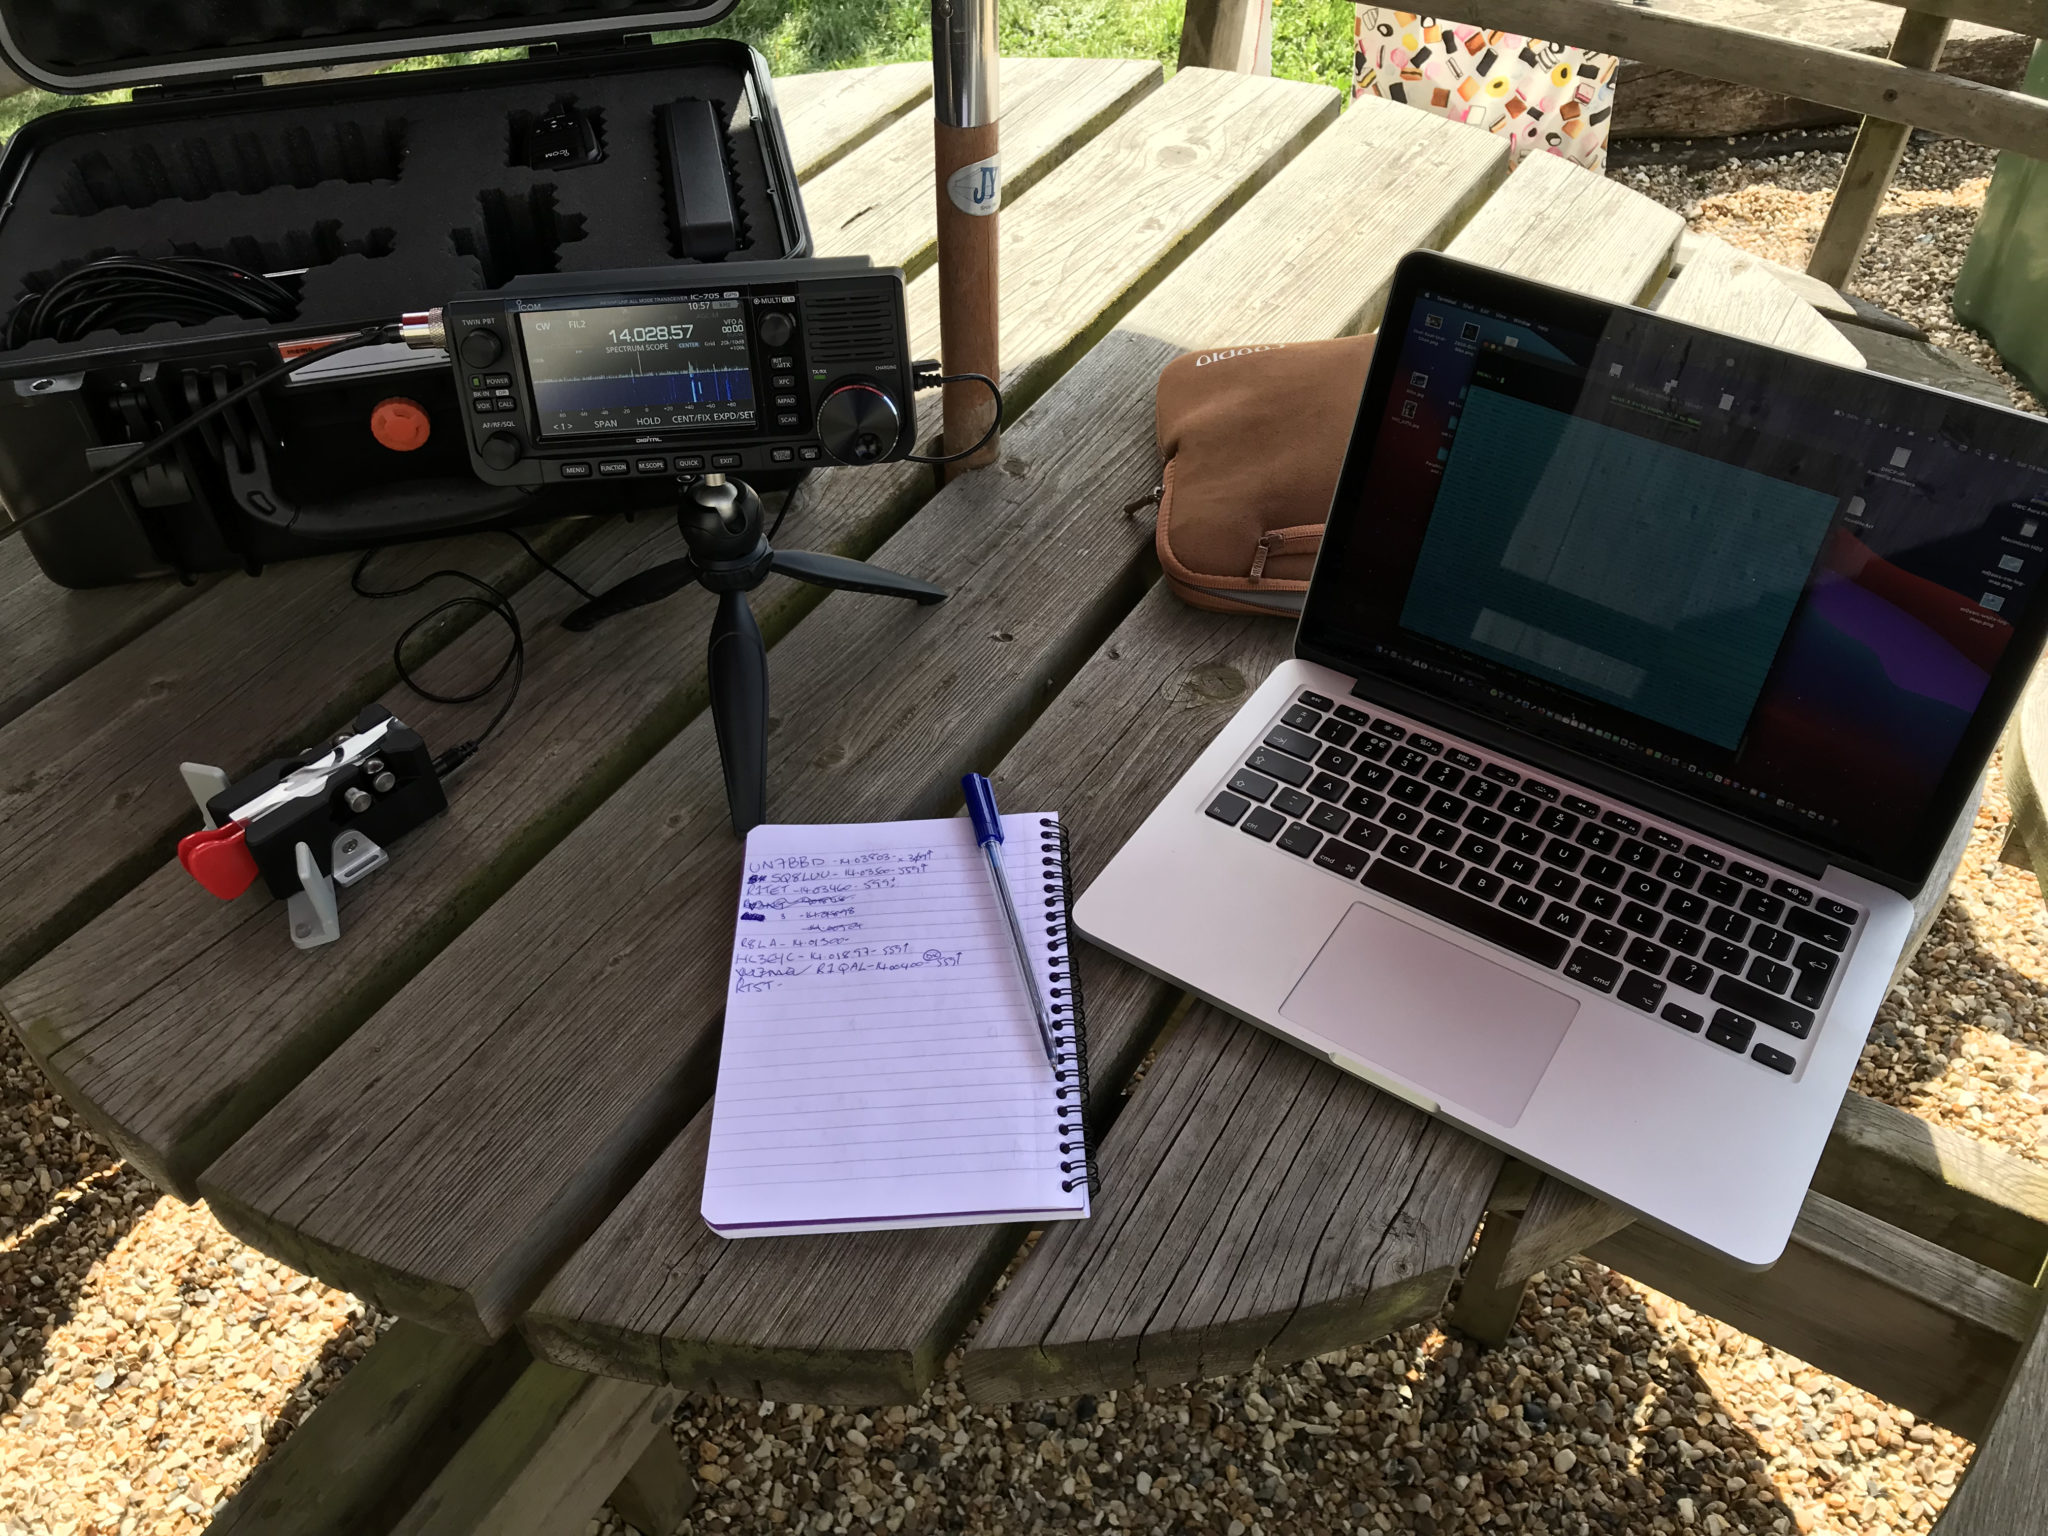
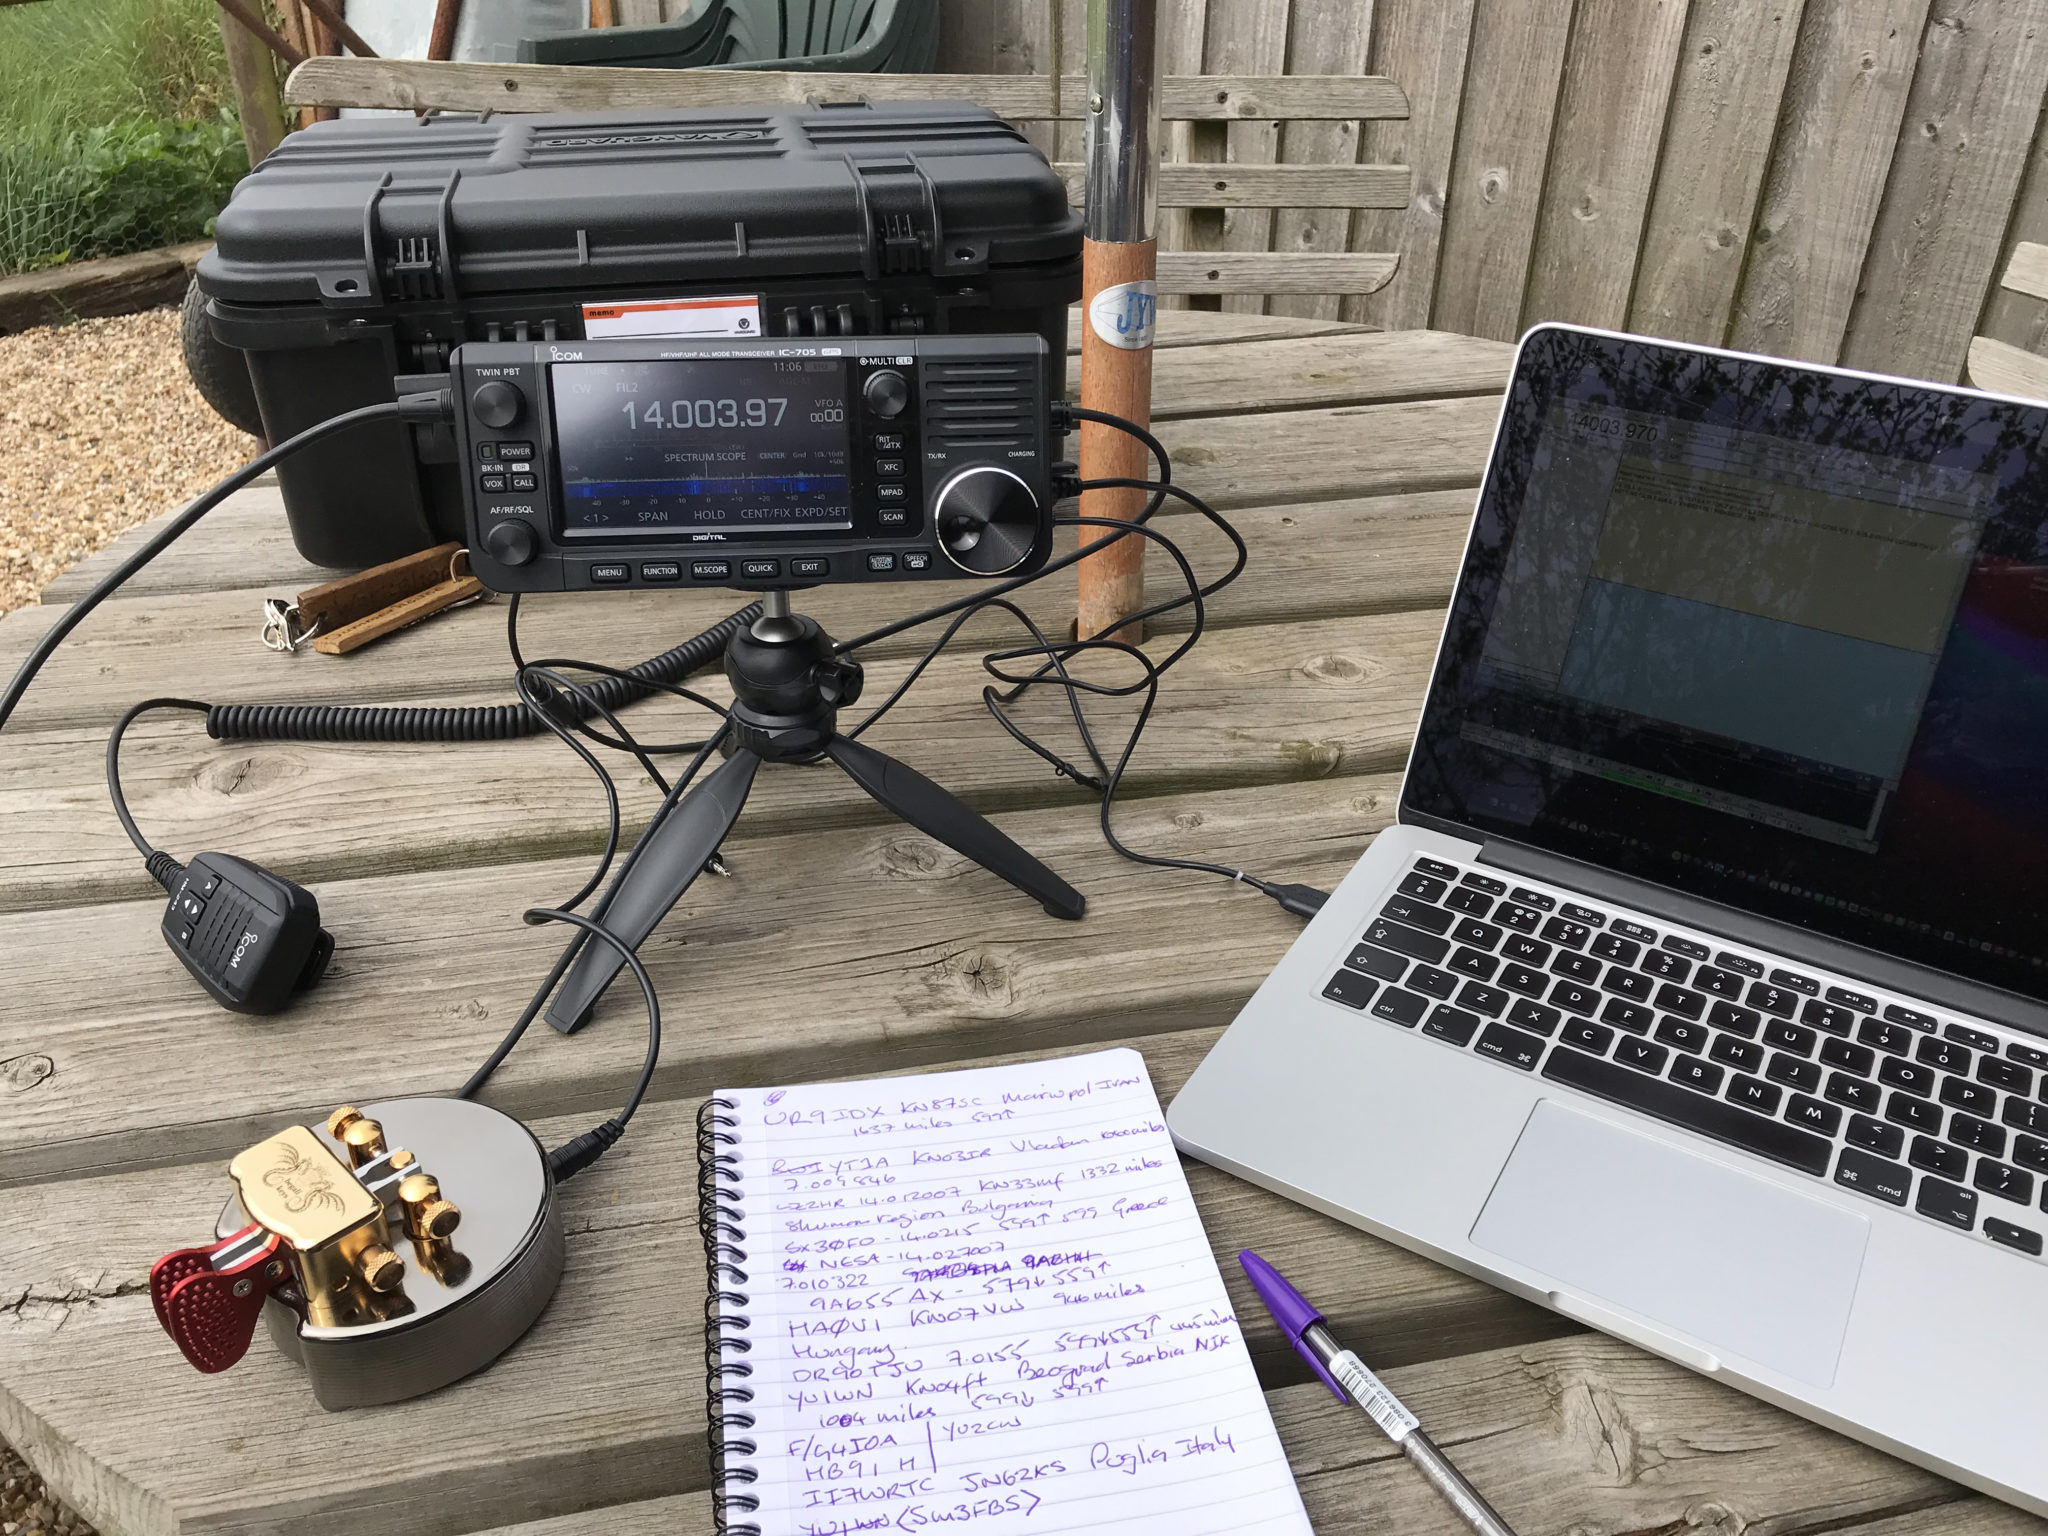
In the garden with my Begali Traveler Light and IC-705 connected to my EFHW Vertical for 20m

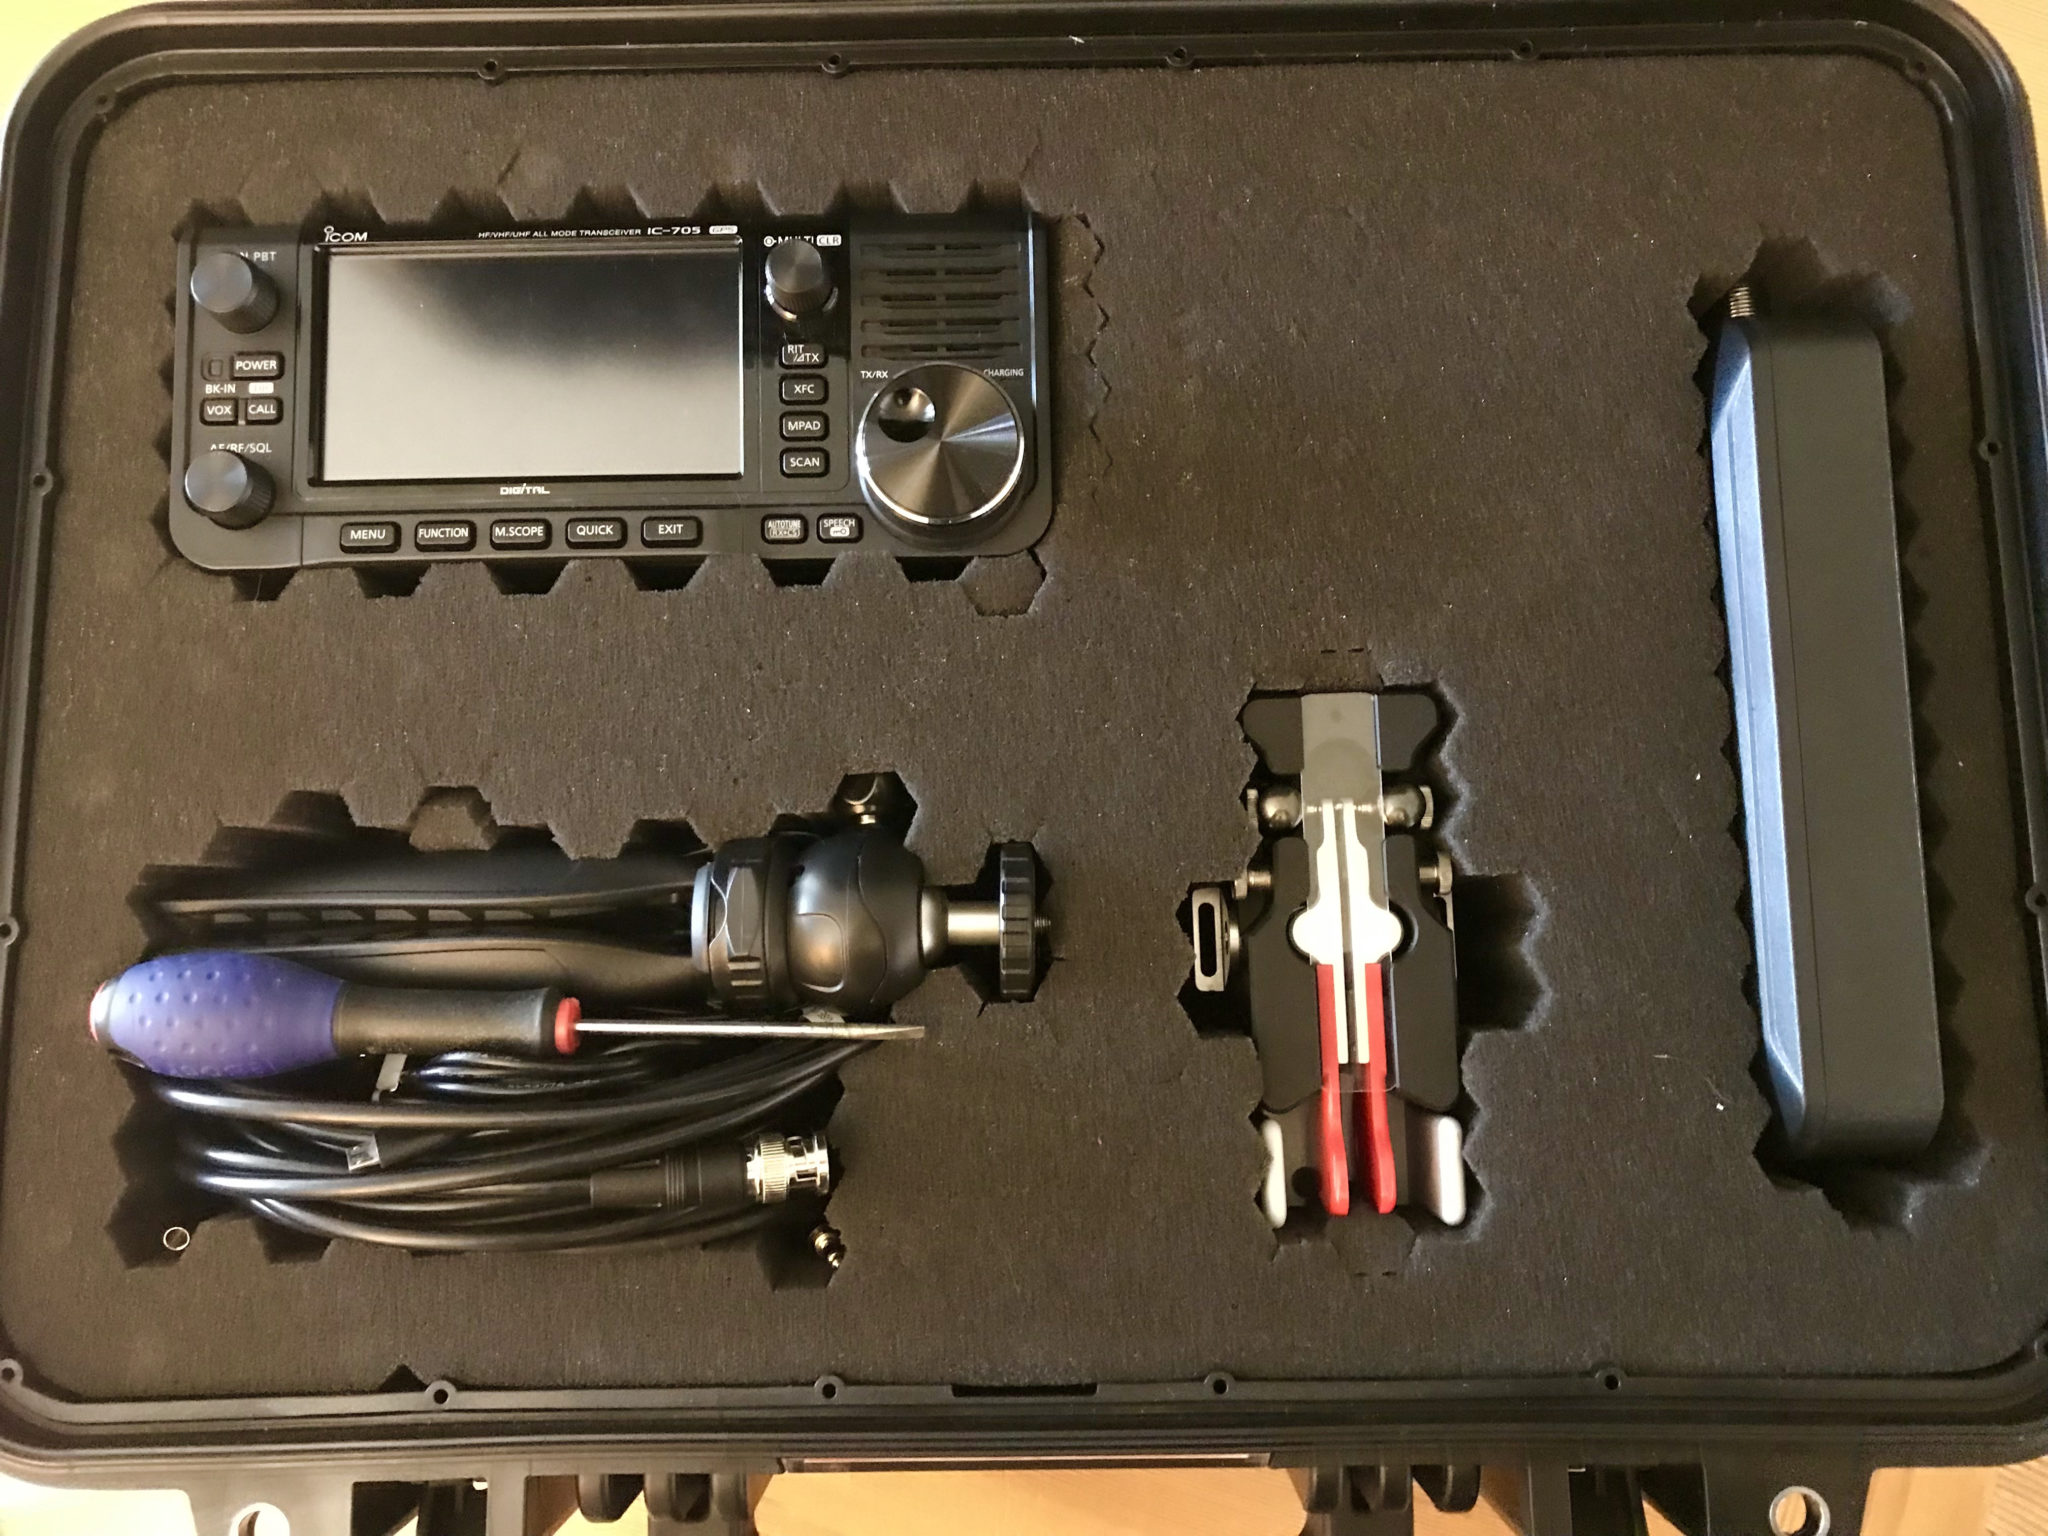
Once folded the key takes very little space in the IC-705 portable case and completes the setup nicely. IC-705 radio, AH-705 remote auto ATU, Begali Traveler Light, tripod and a few interconnect cables, the perfect portable station.

IC-705 Portable station case with plenty of space for future additions

Since purchasing the IC-705 I’ve found that I’ve hardly used my Yaesu FTDX10, which is strange considering the receiver, filtering, DSP and APF combination is considerably better on the FTDX10 than it is on the IC-705. The IC-705 has a much nicer, easier to use user interface and it’s just a lot of fun to use even though it’s only a QRP rig. I can see me having many happy hours on air with this QRP station.

More soon …
300hz Filter for the Yaesu FTDX10

Since purchasing my new Begali Pearl morse key I’ve been wanting to install the 300hz CW filter into my Yaesu FTDX10. The radio comes standard from the factory with the 500z CW filter preinstalled however, being able to narrow the bandwidth down even further will help to reduce the ringing effect on noisy bands that often plaques CW Ops when trying to catch those very weak DX signals.

Since I had built up some free credit at ML&S by buying all my new radio equipment I decided to put it to good use and put it towards the cost of the optional 300hz filter for the radio.

In years past when I had a Yaesu FT1000MP I installed a full set of filters in it and it made quite a difference DXing on the 160/80/40m bands. Back then things like digital noise reduction (DNR) were in their infancy and so narrow filters were even more important than they are today.

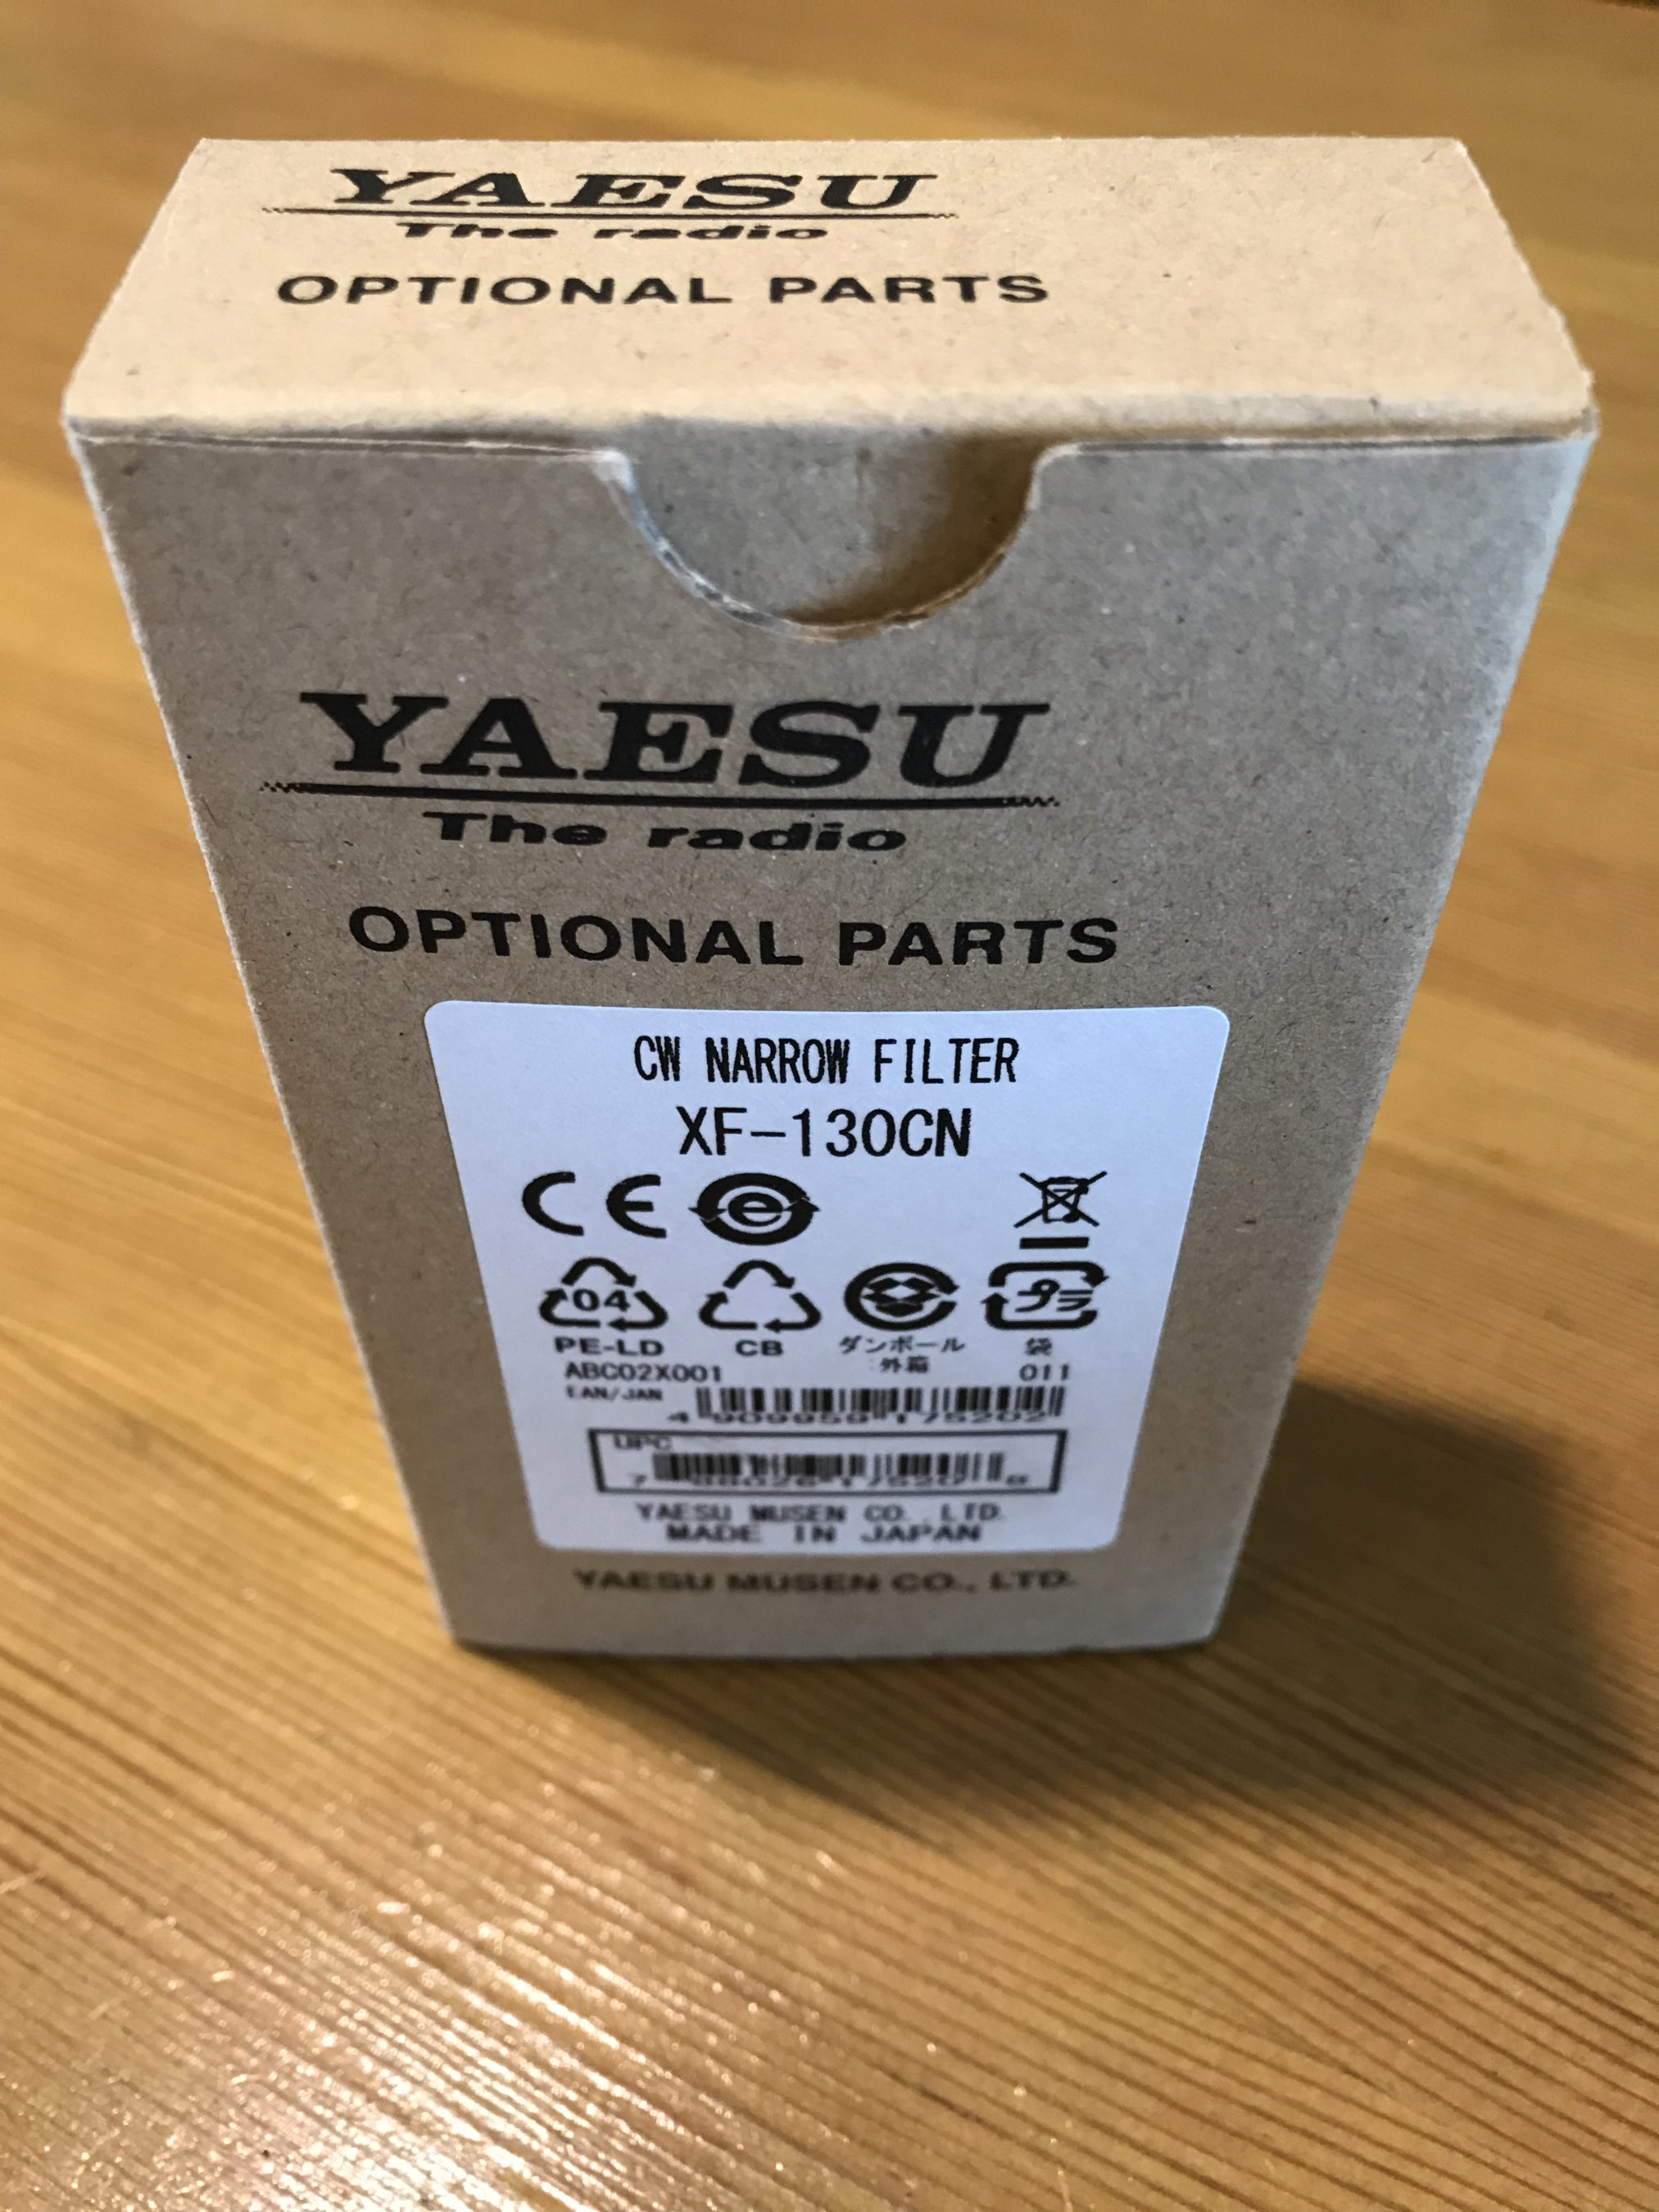
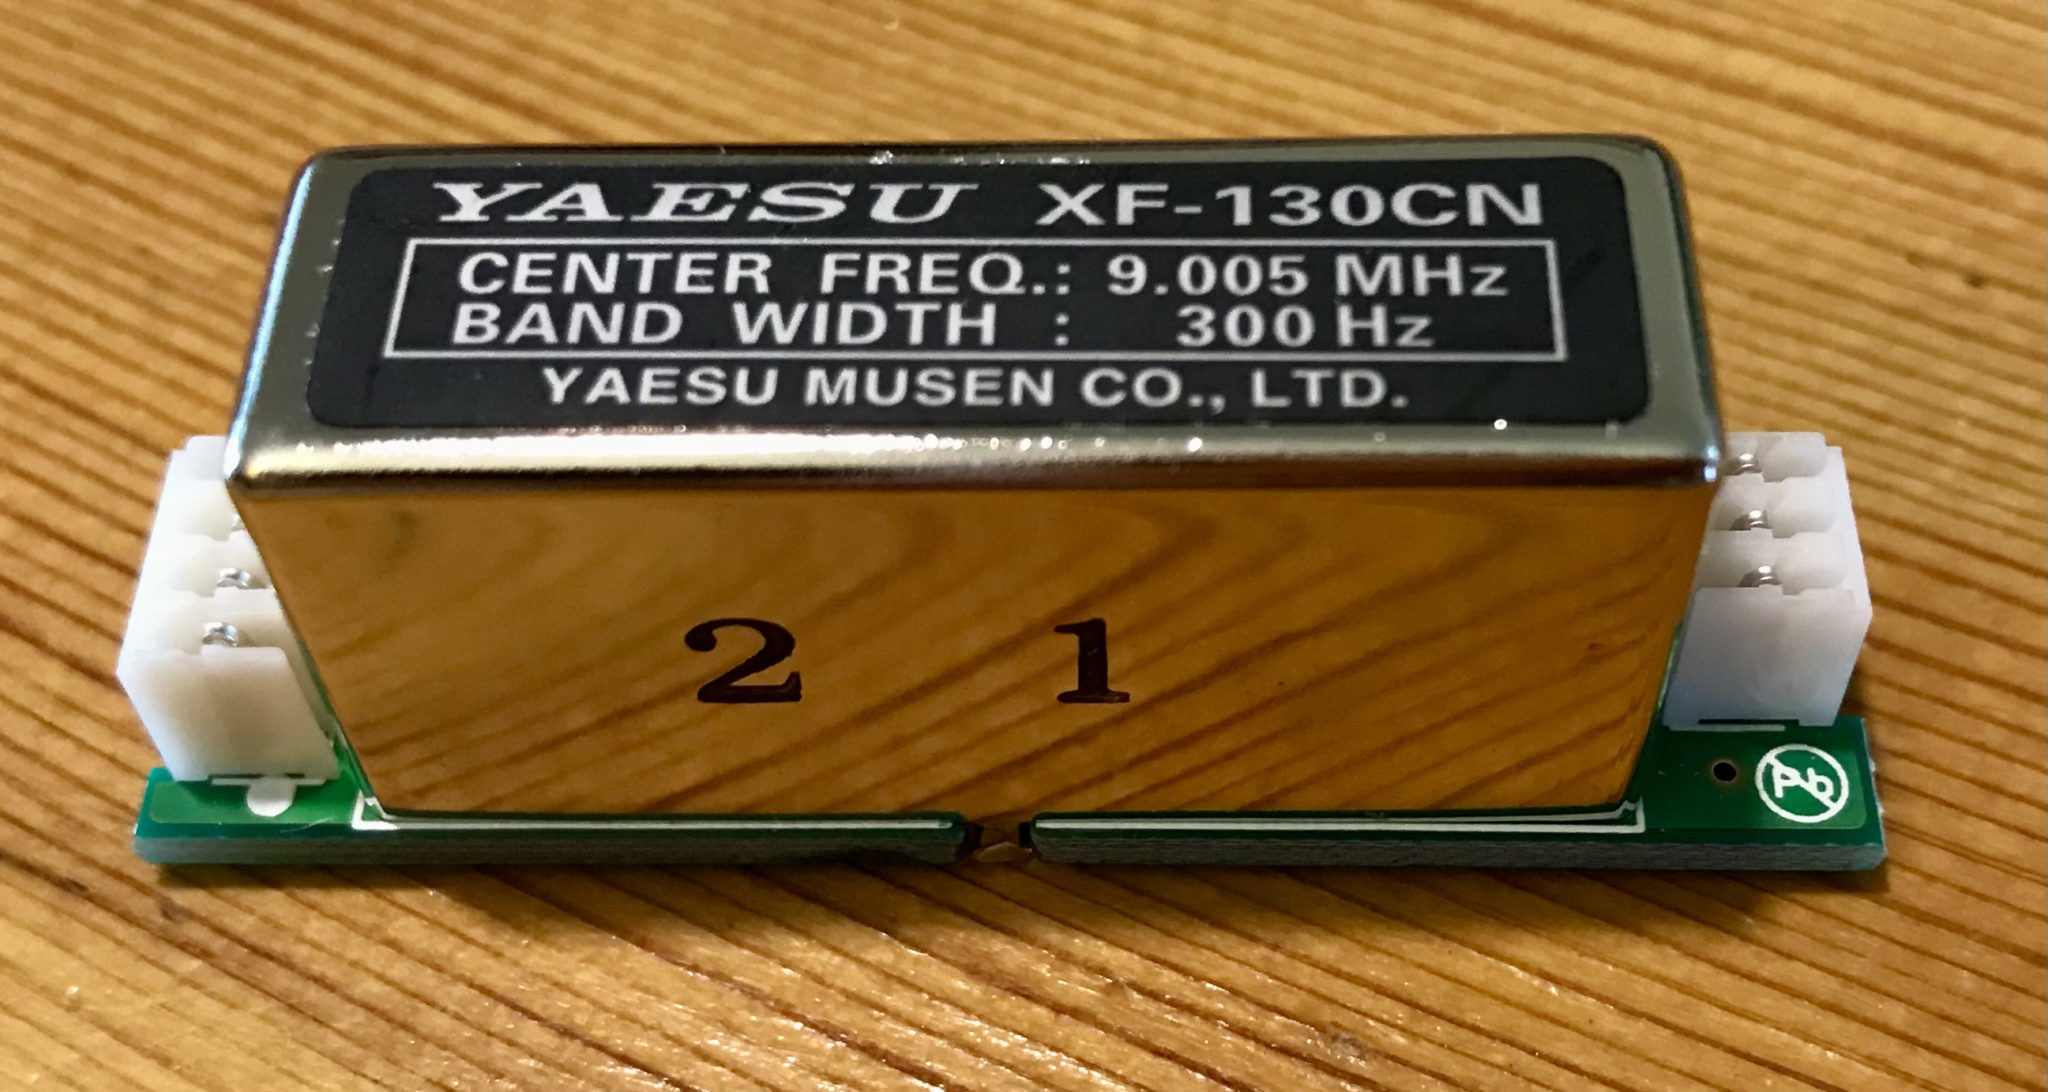
Yaesu XF-130CN 300hz CW Filter for the FTDX10

The FTDX10 300hz filter looked very similar to the ones I fitted in the FT1000MP and it doesn’t look like they’ve changed at all over the years.

Yaesu XF-130CN 300hz CW Filter

Removing the cover from the FTDX10 it’s immediately apparent where the filter goes. A neat little cutout in the RF shield draws your eye immediately to the spot.

Cutout in the RF shield for the optional 300hz filter

Fitting the filter is easy enough however, you do have to take care to move the little black wire to one side otherwise it gets caught under the filter and stops it from seating properly onto its connections. There’s not a lot of slack on the wire either so care is needed to not pull it too taught.

Note the black wire on the right hand site of the connections for the 300hz filter

I was surprised to see how small the standard 500hz filter is in comparison to the optional 300hz filter.

Optional 300hz filter next to the factory fitted 500hz filter

With the filter safely in position and seated perfectly I had the cover and 9 screws back on in no time at all and then got the radio powered up to check if the menu system had the option of a 300hz filter in CW mode.

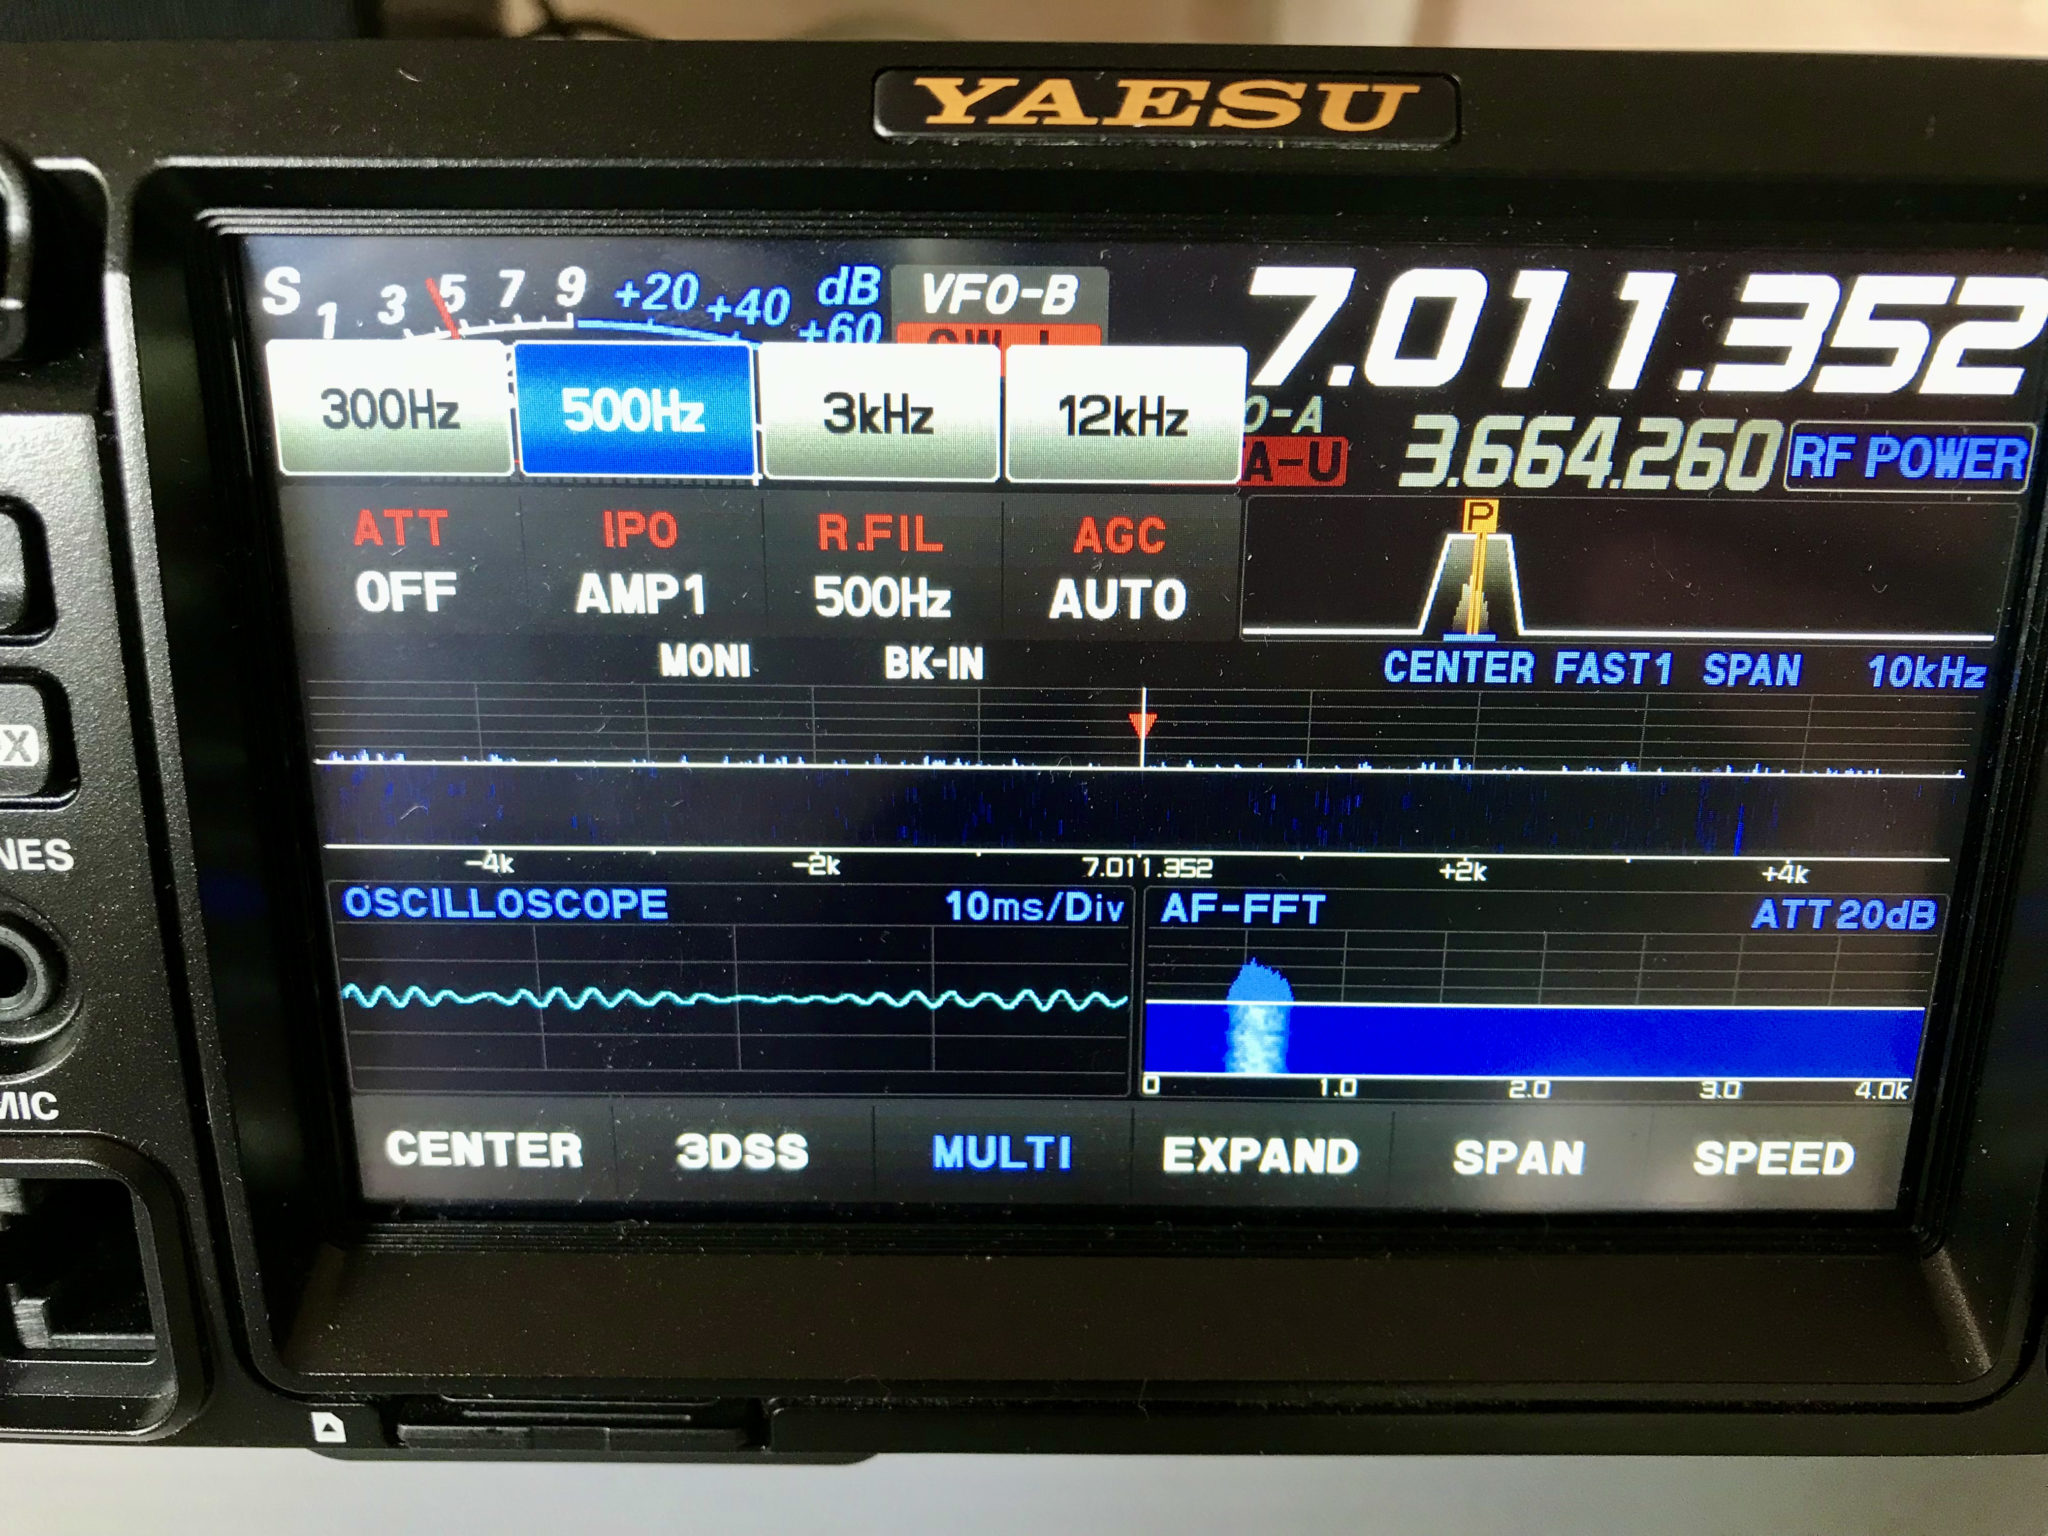
FTDX10 CW filter menu with 300hz option

Getting on air the filter makes quite a difference to the amount of background noise when listening to weak DX stations. Adding DNR and APF to the equation removes all background noise completely with the 300hz filter making it possible to hear the weakest of CW stations and complete silence in-between.

The bands aren’t in particularly good shape today however, I tuned around on the 20m band and found W7SW in Phoenix Arizona calling CQ. He wasn’t particularly strong but, it was a good opportunity to experience the difference between the filters without any DNR or APF enhancement.

Short video showing difference between 500hz and 300hz filters with W7SW calling CQ

Unfortunately W7SW disappeared before I could make another short video with the DNR and APF on to show the difference. I’ll revisit this again soon and get some video snippets up showing the difference the optional 300hz filter makes with DNR and APF.

More soon …
Begali Pearl Twin Paddle Morse Key

After my disappointment with the Vine RST-TP1 twin paddle that I bought and subsequently returned to Martin Lynch and Sons due to the poor build quality and finish I continued my hunt for a morse key.

During my conversation with Tony, the sales manager at ML&S one thing he did say to me was that if I was really serious about morse code then there really was only one key to buy these days, a Begali from Italy.

Morse Code has always been my main mode ever since I passed my 12wpm morse test and obtained my M0AWS A class licence, it’s a mode I dearly love and get a huge amount of pleasure from. (It also helps to keep the little grey cells alive in retirement!)

So without delay I googled the Begali website and started looking at their offerings.

Begali do a fine range of twin paddle keys starting from €131.00 +VAT and shipping right up to almost €700+VAT and shipping, far more than I wanted to spend.

Having spent almost £180.00 inc VAT and shipping for the Vine RST-TP1 and being extremely disappointed with it I decided to spend a little more to ensure I bought something of quality that was going to last.

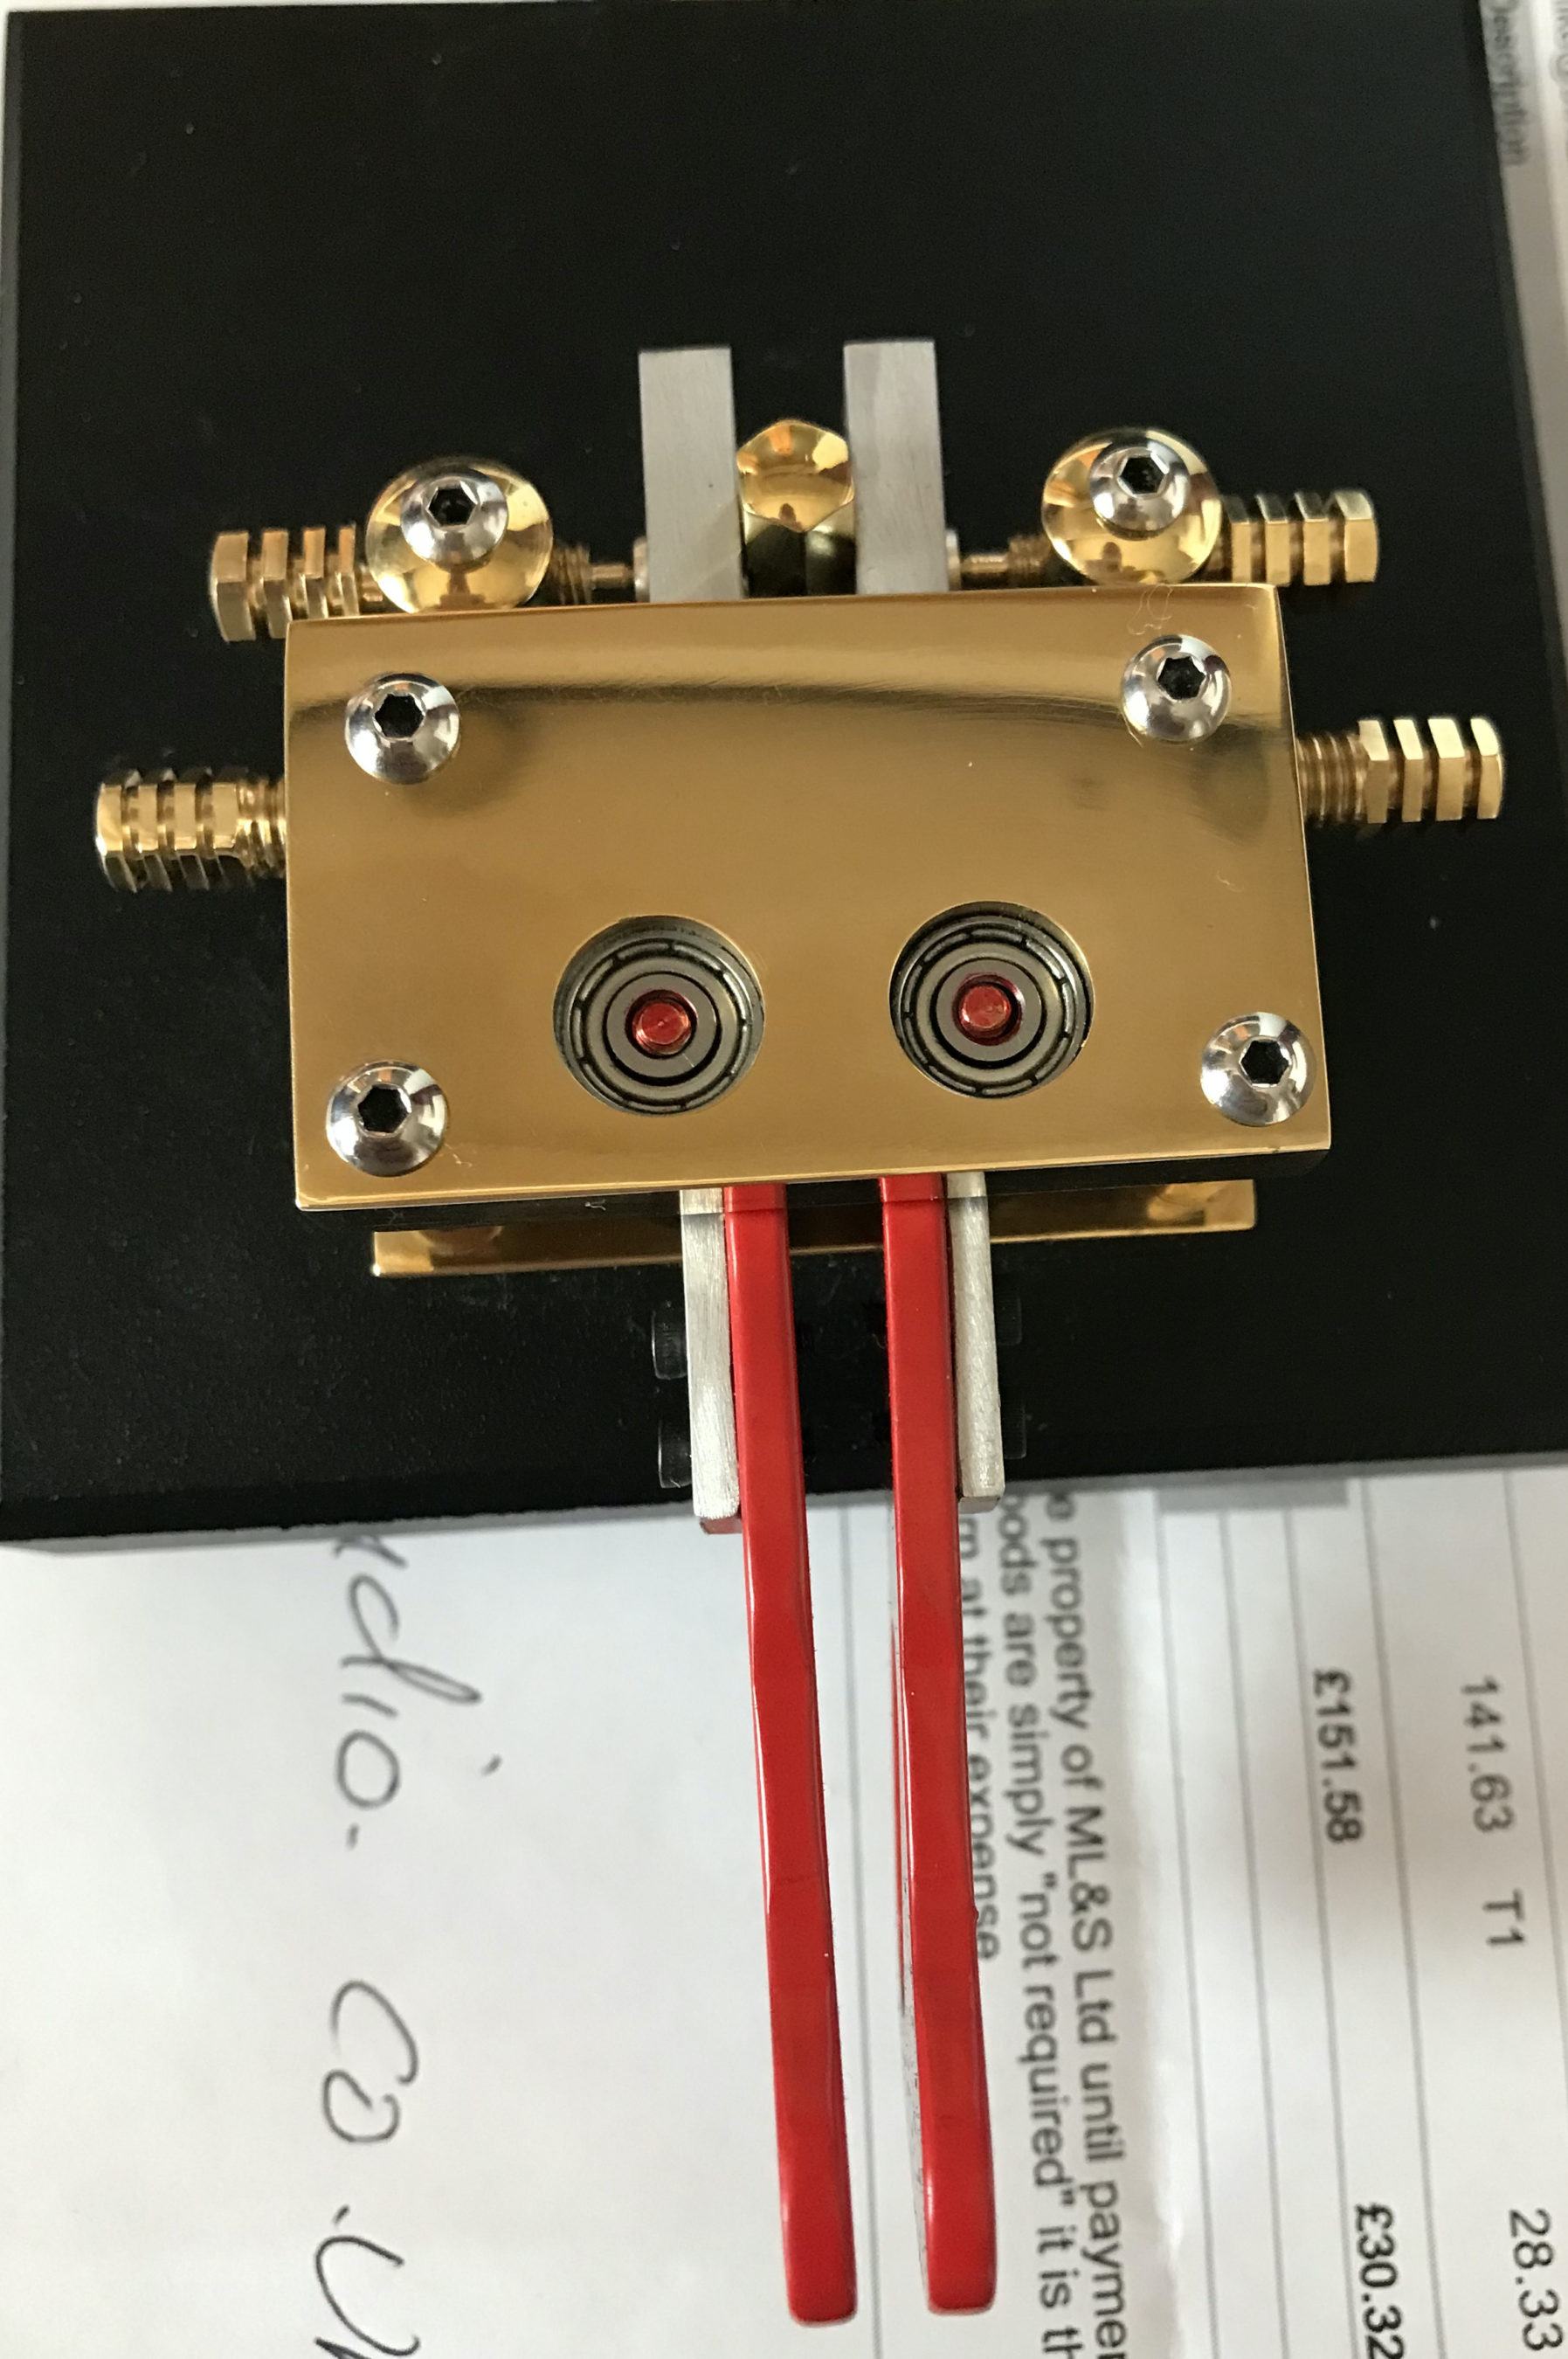
After much research and emails back and forth with Bruna at Begali I decided to buy the Begali Pearl in Palladium and Gold with red paddles.

My Begali Pearl with Palladium base, gold top and red paddles, a thing of beauty

A couple of weeks after ordering the key arrived hassle free, a miracle considering the hassle Brexit has caused with import and export of goods between the U.K. and Europe.

Bruna at Begali assured me that they had a system in place that takes care of all the import taxes etc and that the delivery process would be smooth and trouble free, and indeed it was!

Upon opening the box I was taken by the sheer beauty of the key, beautifully finished, perfectly put together and well engineered. I knew this was going to be a pleasure to use before I’d even touched the paddles!

Being left handed I’ve had to setup both my Yaesu FTDX10 and Icom IC-705 such that the dit and dah are reversed on the paddles but, once done I felt at home with the key very quickly.

Having been out of the hobby for some 15 years my morse is a little rusty so I set about doing a fair bit of listening before trying to work stations. To my surprise I was soon decoding stations at 20wpm in my head albeit with a little more thought than it used to take but, accurate enough to have a go at working a few stations.

Working CW stations on 20m with the Begali Pearl Twin Paddle and Icom IC-705

Using the key is pure delight, it’s light to the touch, responsive, infinitely adjustable, comfortable and a joy to use. I knew right away that I had made the right decision.

At 1.7kg it’s a heavy key which ensures it doesn’t move around the desk no matter how hard you lean on it. I find the key really relaxing to use as it only needs a gentle touch to bring the contacts together. Adjustment is super accurate thanks to the very fine threaded adjuster screws that have been beautifully machined.

It’s clear from the moment you get a Begali Pearl out of the box that it has been made with care and pride, something that is a rarity today.

Laser engraving on the Begali Pearl Twin Paddle Morse Key

I’ve decided that this key is going to be my main station key and will spend most of it’s life connected to my Yaesu FTDX10 radio, that means I need another key to go into my portable case with my IC-705. I’ve already made the decision what it’s going to be, of course it’ll be another Begali, the Simplex Basic Twin Paddle.

I’ll be putting the order in very soon Bruna!

More soon ….

Vine RST-TP1 Twin Paddle Morse Key

I recently purchased a Vine Antenna RST-TP1 twin paddle morse key from Martin Lynch and Sons as I needed a key to get back on CW.

My wife and I always do our best to support British companies by buying local and U.K. products and produce whenever we can.

Before making the purchase I’d read mixed reviews on the the Vine series of keys but, decided to try and support British manufacturing by buying British, sadly I too was disappointed.

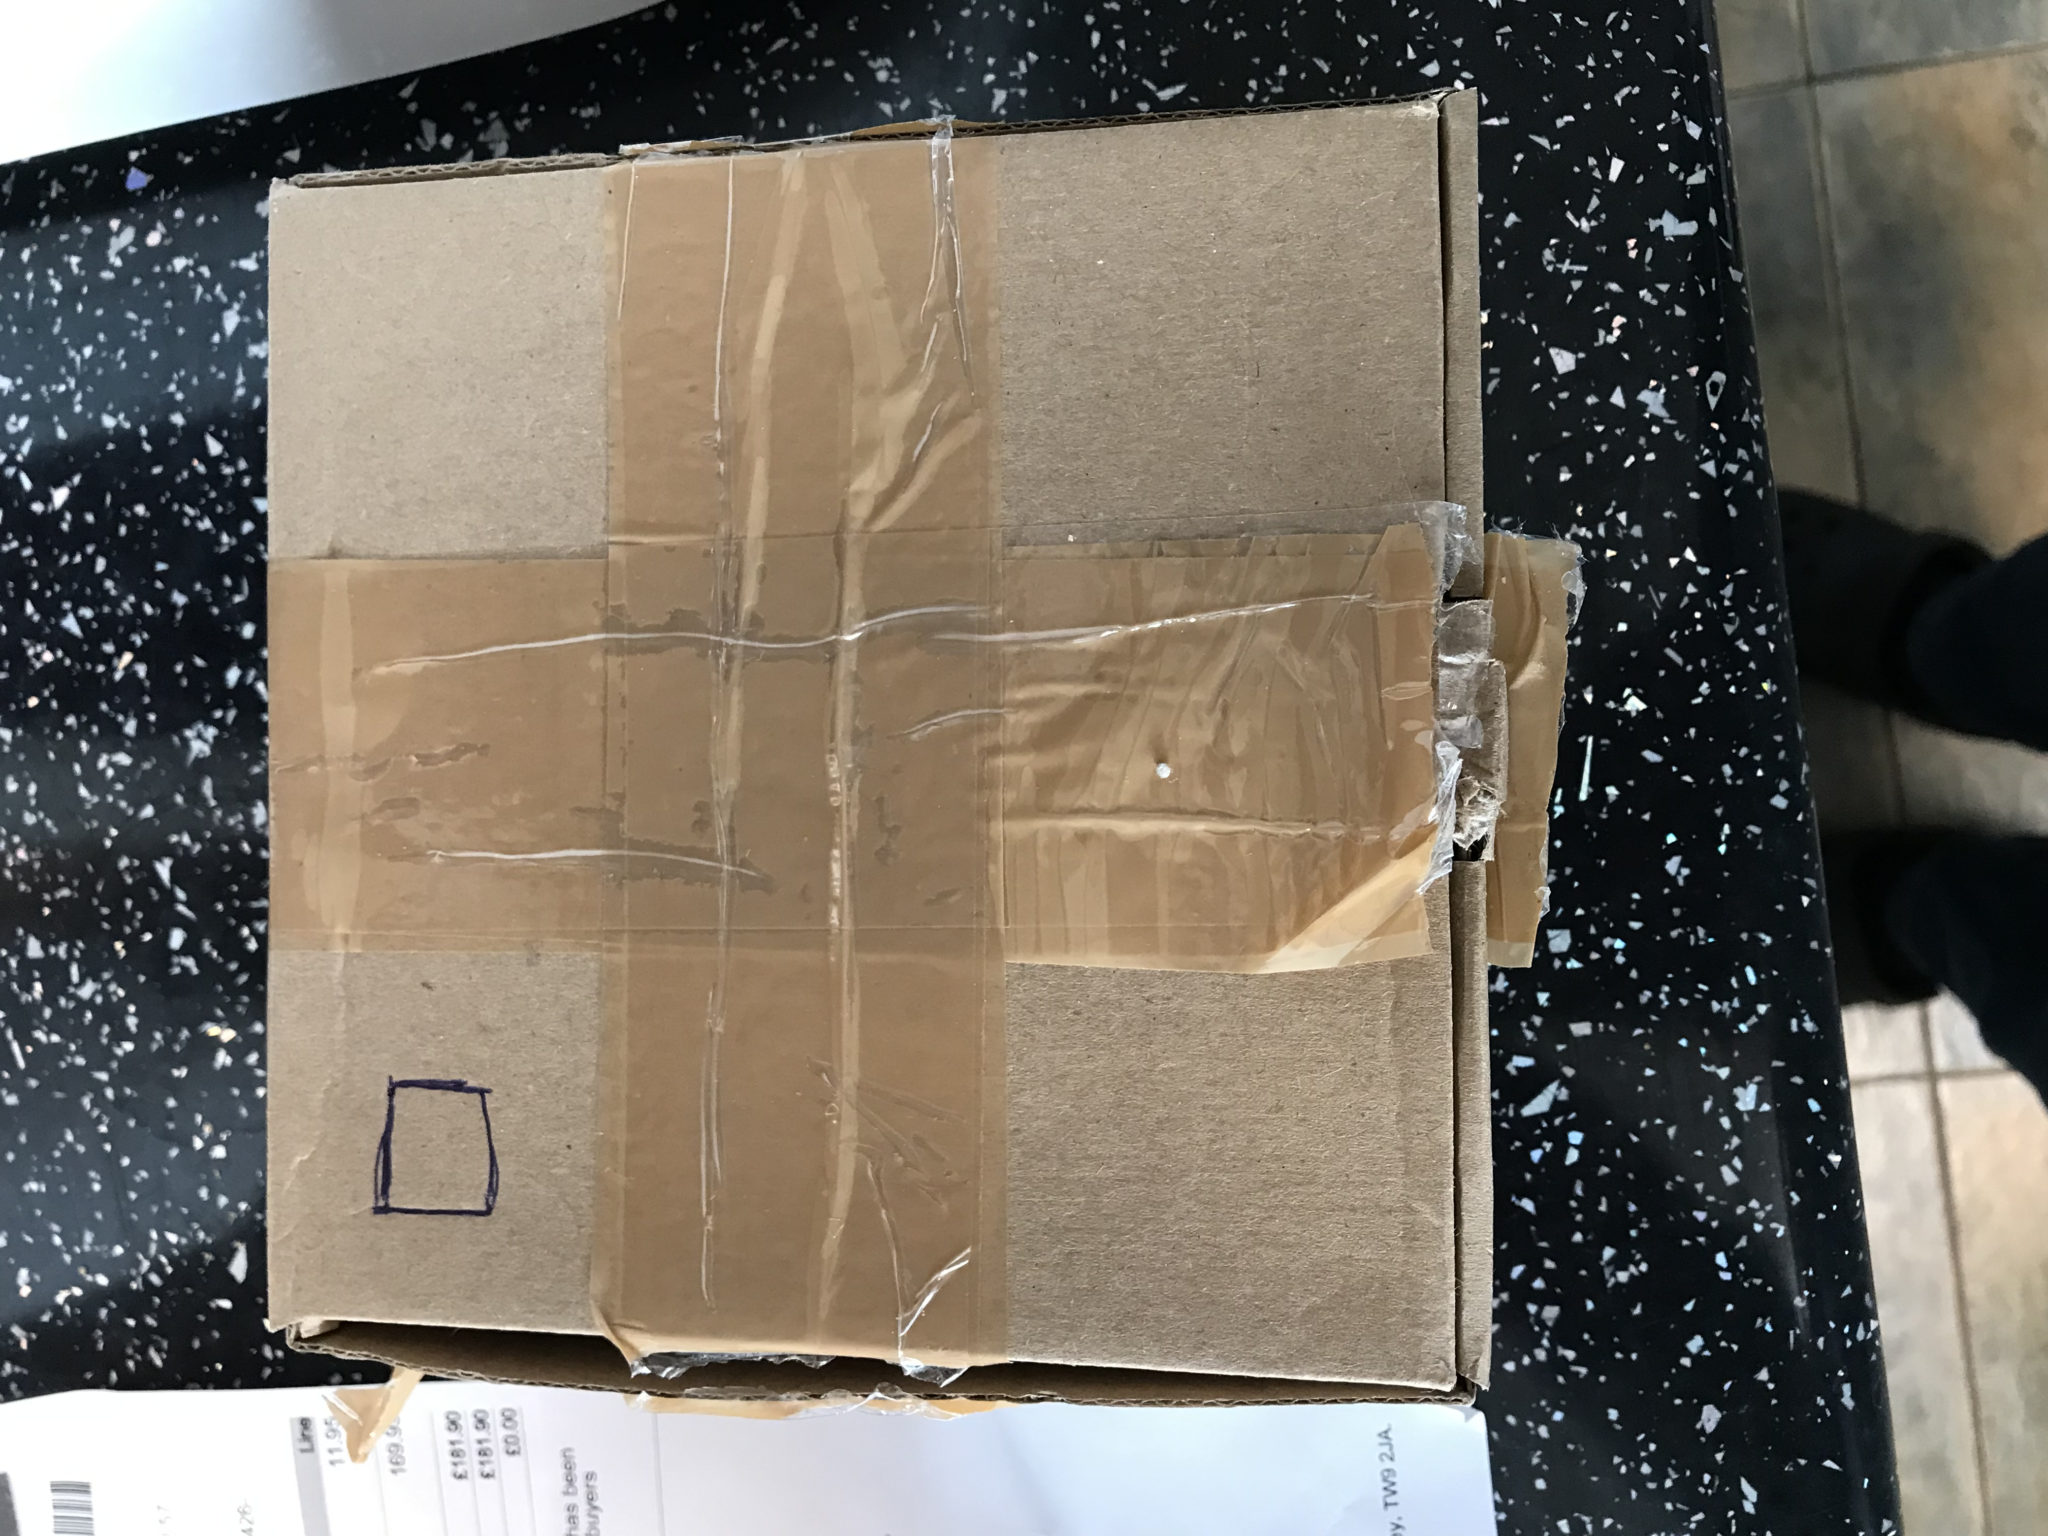
When the package arrived it was clear that it had been opened before and then resealed, perhaps already been returned by a customer before being resealed and shipped out to me?

The box had also been drawn on with biro, no big deal except for the fact that this wasn’t the only thing that had been drawn on.

Upon getting the key out of the box the first thing that struck me was the quality of the finish on the product, it was the poorest I’ve ever seen on a key.

Poor quality finishing on the Vine RST-TP1 Twin Paddle Key

Some of the metal surfaces had clearly been finished with a hand file, the finish was appalling. I’d be embarrassed if I had made something with finishes this bad yet alone selling a product commercially with such poor quality finishing.

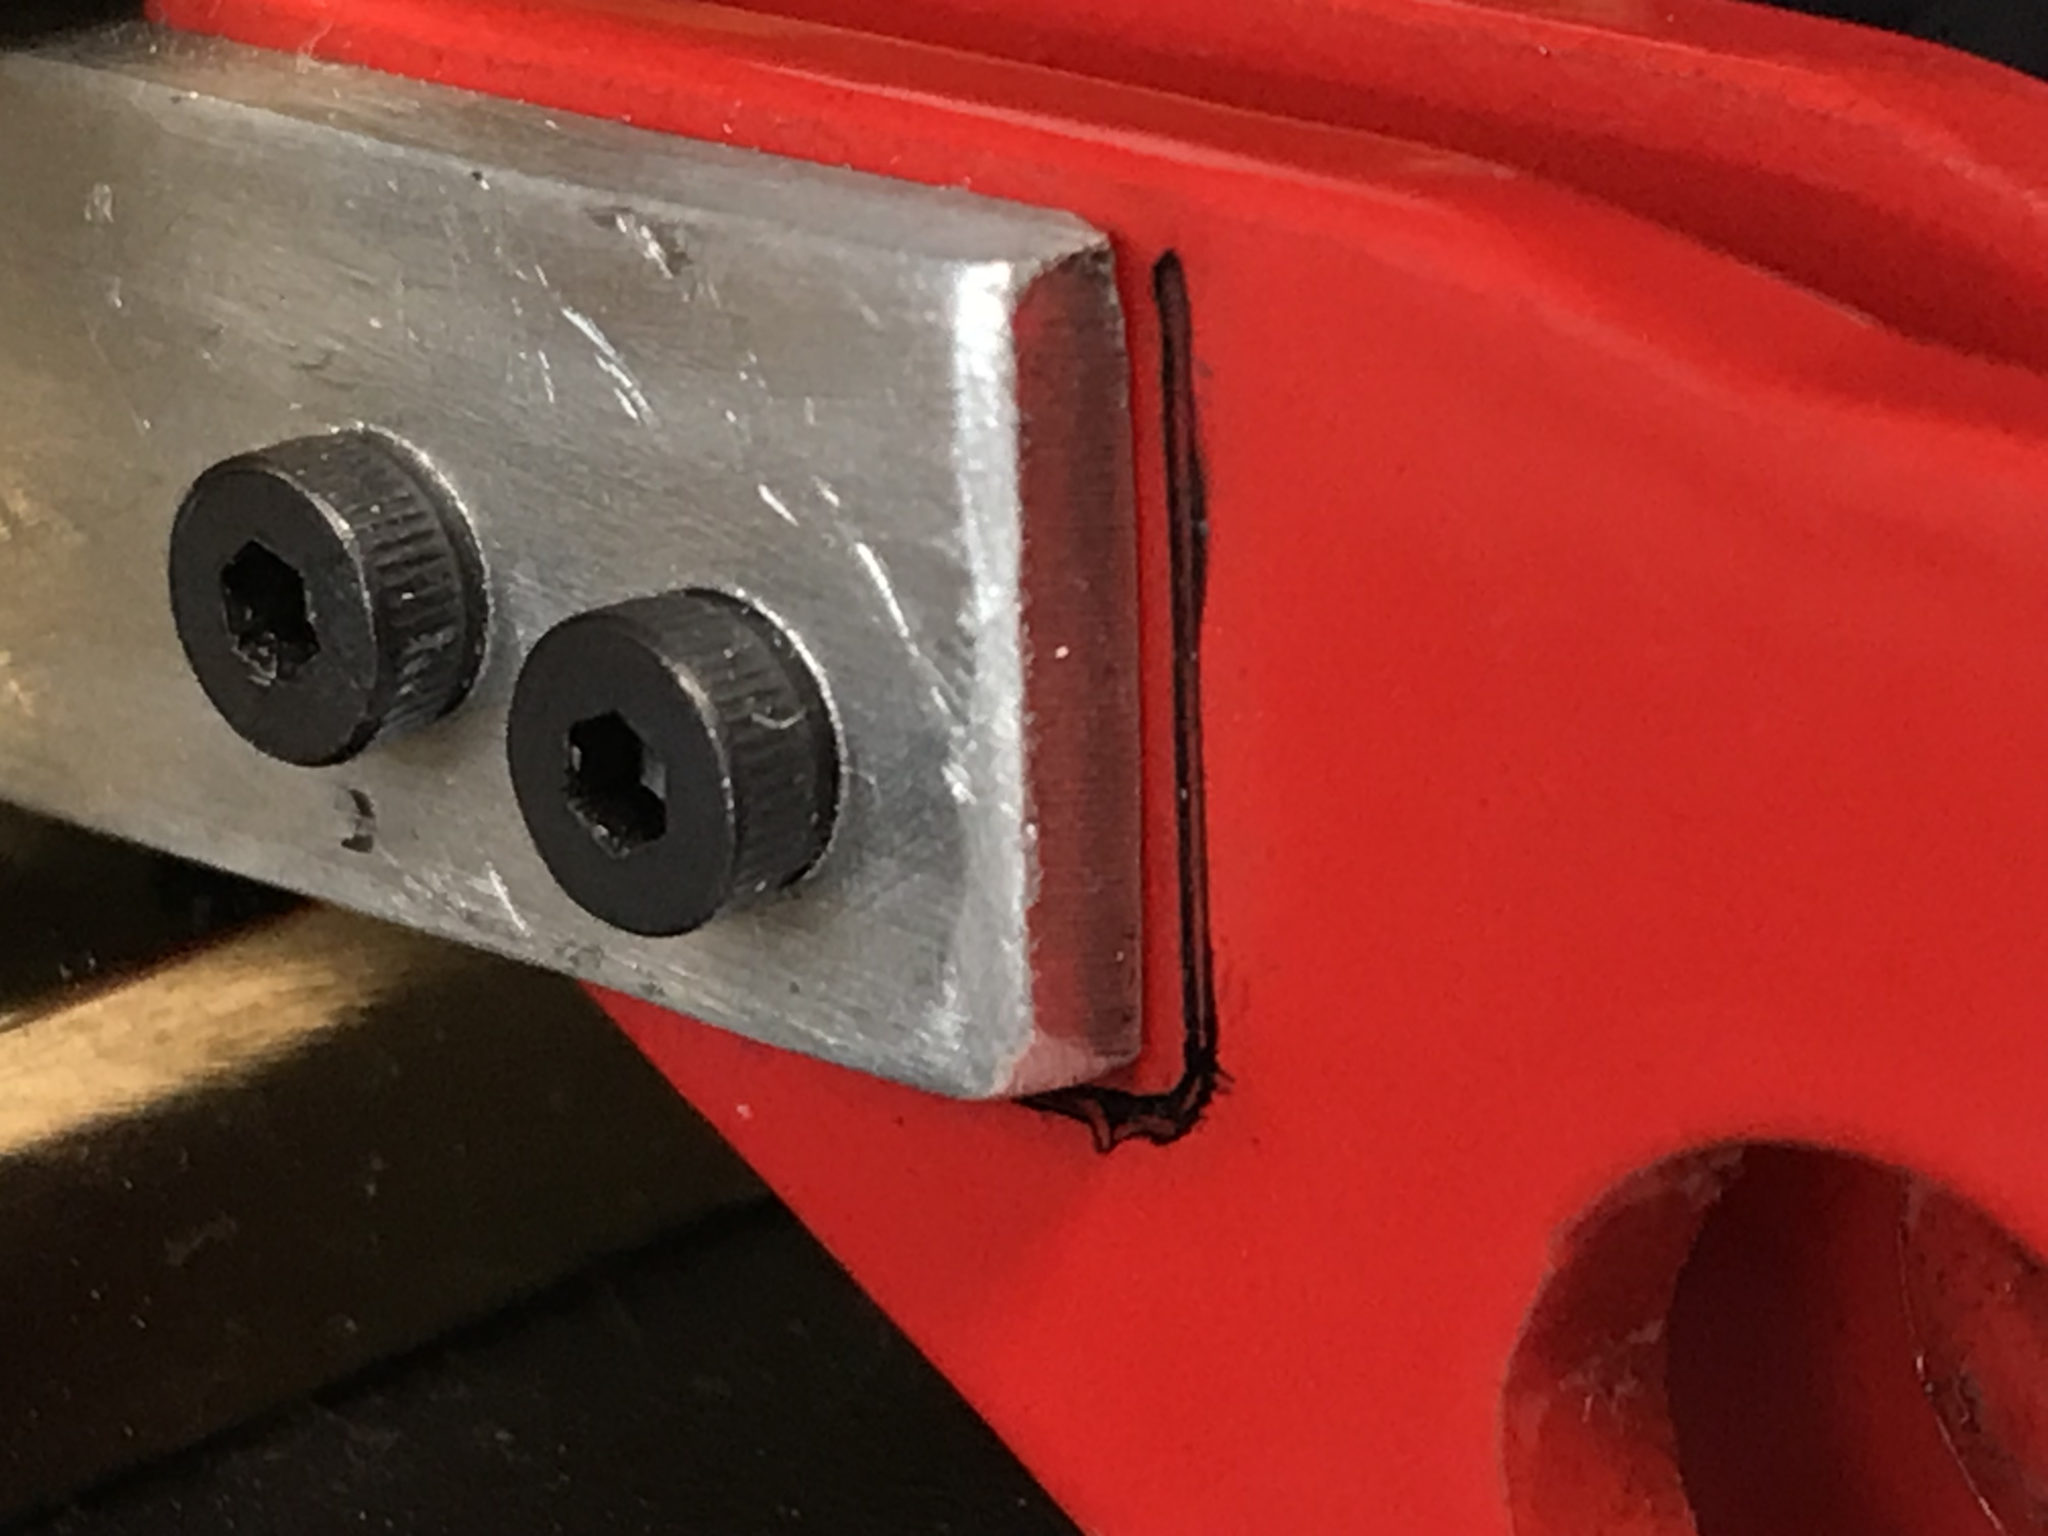
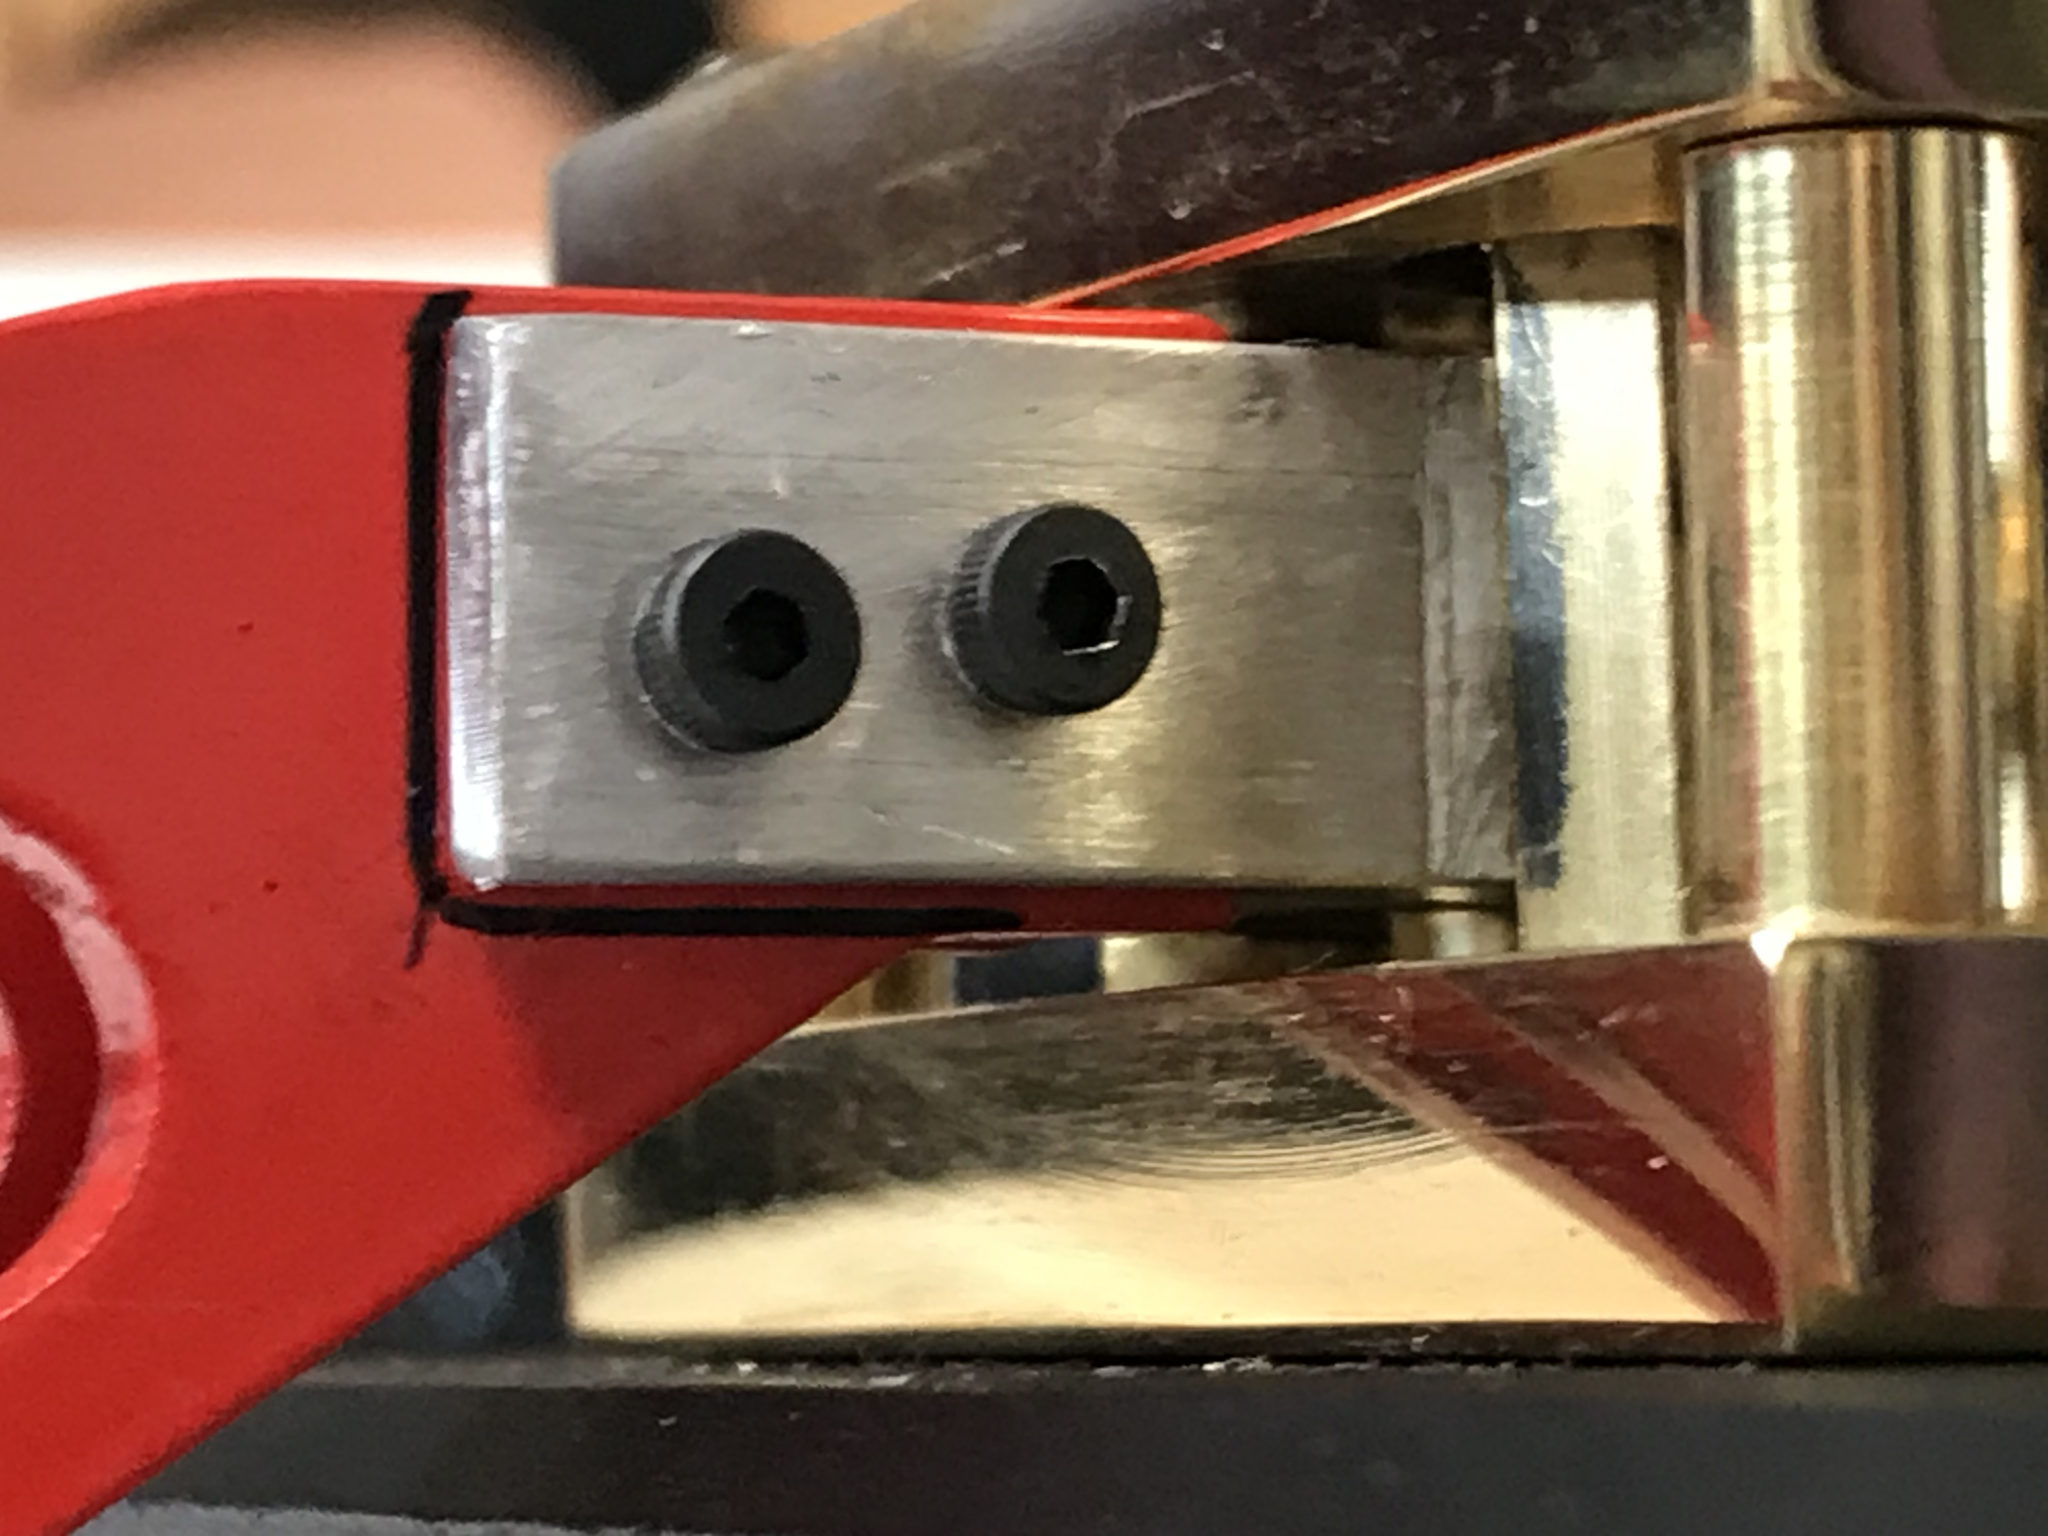
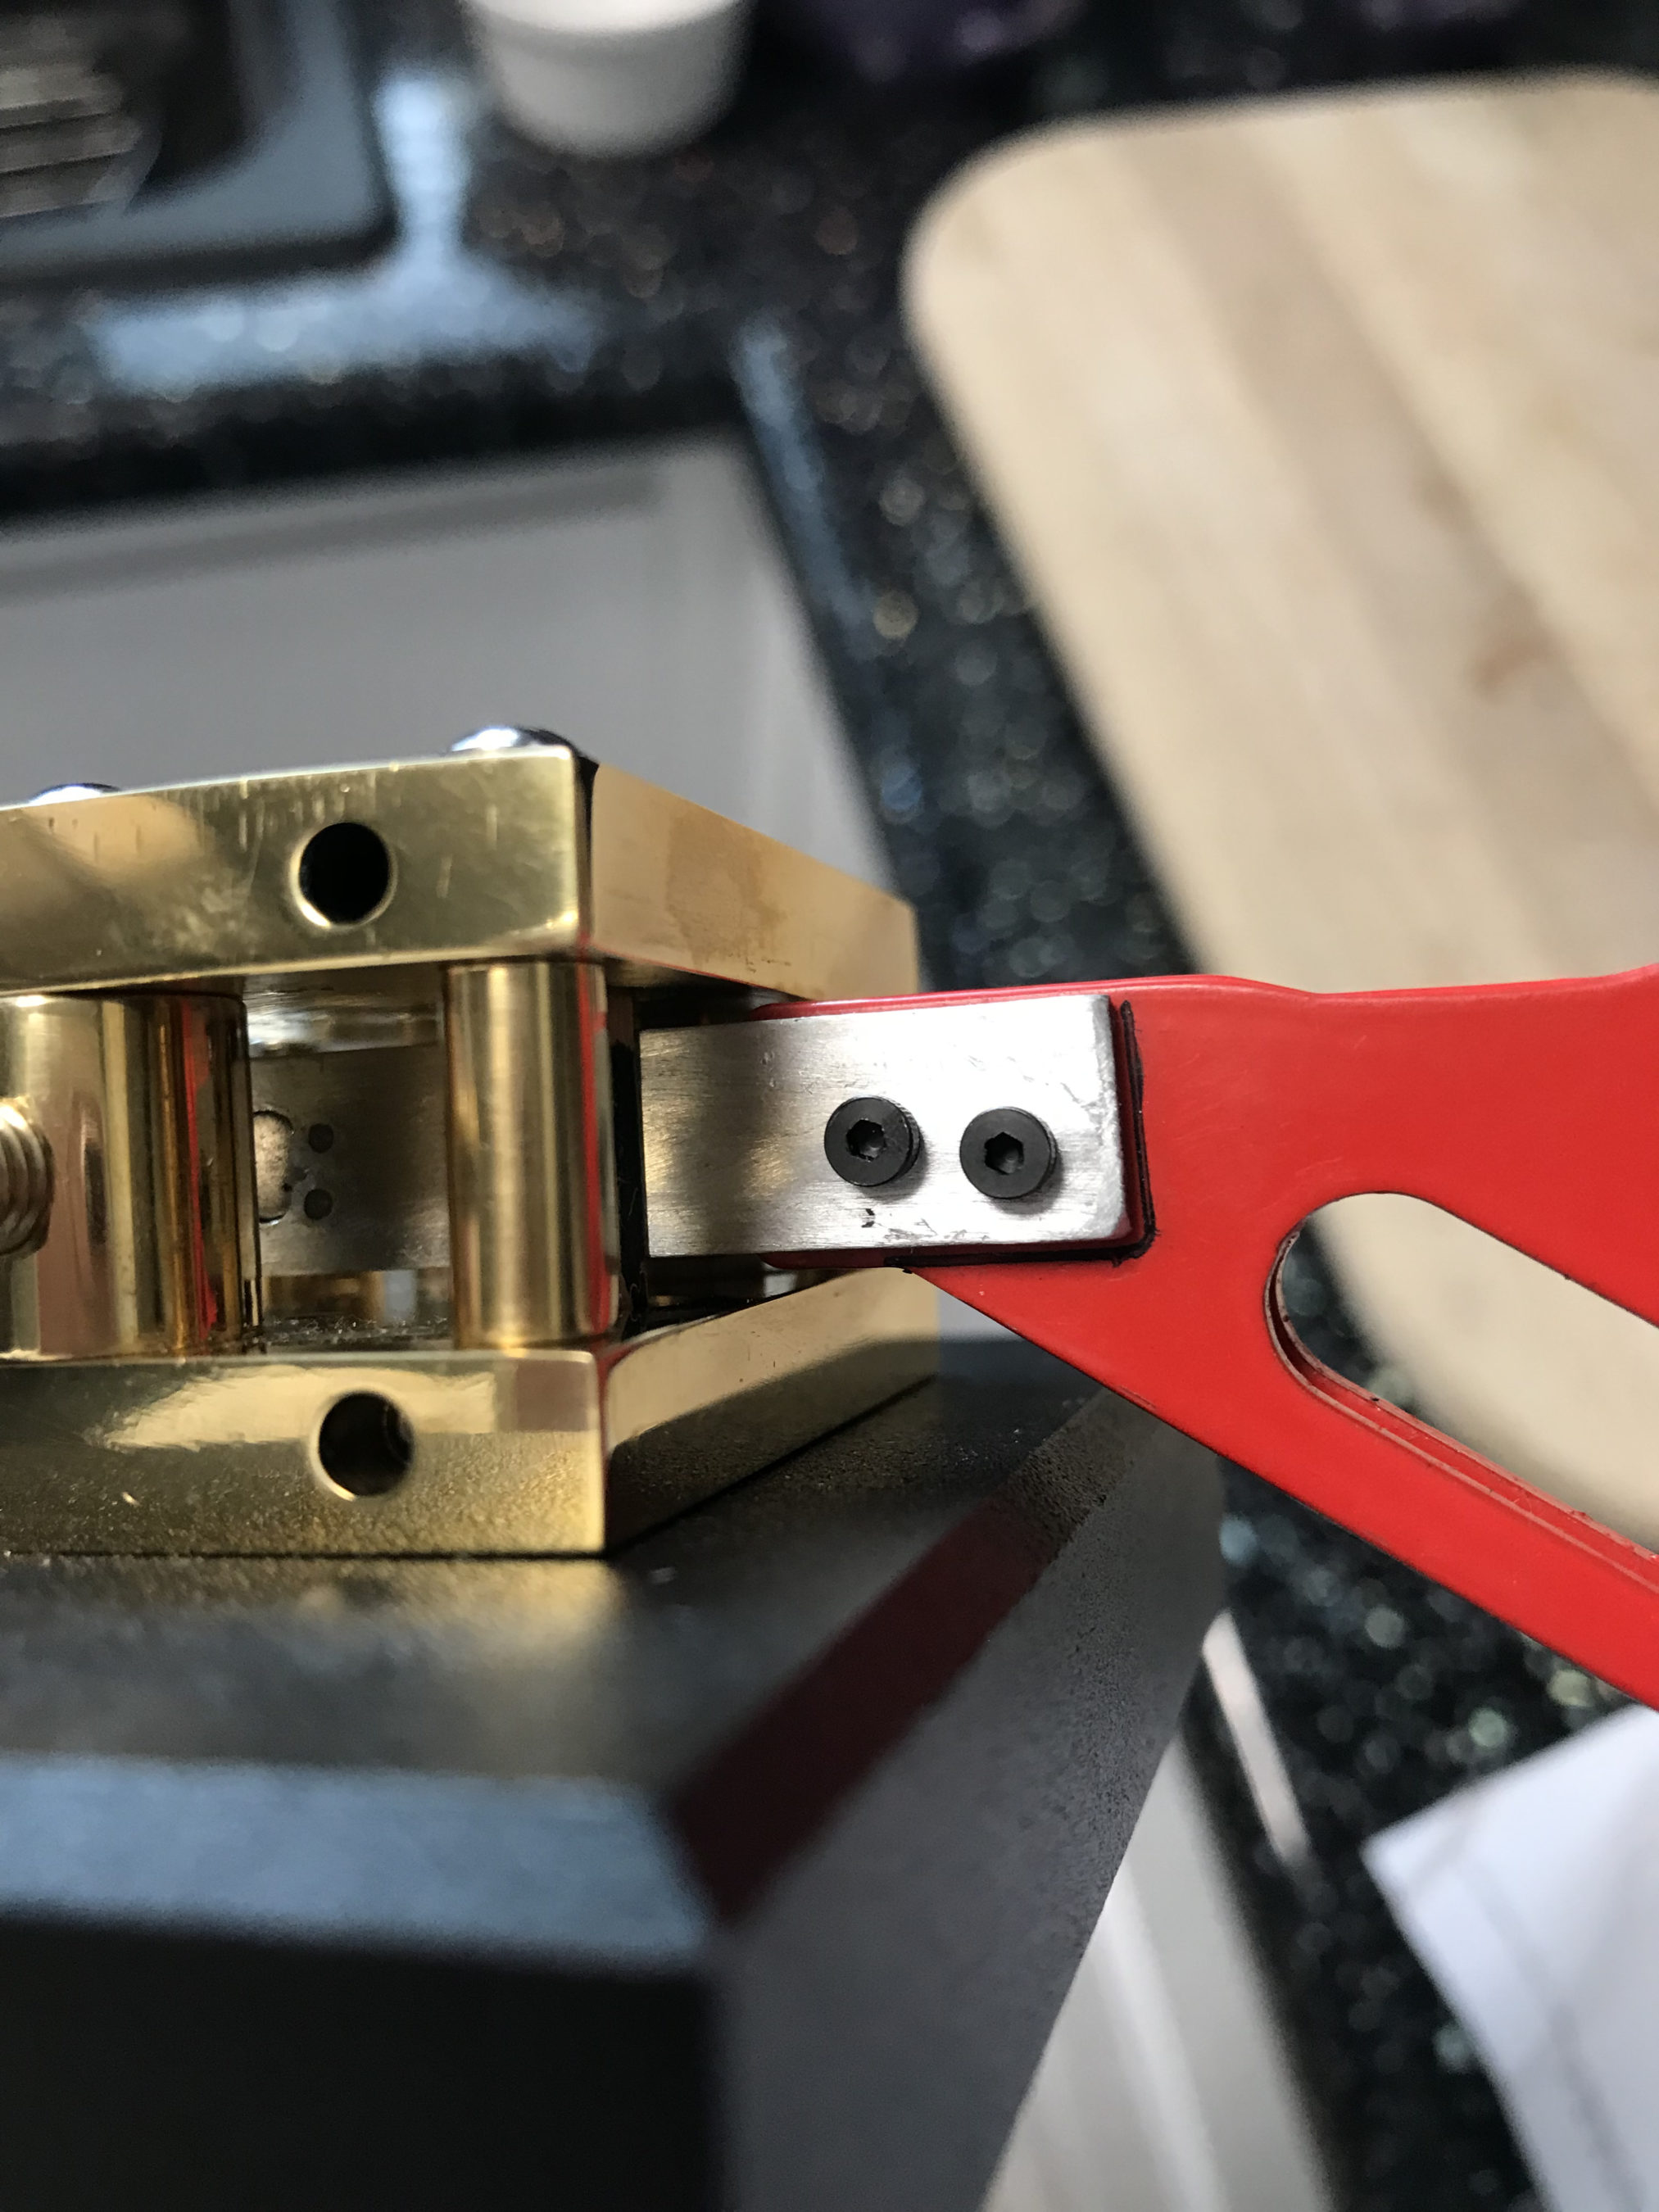
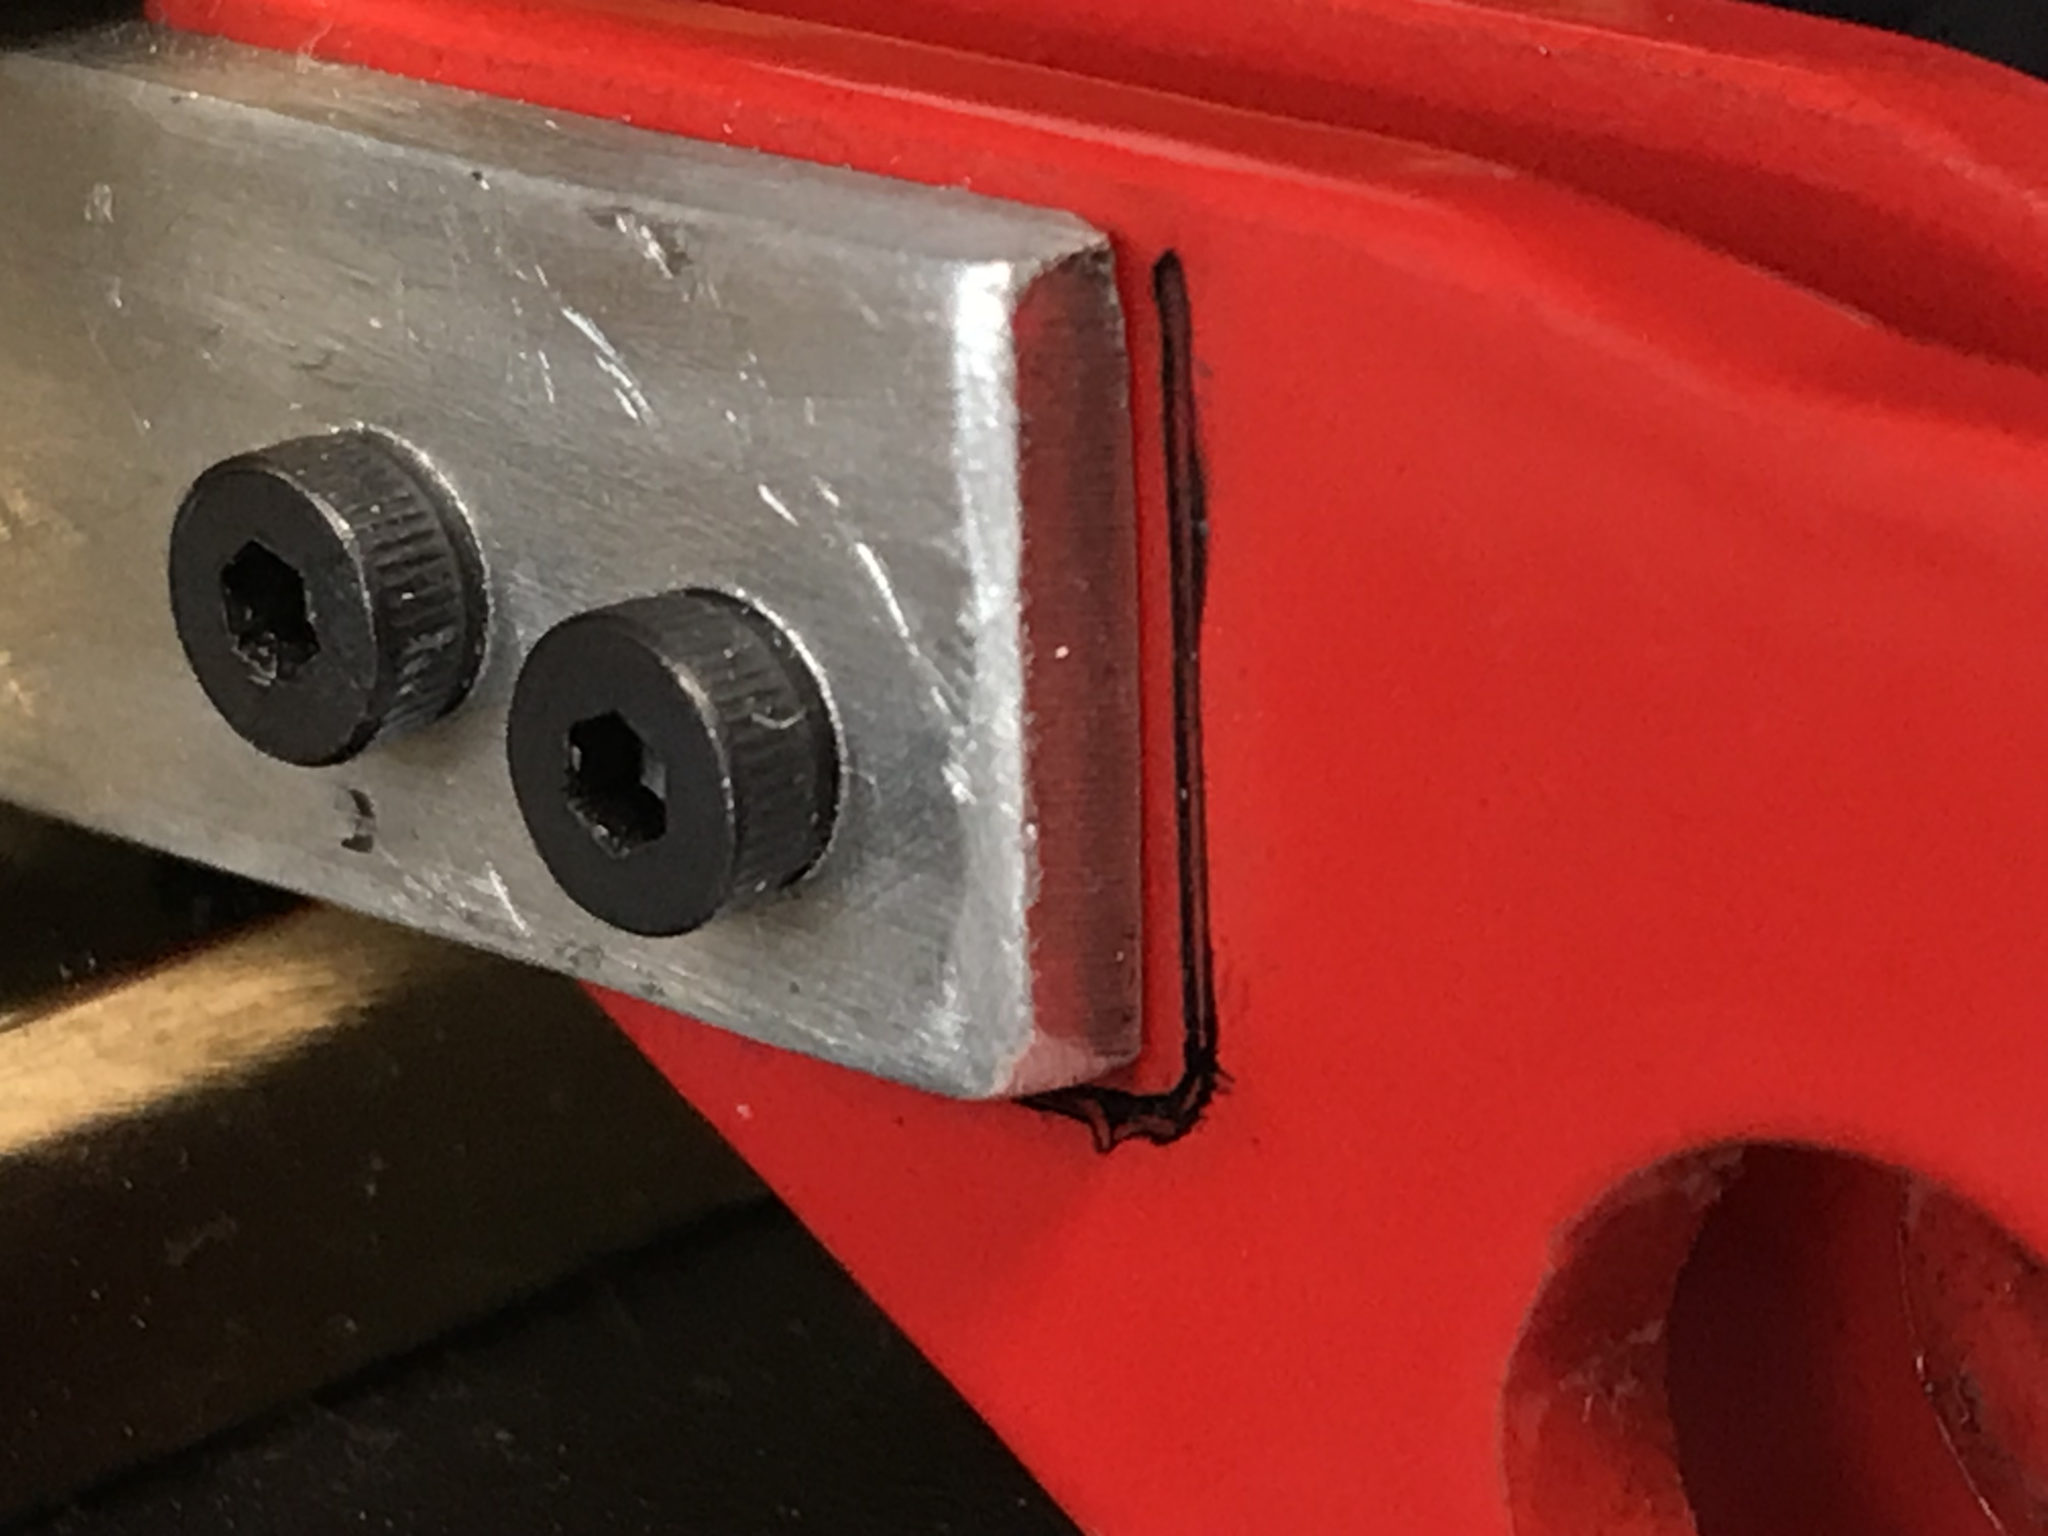
The other thing I couldn’t believe was that a pen had been used to mark where on the paddle the arm should be attached. It’s one thing marking things up during production for alignment but, another when you ship the product out with permanent pen ink on the paddles. It looked like it had been put together by a 5 year old!

Poor quality finishing and pen marks on Vine RST-TP1 Twin Paddle key

I know that at £170.00 it’s not an expensive key and one shouldn’t expect high quality but, these are very simple production issues that could be resolved easily and produce a much better quality product overall.

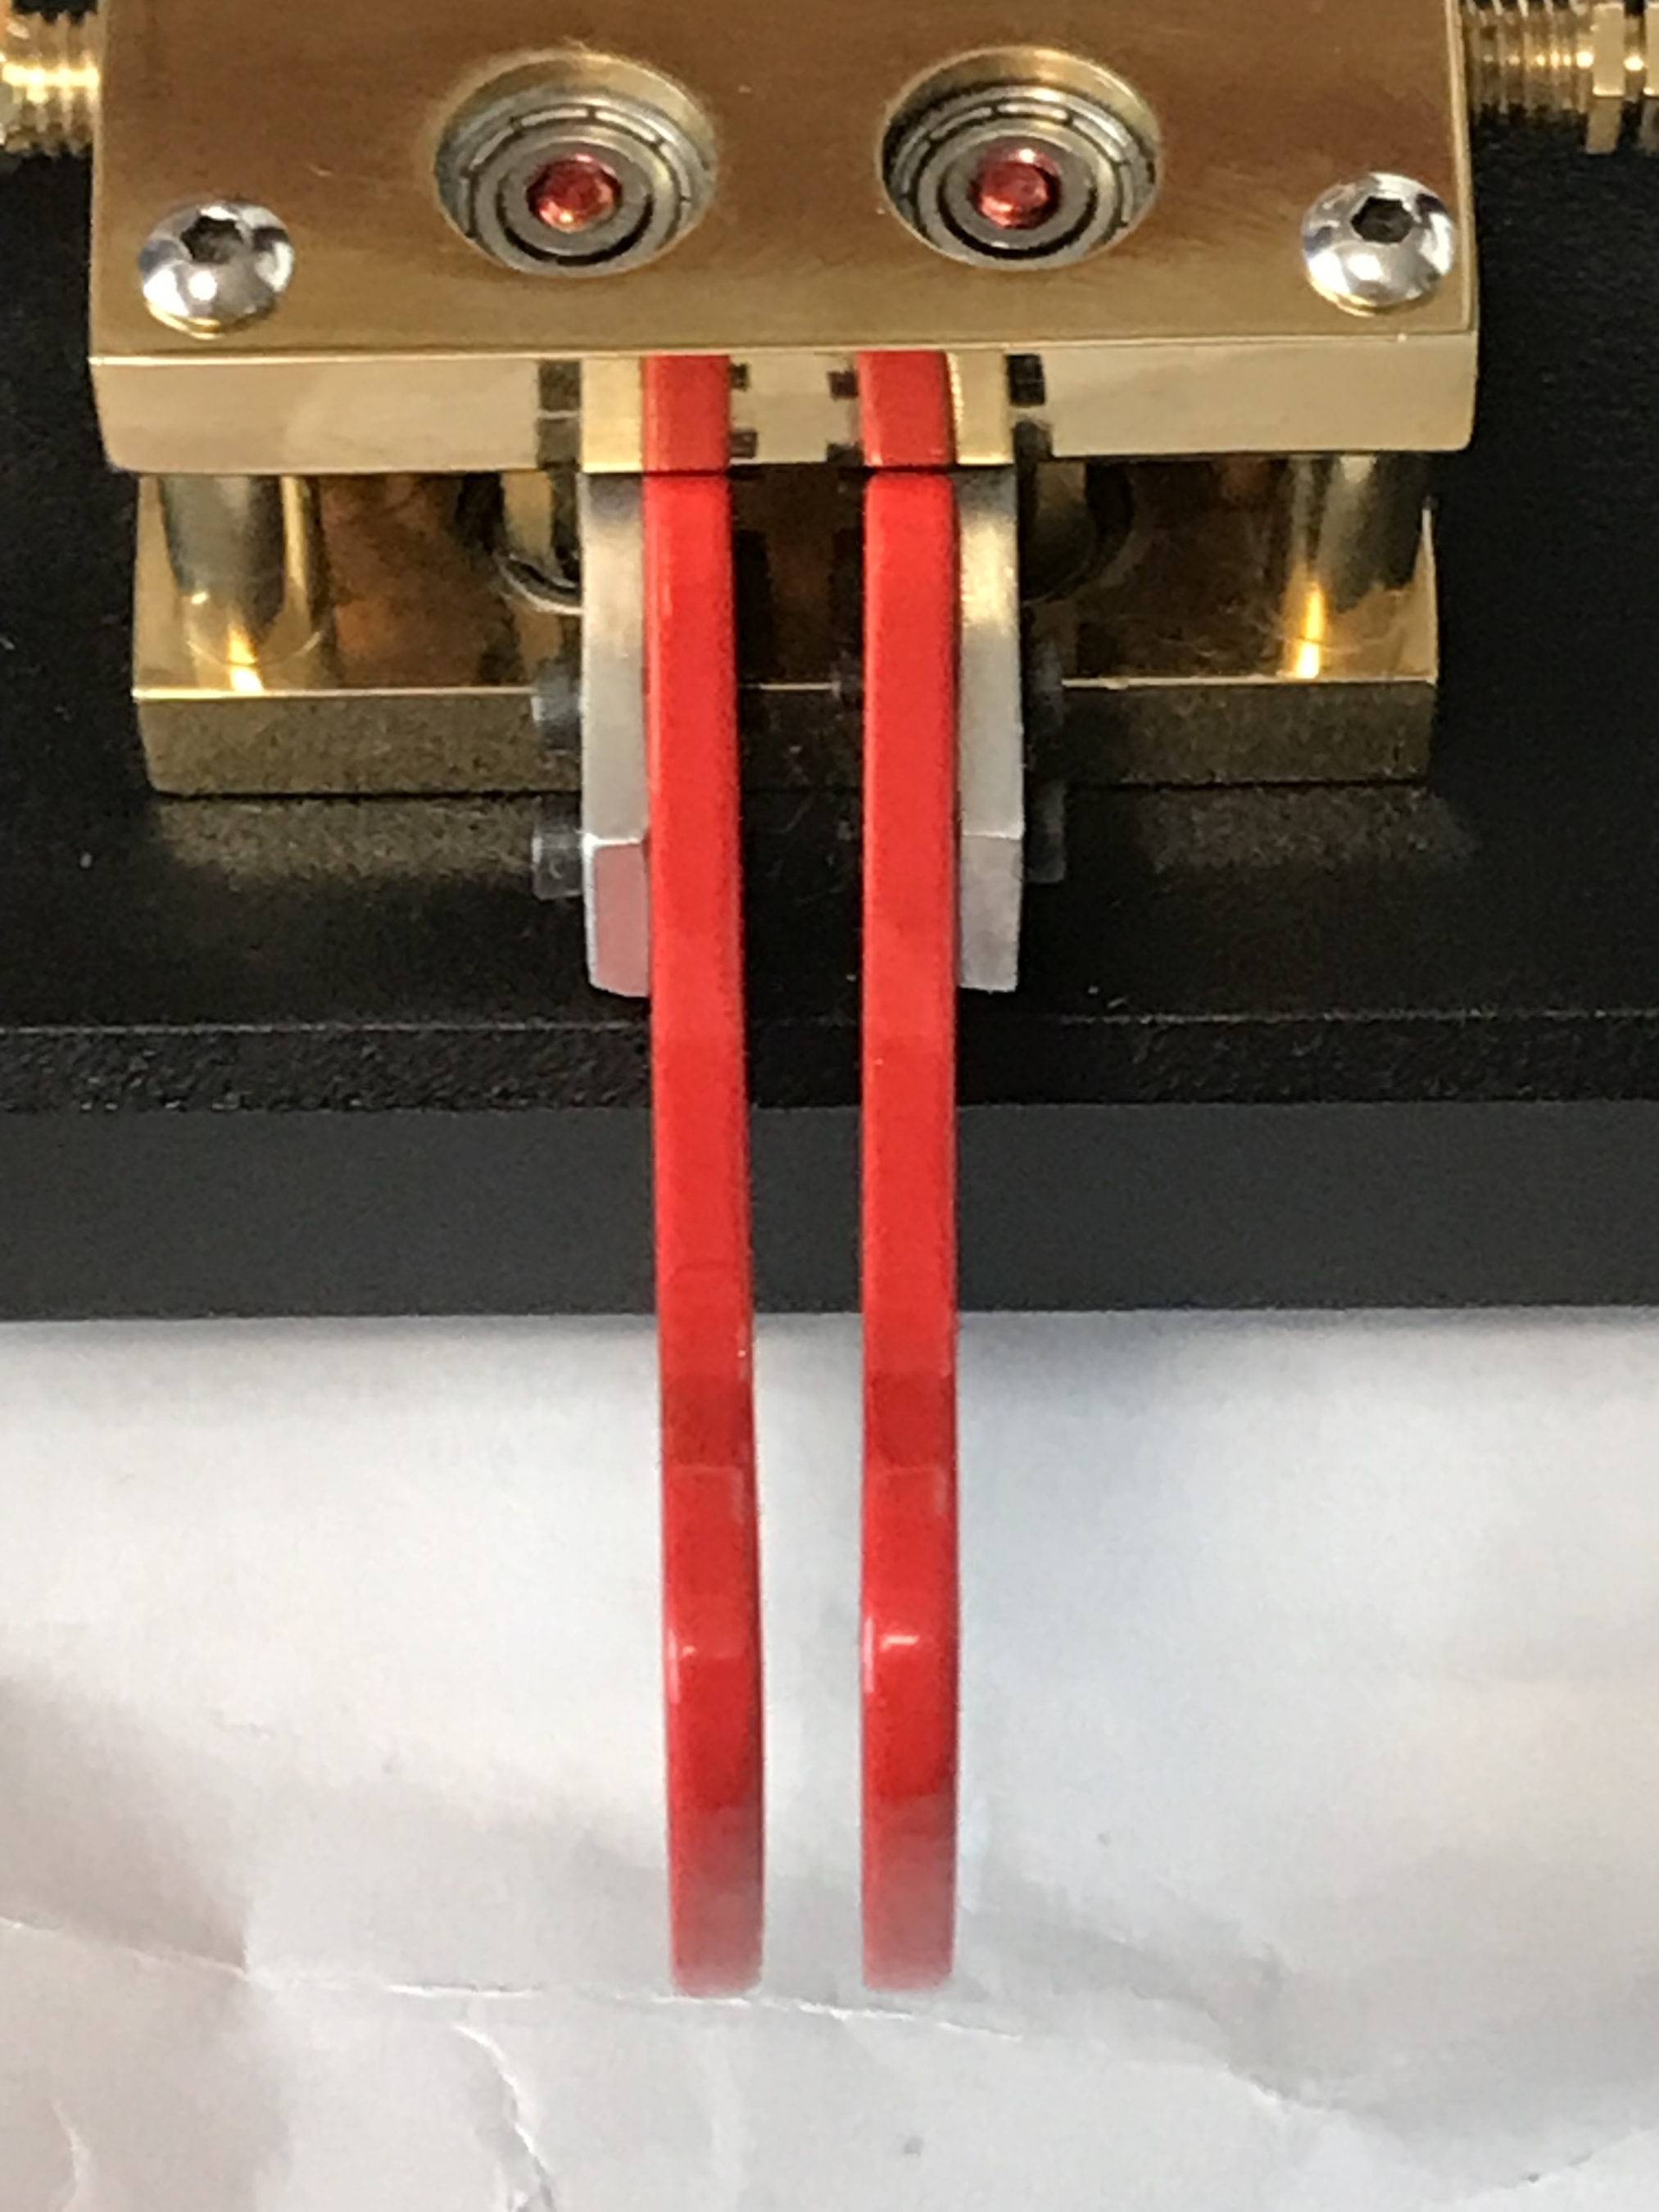
Bent left paddle on Vine RST-TP1 Twin Paddle Key

Another issue with the key was that the left paddle wasn’t straight, no a big deal but, again attention to detail during production could resolve all these issues.

Another major issue with the key was the fact that the two gap adjusters were wound all the way in and had no more adjustment available but, the gap between the contacts was big enough to drive a bus through!

Any seasoned CW op wouldn’t be happy with the size of the gaps on this key and with the fact that there was no adjustment left it rendered the key useless.

Another issue with the key was the plug, it was the cheapest quality plug I have ever seen, it wasn’t even straight!

Bent 6.2mm plug on the Vine RST-TP1 Twin Paddle key

I called ML&S and spoke to Tony the sales manager about the issues with the key. He fully understood and even admitted that they’d had a lot of issues with quality from Vine and that most of the Vine keys they’d sold had come back because of defects and poor quality build.

He even said that he was now considering dropping Vine keys from their store as they are so poor but, I see they are still for sale on their website.

What is incredibly sad is that in the 21st century British companies are shipping such poor quality products when there is technology easily available that can produce a high quality finish without a high cost. I really don’t understand how a company can ship such poorly built products to a discerning market place and think it’s acceptable.

Needless to say ML&S arranged collection of the key and issued a full refund, excellent service as always.

So after being let down by British manufacturing I’m back to looking for a morse key to get back on air.

More soon …
Something for the weekend?

Since purchasing the Yaesu FTDX10 and getting some wire into the air I’ve been working DX all over the world with ease. So far I’ve not exceeded 25w total output and yet I’ve worked as far as Australia, South America and West Coast USA and Canada. I’m often found to be using far less than 25w, even 5w on the 60m band is a huge amount of fun!

The FTDX10 has an incredible receiver, the best I have ever owned, for the money it really is an amazing bit of kit. The only thing about it that doesn’t work for me is the size when trying to go portable. It’s just a tad too big and requires a huge battery to power it. I love everything else about the FTDX10 apart from this one thing.

So, with the FTDX10 now being the prime shack radio I decided to look into a solution for portable operations. There are many options available today from the cheap Chinese made radios to the old reliable FT817/818 (which I used to own and had a lot of fun with) through to a multitude of newer, more modern full functionality radios. We are truly spoilt for choice these days!

One radio I have read a lot about is the Icom IC-705, it’s an incredibly feature packed little radio with a max output of 10w that covers 160m all the way up to 70cms. With its large super clear colour touch screen and easy swap battery solution it ticks all the boxes.

Icom IC-705 Portable HF/VHF/UHF Transceiver

One thing many people complain about is the fact that the IC-705 doesn’t have a built in ATU. This has never bothered me as I am a firm believer that the ATU should be at the antenna and not in the radio at the end of a long coax run. Running various antenna models on my EzNEC software has shown that keeping the ATU at the antenna is by far the best solution.

Of course Icom have this covered with their AH-705 remote auto ATU that’s specifically designed to compliment the IC-705. Powered by just two AA batteries and utilising latching relays the unit is both very quick to tune and uses next to no power at all, ideal for those Parks on the Air (POTA) or in my case, Beaches on the Air (BOTA) activations.

Being a quality Icom product the AH-705 isn’t cheap, at £299.99 it’s actually one of the most expensive auto ATUs available for the IC-705.

Icom AH-705 Remote Auto ATU

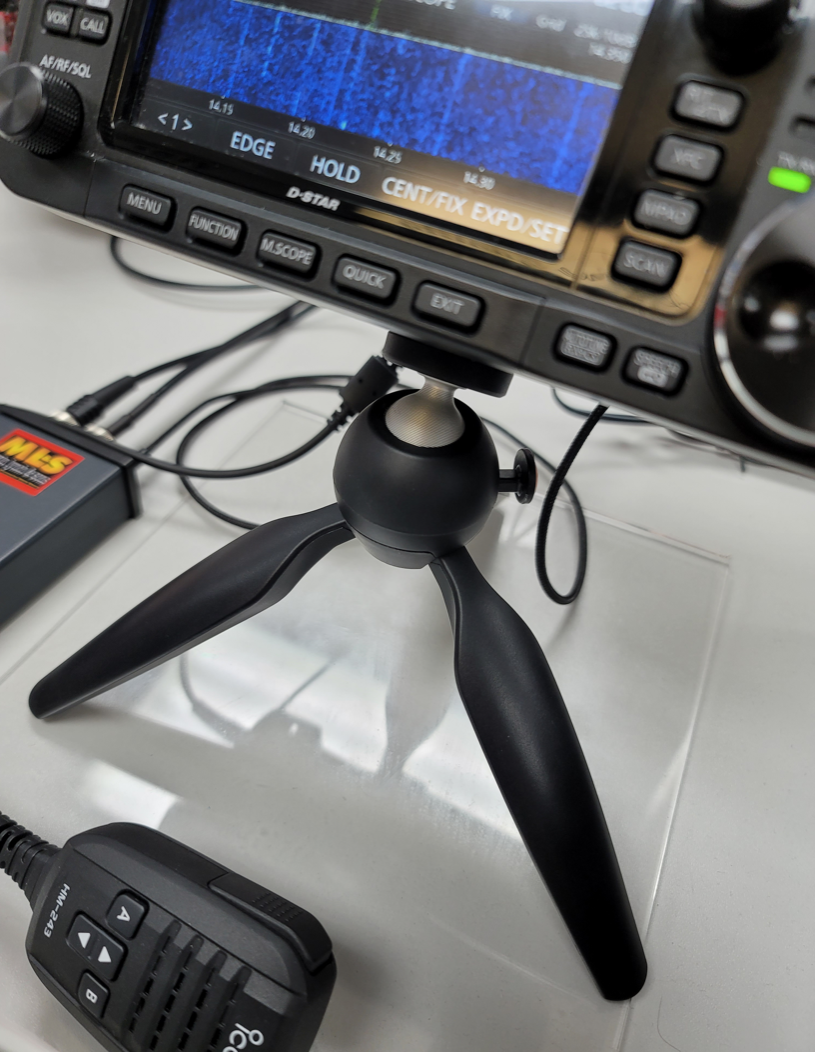
The other thing I wanted was some kind of stand for the IC-705 that would allow me to angle the radio such that the display and controls are always easily useable. On the ML&S site I found a nifty little tripod that will do the job nicely and so, that had to be included in the bundle.

Icom IC-705 Tripod stand

Fortunately for me the AH-705 was on special offer over the Easter Bank Holiday with 40% off making it the same price as the cheaper MAT tuner from china.

So I have now ordered an IC-705, matching AH-705 and the tripod all for the bundle price of £1504.87 including VAT, I even got free shipping thrown in too!

So that leaves just one more thing that I need to complete my radio solution, a morse key!

Having sold my Schurr Profi II Twin Paddle key (Been kicking myself ever since!!) a few years ago when I decided to take a break from radio I’m now in the position of not owning a morse key.

I did order a Vine Antenna RST-TP1 key from ML&S but, that had to go back (There’ll be an article about it coming very soon!) and so, I decided to spend a bit more and get a much better quality key.

Talking to many people online and Tony at ML&S it’s apparent that the Begali Morse keys are some of the best available these days. Looking on the Begali website they certainly have a great selection of high quality keys available, some for much more than I want to spend.

Begali Pearl Twin Paddle Morse Key

So after much consideration I decided to purchase a Begali Pearl Twin Paddle Morse key in Palladium and Gold with red paddles. It’s a super looking key and gets great write ups. It’s also their biggest seller, that says a lot.

More soon …

HMQ Platinum Jubilee NoV

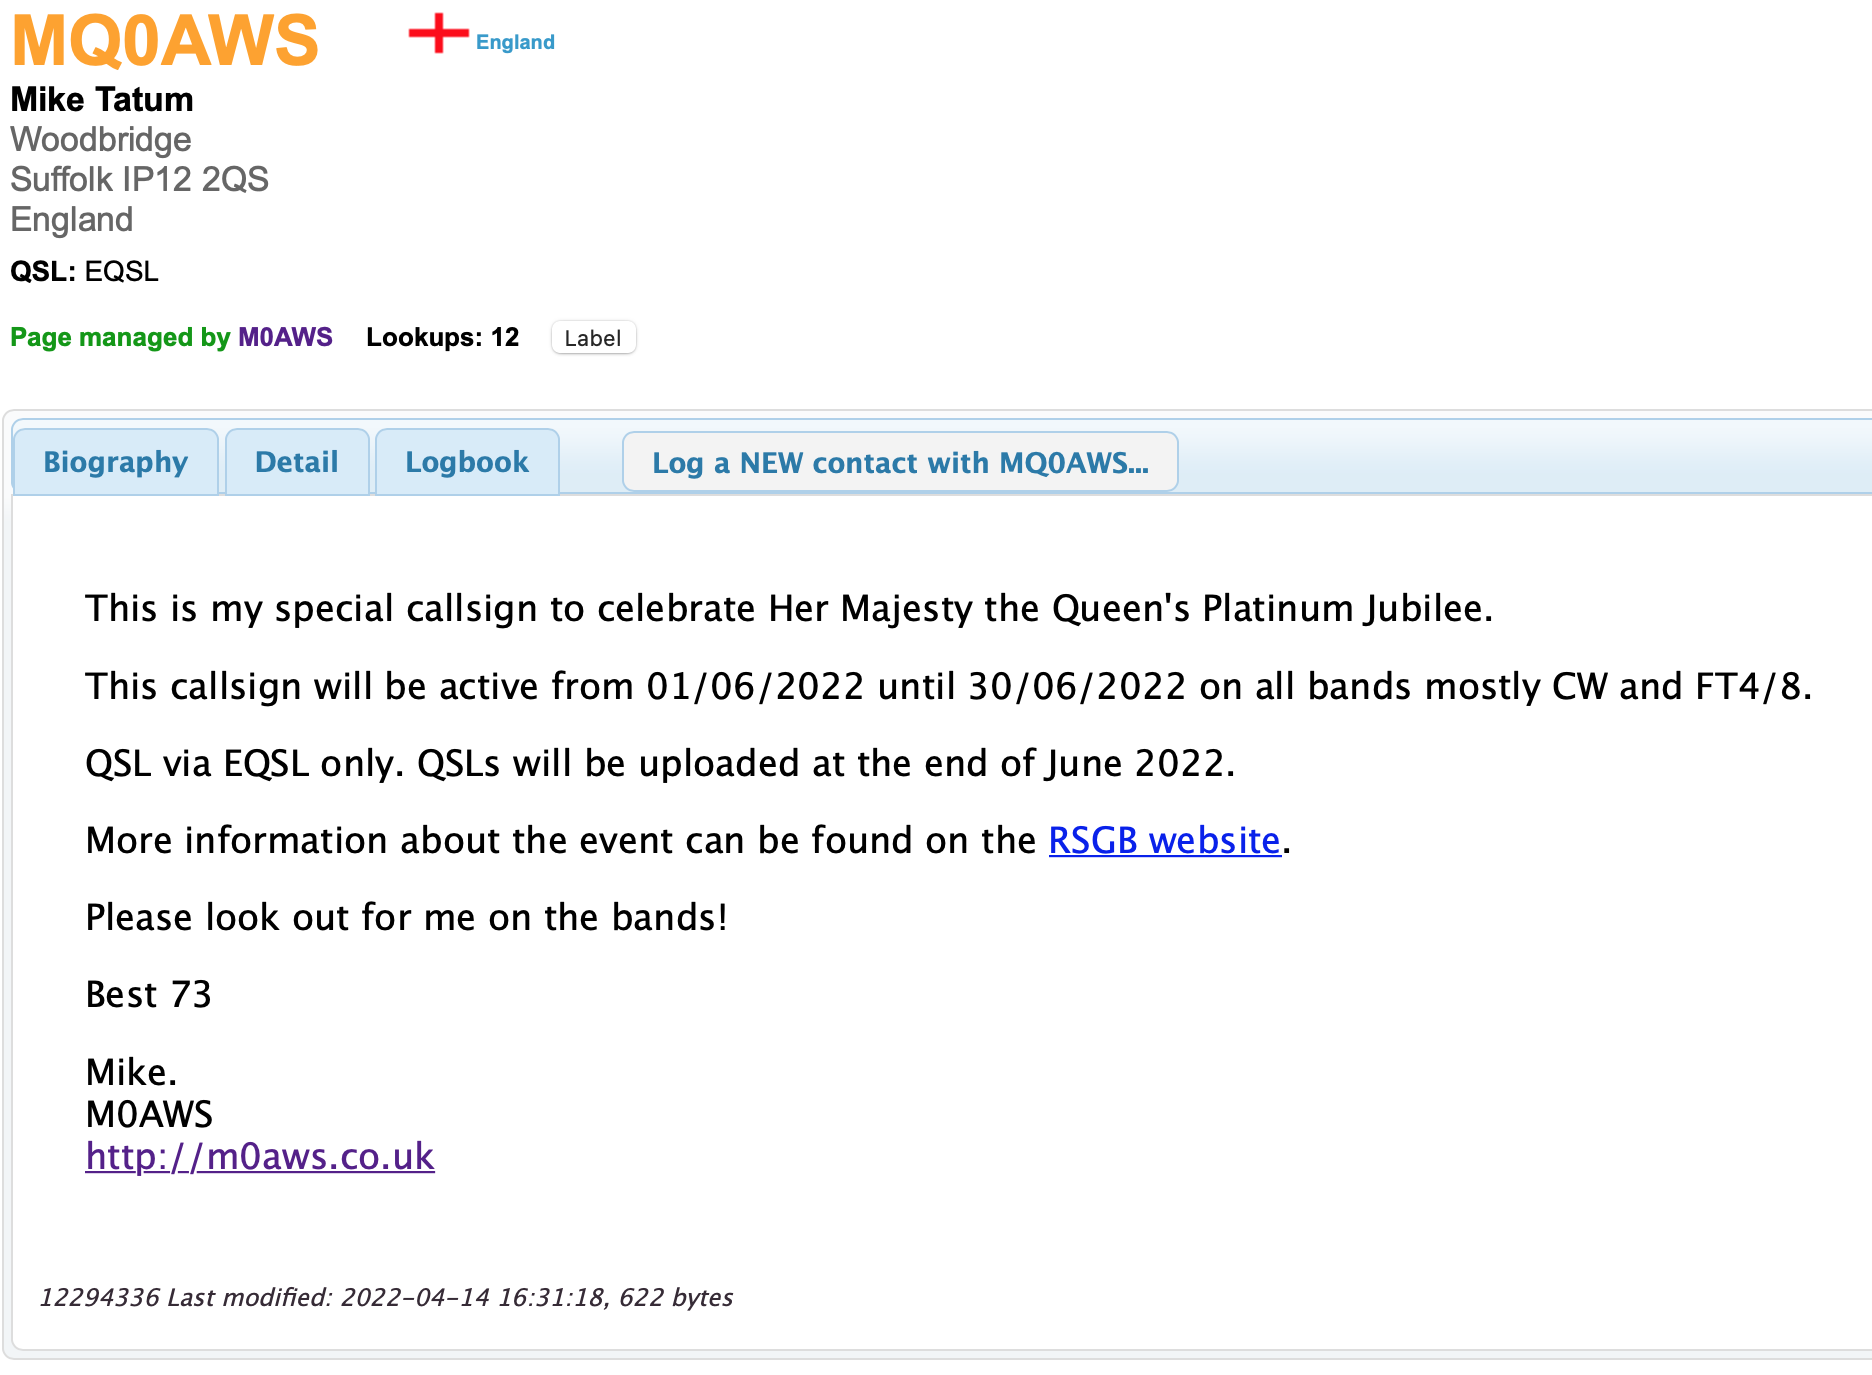
MQ0AWS QRZ.COM entry

During the month of June 2022 U.K. radio HAMs will be able to use the “Q” regional secondary locator in their callsigns to celebrate Her Majesty the Queen’s Platinum Jubilee.

I now have my notice of variation (NOV) for my HAM Radio licence that will allow me to use the callsign of MQ0AWS throughout the month of June 2022.

I’ll be active on all HF bands using CW and FT4/8 mostly. I may do some SSB on 40/60m depending on how it goes.

I’m hoping many stations world wide will want to contact the GQ/MQ/2Q stations throughout the celebration period and that you’ll all be able to collect the 70 necessary callsigns and contacts to win an RSGB certificate.

I will be logging all contacts on EQSL.CC at the end of June 2022.

More information is available on the RSGB website.

I look forward to using the MQ callsign and hope to have many pileups on the bands!

More soon …
When the wind gets up and you’re not home!

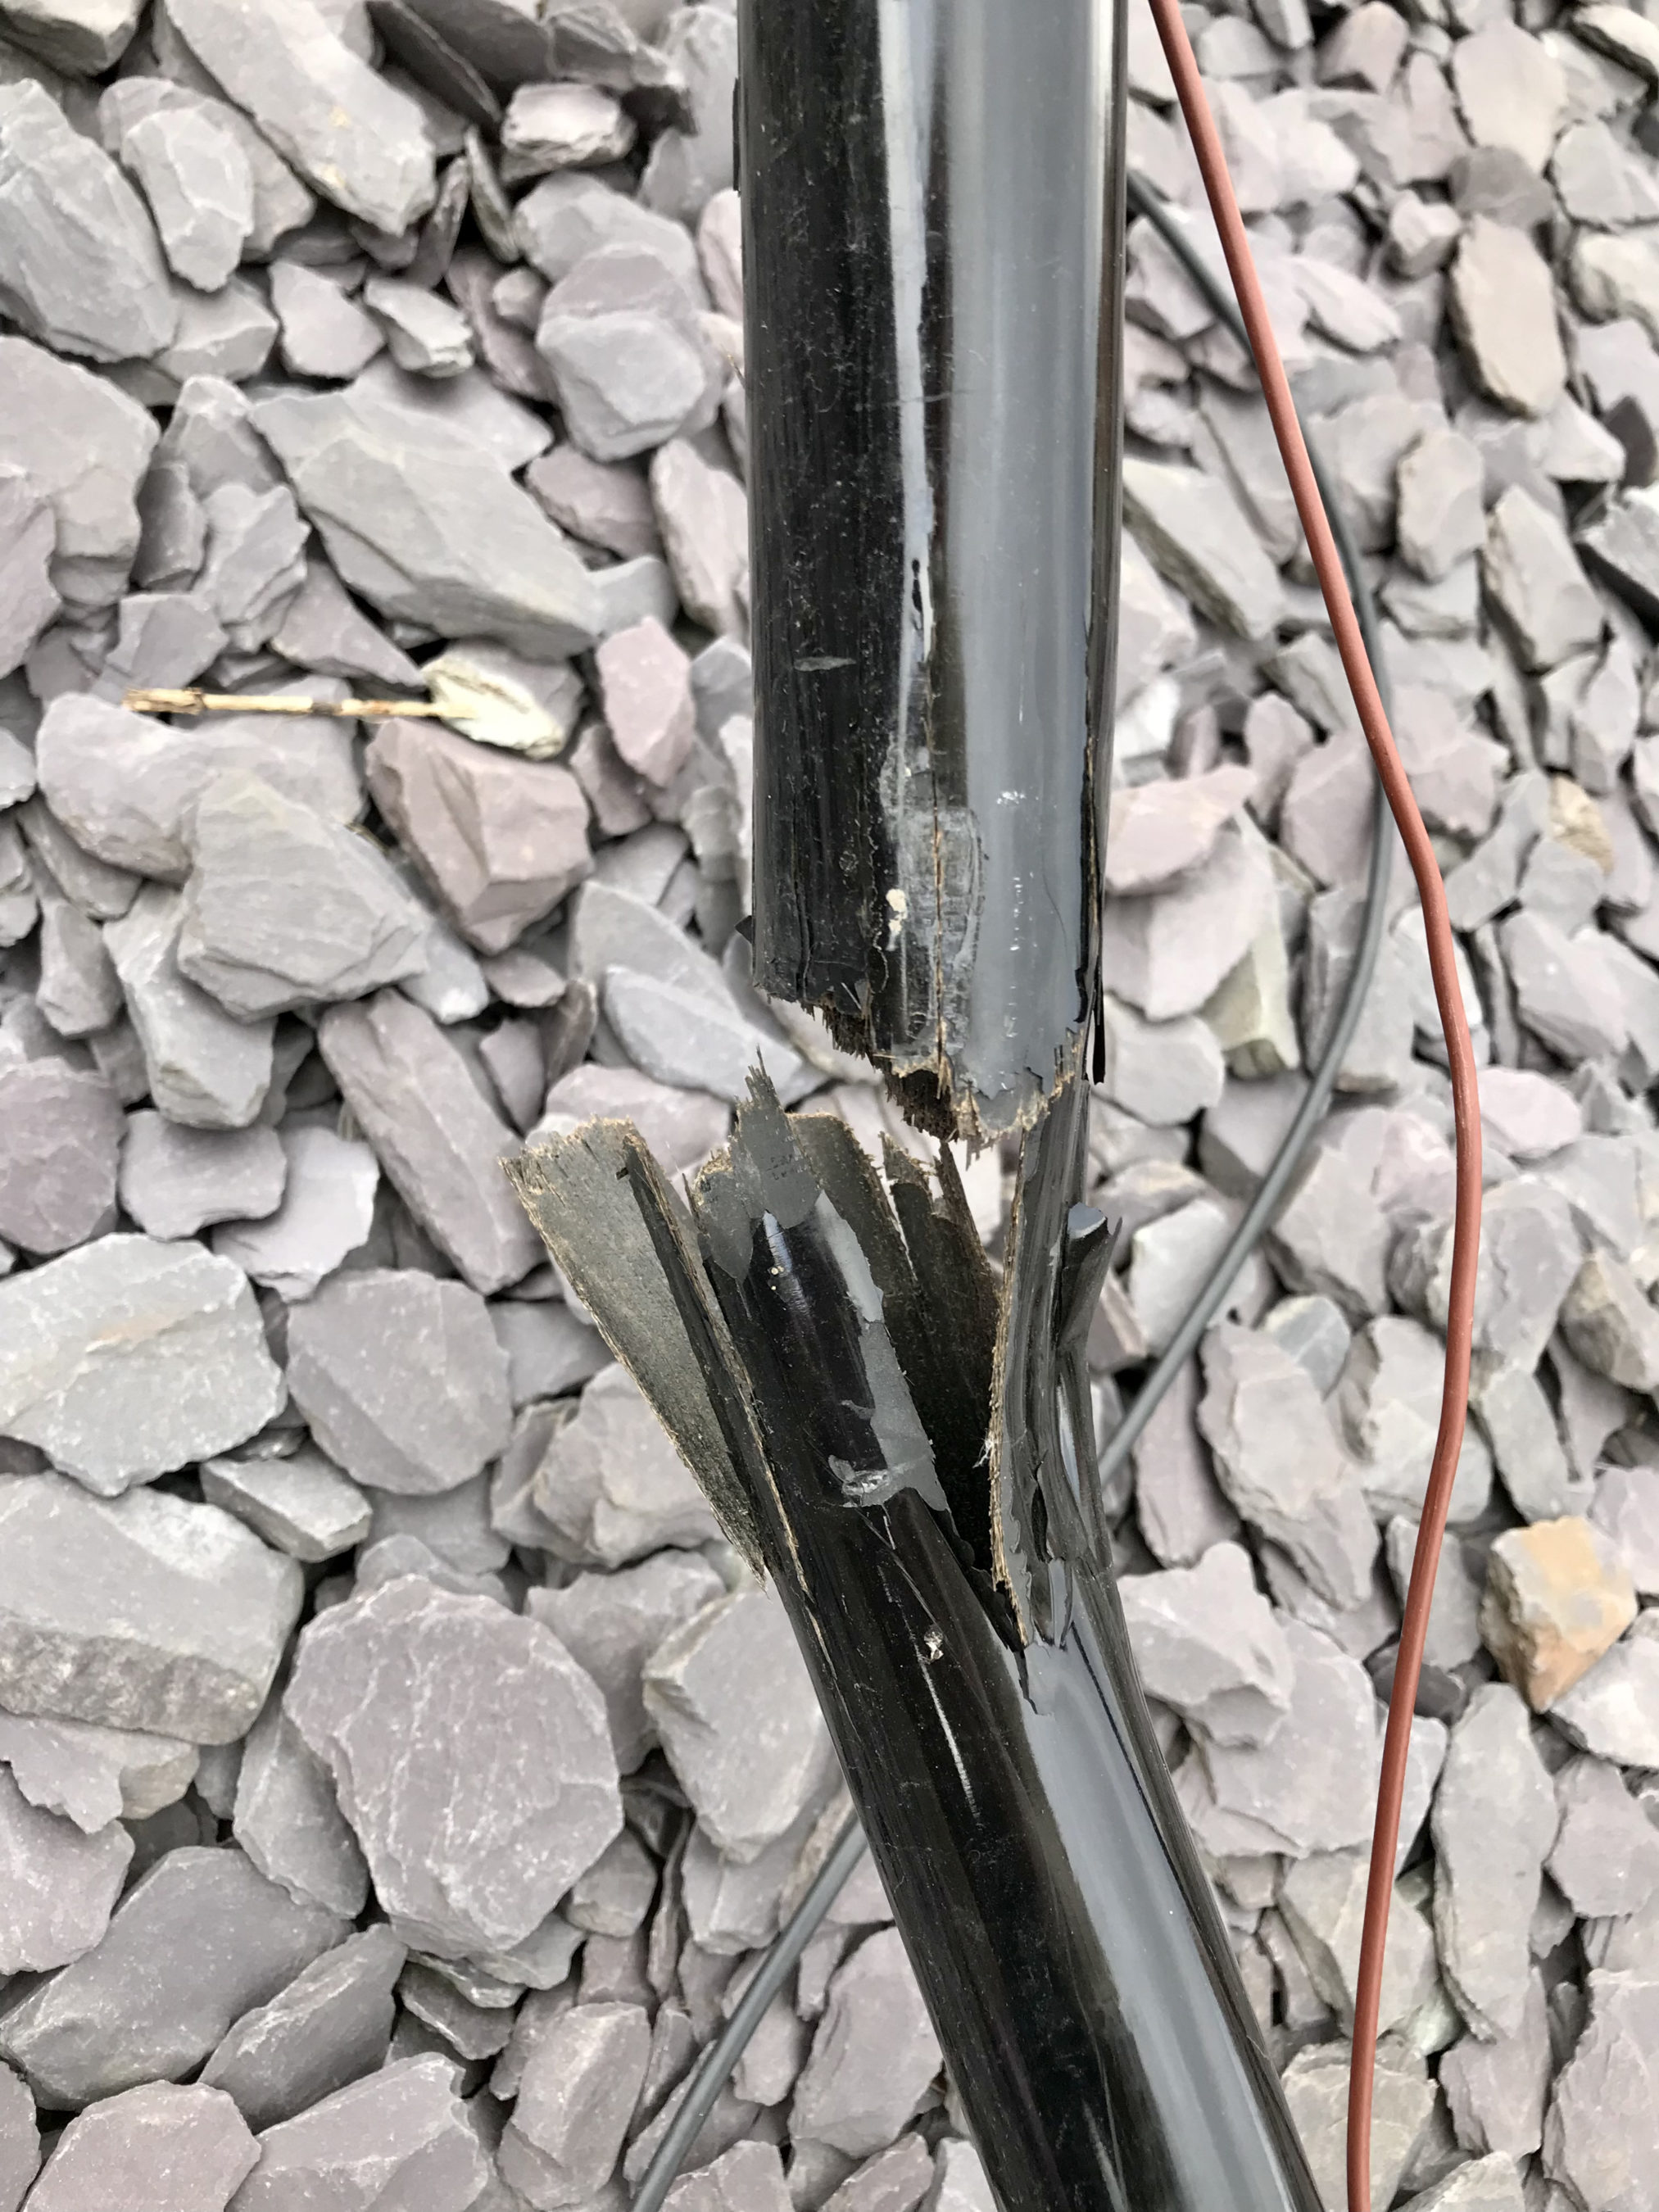
Wind damaged extending fibreglass pole

A few days ago we had a bit of a storm come through which brought down one of my extending fibreglass poles. Sadly I wasn’t home to be able to go out into the garden and take it down and hence I now have a badly broken pole.

It’s quite an old pole and has given me sterling service and so I can’t really complain. This has however, brought forward my decision to get something a little sturdier to hold up my wire creations.

Going online I finally ordered what I’ve really wanted for some time, a Spiderbeam Spiderpole 12m HD extending fibreglass pole. These poles really are much stronger than the cheap, thin walled fibreglass poles I’ve been using and so, should handle the wind somewhat better.

This will also allow me to get a longer wire into the air as it’s some 3m longer than the poles I’ve been using to date.

I also decided to order a new morse twin paddle key today too. I’ve been looking for some time but, couldn’t decide which key to purchase.

I finally decided to go with the Vine Twin Paddle RST-TP1 key. It’s quite a heavy lump so shouldn’t wander around the table during use. I’m looking forward to receiving it!

More soon …